Connect to Structured Data Sources
Data Sources allows administrators to connect to external database systems like Snowflake, Databricks, and Postgres. This page also allows administrators to upload .csv files containing structured datasets for natural language interrogation.
Note: When connecting external database systems or uploading external .csv files, the contents are not accessible to the C3 Generative AI retrieval system until the corresponding data model has been synced (see step 9). This allows administrators to stage changes to the system before making those changes available to the end user of the C3 Generative AI retrieval system.
Upload CSV Files
Administrators can upload .csv files from their local computer to rapidly expose structured datasets to C3 Generative AI’s search interface. To get started, complete the following steps:
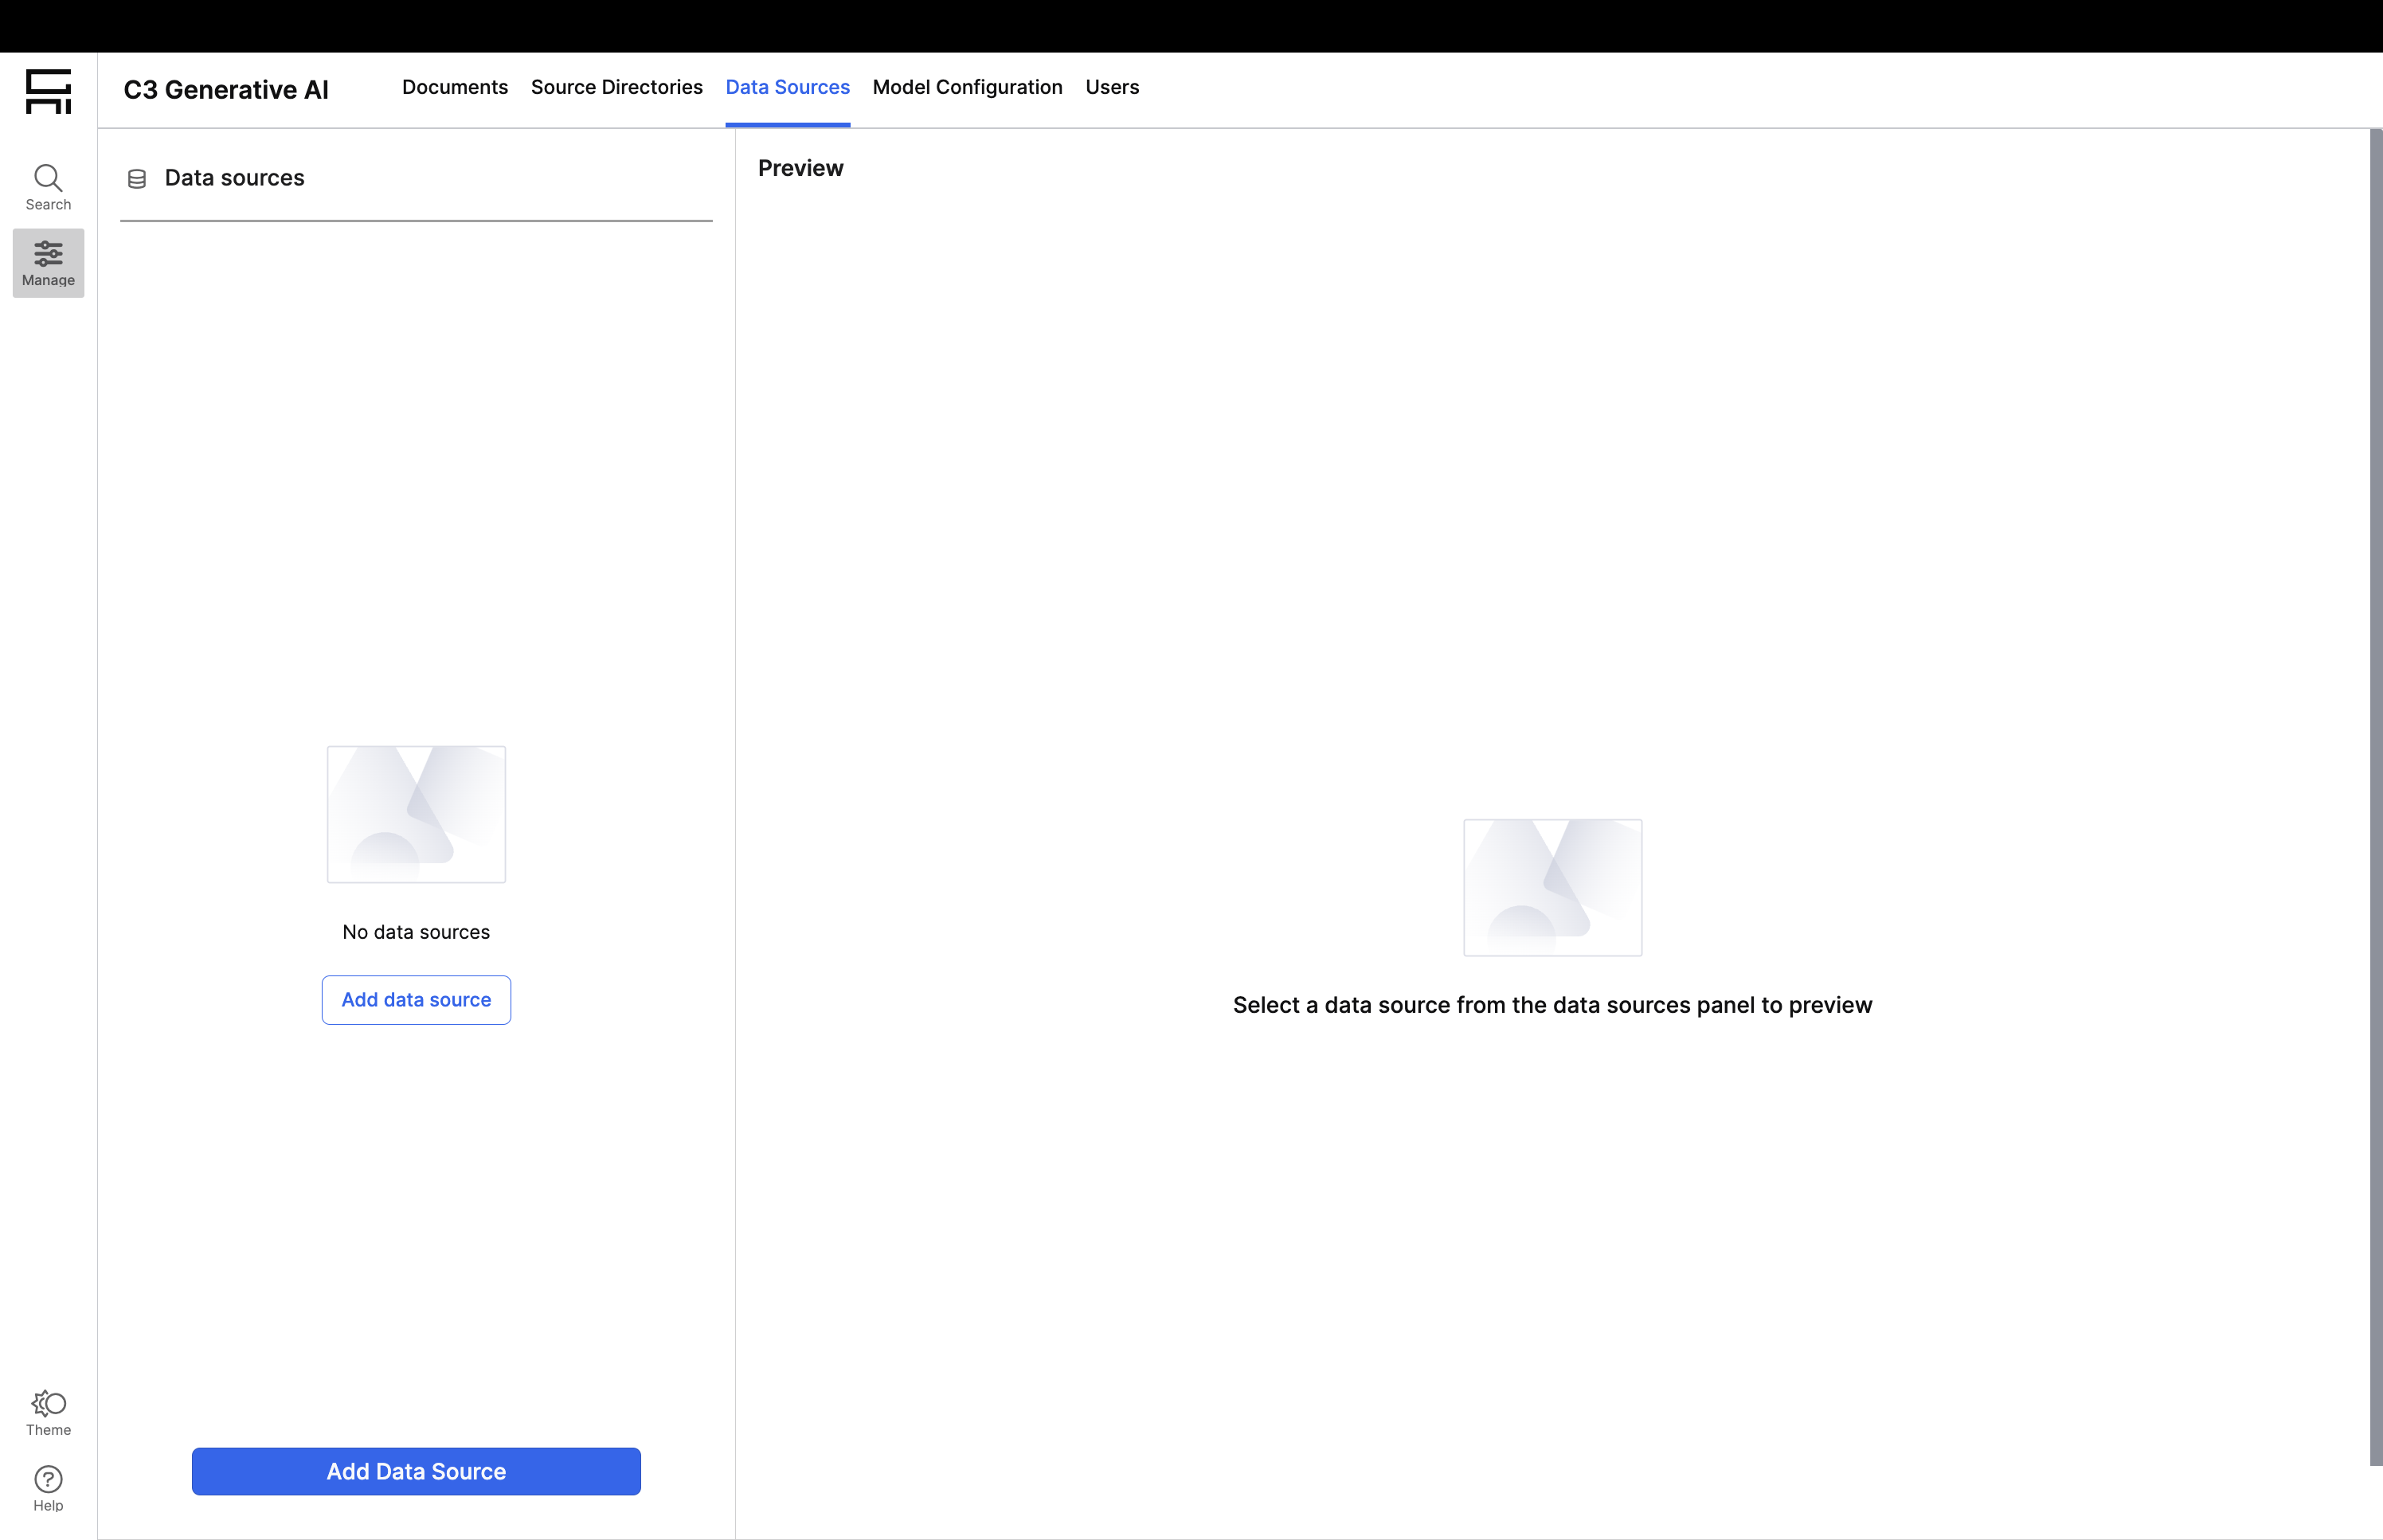
Add Data Source: click the blue button in the bottom left corner to add a new data source.
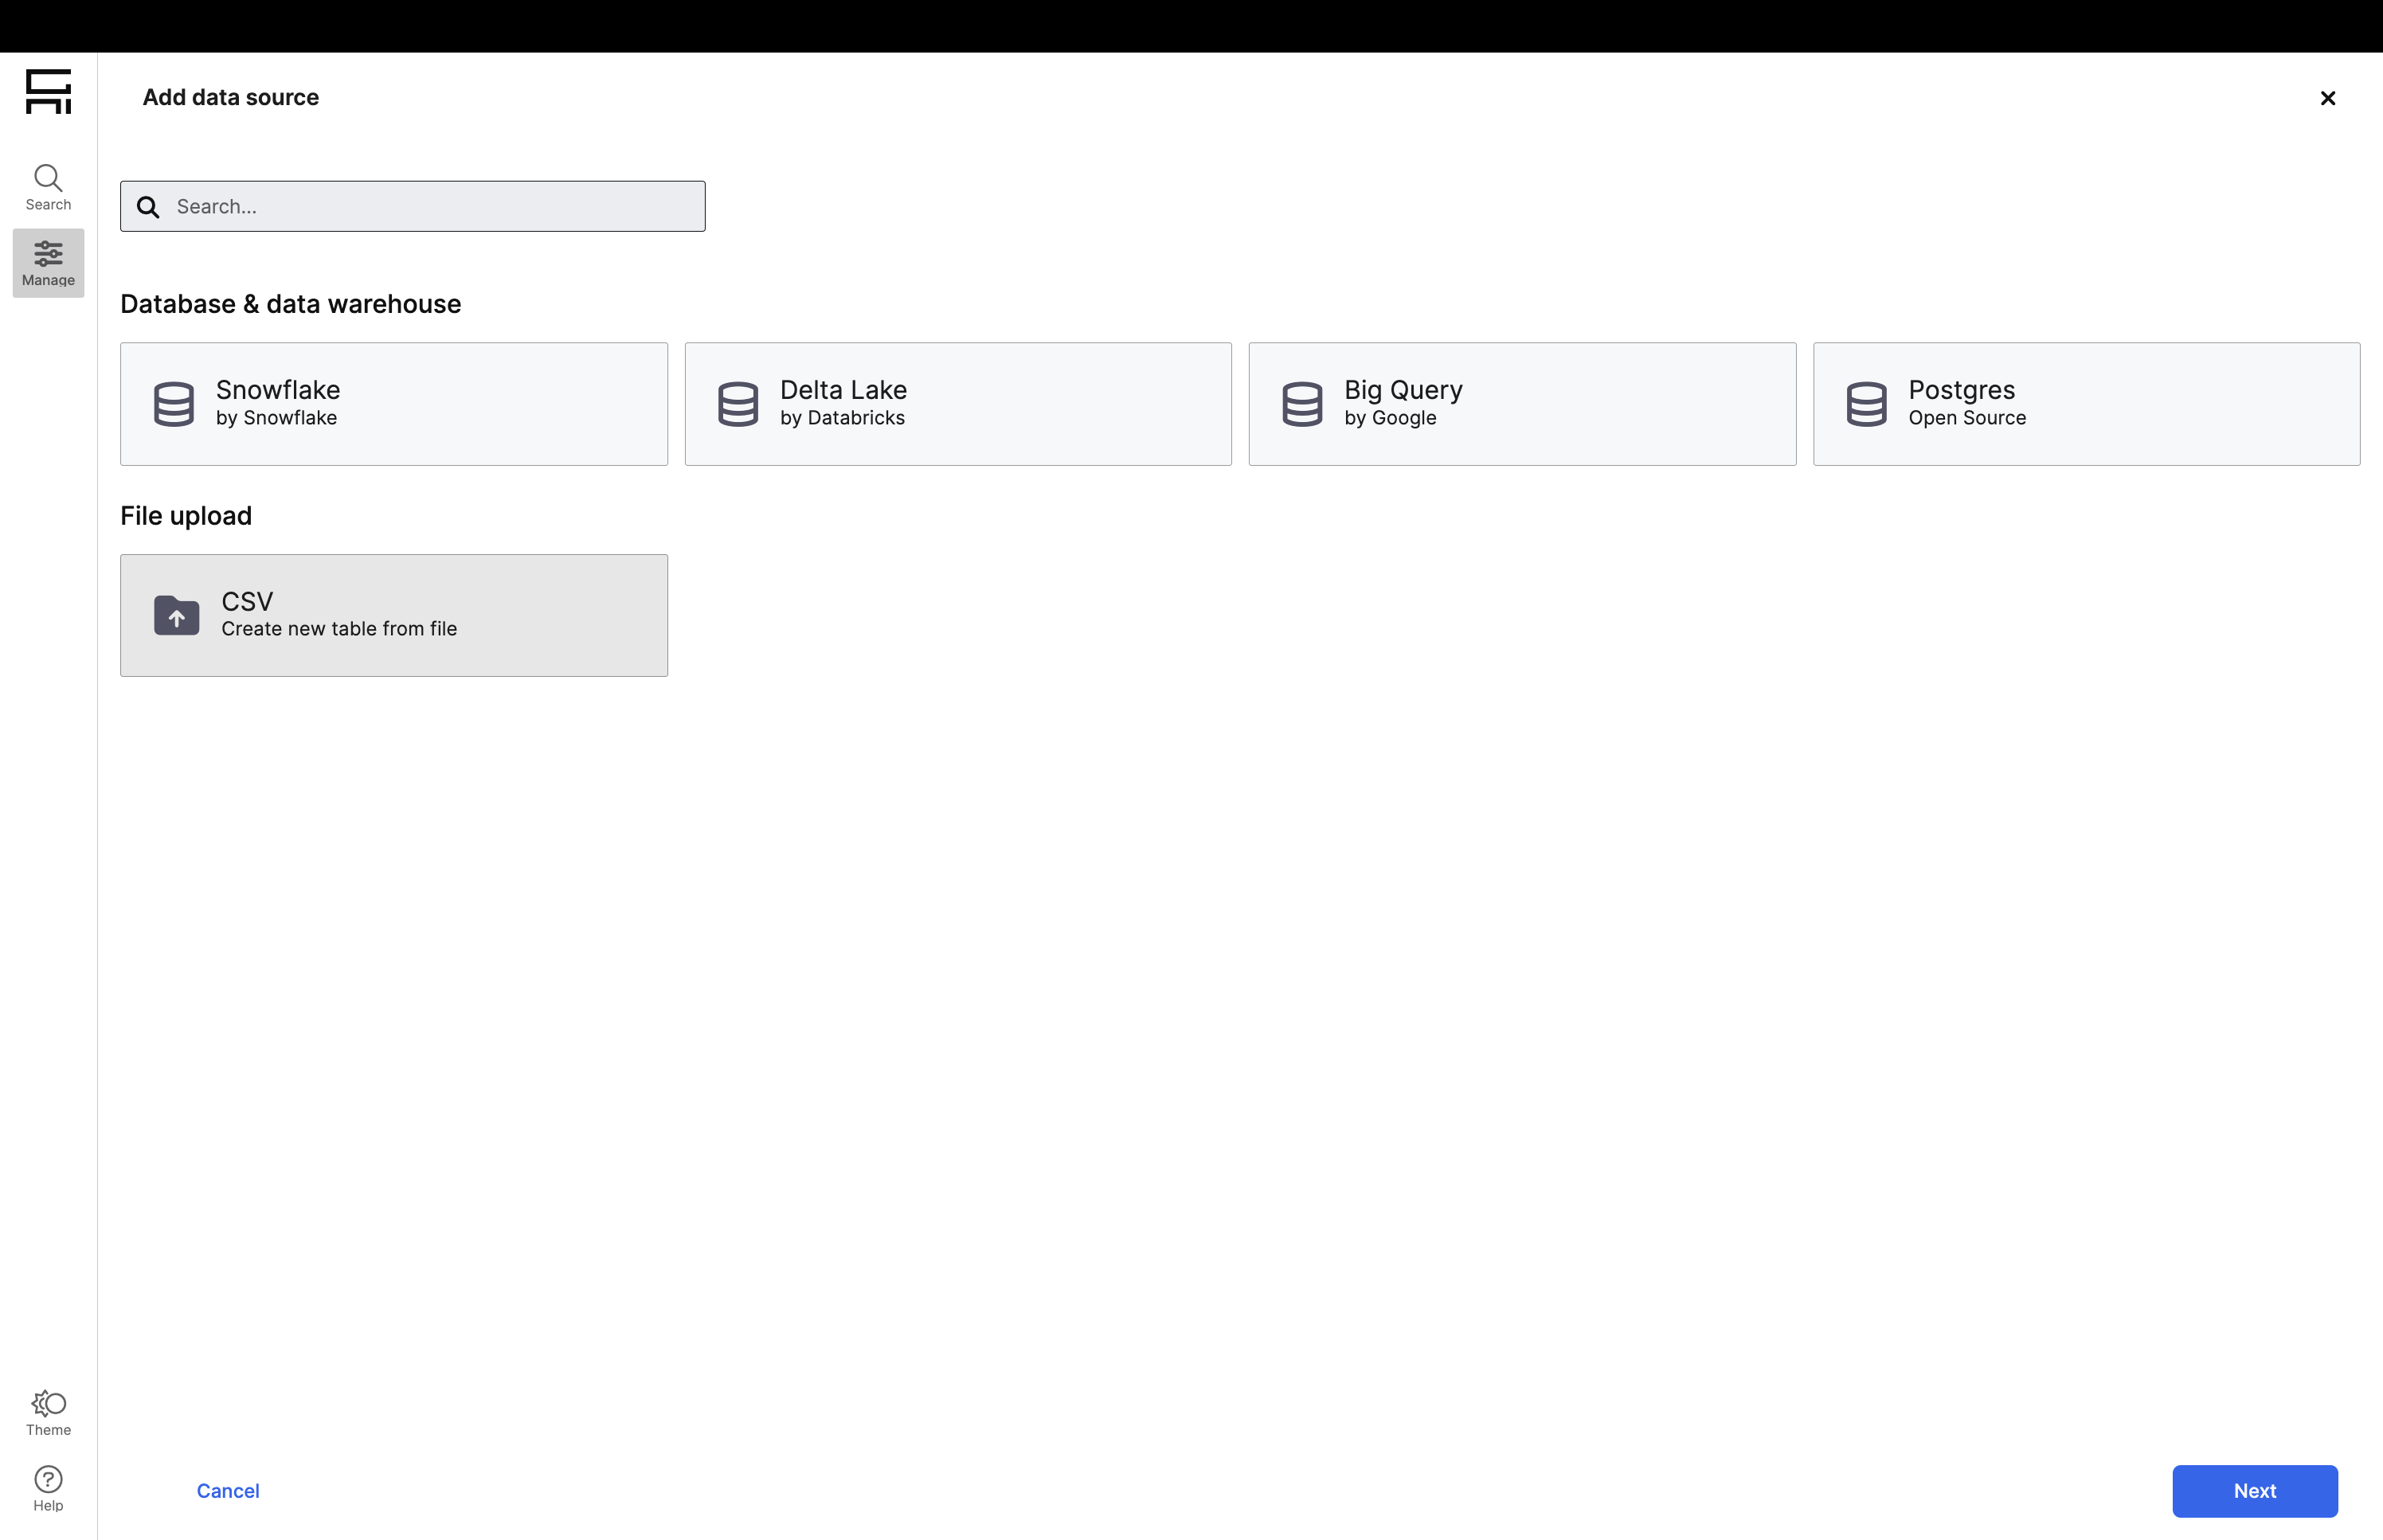
Select CSV Sources: Select the CSV icon under File upload and click Next to proceed.
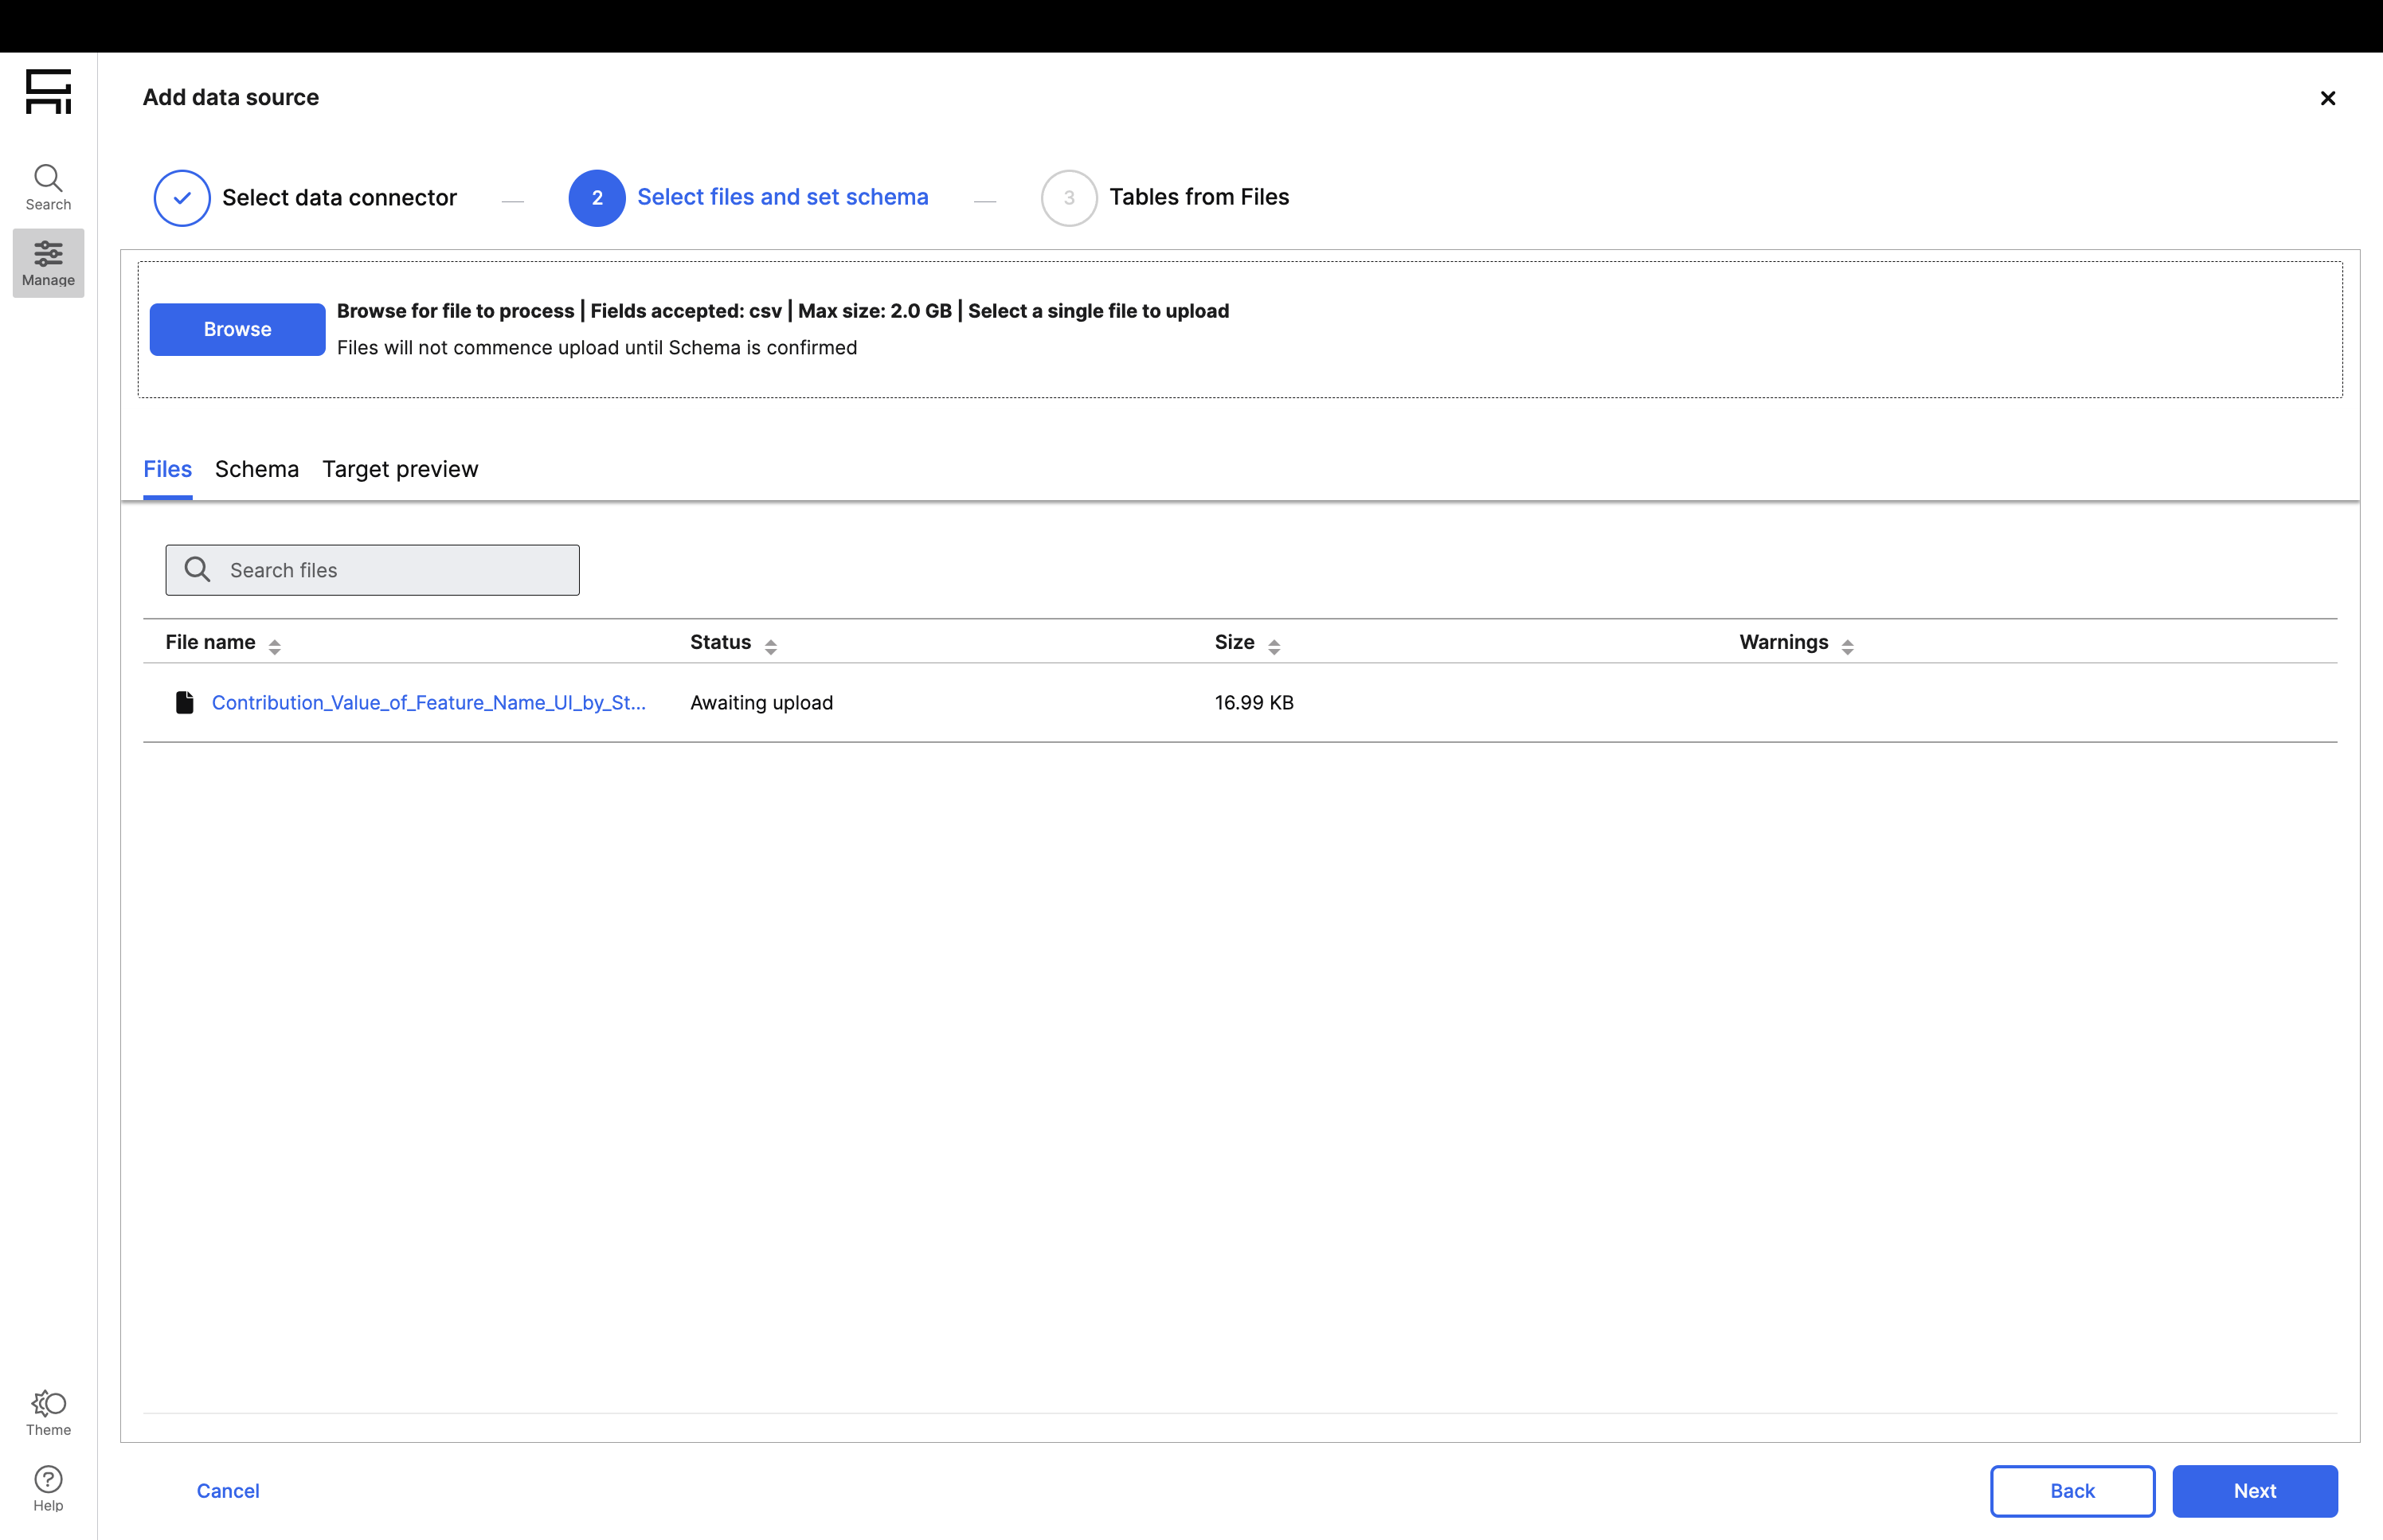
Browse Files: Click Browse to select a file from your local machine to upload to the system.
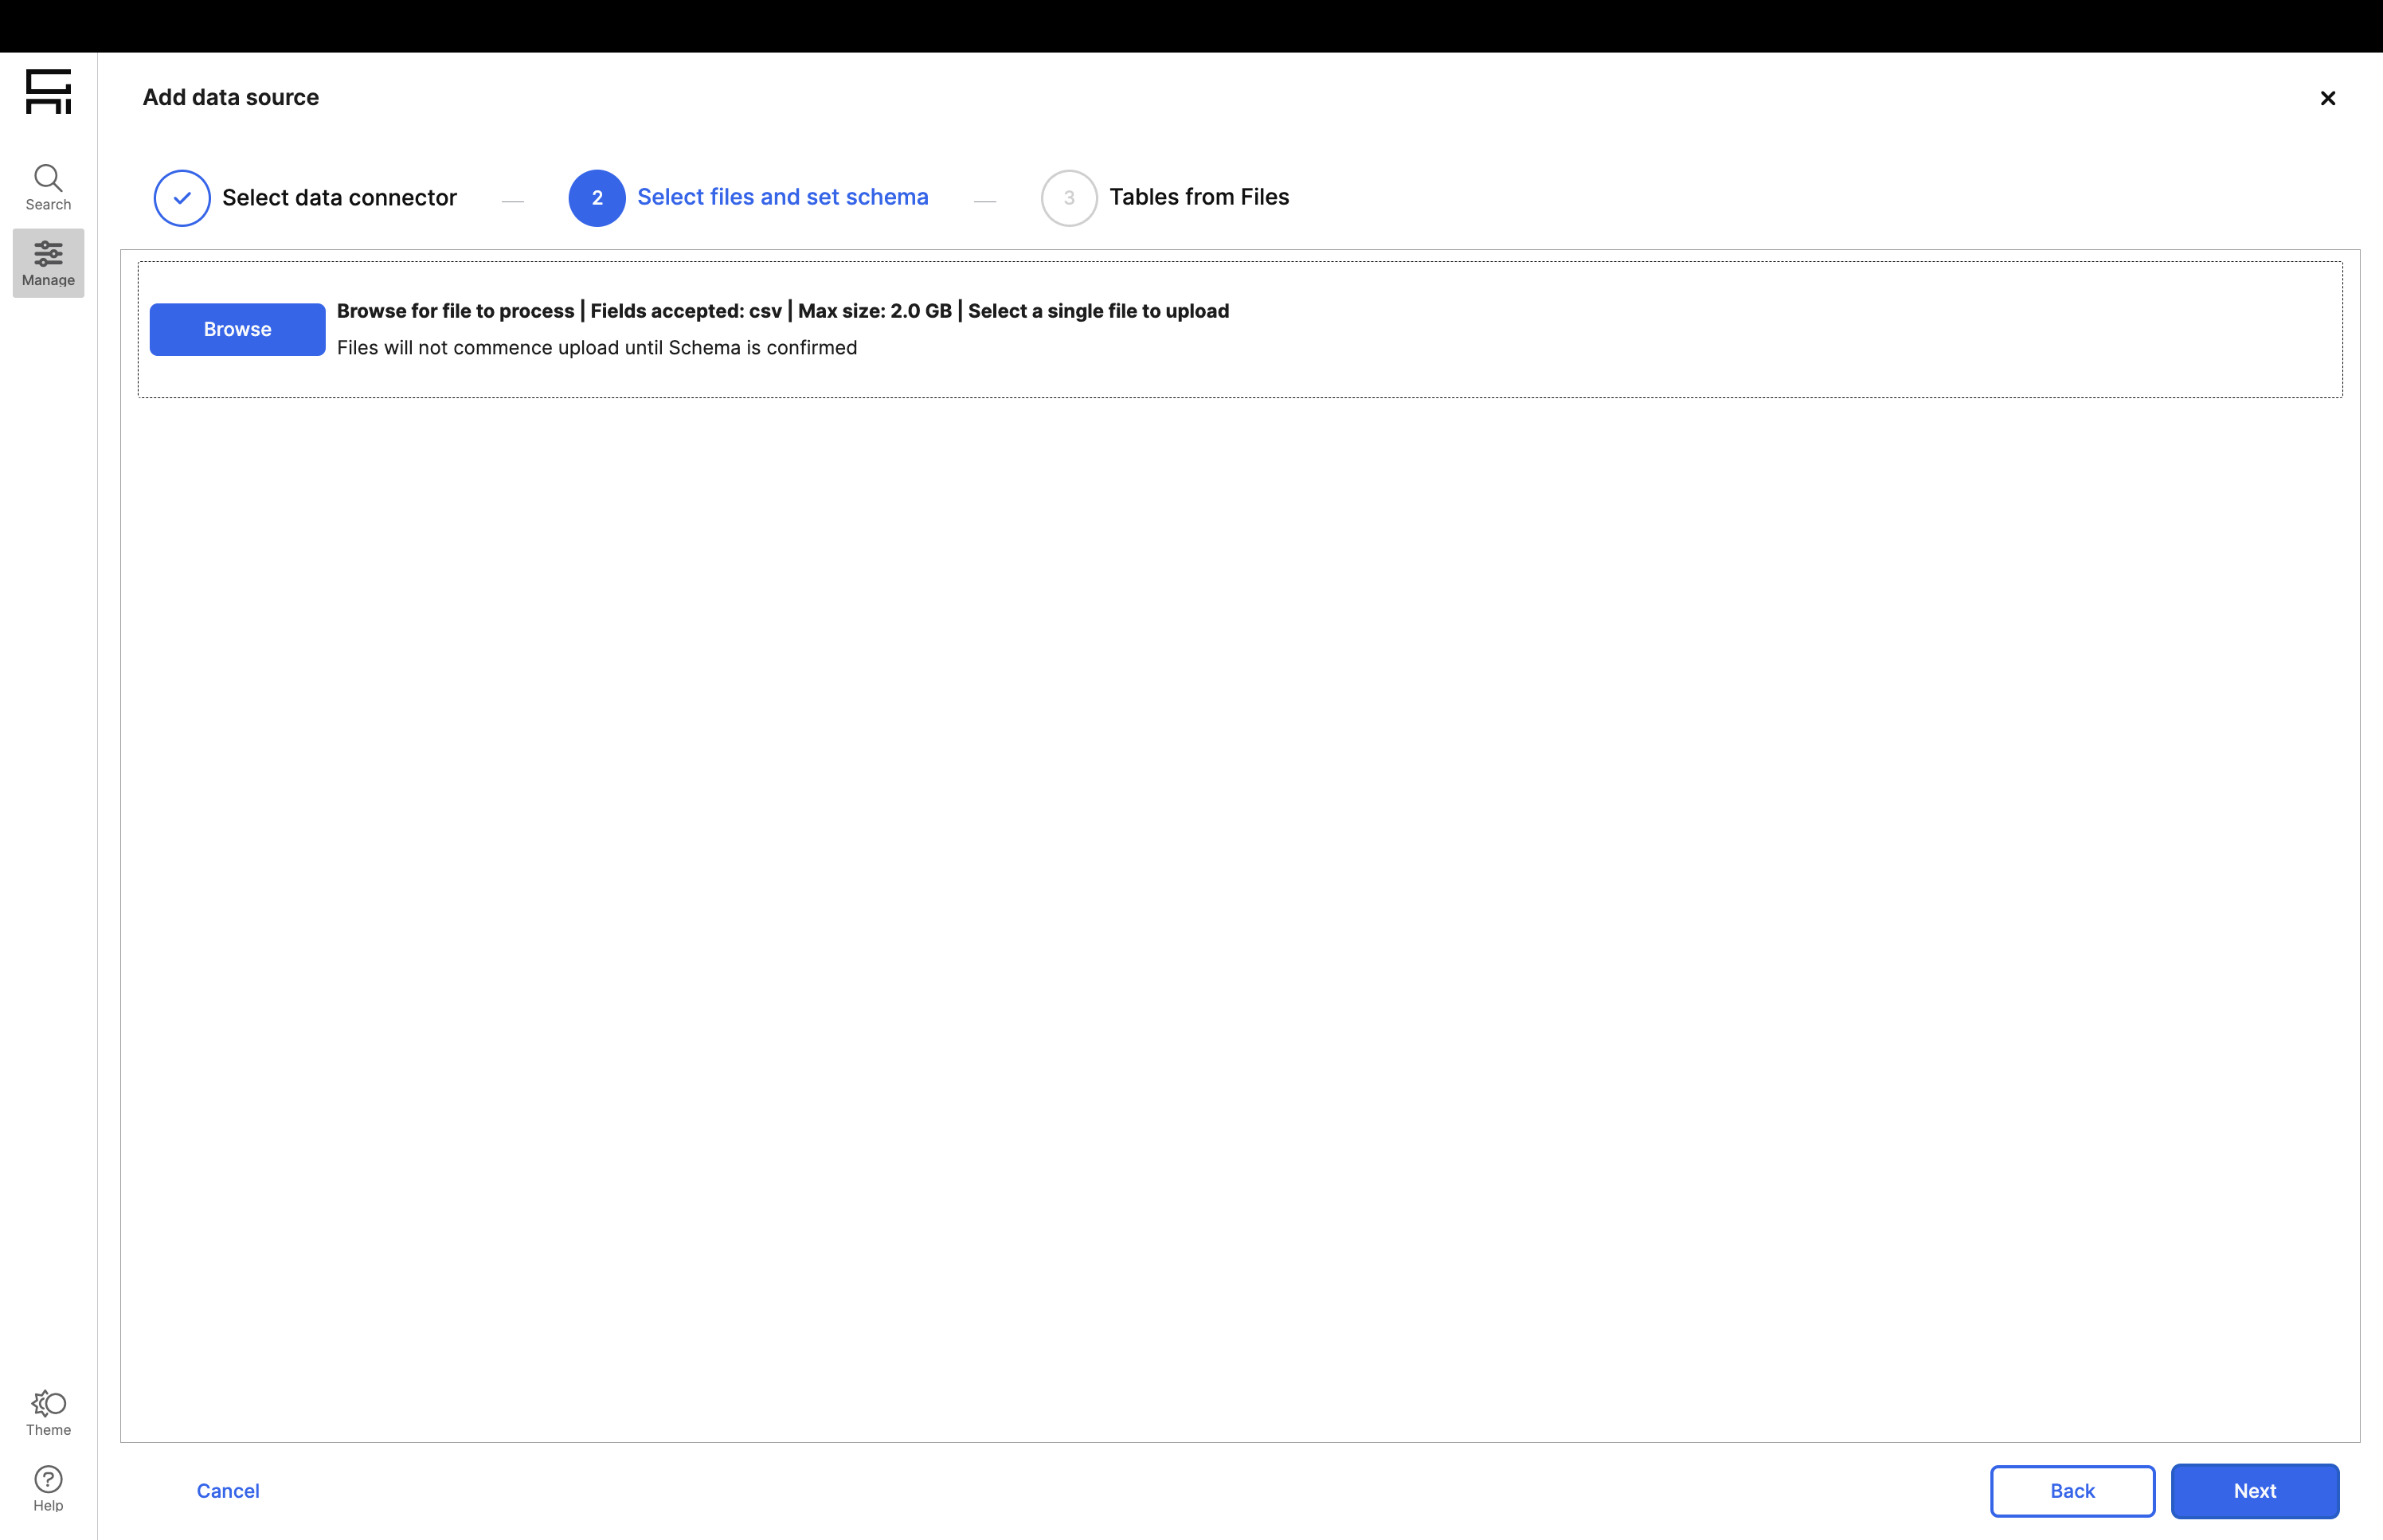
Upload File: select a local file and stage it to be uploaded into C3 Generative AI and click Next in the bottom right corner to proceed.
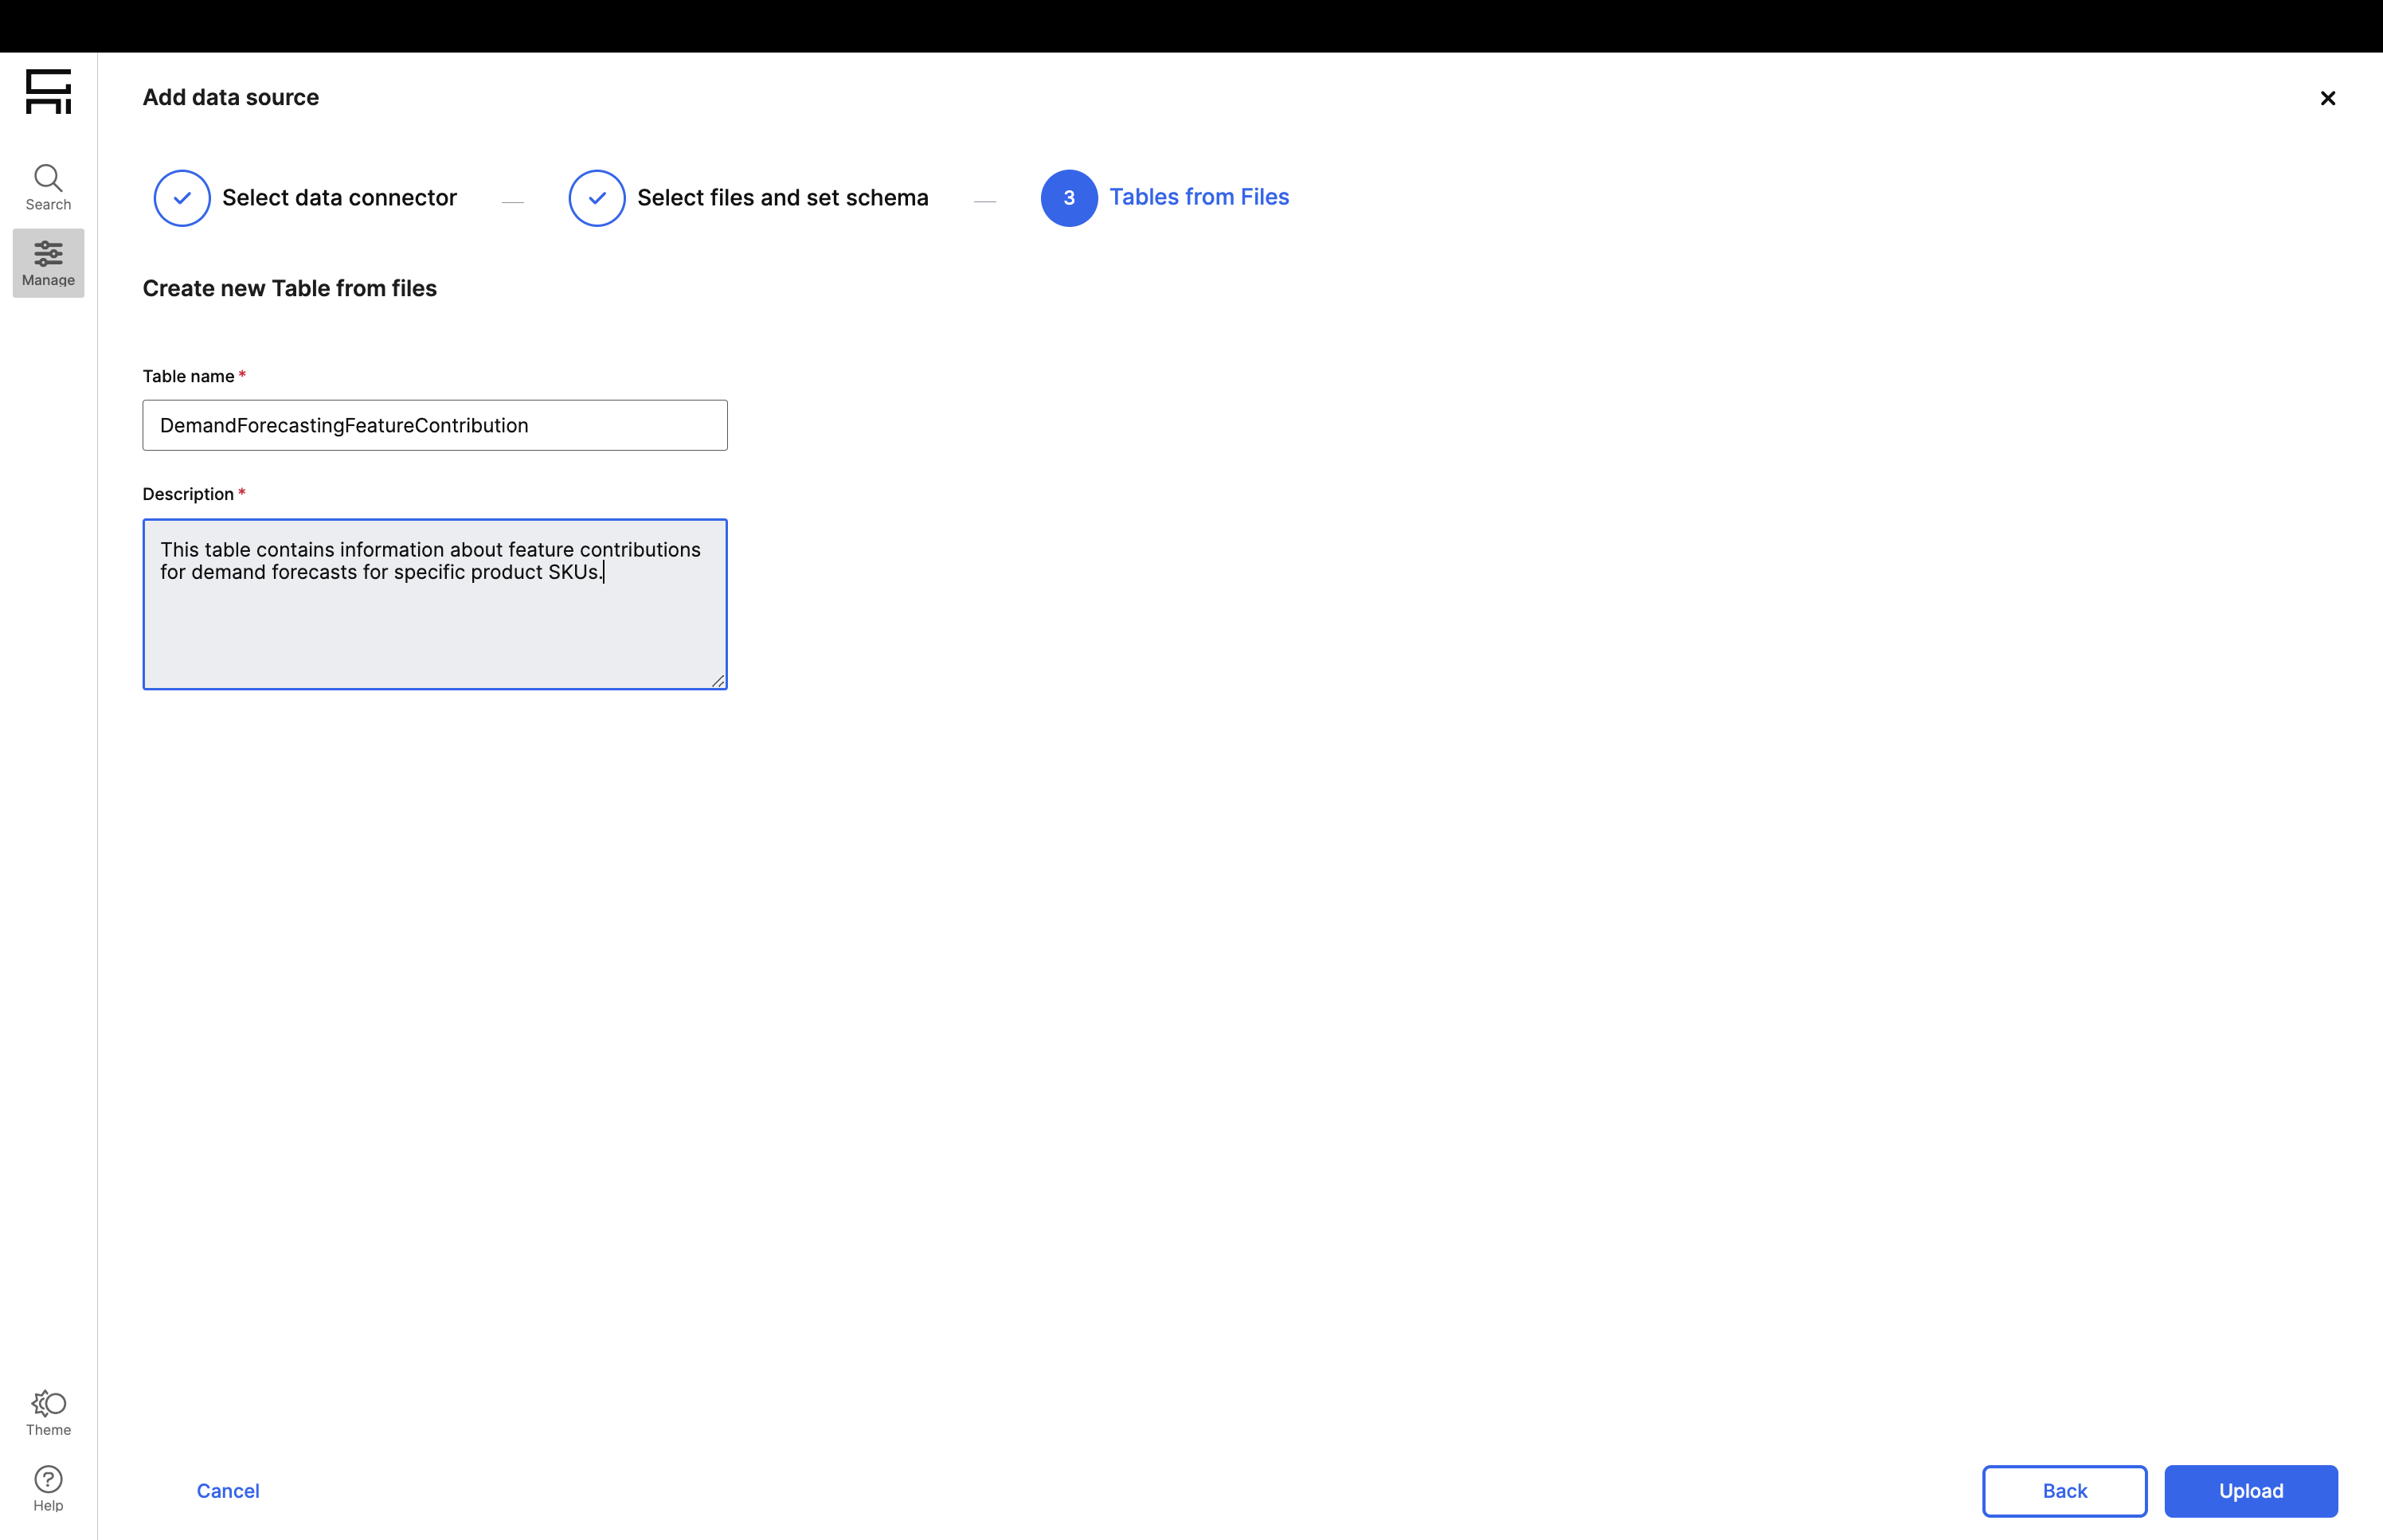
Provide Name and Context: provide a brief name and description for the table. This is a key source of context that is fed to the C3 Generative AI retrieval system which will help the orchestration LLM to decide when to use this table to answer an end user’s query. Click Upload to upload and integrate the contents of this file.
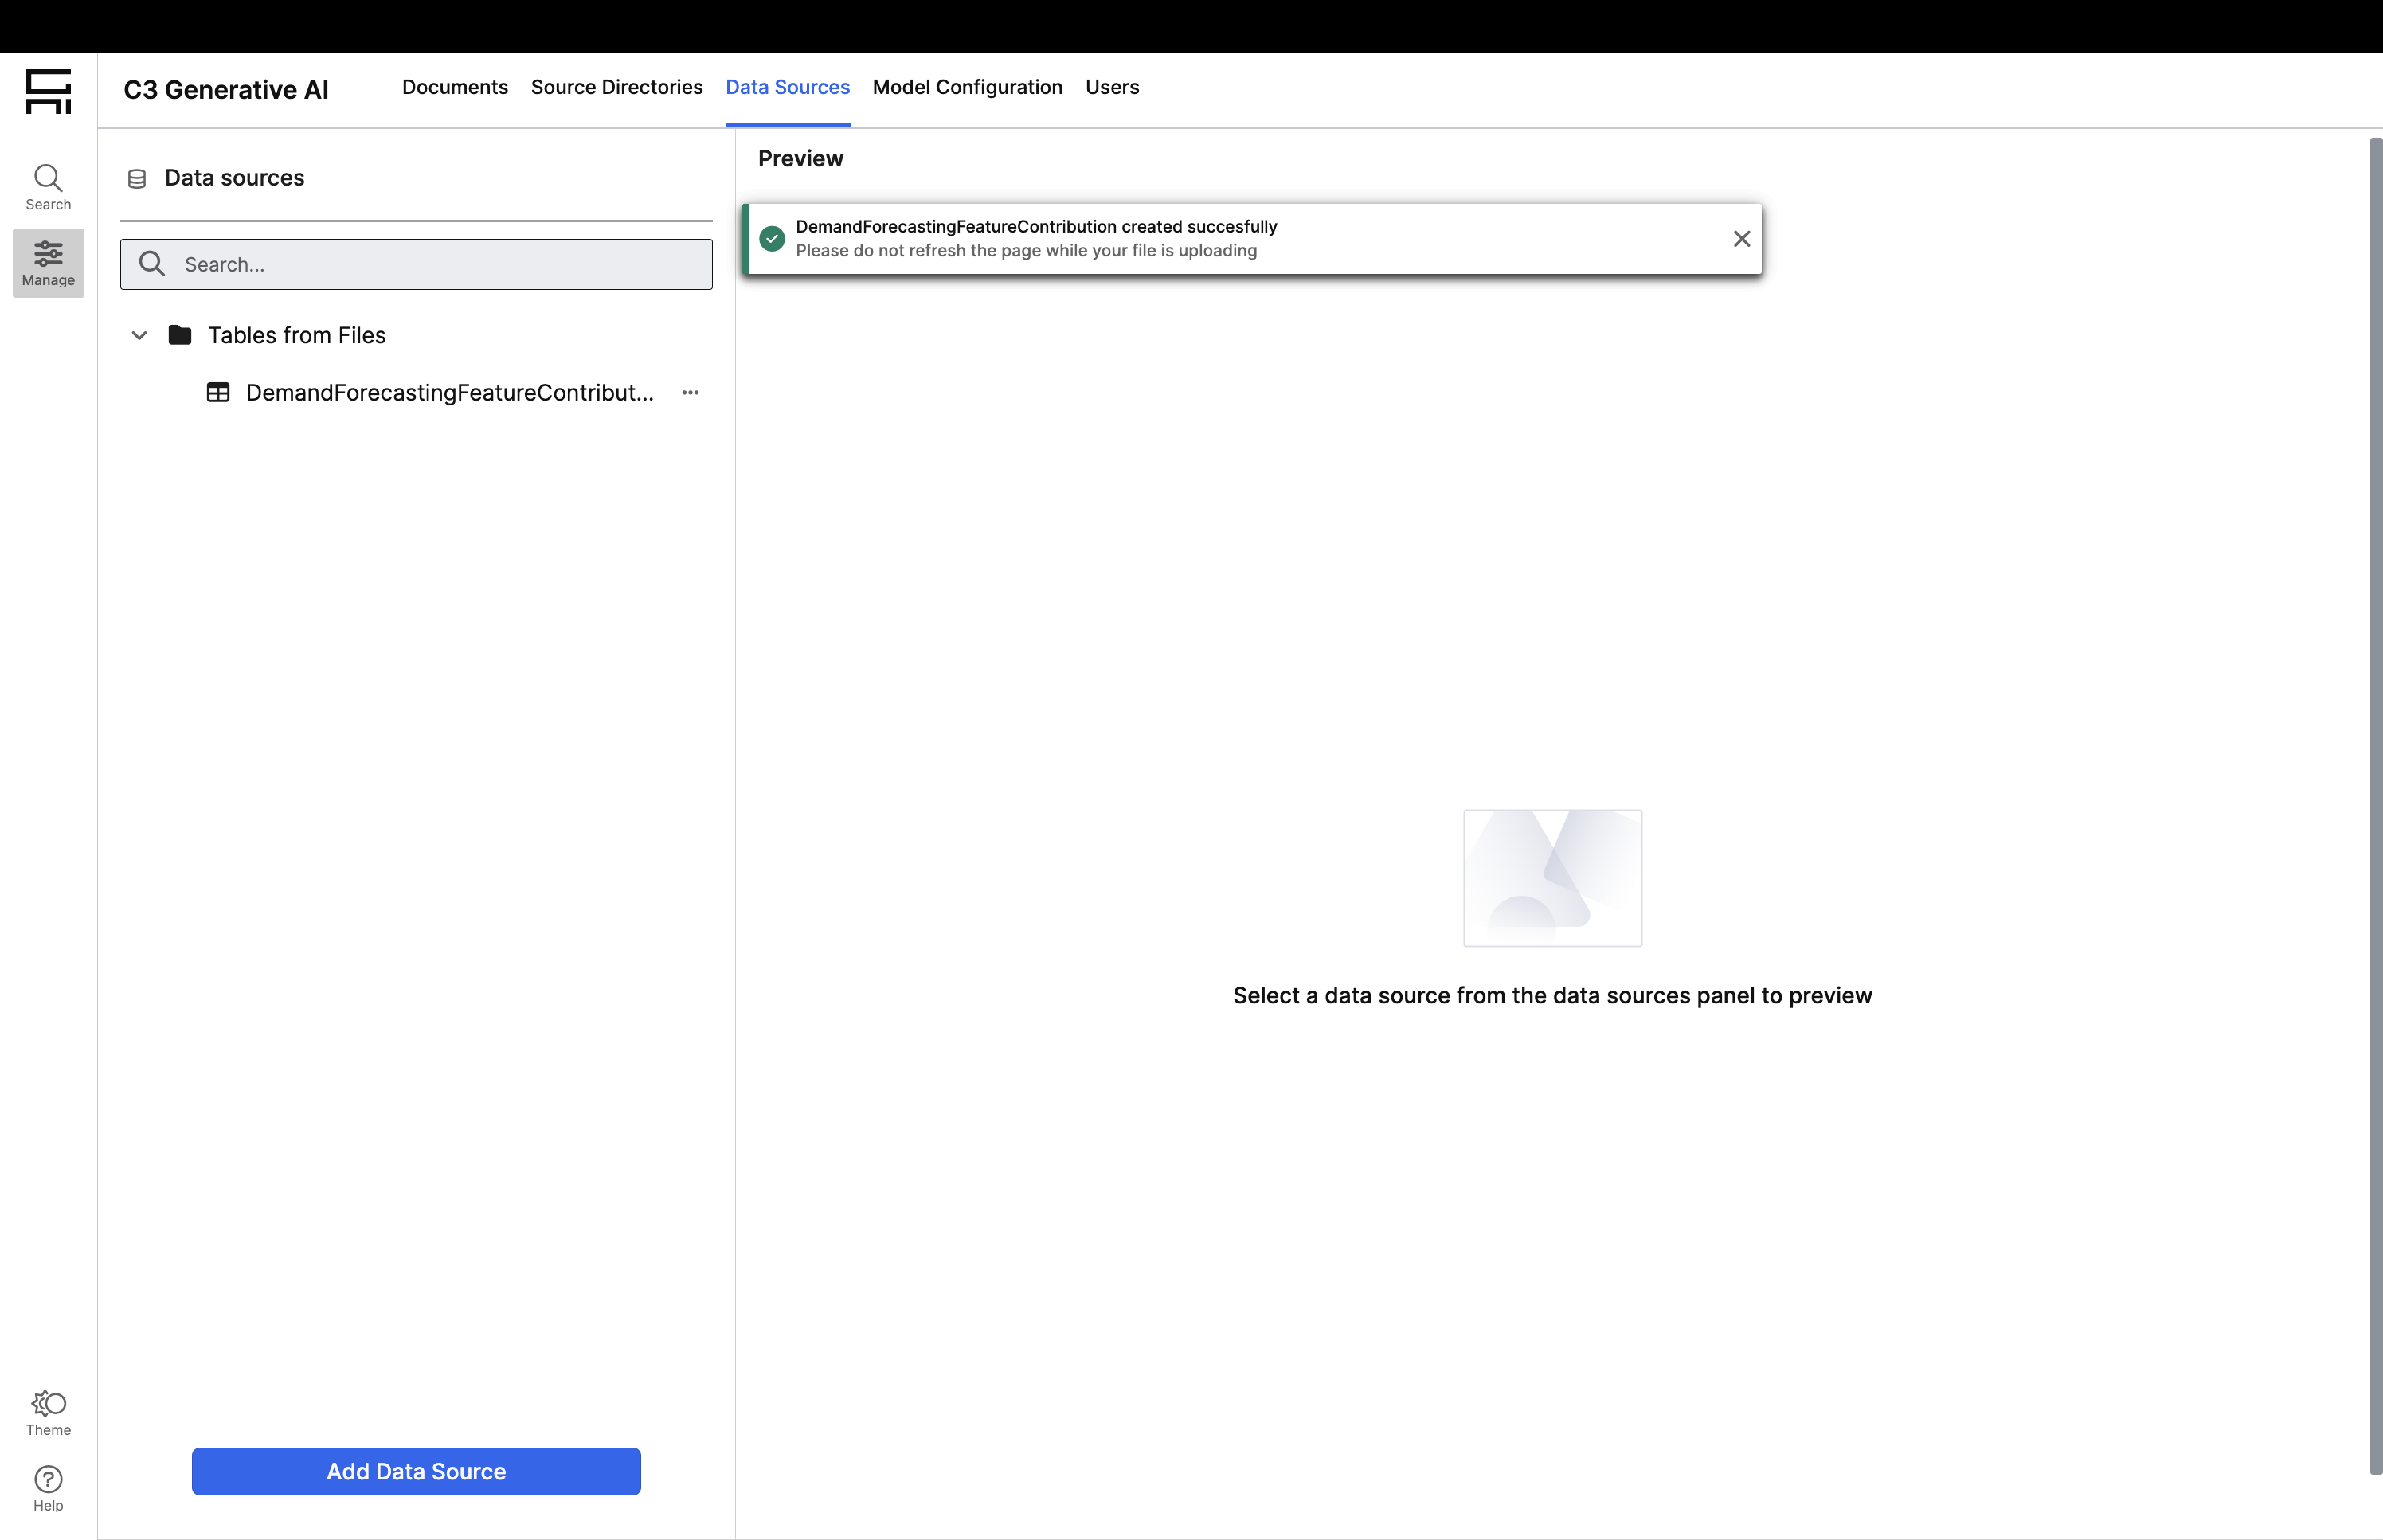
Integrate File Data: After uploading the data, the corresponding C3 AI Type System metadata is created on the back-end to model the data such that it is accessible from the LLM system and the contents of the file are integrated behind the scenes. Note that creating the metadata and integrating the file contents might take a few minutes to complete.
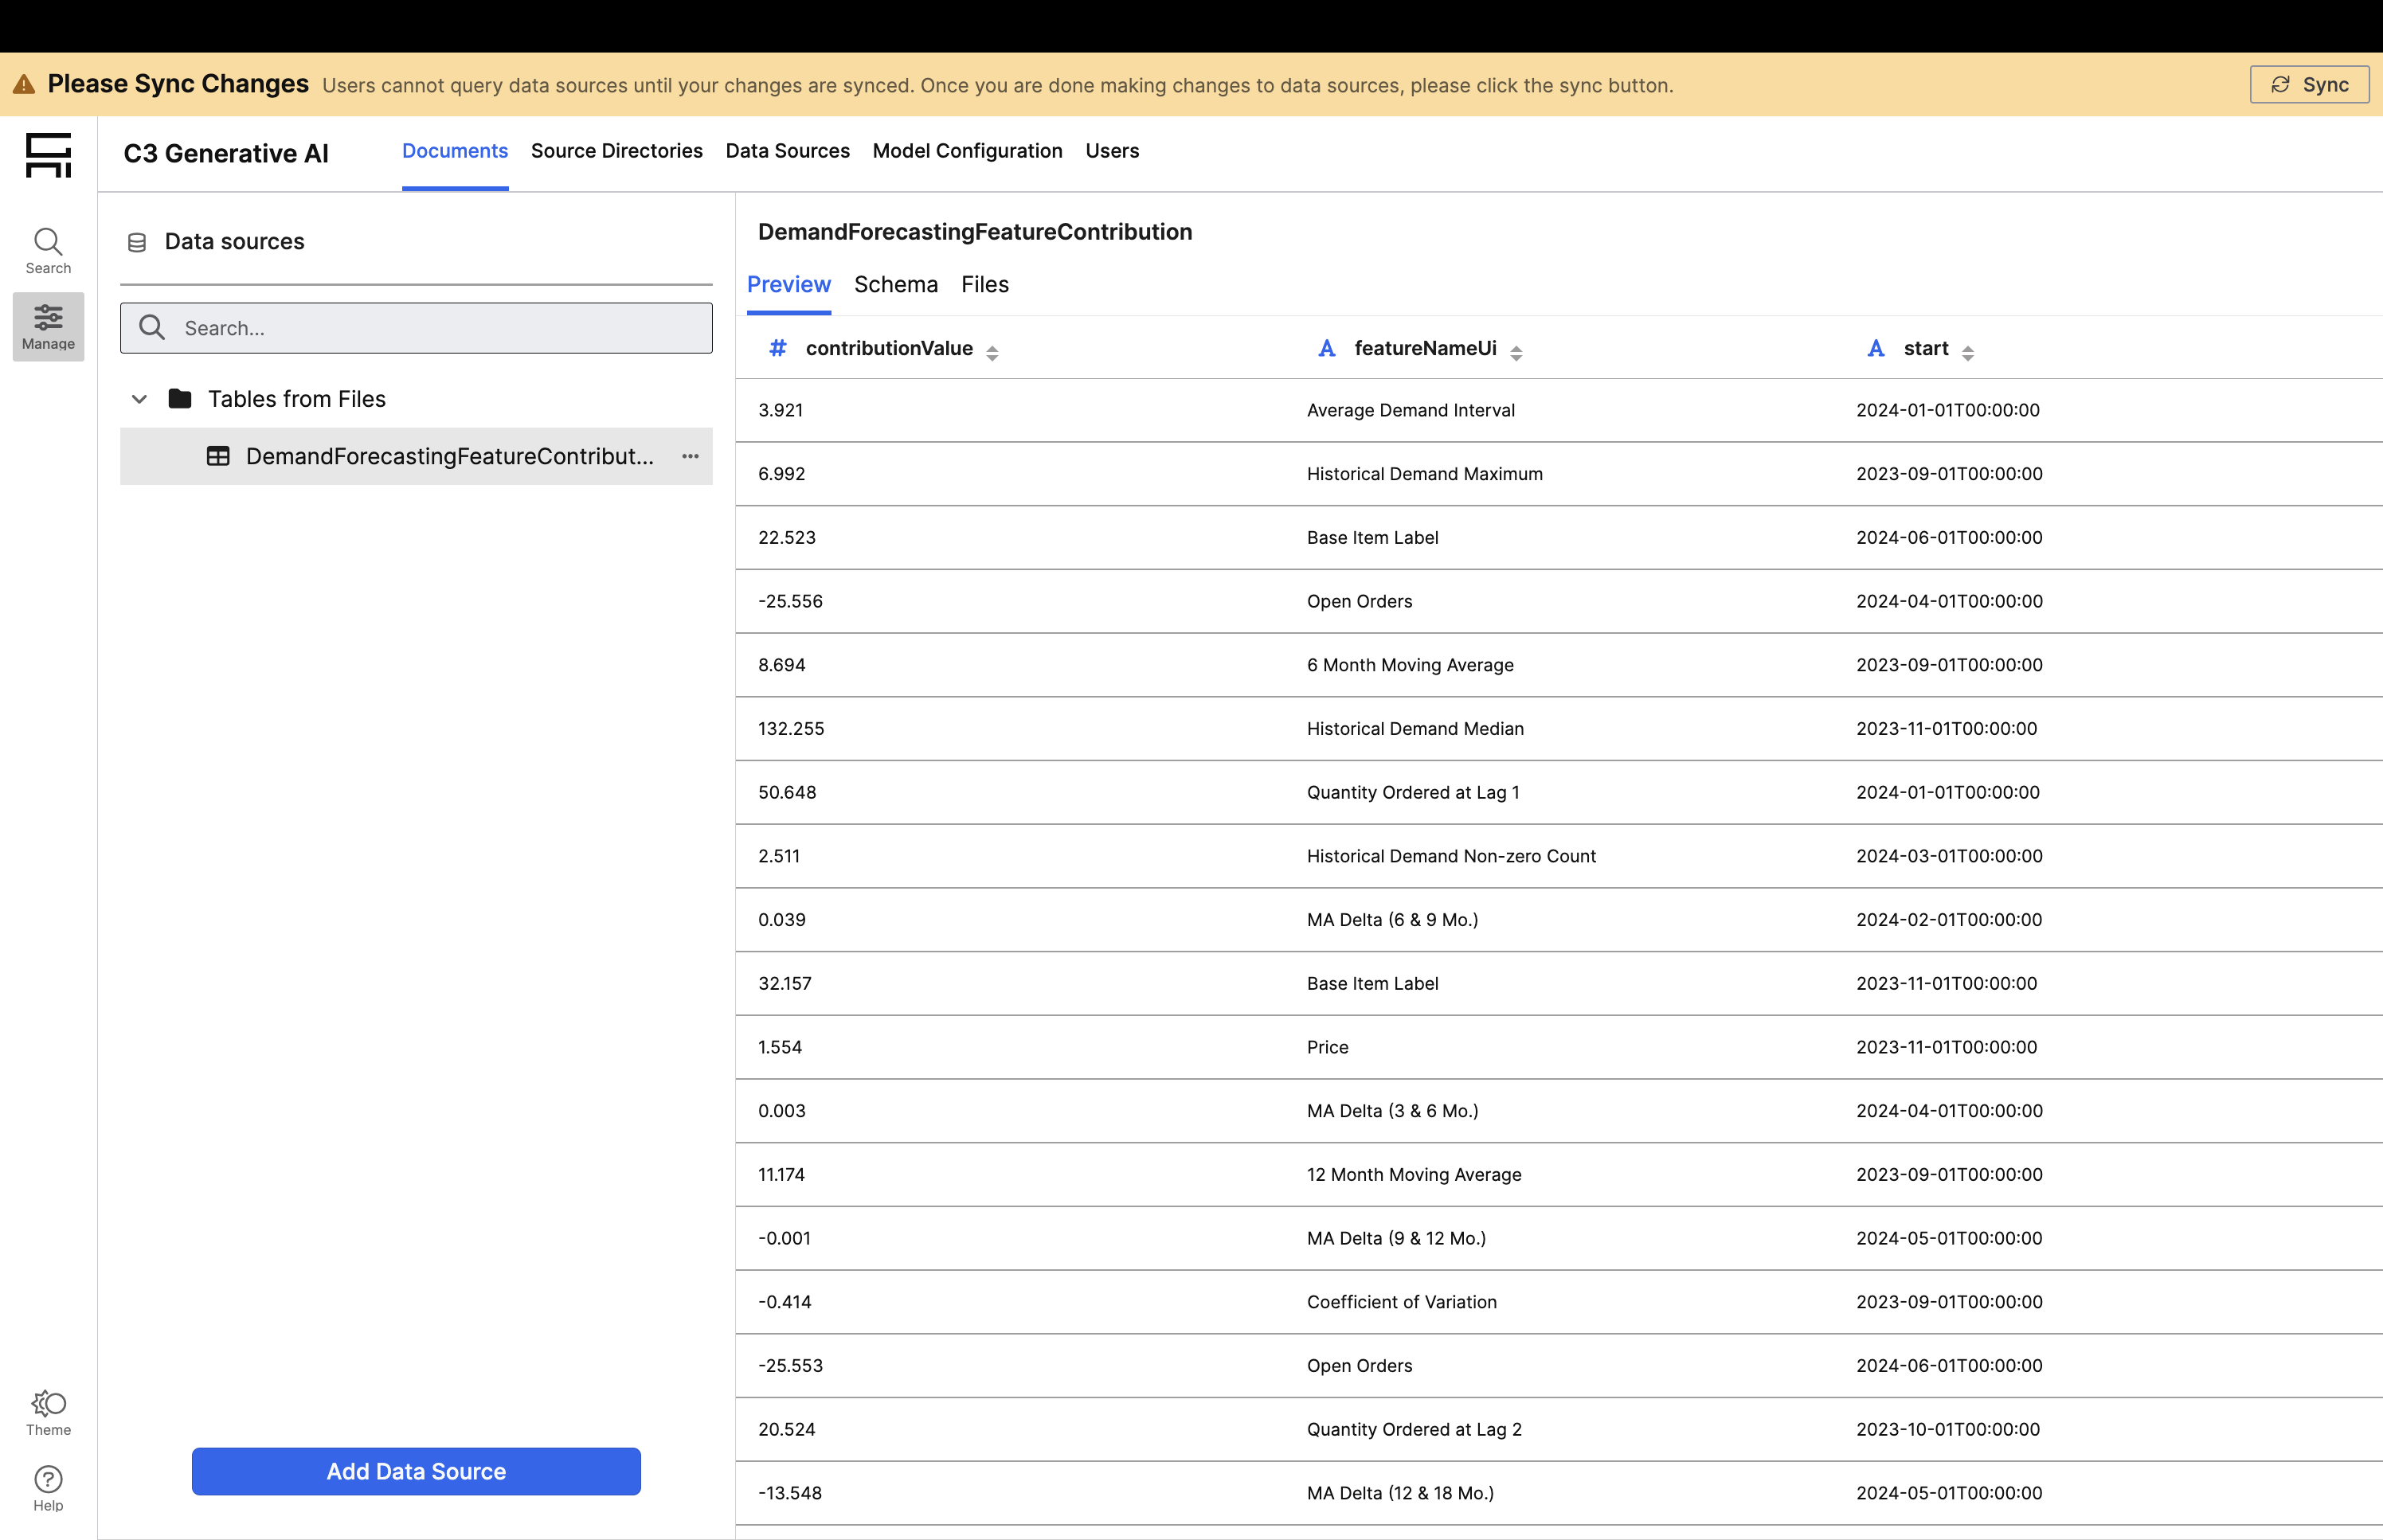
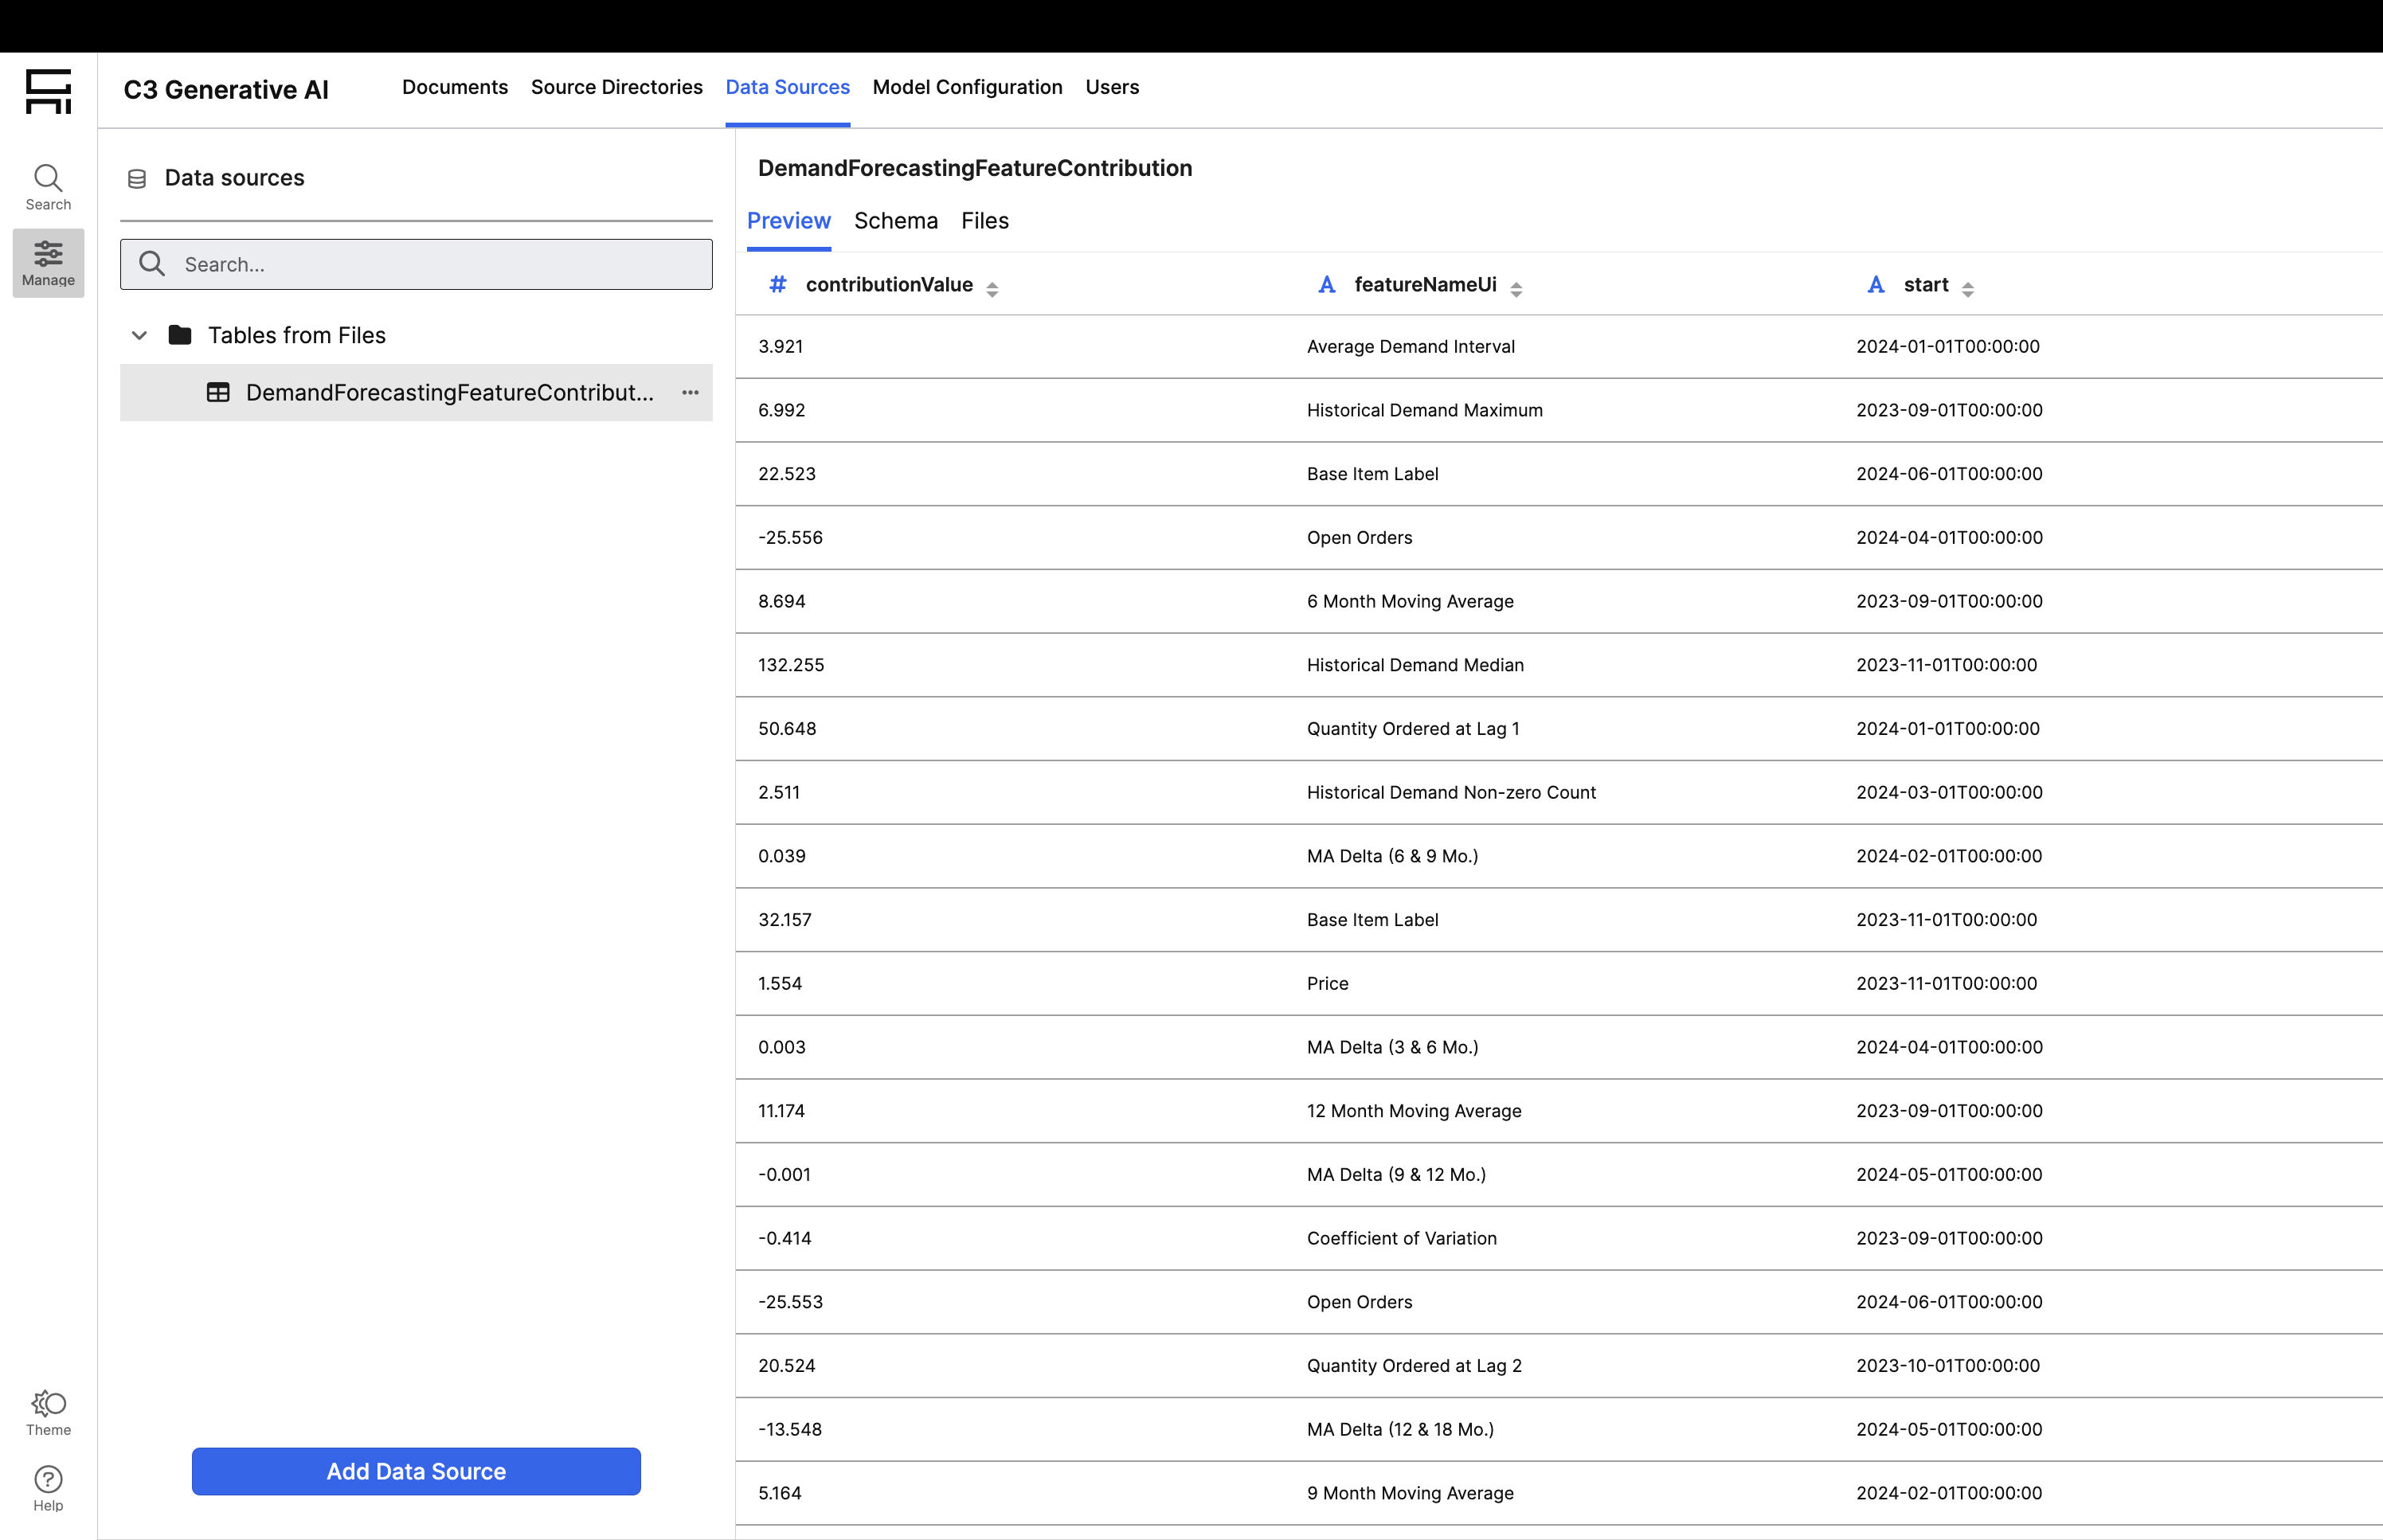
Preview Data: After the data have integrated, click the table name from the left-hand table browser to preview the file data.
Document Table Schema: from the data preview, click the Schema page and select the Edit button to update the table schema. Note that the Table Description that was provided in step 5 can be updated here as well. For each column in the table, provide a description explaining the purpose of the column. This description is used by the LLM system when deciding which specific fields and information should be projected to an end user when they ask a given question. Click Save after you are satisfied with your documentation changes.
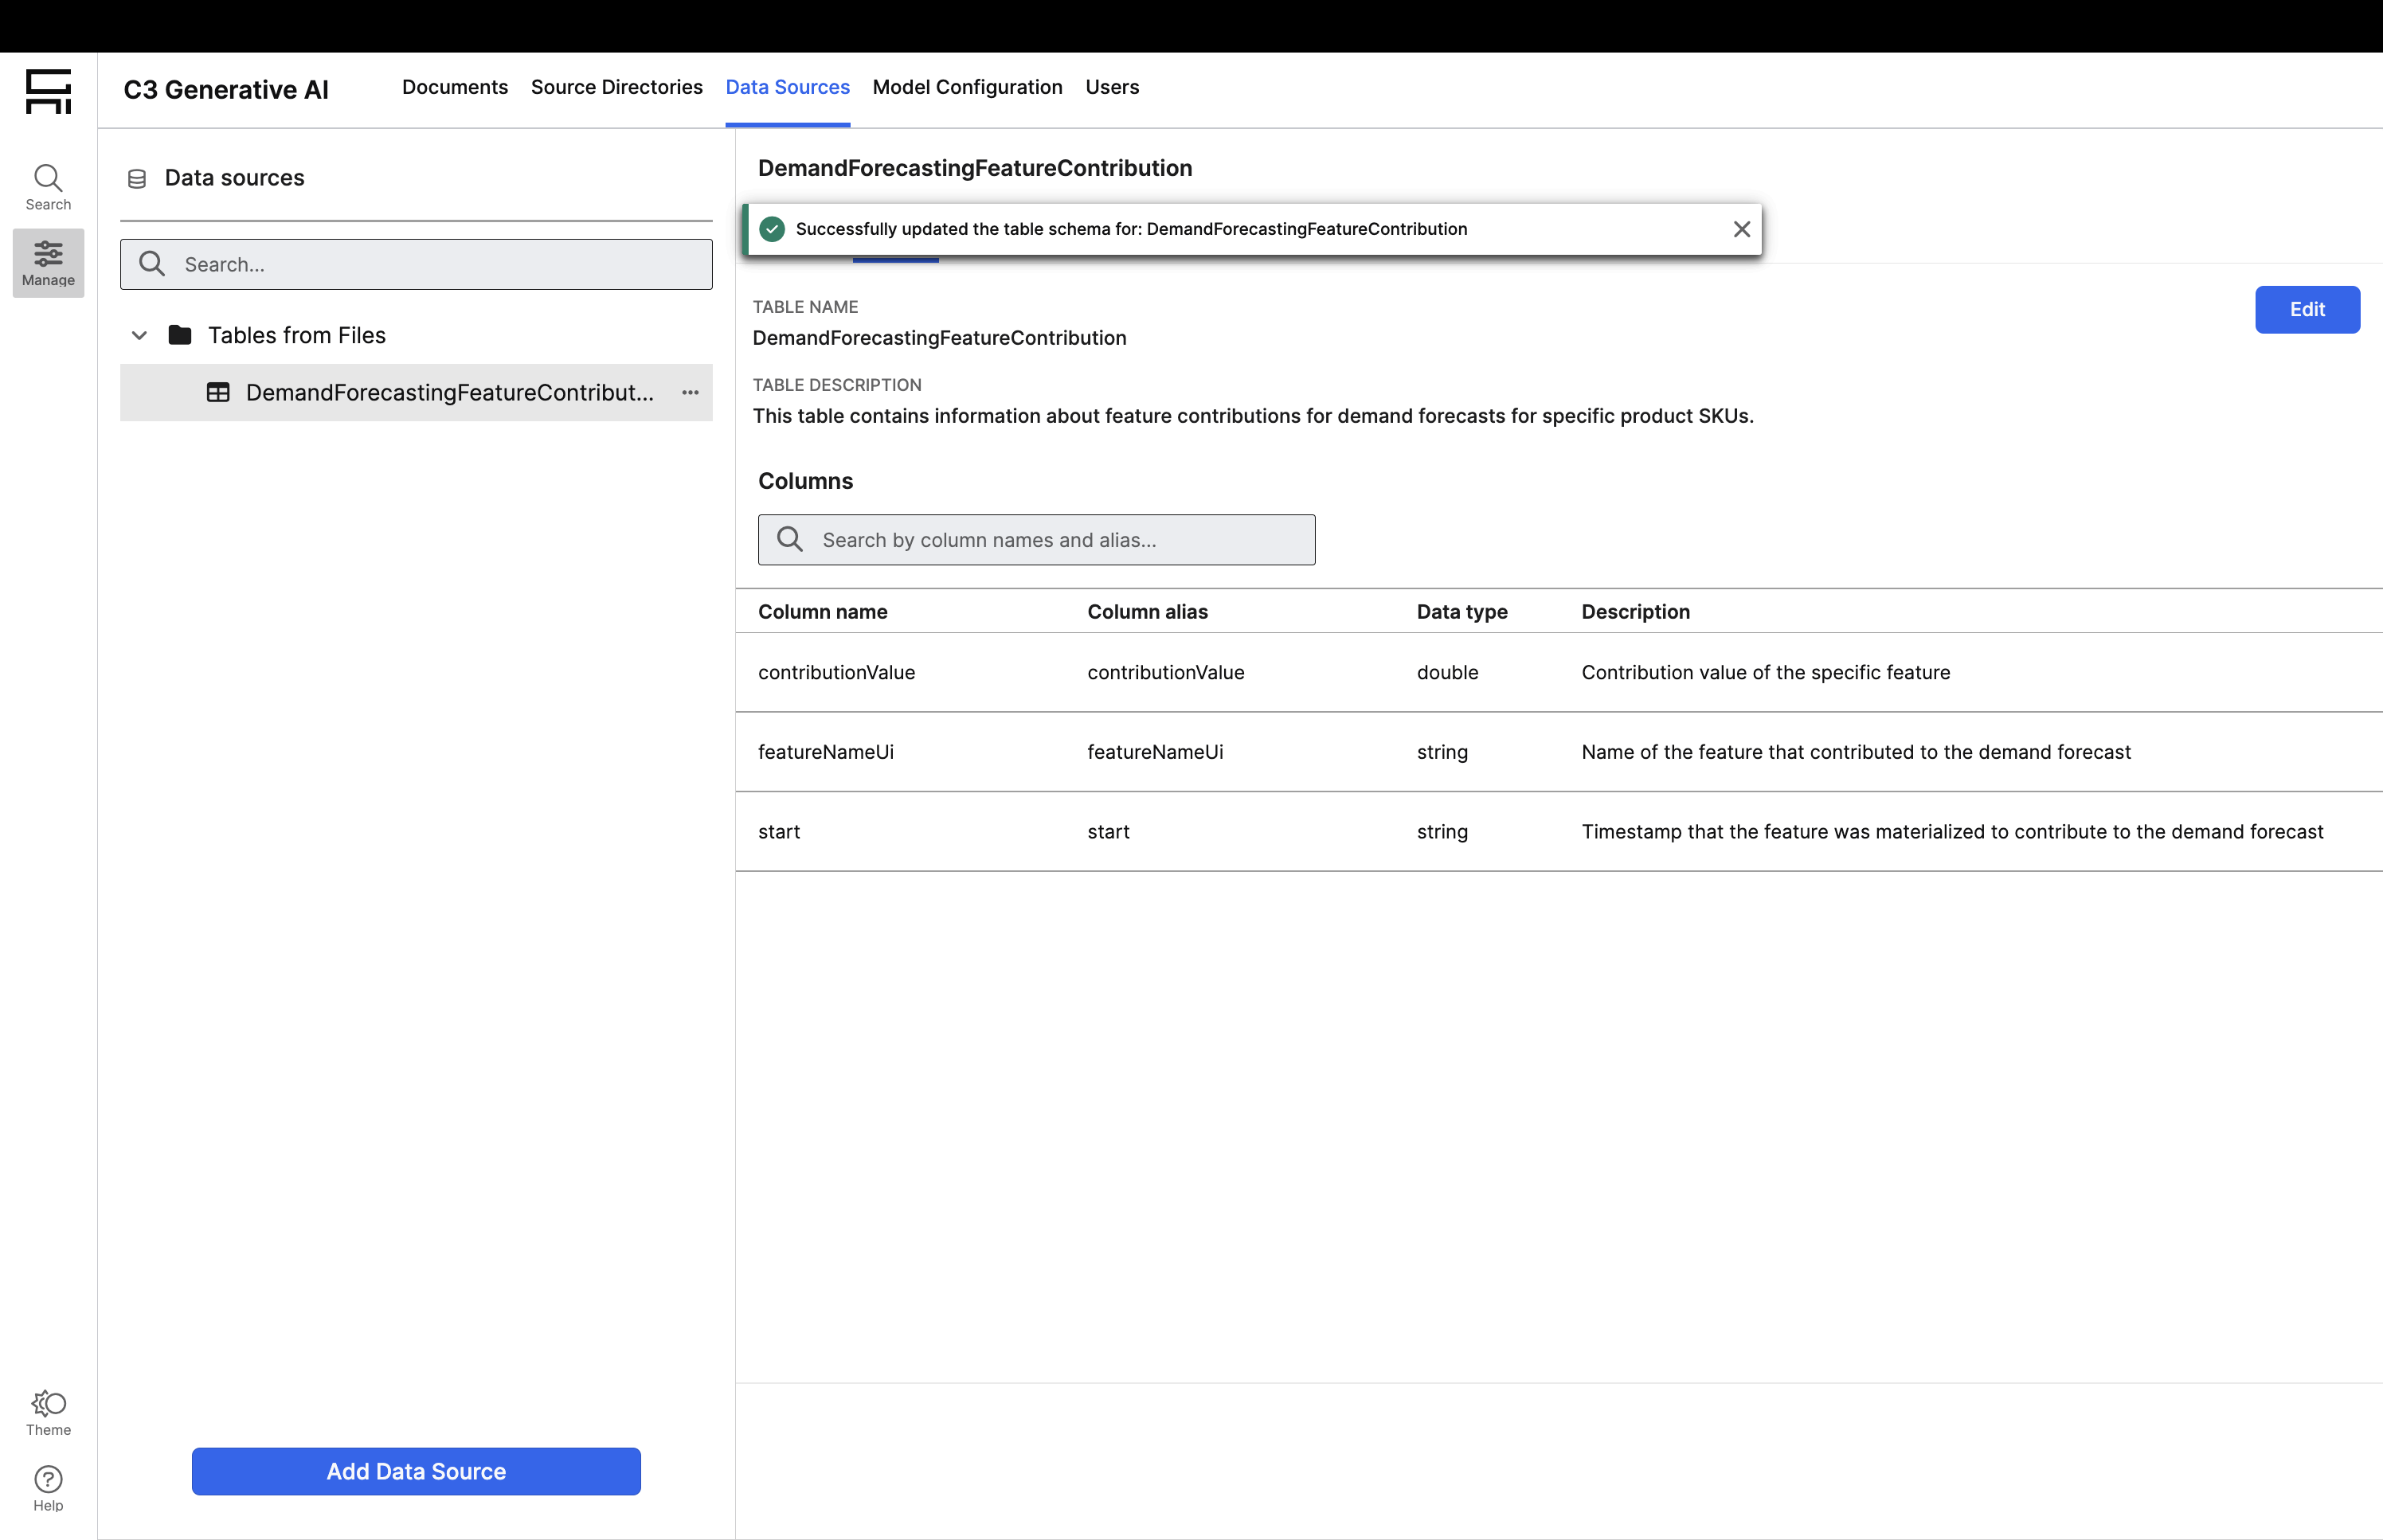
Sync Changes: once you have loaded your files and updated the documentation, click the Sync button in the top right-hand corner to publish the uploaded data model and make it available from the C3 Generative AI search interface.