Quick Start: Build Your First App
This quick start guides you through building a simple CRUD application (a task management tool) using a natural language description. By the end, you have a working application running in a staging environment.
Before you begin
Confirm the following before starting:
- You have access to a C3 AI environment with C3 Code enabled.
- You have the Admin role for at least one C3 Code application, or permission to create a new one.
Step 1: Open C3 Code
Navigate to your C3 Code home page.
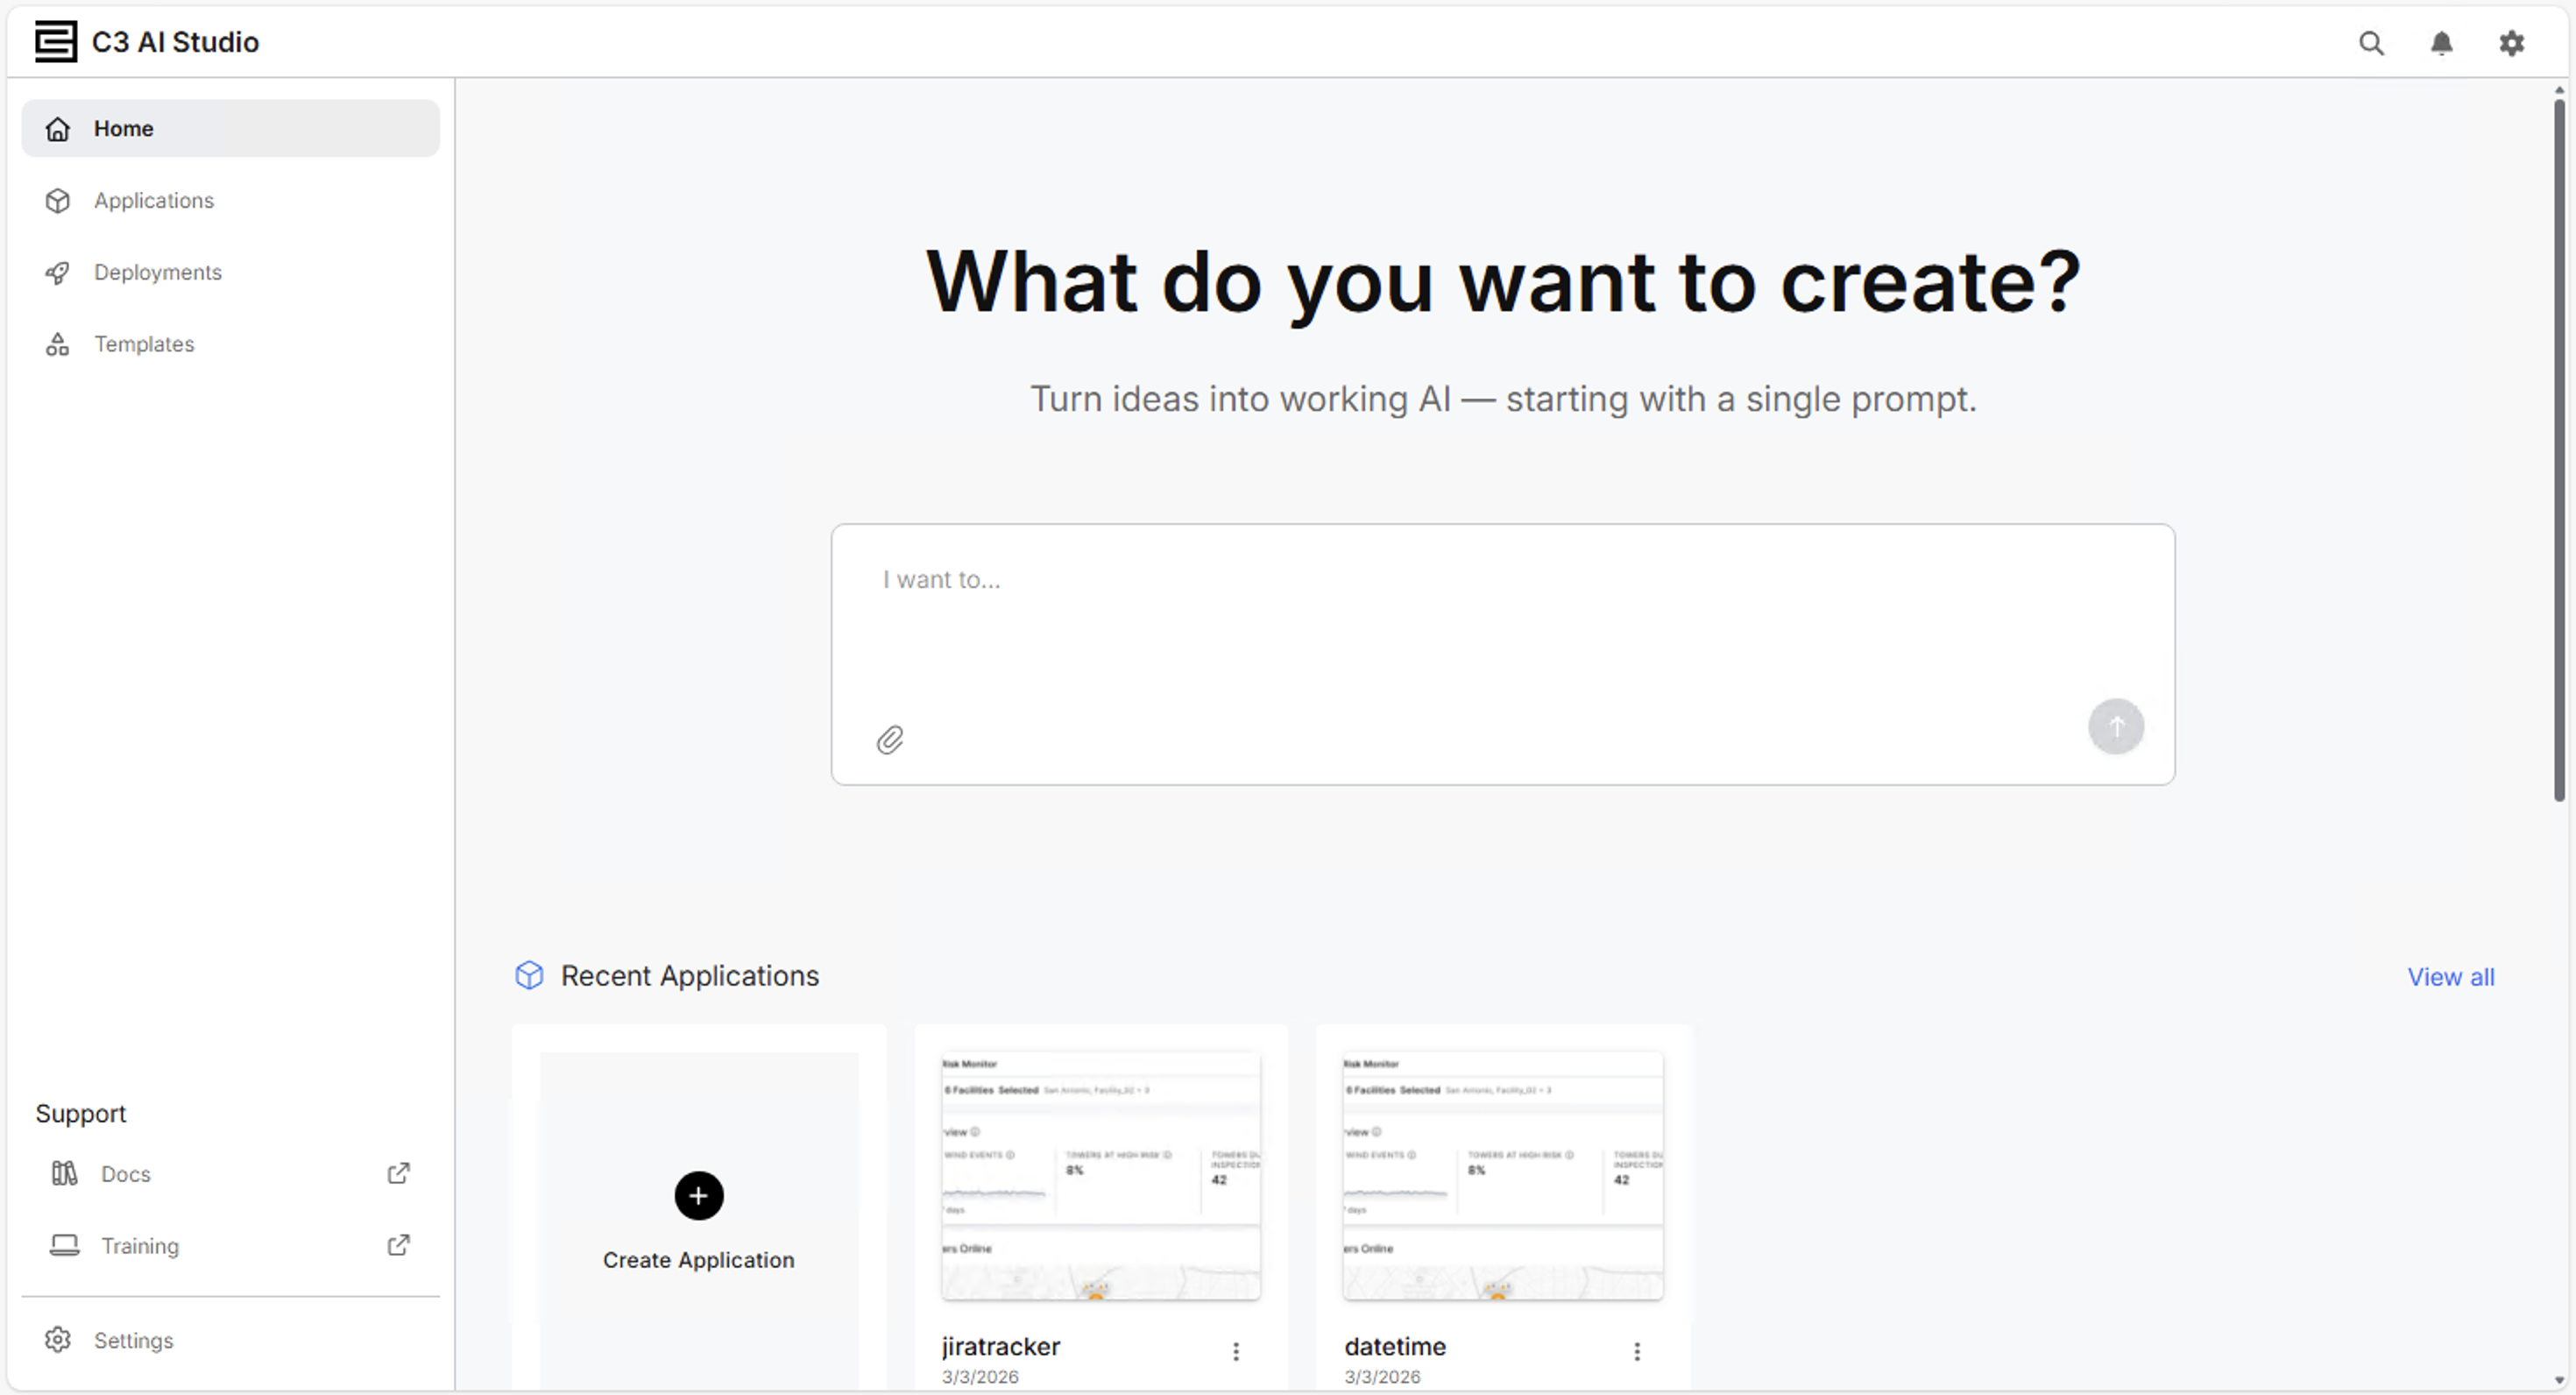
The C3 Code home page shows your recent applications, a template gallery, and a prompt input at the top of the page.
Step 2: Describe your application
In the prompt input at the top of the home page, describe your application.
Example prompt:
Create a task management app where users can create, view, edit, and delete tasks. Each task has a title, description, due date, status (Open, In Progress, Done), and assigned user.
Specific prompts produce better results than vague ones. Include the data fields you need, the status values you want, and the key actions a user should be able to take. You can always add more detail through follow-up prompts after reviewing the first result.
Select Generate to submit your prompt. C3 Code begins generating your application.
Step 3: Review the generated application
When generation completes, the workspace opens in Preview mode. The application is running live in the workspace.
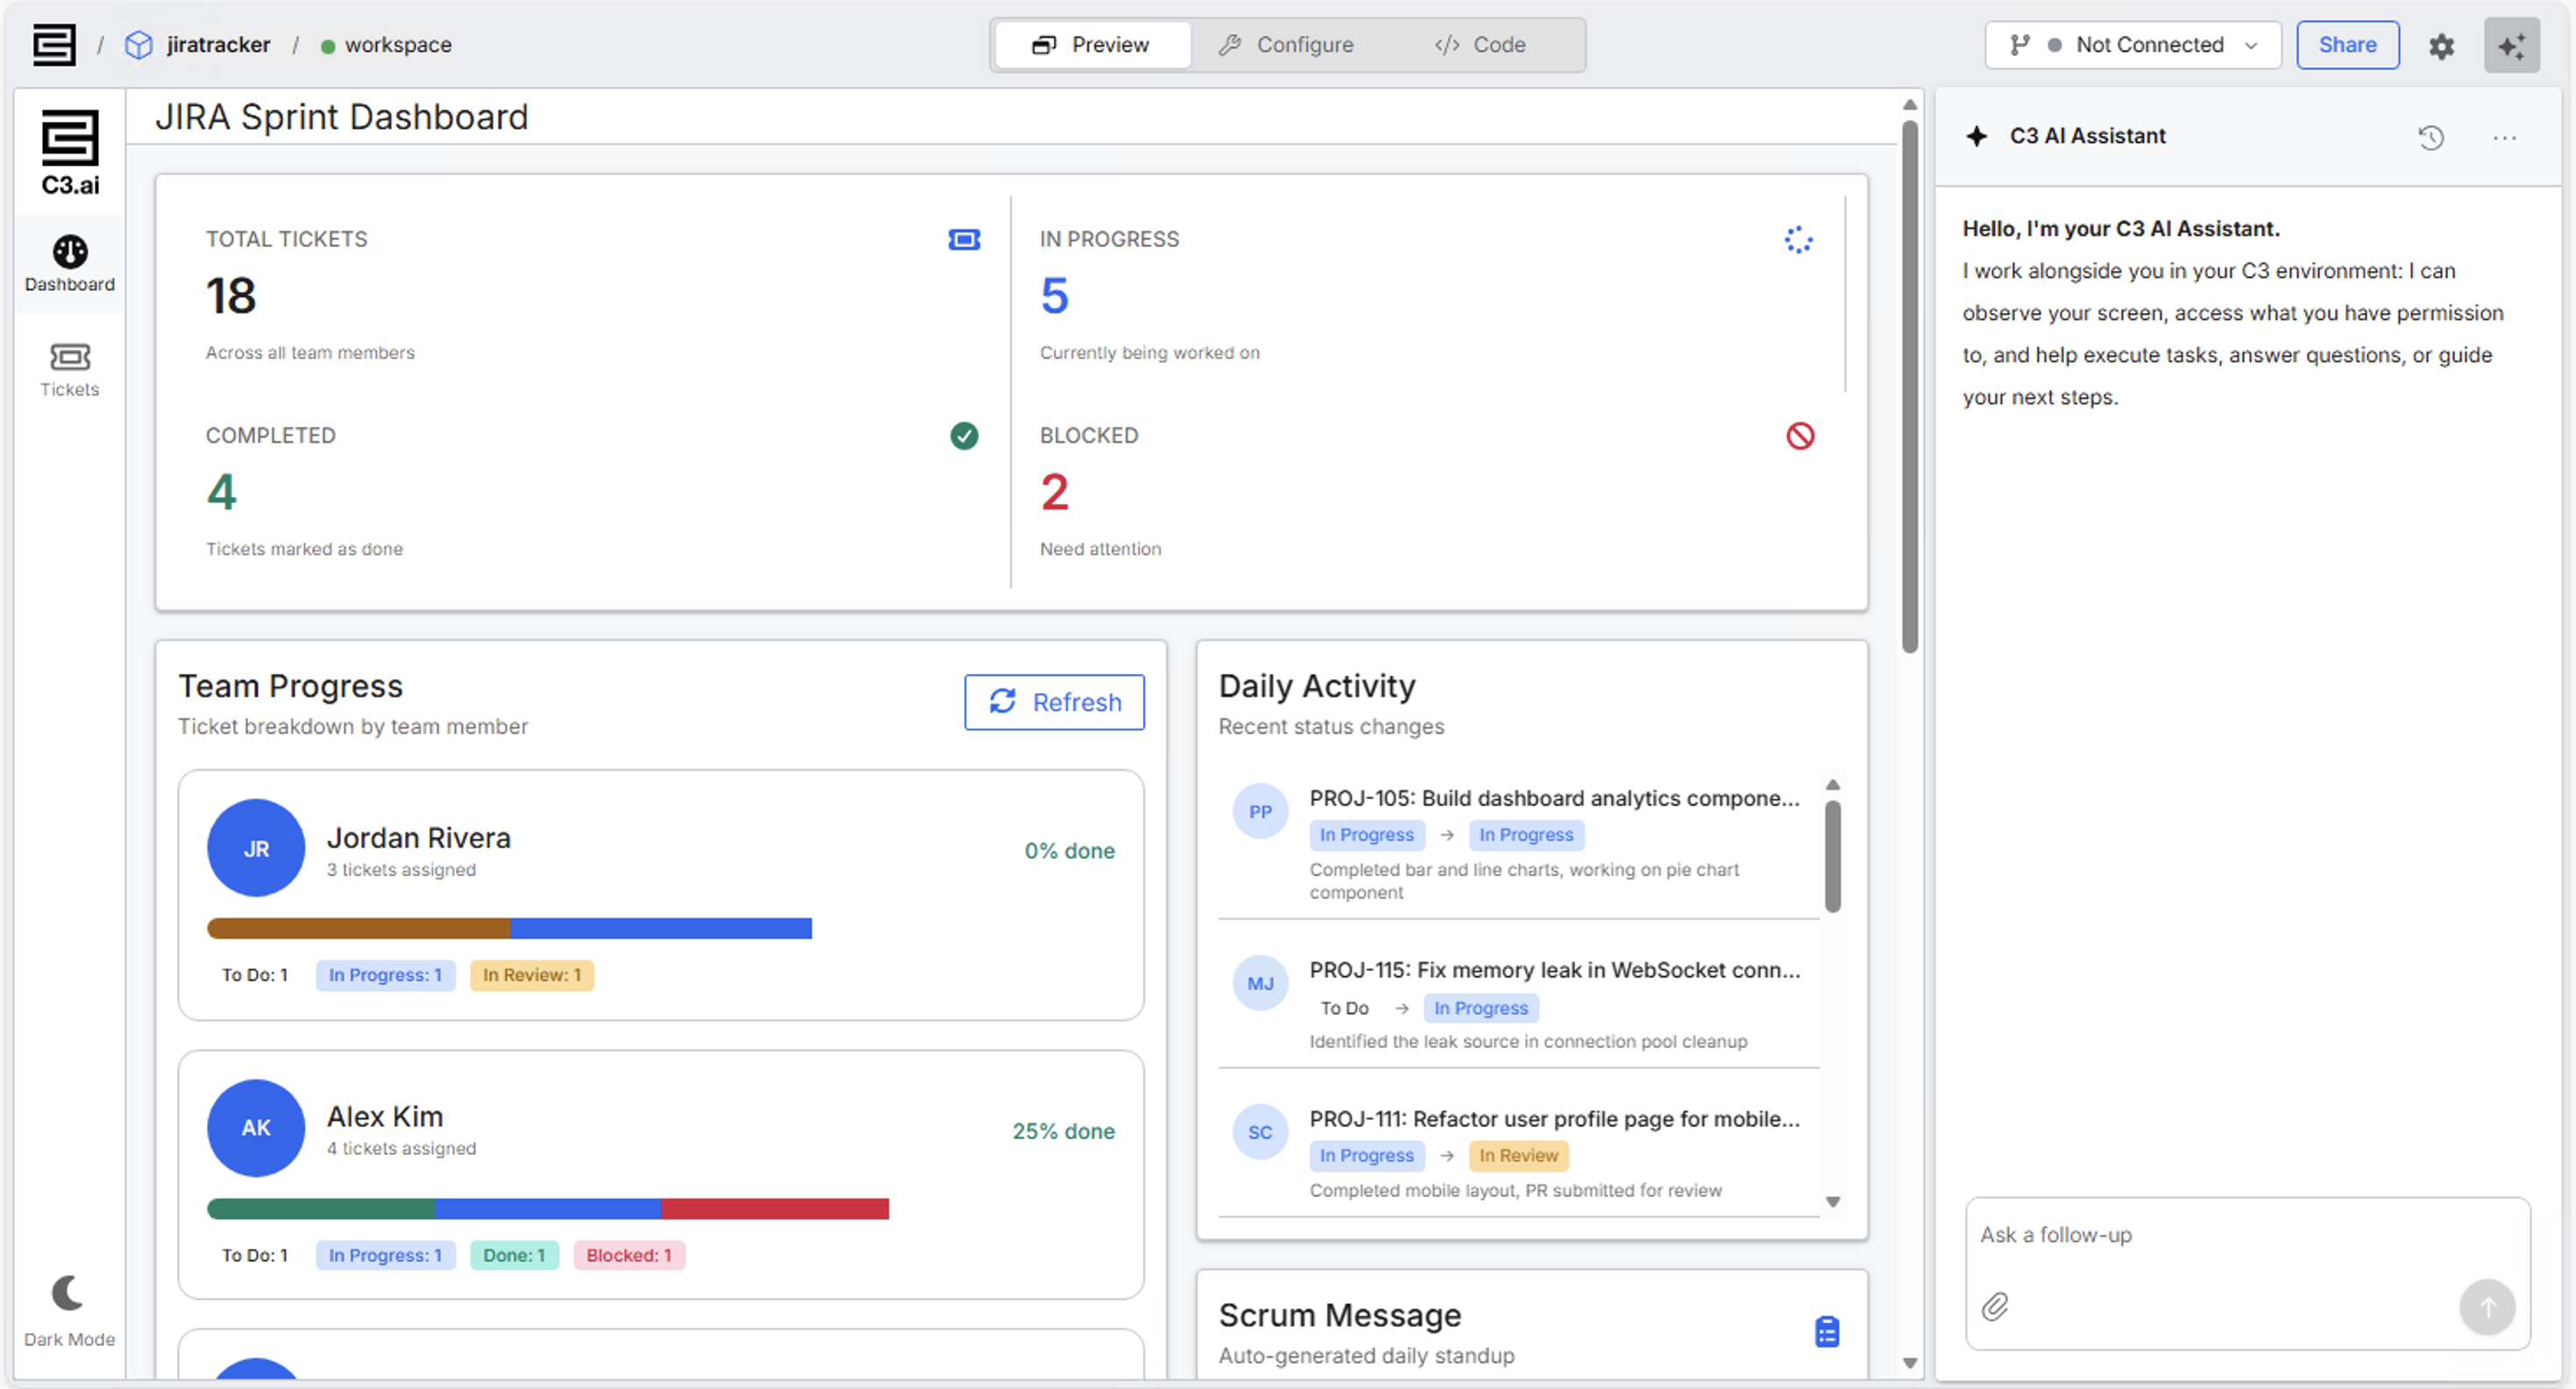
Review the following in the generated application:
- The list view shows existing tasks (populated with seed data if C3 Code generated any).
- The Create button opens a form with the fields from your prompt.
- The status field shows the values you specified (Open, In Progress, Done).
The generated application code is automatically committed to the workspace's Git repository.
Step 4: Iterate with follow-up prompts
Use the prompt input in the workspace to refine the application. Each follow-up prompt builds on the current state of the application. You do not need to regenerate from scratch.
Example iteration prompts:
- "Add a priority field with values Low, Medium, and High."
- "Show overdue tasks (past due date and not Done) highlighted in red in the list view."
- "Add a filter to the task list so users can filter by status."
After each iteration, review the result in Preview mode. If the AI generates something visually close to what you need but requires a small adjustment, switch to Configure mode to make the change visually. If you need to inspect or edit the generated code directly, switch to Code mode.
Step 5: Deploy your application
When your application is ready for review by stakeholders:
- Select the Deploy button in the workspace header.
- Enter a deployment name and select Create.
Troubleshoot common issues
The AI generates an application that doesn't match your description
The prompt may be too abstract. Try rephrasing with specific field names, status values, and actions. For example, instead of "a project tool," write "an app where users can create and track projects, each with a name, owner, deadline, and status."
Preview fails to load after generation
A build error occurred in the generated code. Open the error panel in the workspace to view the error message. Type "Fix this error" in the prompt input to ask the AI to resolve it, or select Code mode to inspect and edit the code directly.
The Deploy button is unavailable
No changes have been committed since the last deployment. Make a change to your application or use the workspace menu to trigger a manual commit, then deploy.