Define Roles and Groups
Roles within an RBAC system are a set of permissions grouped together to represent specific job functions or responsibilities within an organization. The creation and management of these roles replace the need for assigning individual permissions to each user, thereby streamlining the entire process of access control.
Key fields in a role
Key fields to be aware of in a role:
id: A unique string, or identifier.description: A human-readable description of the role.permissions: An array of permission strings. These rules define the access controls for this role.dataPermissions: An array of data permission strings.roles: An array of references to additional roles, each role reference byidin the format of a string. Permissions to the referenced role are inherited.
Note: The roles field is deprecated in 8.4 and removed in 8.5. The roles field is being replaced by the nestedRoles field.
Refer to the Role Type for more information about the methods you can invoke on instance of Role.
Creating a role in the C3 Agentic AI Platform
Creating a role involves several steps. These steps explain how to define the role.
Assign a unique identifier (
id): Begin by assigning a unique string identifier to the role. Thisidacts as a primary key for the role, distinguishing it from all other roles within the system. It is crucial that each role has a distinctidto avoid conflicts and ensure clear referencing.Provide a description (
description): Next, draft a human-readable description for the role. Thisdescriptionshould concisely convey the purpose and scope of the role, making it easier for administrators and users to understand its intended use and function within the organization. The description of the role is visible in C3 AI Studio so be sure to include a description for the role.Define permissions (
permissions): A role is a collection of permissions. A permission is defined in the format of a permission string. In thepermissionsarray of the role's metadata file, list out all the permission strings that constitute the rules governing the access controls for the role. These permissions specify what actions the role bearer can perform, such asallowordenyaccess to resources.Specify data permissions (
dataPermissions): In addition to general permissions, define data-specific permissions in thedataPermissionsarray. These strings detail the level of access the role has to various data sets.Establish Role References (
roles): Use thenestedRolesfield to reference another role by itsid. This field is particularly useful for building a hierarchy or layered structure of roles where higher-level roles encompass the permissions of lower-level ones.
By following these steps, you create a well-defined, structured role that can be seamlessly integrated into an RBAC system. This process ensures clarity in the role definition, simplifies permission management, and supports the maintenance of a secure and efficient access control environment.
Create the metadata file
You need to create a metadata file. A metadata file is a *.json file that contains the properties of a role. In the metadata file is where you define a collection of one or more permissions that you can assign to a role. The metadata file must contain a unique id.
Below is an example of a basic metadata file, MyType.BasicUser.json, with only the id and description fields populated with values:
{
"id" : "MyTypeBasicUser",
"description": "This role is used for testing a Basic User."
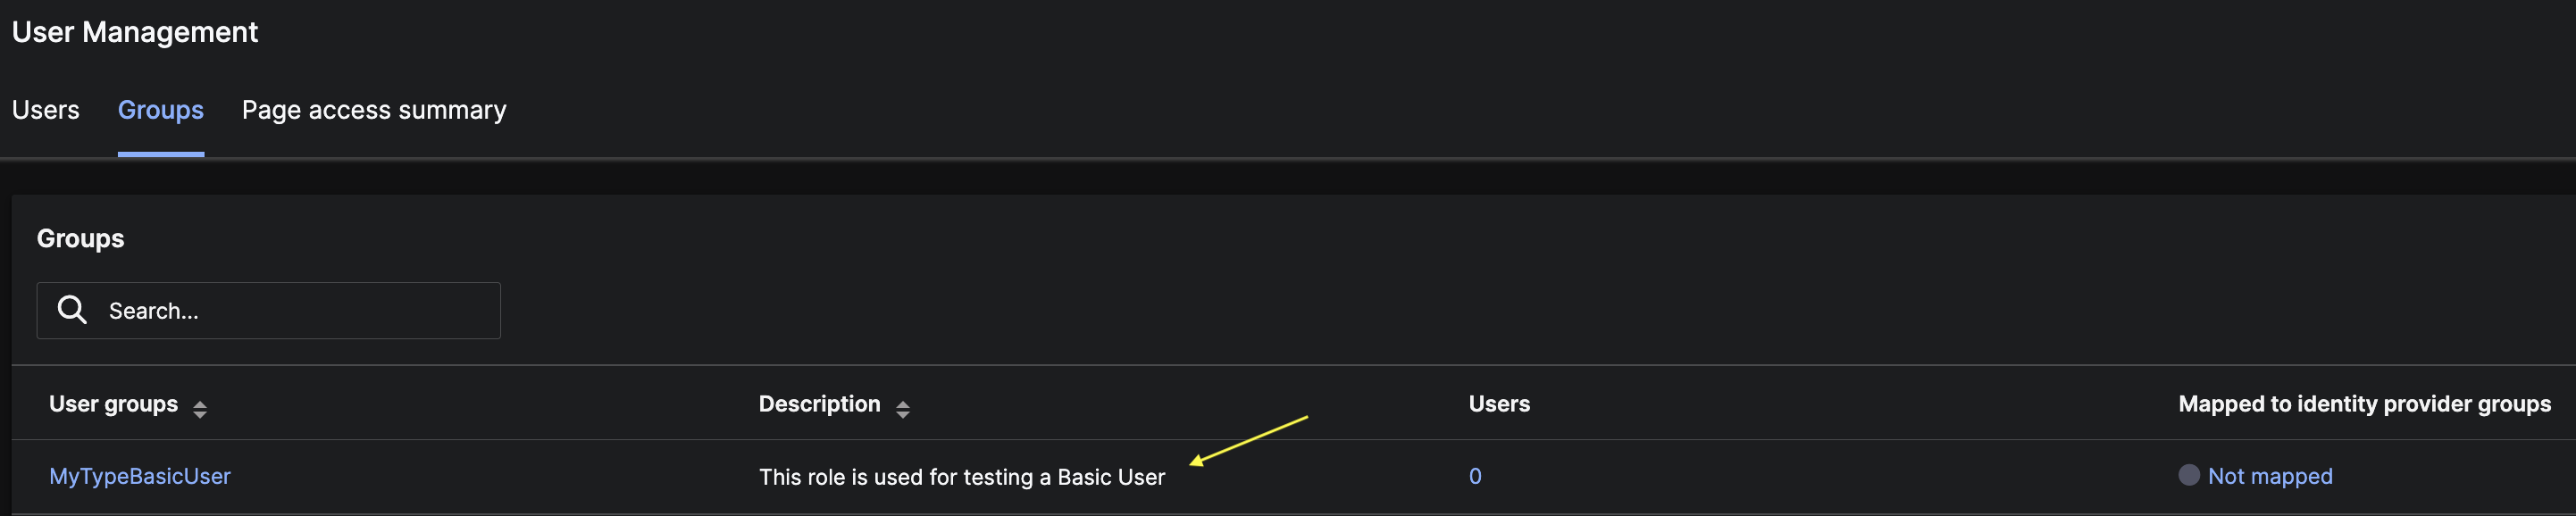
}Create the metadata file in the metadata/Role folder. This seeds the role. After you create the file, a corresponding user group is automatically created and visible in C3 AI Studio. You can view user groups in the User Management view of C3 AI Studio.
The id field in the metadata file is the value that appears in the User groups column in C3 AI Studio.
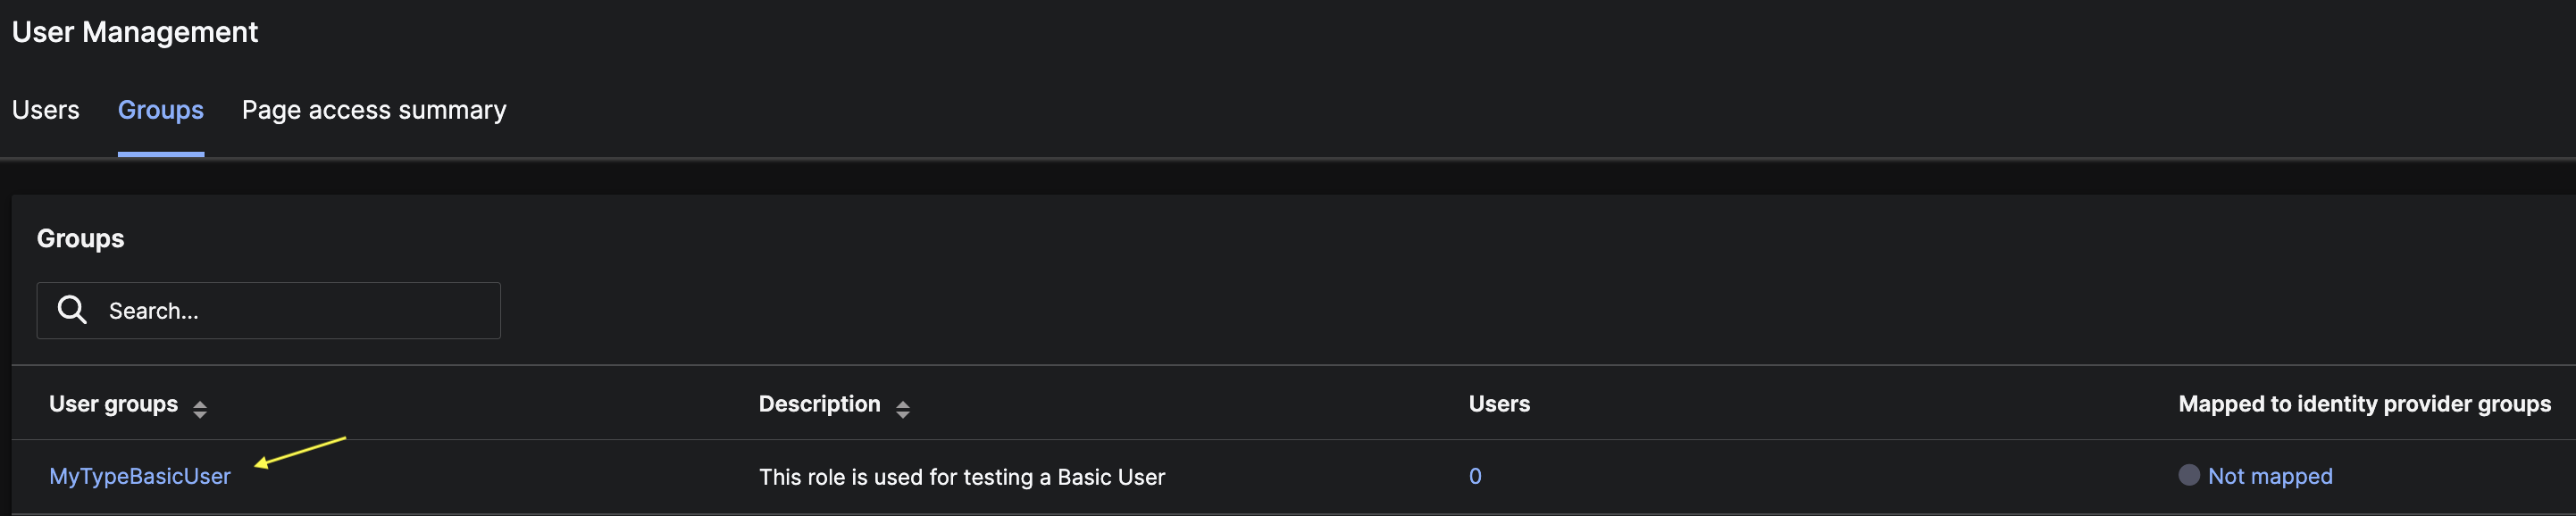
The description field is the value that appears in the Description column in C3 AI Studio.
Identify and create the permissions
A permission is an action. The basic flow of granting access to actions is:
You can grant access to actions by creating permission strings. To learn about the anatomy of a permission string, see Define permissions.
Add the permission strings by including the strings as a collection in the role's
*.jsonmetadata file.
{
  "id" : "MyTypeBasicUser",
  "description": "This role is used for testing a Basic User.",
  "permissions": [
    "allow:MyType::convertToUppercase",
    "deny:MyType::convertToLowercase"
  ]
}
In the above code snippet there are two permission strings in the role MyTypeBasicUser. The first permission string grants access to the convertToUppercase function that is implemented in MyType. The second permissions string denies access to the function convertToLowercase, also implemented in MyType.
Seed the role
Add the metadata file to the metadata/Role folder. This seeds the role.
Assign a user to the role
You create roles, not groups. And you assign a role to a group. A role is a collection of permissions. A group is a collection of users.
You assign users to groups. You do not assign a user to a role.
After you assign a user to a group, the user has all the permissions in all the roles (including nested roles) that the group contains.
Note: The group must have a corresponding role that shares the same id. All the permissions and data permissions exist in the role.
You can add a user to a group by running the following command:
User.forId("<user's id>").addToGroup("<group id>");You can also add a user to a group from within the User Management view in C3 AI Studio.
Remove the role
You can remove a role from a user group by running the following command:
Role.forId("C3.MyTypeBasicUser").remove();The code snippet above removes the role from its user group, however, it does not remove the user group.
To remove the user group you must run the code snippet below:
// First remove the group
UserGroup.forId("C3.MyTypeBasicUser").remove();
// Then remove the role
Role.forId("C3.MyTypeBasicUser").remove();
After running the above code snippets, the group is removed and is no longer be visible in C3 AI Studio. The group's assigned is also removed.
Note: A group's corresponding role must exist if you want to remove the group.
Nested roles
A role with two permissions strings:
{
  "id" : "MyTypeBasicUser",
  "description": "This role is used for testing a Basic User.",
  "permissions": [
    "allow:MyType::convertToUppercase",
    "deny:MyType::convertToLowercase"
  ]
}
A different role, MyTypeAdminUser, containing the above role, MyTypeBasicUser, using the nestedRoles field:
{
  "id" : "MyTypeAdminUser",
  "description": "Represents and admin user",
  "roles" : [{
    "id" : "MyTypeBasicUser"
  }]
}
A user assigned to the MyTypeAdminUser group inherits all the permissions in the MyTypeBasicUser.
Permissions are AND-ed within a role, but OR-ed across roles.
The phrases "AND-ed within a role" and "OR-ed across roles" refer to how permissions combine when you involve multiple roles.
Here is a more detailed explanation to better understand the difference and the benefit:
AND-ed within a role:
- When permissions are combined within a single role, they are effectively AND-ed. This means all permissions you assign to that role are required collectively to define what the role can do. For instance, if a role named "Editor" has the permissions
edittext anddeletetext, a user with the Editor role must have both these permissions simultaneously. This setup ensures that roles are comprehensive and specific, covering all the capabilities that a role is supposed to have. It prevents partial or incomplete application of what a role can do.
OR-ed across roles:
- When a user has multiple roles, the permissions from each role are combined using OR logic. This means the user gets the permissions available in any of the roles they possess. For example, if a user has the roles "Editor" (with permissions to edit and delete text) and "Commenter" (with permission to add comments), the user has both editing, deleting, and commenting capabilities. This OR logic is beneficial because it allows for flexibility and layered access control. Users can accumulate permissions from multiple roles, giving them a broader set of capabilities than any single role might provide.
Access to data
There are two main approaches to defining access to data. See the following topics to learn more and view examples:
- Add Access Controls to a Role using Data Permissions: You can configure data permissions in a role to define access controls at the user level instead of the object level.
- Add Access Controls to a Type using AclEnabled: You can enable access control authorization on a given Type, so that the object maps a path from itself to a user. The user then has permission to access the object.