Integrate Microsoft Entra ID
You can create an OpenID Connect (OIDC) application in Microsoft Entra ID to use the OIDC authentication protocol. OIDC is an authentication protocol built on top of OAuth 2.0 that allows clients to verify the identity of an end-user based on the authentication performed by an authorization server.
Integrating an OIDC app with Microsoft Entra ID allows for authentication and authorization flows within your application, leveraging Microsoft Entra ID's robust security mechanisms.
Prerequisites
Creating an OIDC application in Microsoft Entra ID requires the following:
- Access to the Microsoft Entra ID portal
- Appropriate permissions to create app registrations in Microsoft Entra ID
Steps to create an OIDC application
Register a new application in Microsoft Entra ID.
- Sign in to the Microsoft Entra ID portal.
- Search for and select Microsoft Entra ID.
- Under Manage, select App registrations.
- Select New registration.
- Enter a name for your application.
- Select the Supported account types that meet your organization's requirements.
- Under Redirect URI, select Web as the platform and enter the reply URL of your site. The reply format is:
https://<hostName>/c3/c3/oidc/login - Select Register.
- Copy the Application (client) ID.
- Select Endpoints at the top of the page.
- Find the OpenID Connect metadata document URL and copy it.
- In the left side panel, under Manage, select Authentication.
- If you're using an implicit or hybrid flow, under Implicit grant, select Access tokens and ID tokens. If you're using an authorization code flow, configure the following settings:
- In the left side panel, under Manage, select Certificates & Secrets.
- Select New client secret and enter a description.
- Choose the expiration date and select Add.
- Copy the client secret and store it securely. This will be set as the OidcIdpConfig#clientSecret.
- Select Save.
Configure group claims
Selecting the token type properties and configuring the application manifest is required for app URL authentication.
Select the application you want to configure.
Under Manage, select Token configuration.
Select Add/Modify groups claim.
Select the groups to return. By default, this is set to All groups.
Required for app URL authentication, optional for canonical URL authentication: Select the specific token type properties:
Token Selection idTokenFor the OIDC ID token. Select sAMAccountName. accessTokenFor the OAuth access token. Select Group. Saml2TokenFor SAML tokens. Select Group ID. Select Save.
Configure the application manifest:
This configuration is required for app URL authentication, optional for canonical URL authentication.
- Select the application for which you want to configure group claims.
- Under Manage, select Manifest.
- Add the following entry using the manifest editor:
"groupMembershipClaims": "ApplicationGroup"- Set group name configuration optional claims. For the ID token, modify the groups claim to use the
optionalClaimssection in the manifest.
Use the following optionalClaims schema:
"idToken": [
  {
    "name": "groups",
    "source": null,
    "essential": false,
    "additionalProperties": [
      "sam_account_name",
      "cloud_displayname"
    ]
  }
]Grant permissions to the application
- Select the app registration for the AD app you want to assign permissions for.
- Under Manage, select API permissions.
- Add the following permissions to the app.
- Select Add a permission.
- Select the Microsoft Graph API and proceed to delegated permissions.
- Check out all the OpenId and Group permissions.
Request API permissions
The following screenshot is from the Request API permissions interface in Microsoft Entra ID app registration workflow:
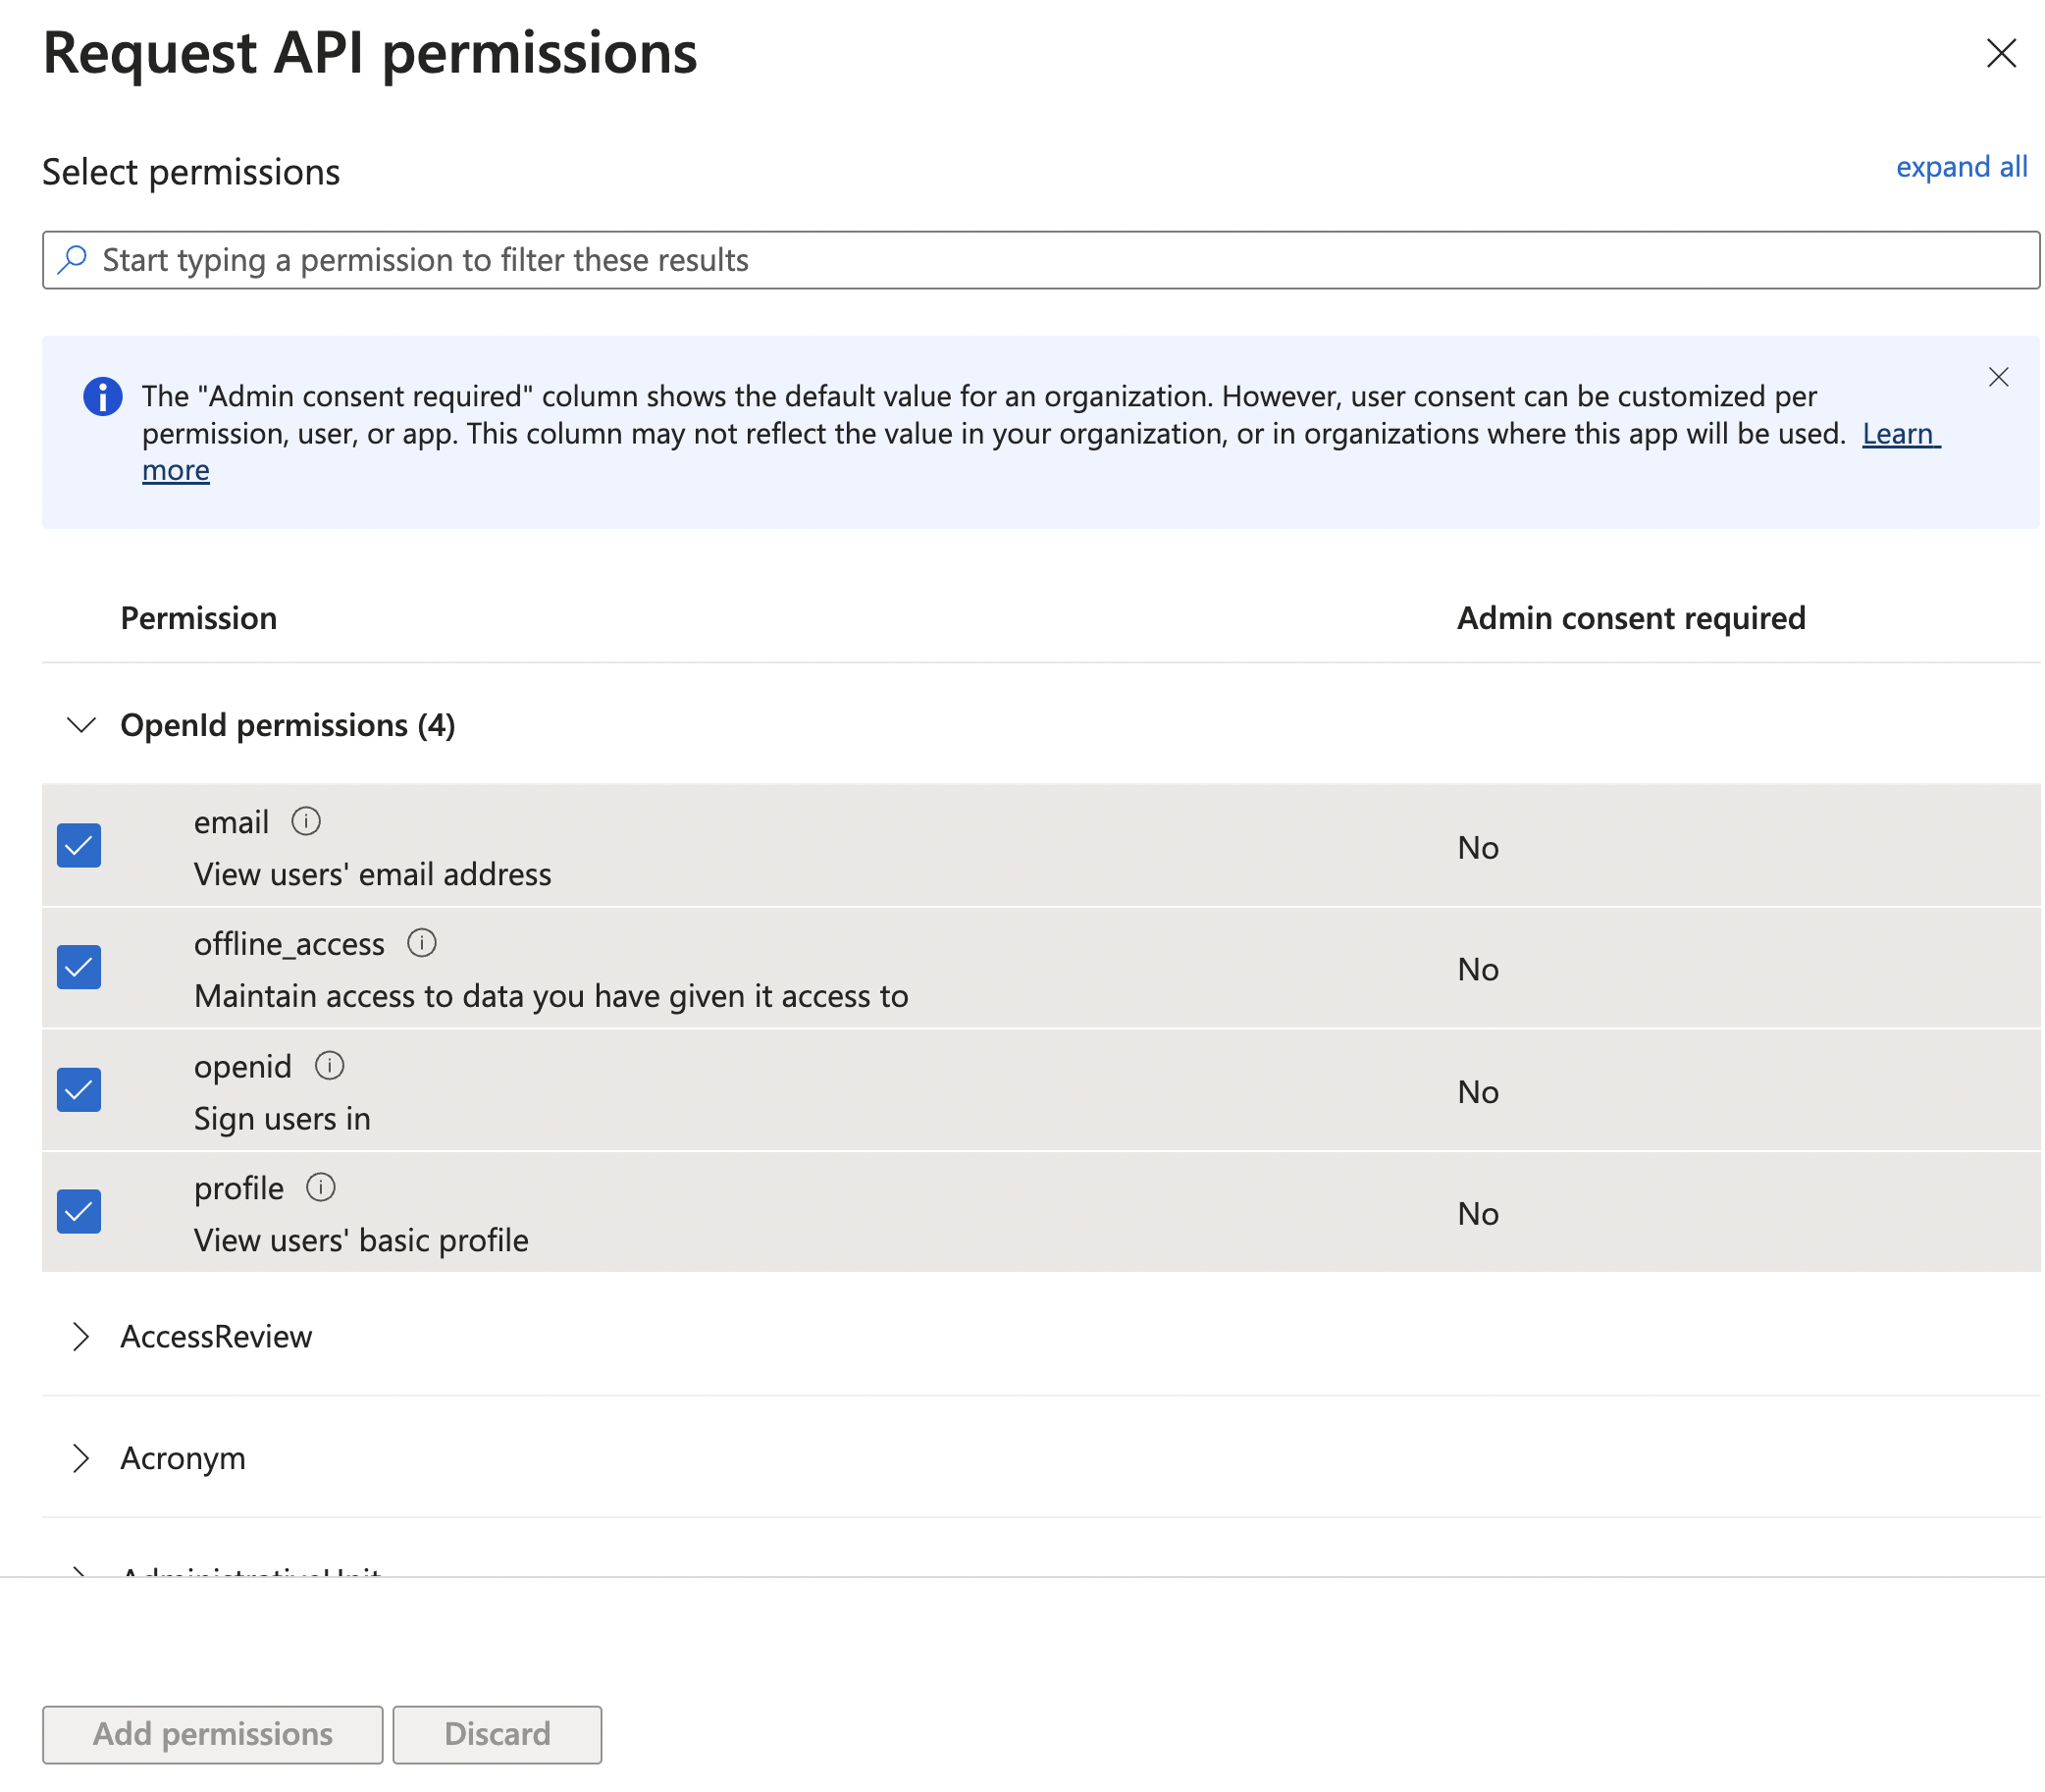
In this interface, you can select permissions for an application to interact with Microsoft's APIs. The screenshot shows the Openid permissions section and displays four permissions that relate to OpenID Connect (OIDC) functionality:
email: This permission, if granted, allows the application to view users' email addresses. The Admin consent required column shows No, which means individual users can grant consent for the app to access their email addresses without requiring an administrator's approval.
offline_access: This permission, if granted, allows the application to maintain access to data you have given it access to. You can use this to allow an application to access user data even when the user is not actively using the app. Admin consent required is also No for this permission.
openid: This permission allows the application to sign users in using the OpenID Connect protocol. It is a fundamental scope for any app that uses OIDC for authentication. Admin consent required is No.
profile: This permission allows the application to access the user's basic profile information. Admin consent required is No.
The checkboxes next to email, offline_access, and profile indicate that these permissions are selected for request.
This interface guides the process of selecting the appropriate permissions for an application being set up in Microsoft Entra ID for authentication and authorization purposes.
The following screenshots display permissions related to the Group category from a section titled Request API permissions.
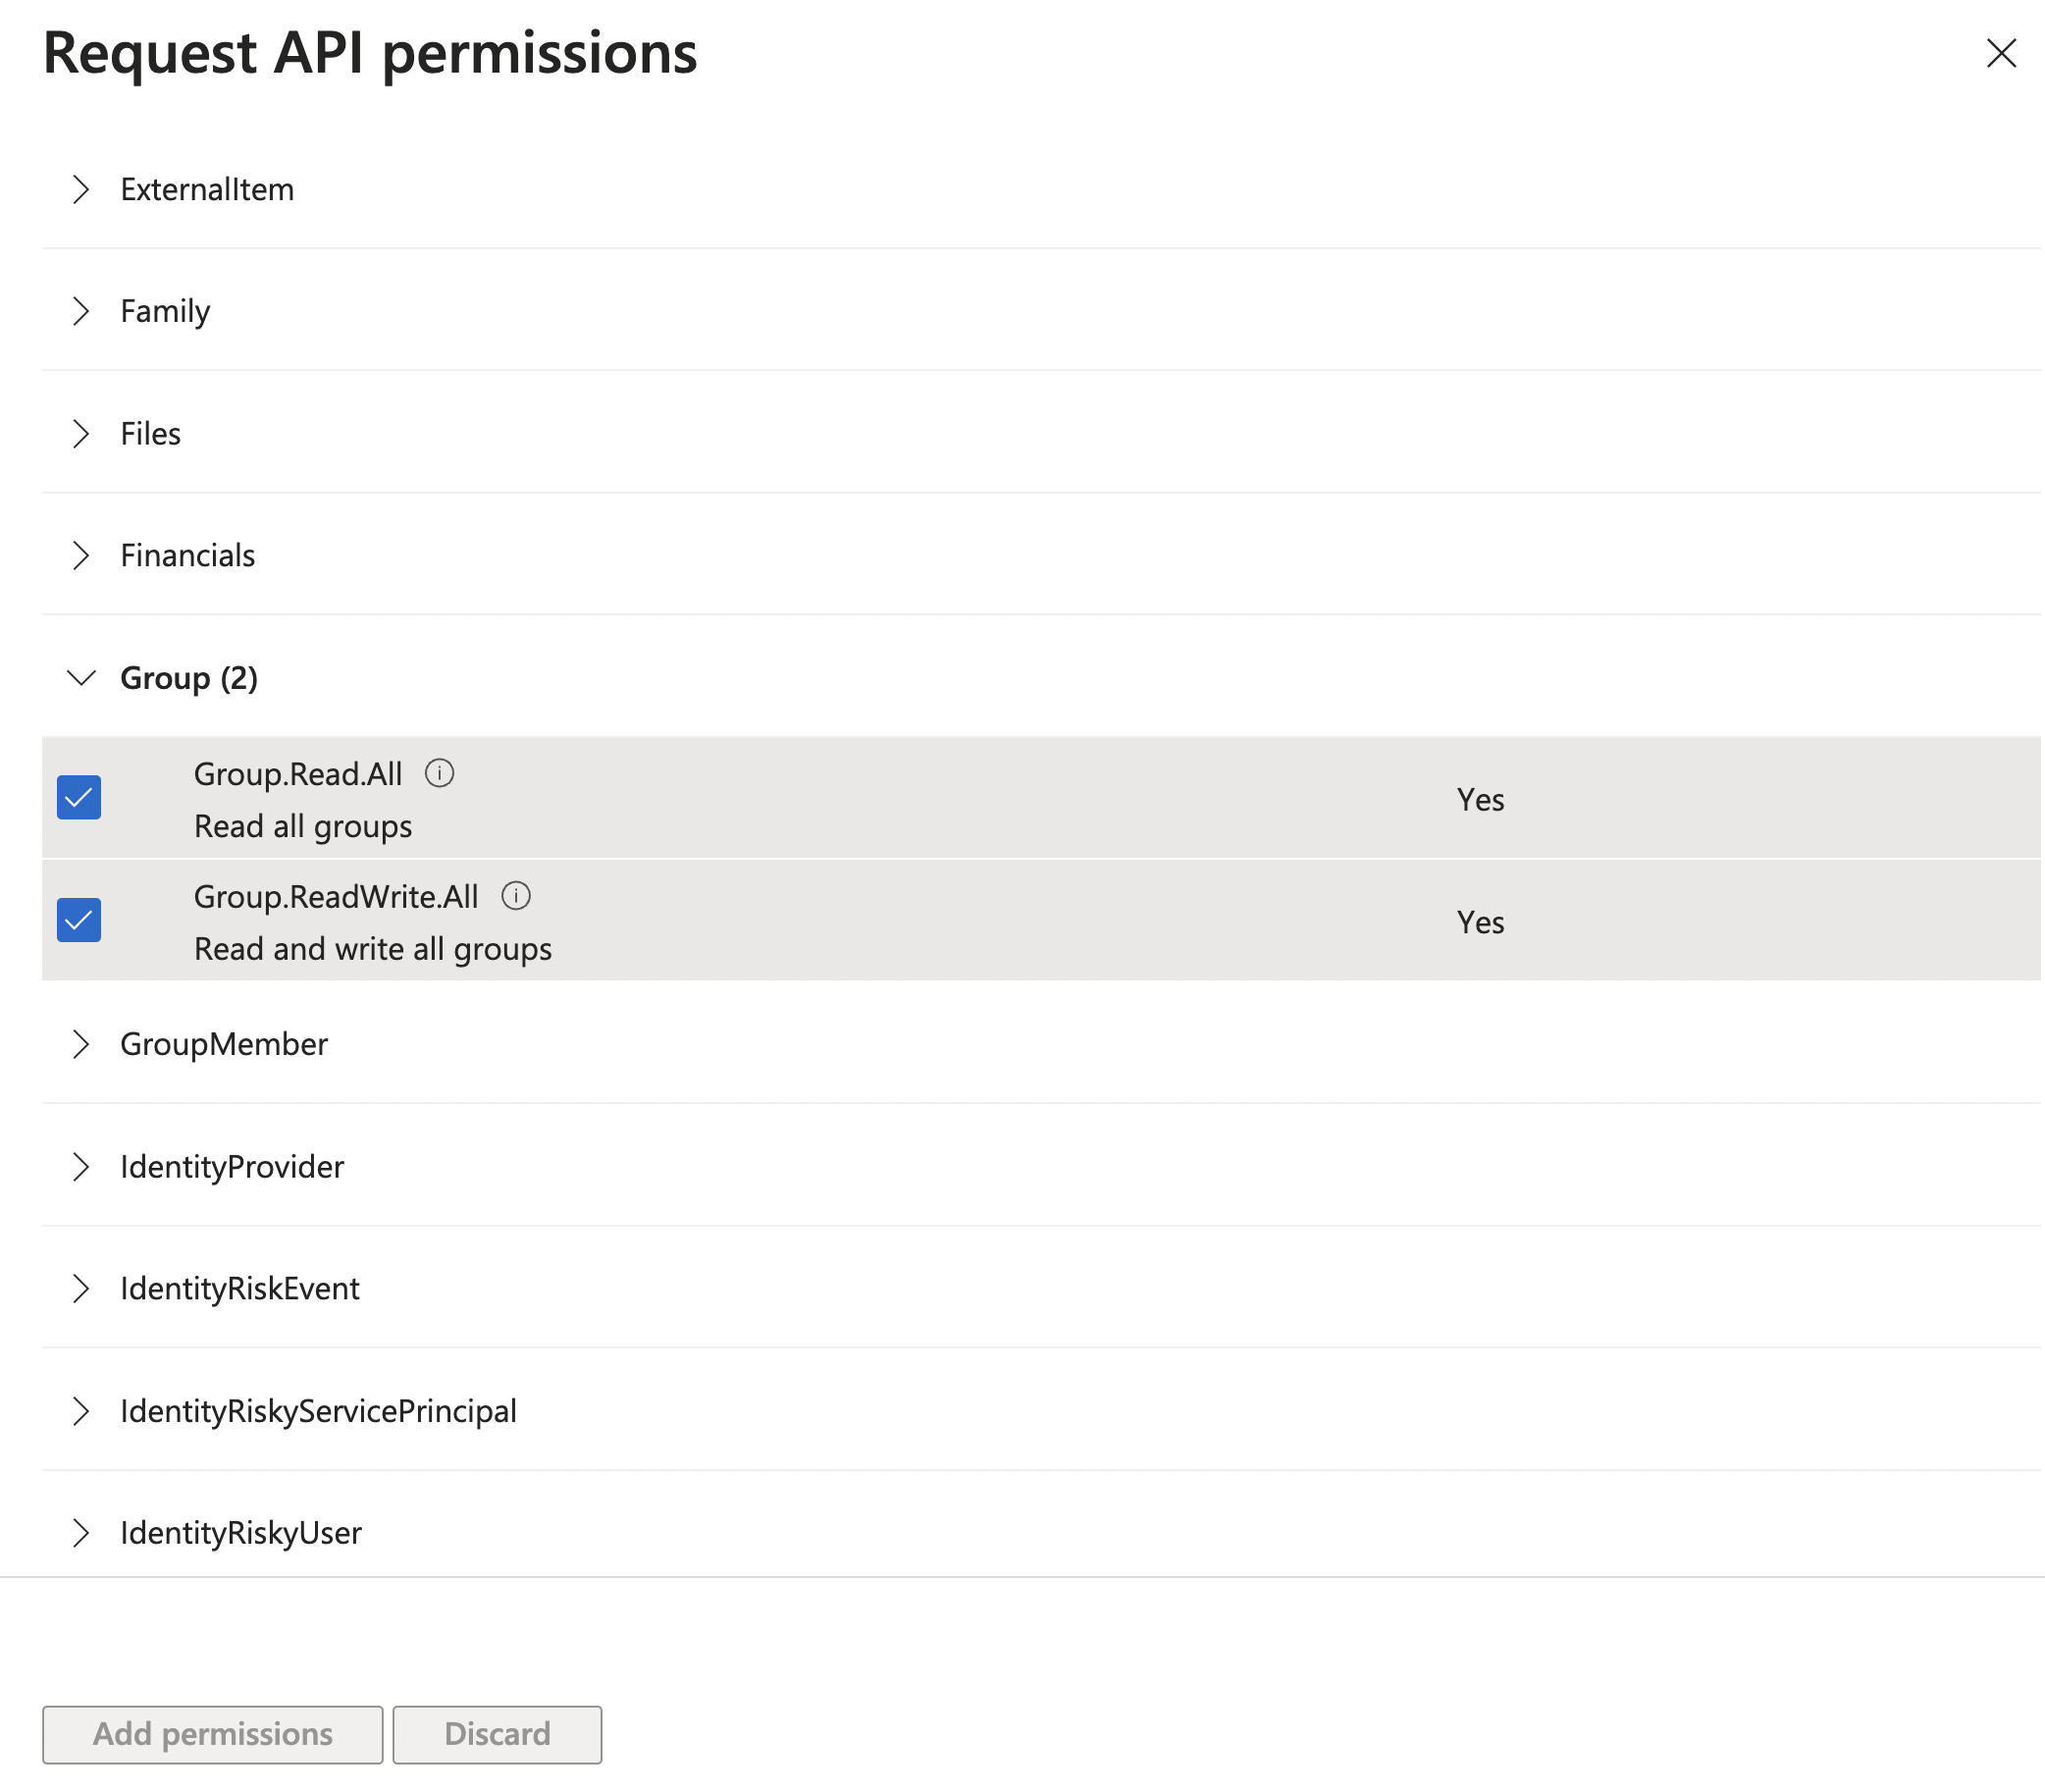

The Configured permissions section shows that the application has several permissions granted to it, so the application can interact with Microsoft's APIs on behalf of a user who that consents to these permissions. The permissions are part of the Microsoft Graph API, which is a unified API endpoint for accessing data across Microsoft 365 services.
The permissions are either Delegated or Application. Delegated permissions are used by apps that have a signed-in user present. For these apps, the user consents to the permissions that the app requests, and the app can act as the signed-in user when making calls to Microsoft Graph. Application permissions are used by apps that run without a signed-in user present; for example, apps that run as background services or daemons.
Admin consent required is a flag indicating whether an administrator's consent is required for the permission. Some permissions can be consented to by individual users, but others require an administrator's consent within the tenant.
Granted for Fusion indicates that admin consent has been granted for these permissions for a tenant or application named "Fusion".
Assign groups to the application
- Select the application that you want to assign permissions for.
- Under Manage, select User and groups.
- Select Add user/group and select the group you want to give access to the application, or Add new group.
- Select the Default Access role and select assign.
Only the Microsoft Entra ID premium license tier supports group assignment. The standard tier license does not support group assignment, and requires you to add individual users to the application. See Microsoft Entra licensing to learn more.
After creating the AD app, integrate it with the C3 AI app using the following code:
hostname = "temp.c3dev.cloud";

discoveryEndPoint = "https://login.microsoftonline.com/<tenant_id>/v2.0/.well-known/openid-configuration";
uri = "https://"+hostname+"/c3/c3/oidc/login";
client = OidcIdpClient.make({clientId:"<client_id>", redirectUri:uri});
config = OidcIdpConfig.importFromDiscoveryUrl(hostname,discoveryEndPoint, client, "form_post", true, ConfigOverride.APP);
//OidcIdpConfig.forId(hostname).setConfigValue("defaultGroupId", defaultGroup, ConfigOverride.APP)
OidcIdpConfig.forId(hostname).setConfigValue("trustedApplicationHosts", C3.Array.ofStr(hostname), ConfigOverride.APP);
OidcIdpConfig.forId(hostname).setConfigValue("jitUserCreation", true, ConfigOverride.APP)
OidcIdpConfig.forId(hostname).setConfigValue("scopes", Array.of( "openid", "email", "profile", "Group.Read.All"), ConfigOverride.APP);

// Use this section to use Authorization Code Flow (the default is Implicit Flow)
//OidcIdpConfig.forId(hostname).setConfigValue("flowKind", OidcAuthFlowKind.AUTHORIZATION_CODE, ConfigOverride.APP);
//OidcIdpConfig.forId(hostname).setSecretValue("clientSecret", "<client secret>", ConfigOverride.APP);

// Optional: Fetch additional user claims from the userinfo endpoint (Authorization Code Flow only)
//OidcIdpConfig.forId(hostname).setConfigValue("fetchUserInfo", true, ConfigOverride.APP);

// Use this section to set the default group if necessary
//defaultGroup = "dev.OidcDefaultGroup";
//UserGroup.forId("C3.ClusterAdmin").addIdpGroupForIdp(config, defaultGroup);
Replace <tenant_id> with your Microsoft Entra ID tenant ID and <client_id> with your application's client ID obtained from the Microsoft Entra ID portal.
Following these steps and code examples, you can successfully create and integrate an OIDC app with Microsoft Entra ID.