Create Custom Tools
You can extend Dynamic Agent capabilities by creating custom tools and adding them to an agent. This guide walks through tool creation, agent duplication, and deployment.
Create a tool
Use Create Python Tools from the UI to build and publish your custom Python tool. After you publish the tool, it appears in the Store section of the Tools gallery.
Duplicate the agent
Duplicate the agent you want to extend to create a customizable copy.
- Navigate to Agents > Gallery.
- In the Store or Templates section, locate the agent you want to extend. For example, the Dynamic Agent Canvas.
- Select Duplicate.
- The agent opens in the Agent Workbench as a new draft. Update the name as needed.
For full steps on creating and configuring agents in C3 Generative AI Search, see Create Agents and Toolkits.
Add the tool to the agent
- In the Agent Workbench, locate the Tools section.
- Select Add Tool.
- Search for and select your tool.
- Select Finish Configuration.
Deploy the agent
After you configure the agent, deploy it to make it available to users.
- In the Agent Workbench, select Store and Deploy.
- Choose one of the following options:
- New deployment to configure a new deployment with a name, node pool, thread pool size, and tracing mode.
- Existing deployment to update a deployment that already exists.
- Select Deploy.
For full deployment configuration details, see Create Agents and Toolkits.
Verify the tool
After deployment completes, the agent appears on the C3 Generative AI Search application home screen.
Open your C3 Generative AI Search application.
Navigate to the Agents tab and open the agent you deployed.
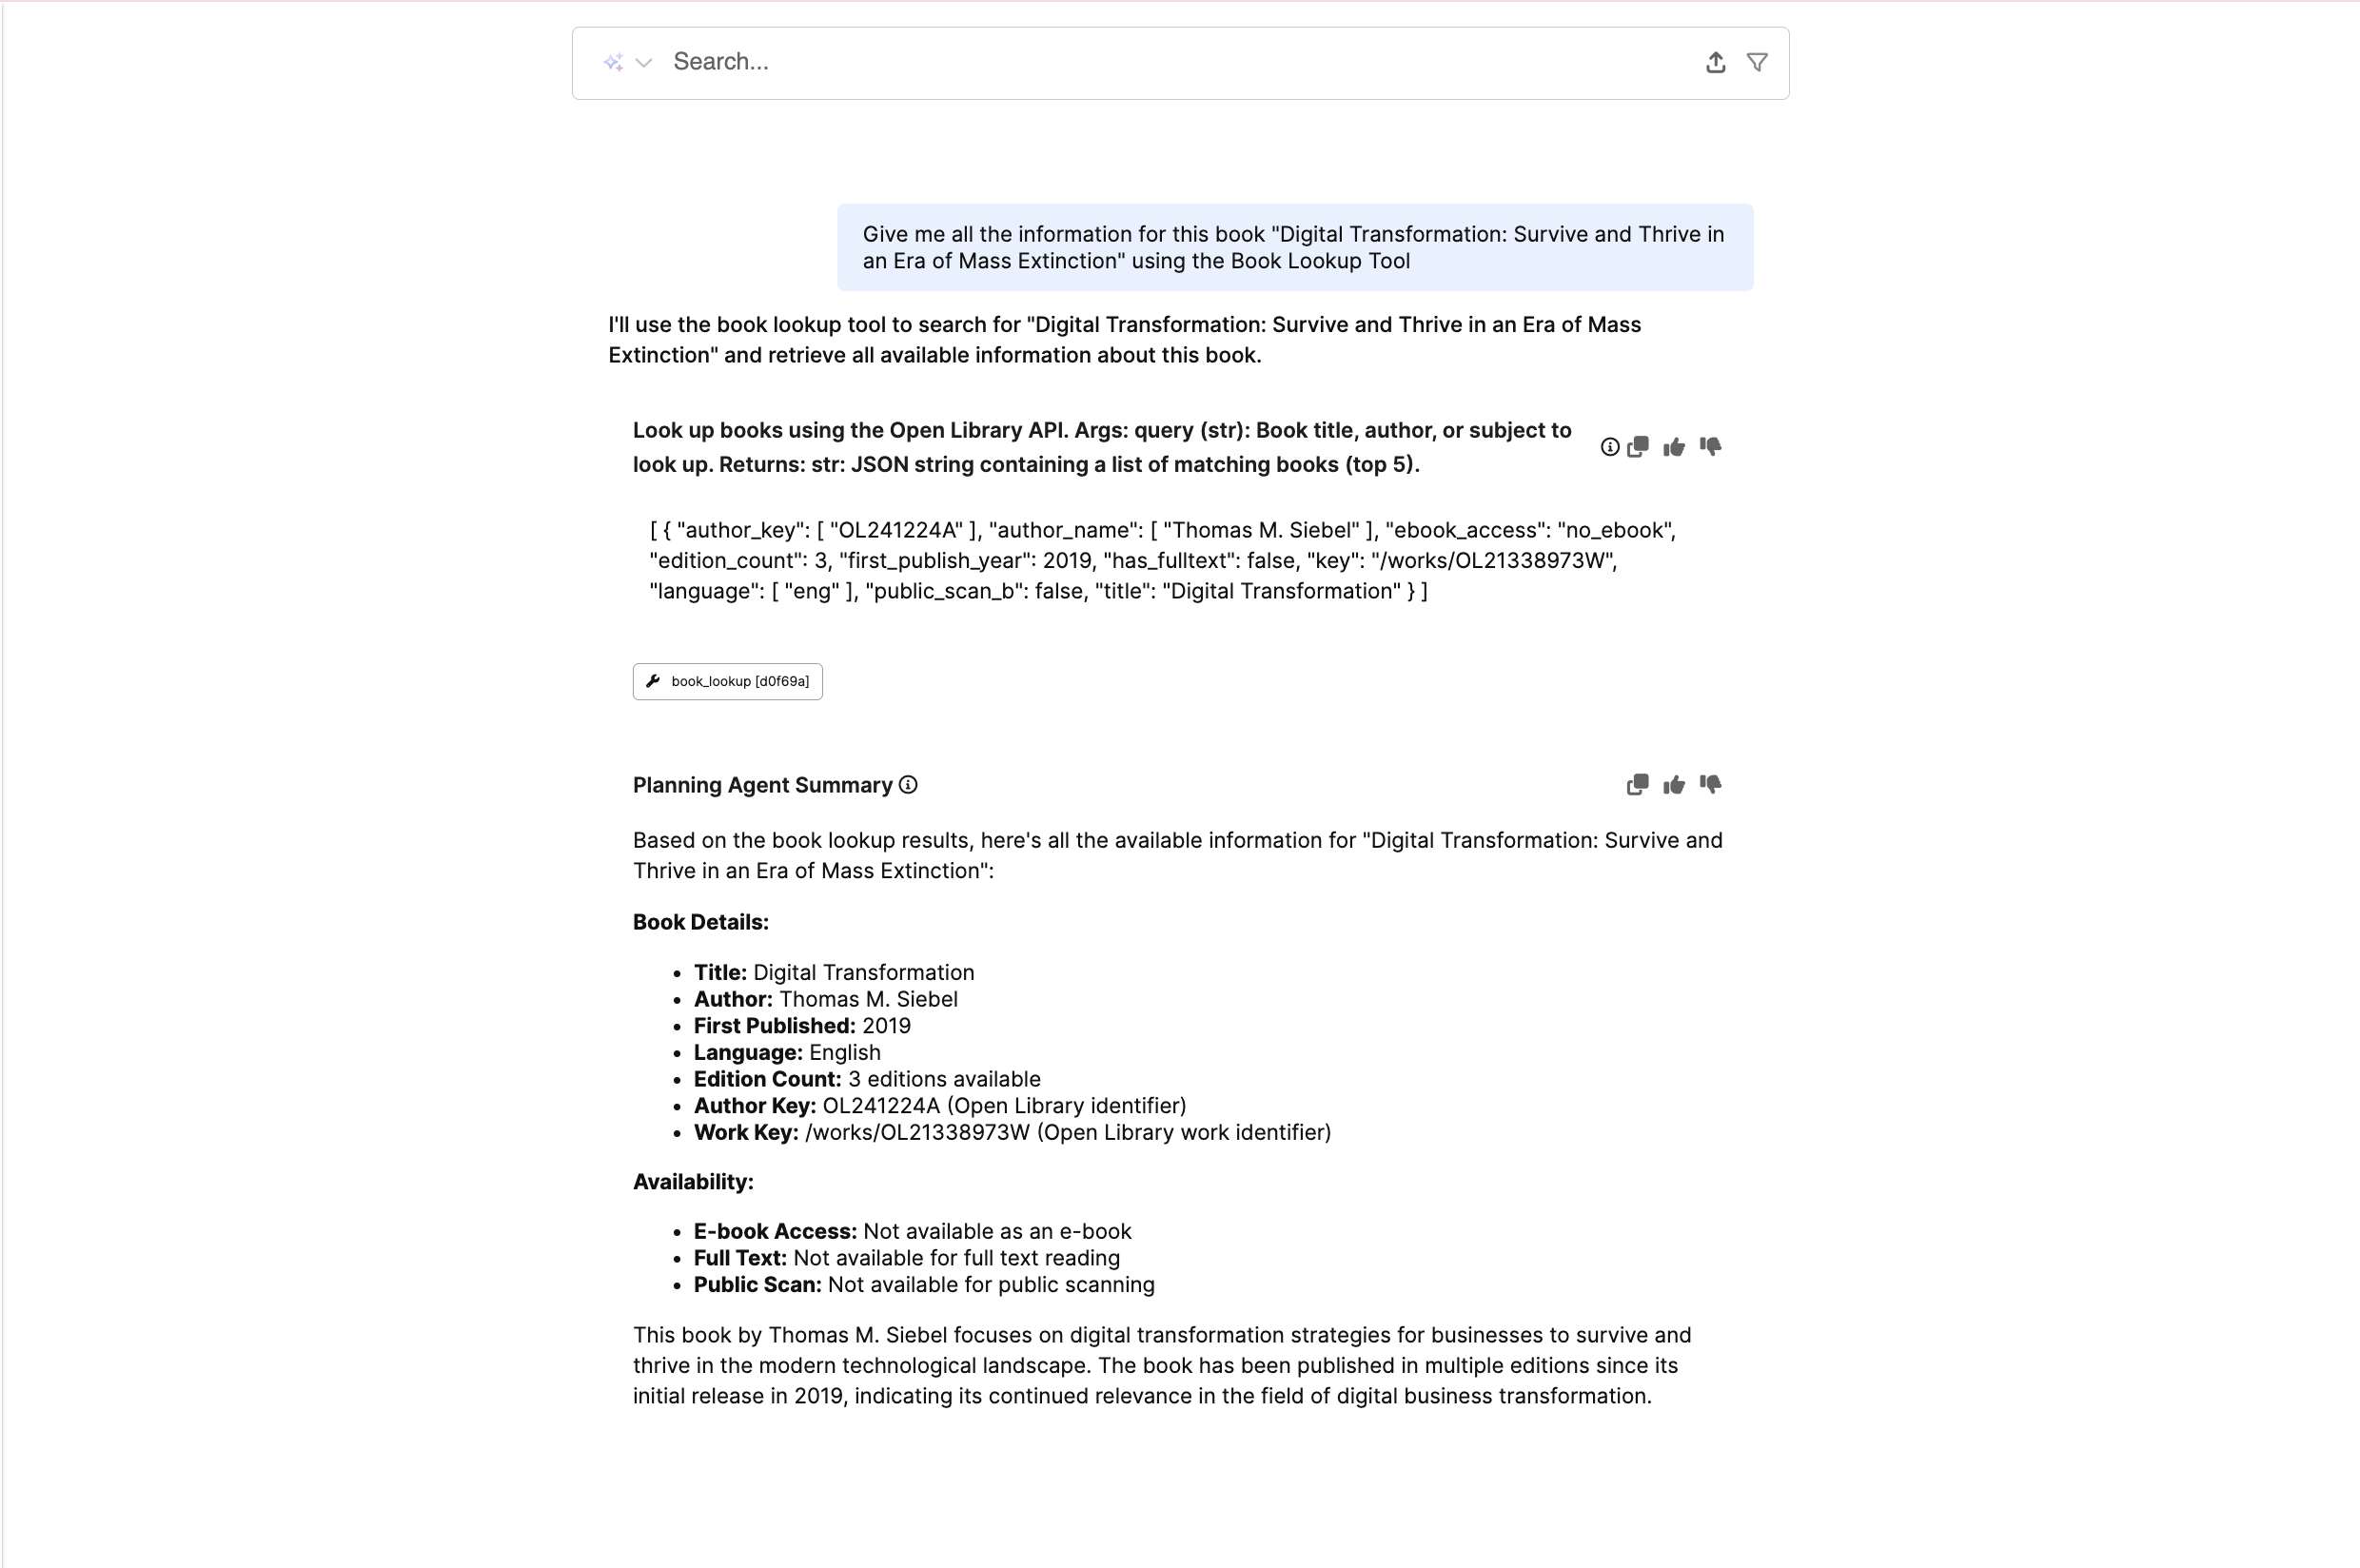
Send a message that triggers the tool. For example: "Give me a list of all the tools you have access to."
Confirm the tool appears in the response.