Change an Element with Selection Mode
You are in a workspace. You want the agent to change one specific element you can see in your running application, such as a heading or a card. Describing it in words, like "the blue total near the top," can send the agent to the wrong element. Selection Mode makes it exact: you point at the element on screen, and the agent receives the exact element to change. Turn on Selection Mode, select the elements you want, then ask for the change in the chat panel. The agent receives the element's full details along with your request, so you do not need to name the file.
Turn on Selection Mode
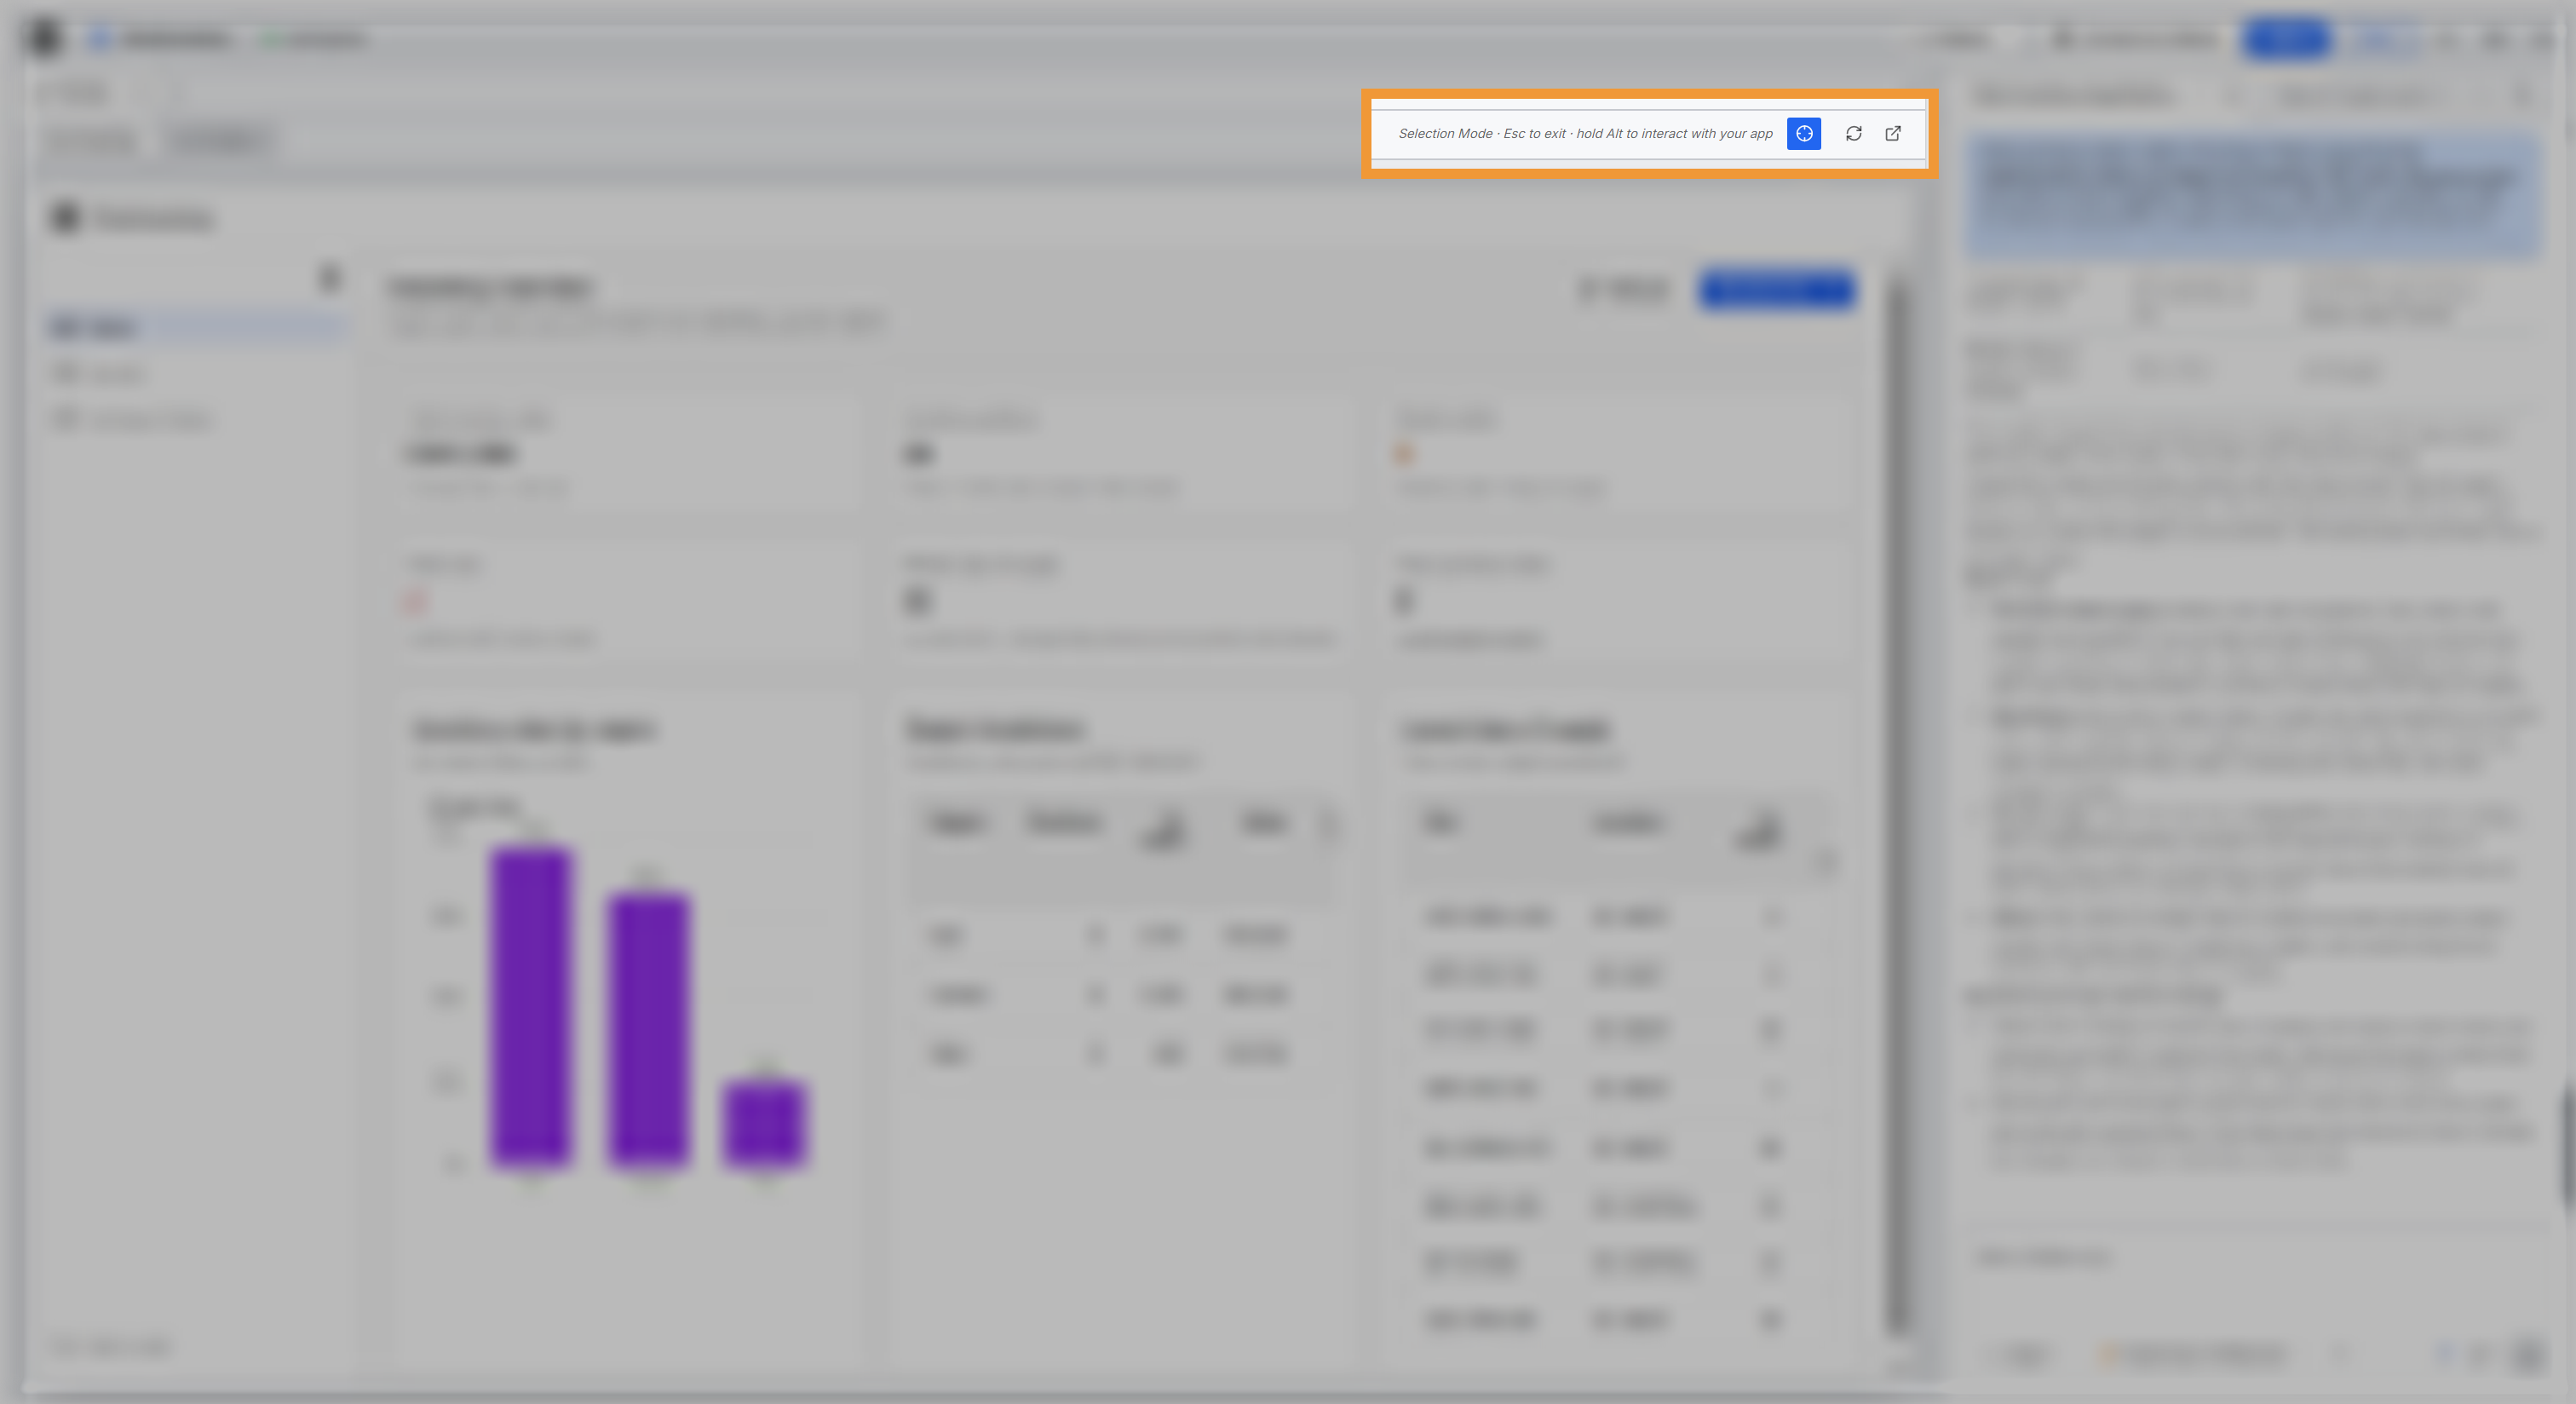
Selection Mode is a button in the Preview toolbar, next to Refresh. Open the Preview tab and turn it on:
- Select the Preview tab to show your running application. If no Preview tab is open, select + next to your open tabs, then Preview.
- Select Selection Mode in the preview toolbar.
Status text beside the button confirms Selection Mode is on, and in a wide window it also names the keys to exit and to interact. Press Escape to exit, or hold Alt (Option on a Mac) to use the application while the mode stays on. While Selection Mode is on, selecting an element adds it to your next message instead of activating it in the app.
Select the elements you want
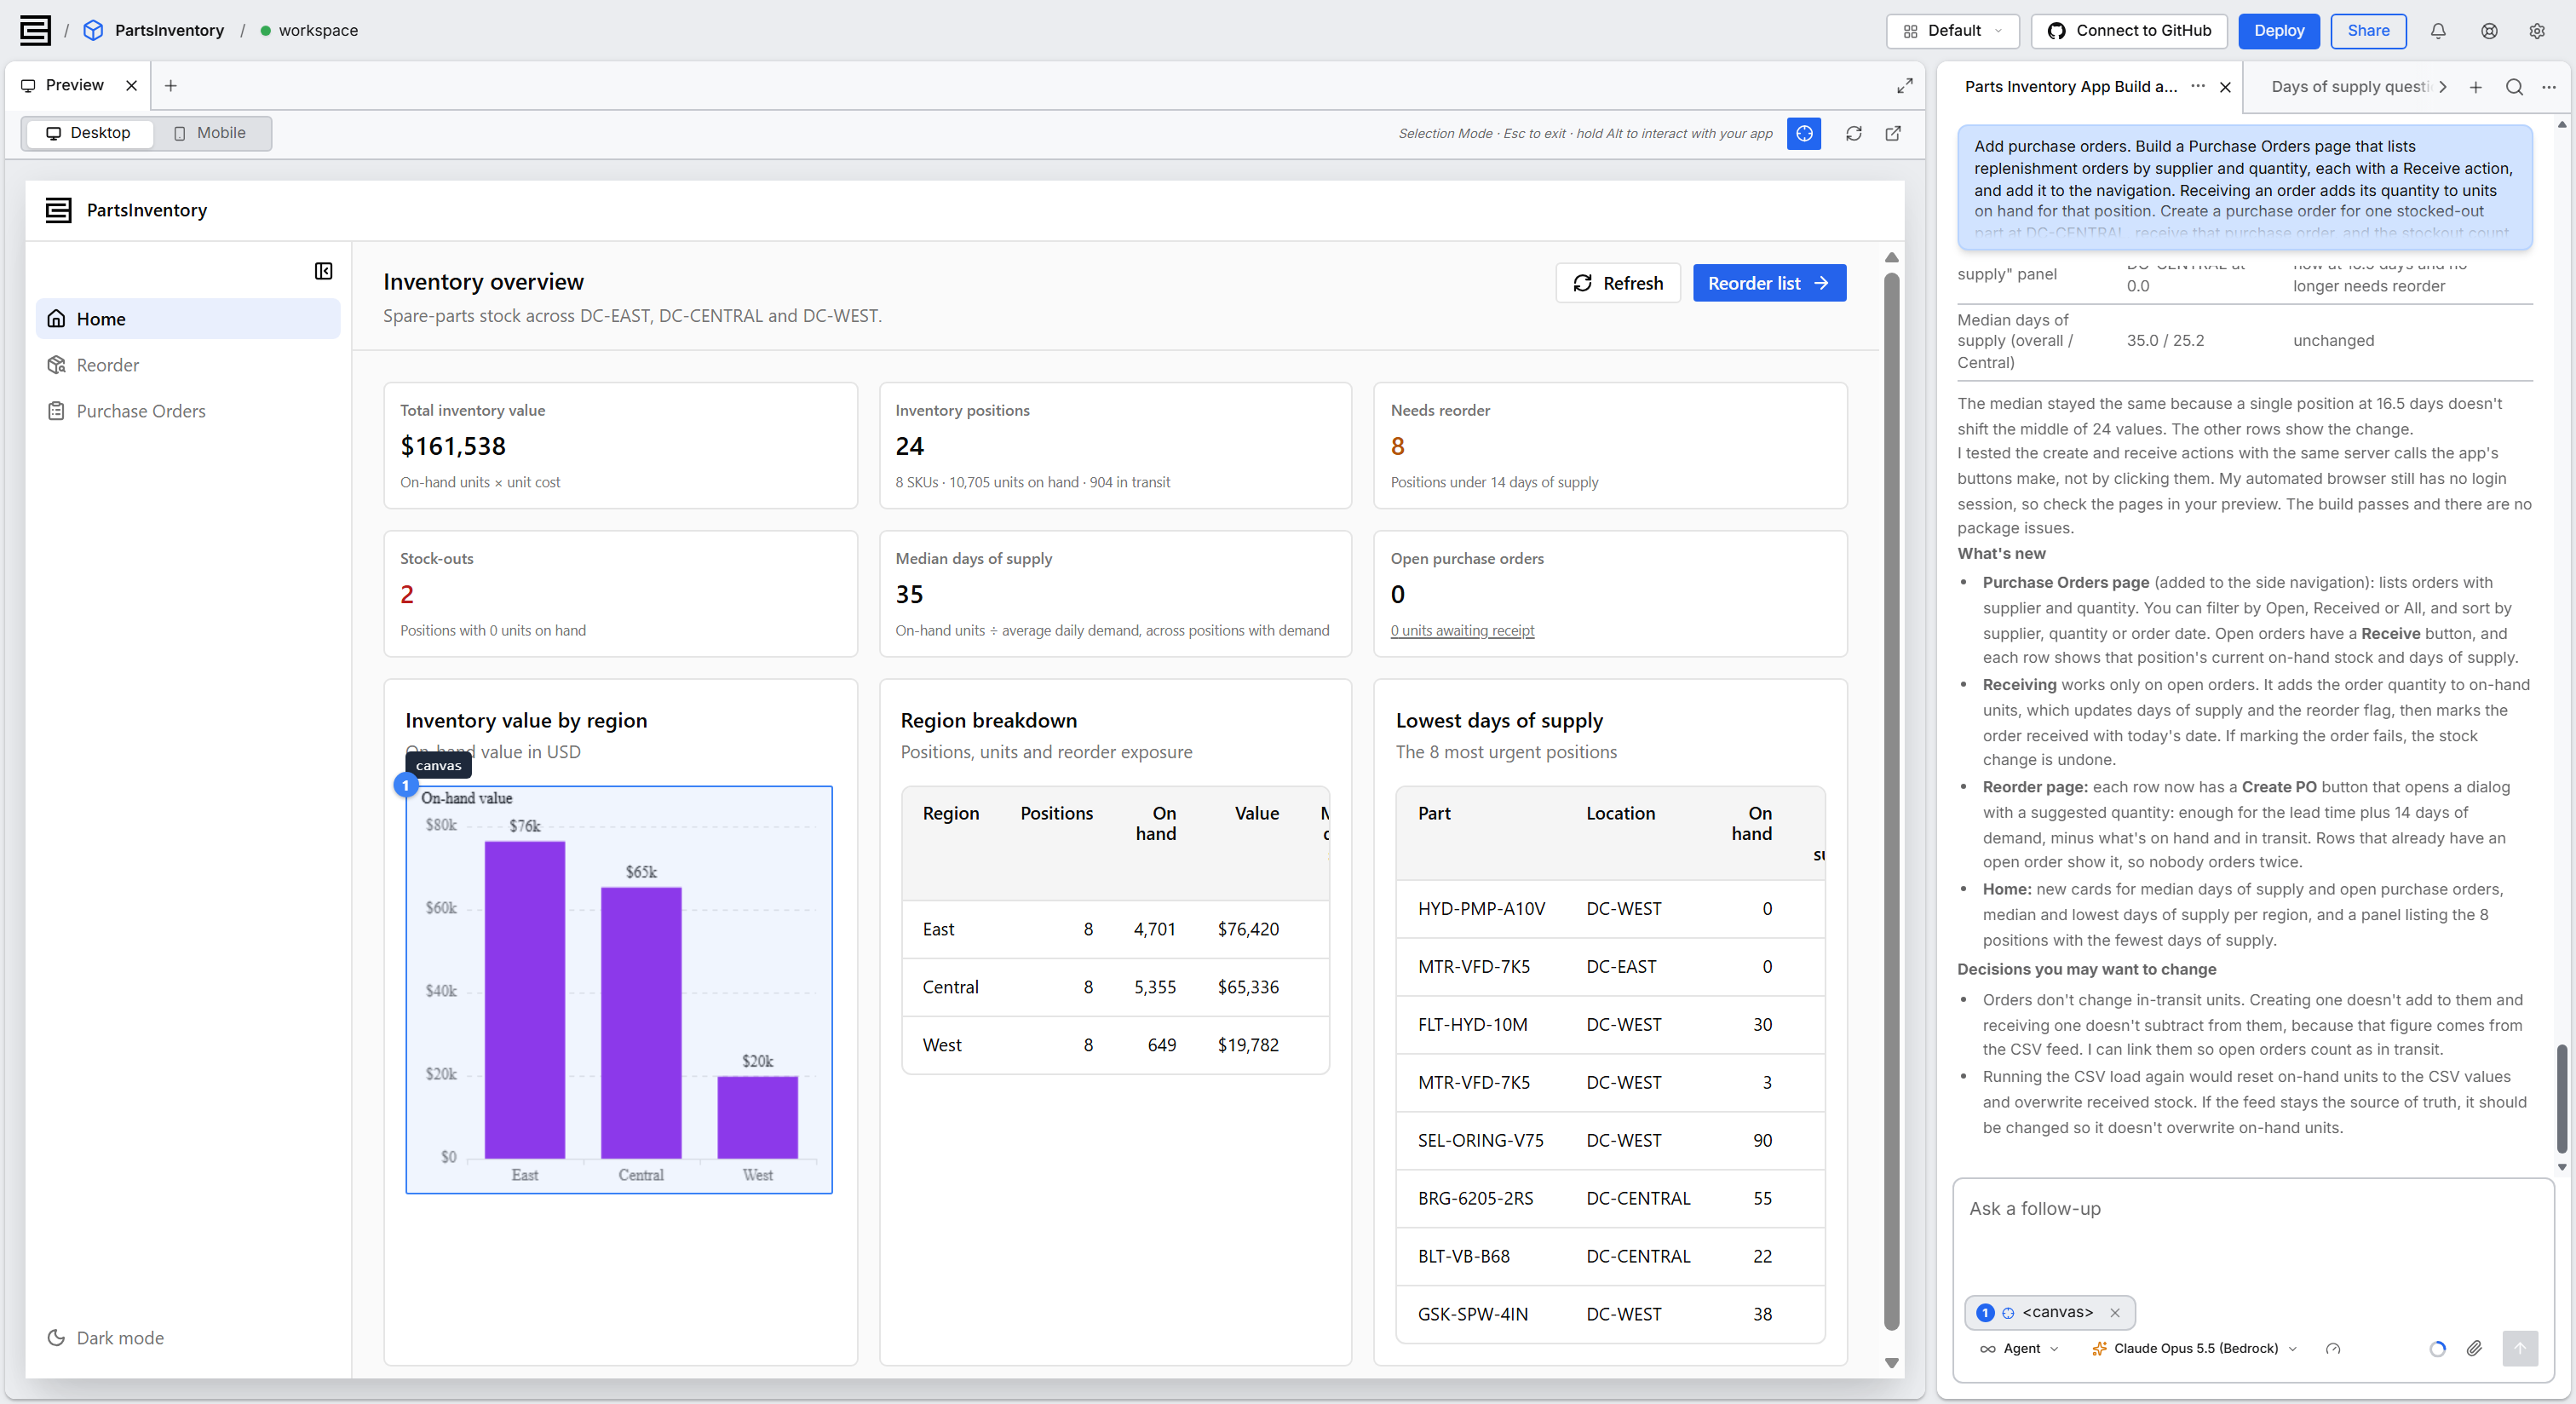
Move the pointer over your application, and Selection Mode highlights the element beneath it. Selection Mode highlights the nearest meaningful element, such as a heading, a table, or a card, instead of the bare layout around it. Select a highlighted element to add it to your next message.
Each element you select gets two markers:
- A numbered badge on the element in the preview, so you can see what you picked.
- A matching pill above the chat input, with the same number and the element's tag, such as
<canvas>for a chart.
Select as many elements as the change needs. To drop a selection, select Remove from context on its pill, or select the element again in the preview.
Ask the agent for the change
With your elements selected, type the change in the chat panel. Refer to the elements as "this" or "these" or refer to the elements by their number. The pills identify the elements for the agent. Select Send.
For example, if you select the bar chart shown above and send:
Change the color of the bars in the bar chart of selected element 1 from purple to teal.
The agent finds the component that renders the bar chart, edits it, and rebuilds the preview, so the bars change color. The agent maps your selection to the source file, so you never need to name a file.
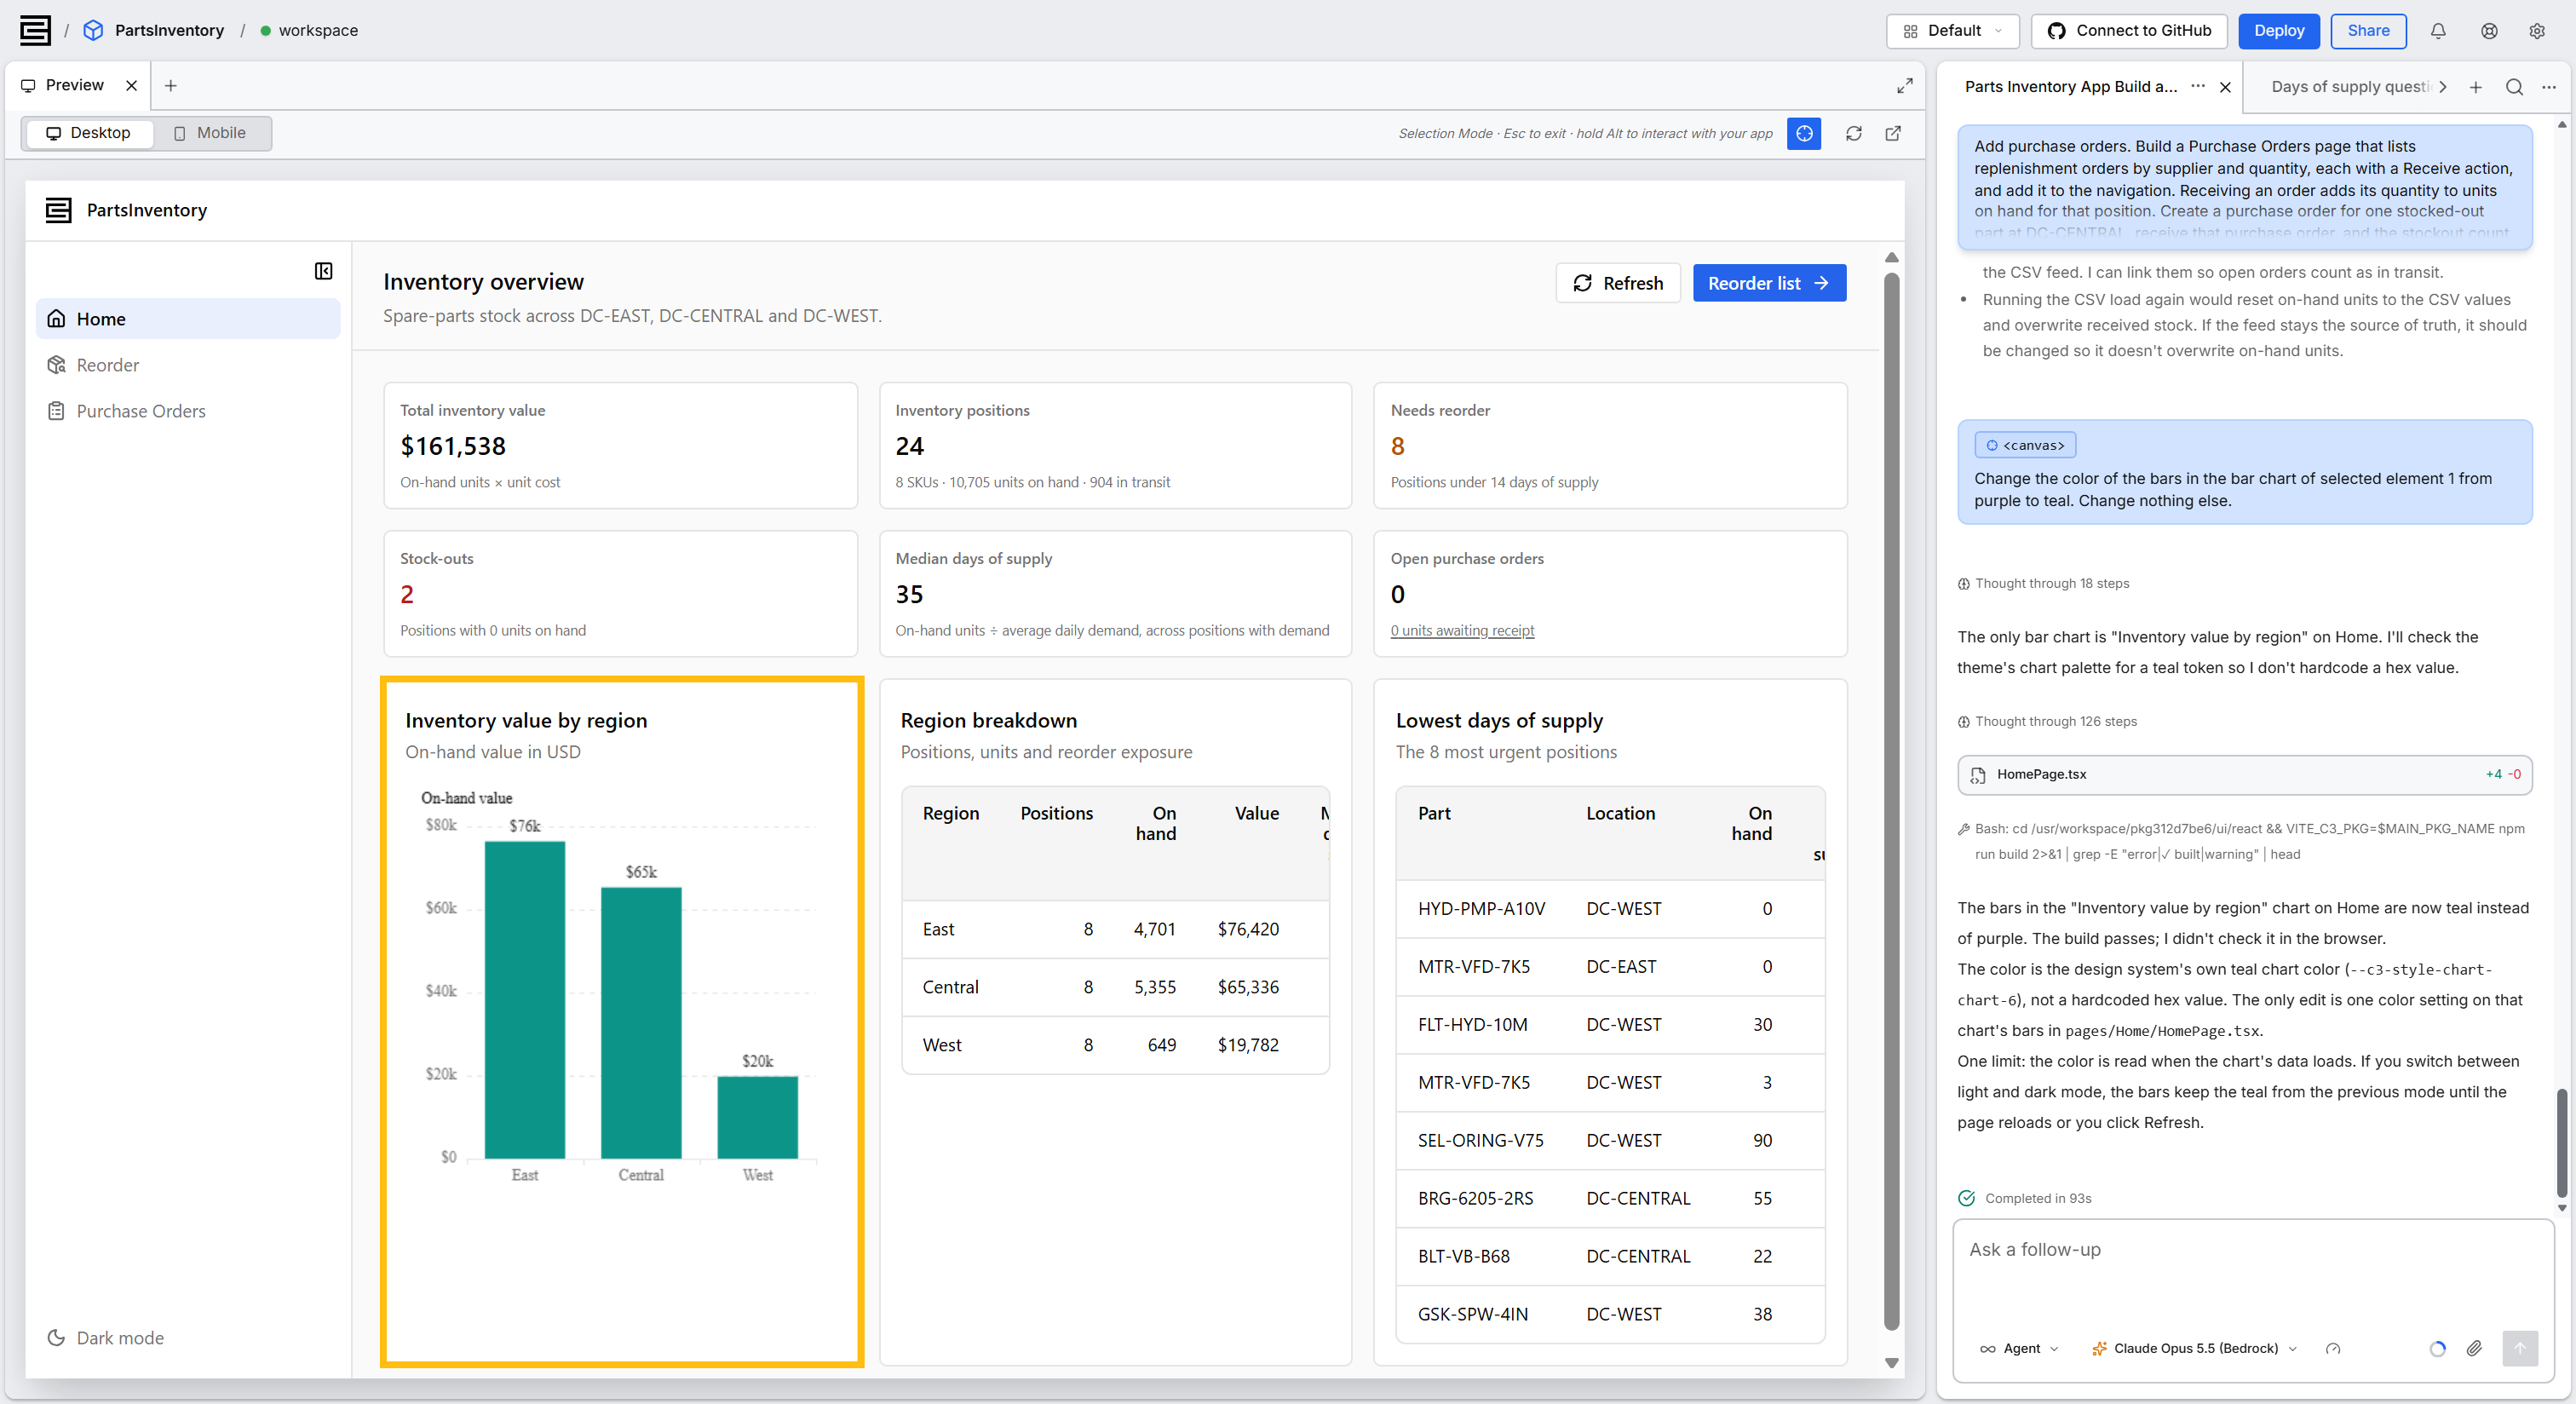
The pills clear when you send, because the change usually alters the elements you selected. Select new elements for your next request.
What the agent receives
When you send, each selection carries the element's structure to the agent:
- Its tag and text.
- Its resolved styles, such as color, background, and spacing.
- Its attributes.
- Its place in the page.
The agent uses that structure to find the matching component in your code.
Where to go next
These pages cover other ways to work with the agent in your workspace: