Luke Playground - Tutorial
Luke Playground is an interactive testing environment to execute, debug, and test the test scripts for end-to-end functional tests for web applications using the Luke testing framework.
Get started
Access Luke Playground through the Luke index.html file in the corresponding AppUrl for your application.
Luke Playground UI
There are two major components in the Luke Playground UI:
- Code Editor
- Luke Lifecycle Visualizer
A third major component in the Test UI is the Web Application window.

The code editor uses the Ace editor. This is where you enter the code snippets to be executed.
The Luke Lifecycle Visualizer is where the test lifecycle displays. The test lifecycle is composed of Jasmine Suites and Specs and the planned and executed LukeAsyncQueueNodes. Each row corresponds to either a Jasmine lifecycle event or a Luke chain (a series of linked LukeAsyncQueueNodes), which are listed in hierarchical order. The currently running Luke async queue node displays in a flashing orange color, and previously finished chains are either green or red, depending on their status. If one of the nodes in the chain fails to reach the target state within the timeout period, the Luke async queue chain displays in red. Hover over the tooltip to view the error message.
When a test is run, a new Web Application window opens, displaying the UI controlled and tested by Luke. This window is controlled by the the Luke Playground UI through the Luke Chrome extension.
Run code in Fiddle mode
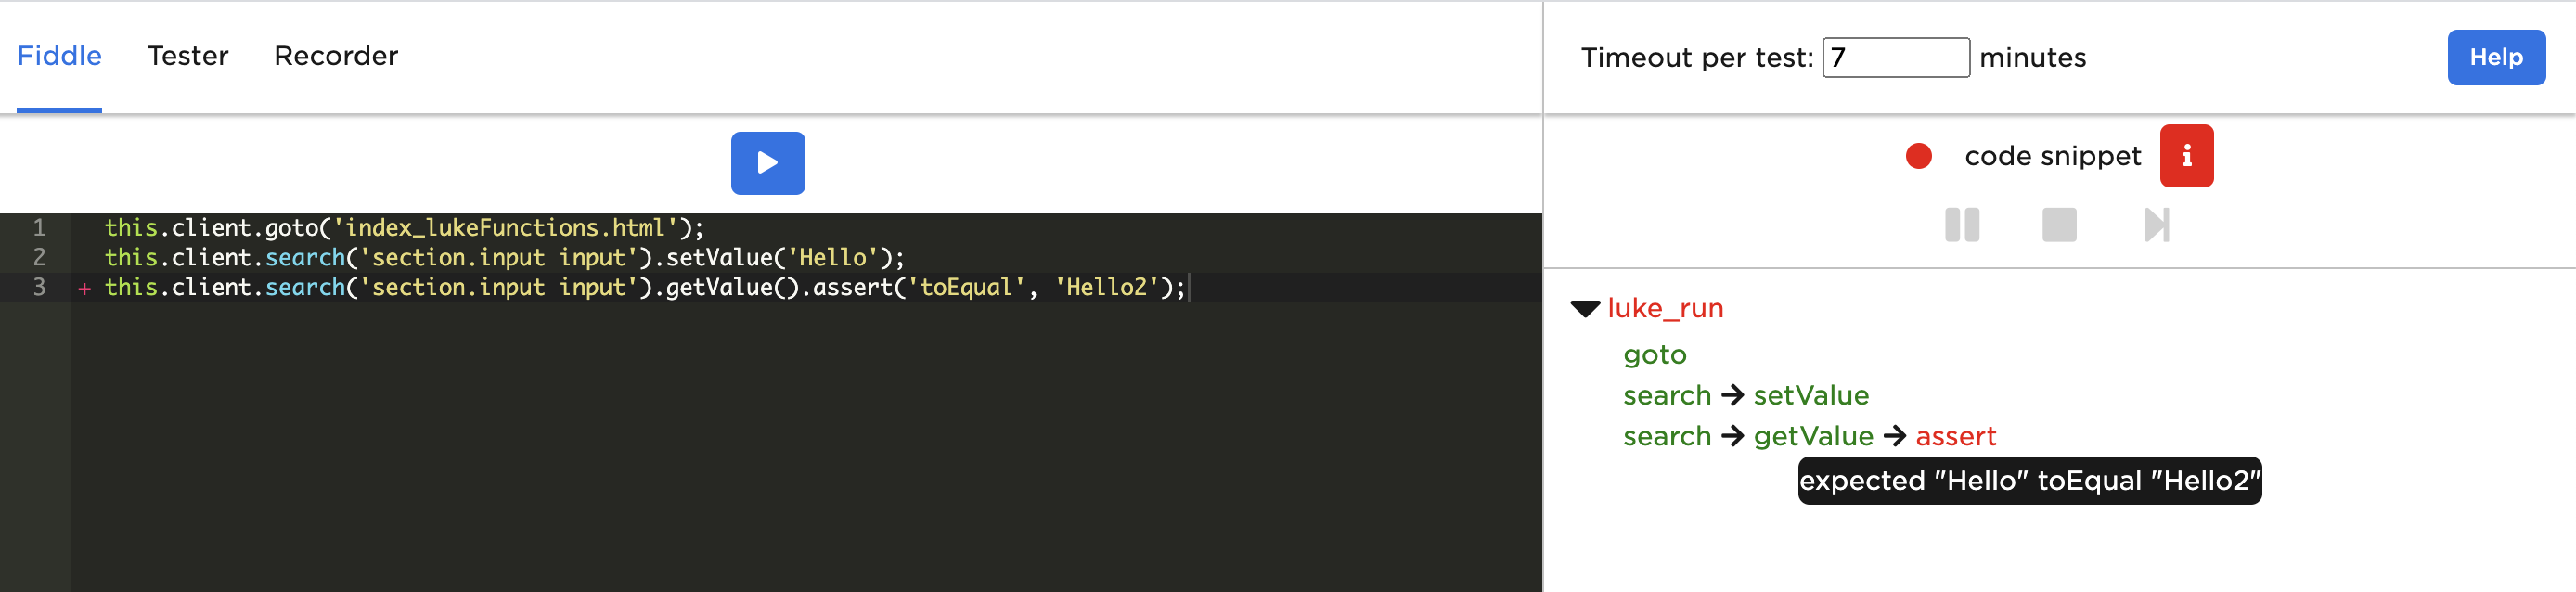
The default view for the playground is the Fiddle mode view, where you can run code snippets in the code editor by clicking Play. Use the following variables to run Luke commands in the code editor: client, luke, this.client, this.luke.
The following code snippet is an example of a luke package.
this.client.goto('index_lukeFunctions.html');
this.client.search('section.input input').setValue('Hello');
Running the above code snippet in Fiddle mode navigates to http://localhost:8080/index_lukeFunctions.html, finds the input element, and sets its value to Hello.
The Luke Async Queue window displays the Luke async queue chains being executed:
1. goto
2. search -> setValue
When adding an assertion statement after setting the input value, the input value of the added assertion is expected to be 'Hello2' but the actual input value is 'Hello'.
  this.client.goto('index_lukeFunctions.html');
  this.client.search('section.input input').setValue('Hello');
+ this.client.search('section.input input').getValue().assert('toEqual', 'Hello2');
After clicking Play, Luke continues to try the assertion node until it times out. The Luke Async Queue window displays the LukeAsyncQueueNodes traversed with the following color scheme:
| Color | Status |
|---|---|
| Green | Passed |
| Red | Failed |
| Yellow | Running |
| Gray | Pending |
The example error message below shows that the assertion node failed, as expected since the added assertion is is 'Hello' instead of the expected 'Hello2'.
Request mocking
Mock type system requests using LukeBrowser#addRequestMock.
The request mocks can be cleared using LukeBrowser#clearRequestMocks.
An example code snippet to mock a User.fetch call is as follows and includes a code example for clearing the mock request.
// Setting up the request mock
this.client.addRequestMock('User', 'fetch', {
  objs: [
    {
      id: 'test',
      name: 'test',
    },
  ],
});

// ...

// Clearing the request mock
this.client.clearRequestMocks();Run Jasmine test scripts in Fiddle mode
Run a Luke Jasmine test script by clicking Play in Fiddle mode. The test result displays at the end of the test in a modal.
This is different from the above example of running code in Fiddle mode, since it loads the Jasmine library and runs the script as a Jasmine test suite.
The following code snippet runs a basic Jasmine test script.
LukeBrowser.runJasmine('test', function () {
  beforeAll(function () {
    this.client = LukeBrowser.init();
    this.page = LukeTestPage.make({
      luke: this.client,
      path: 'index_lukeFunctions.html',
    });
    this.page.openPage();
  });
  describe('value', function () {
    it('getValue', function () {
      this.client.search('section.input input').getValue().assert('toBeEmpty');
    });
  });
});
After running the above testing script by clicking Play, the test result displays automatically.
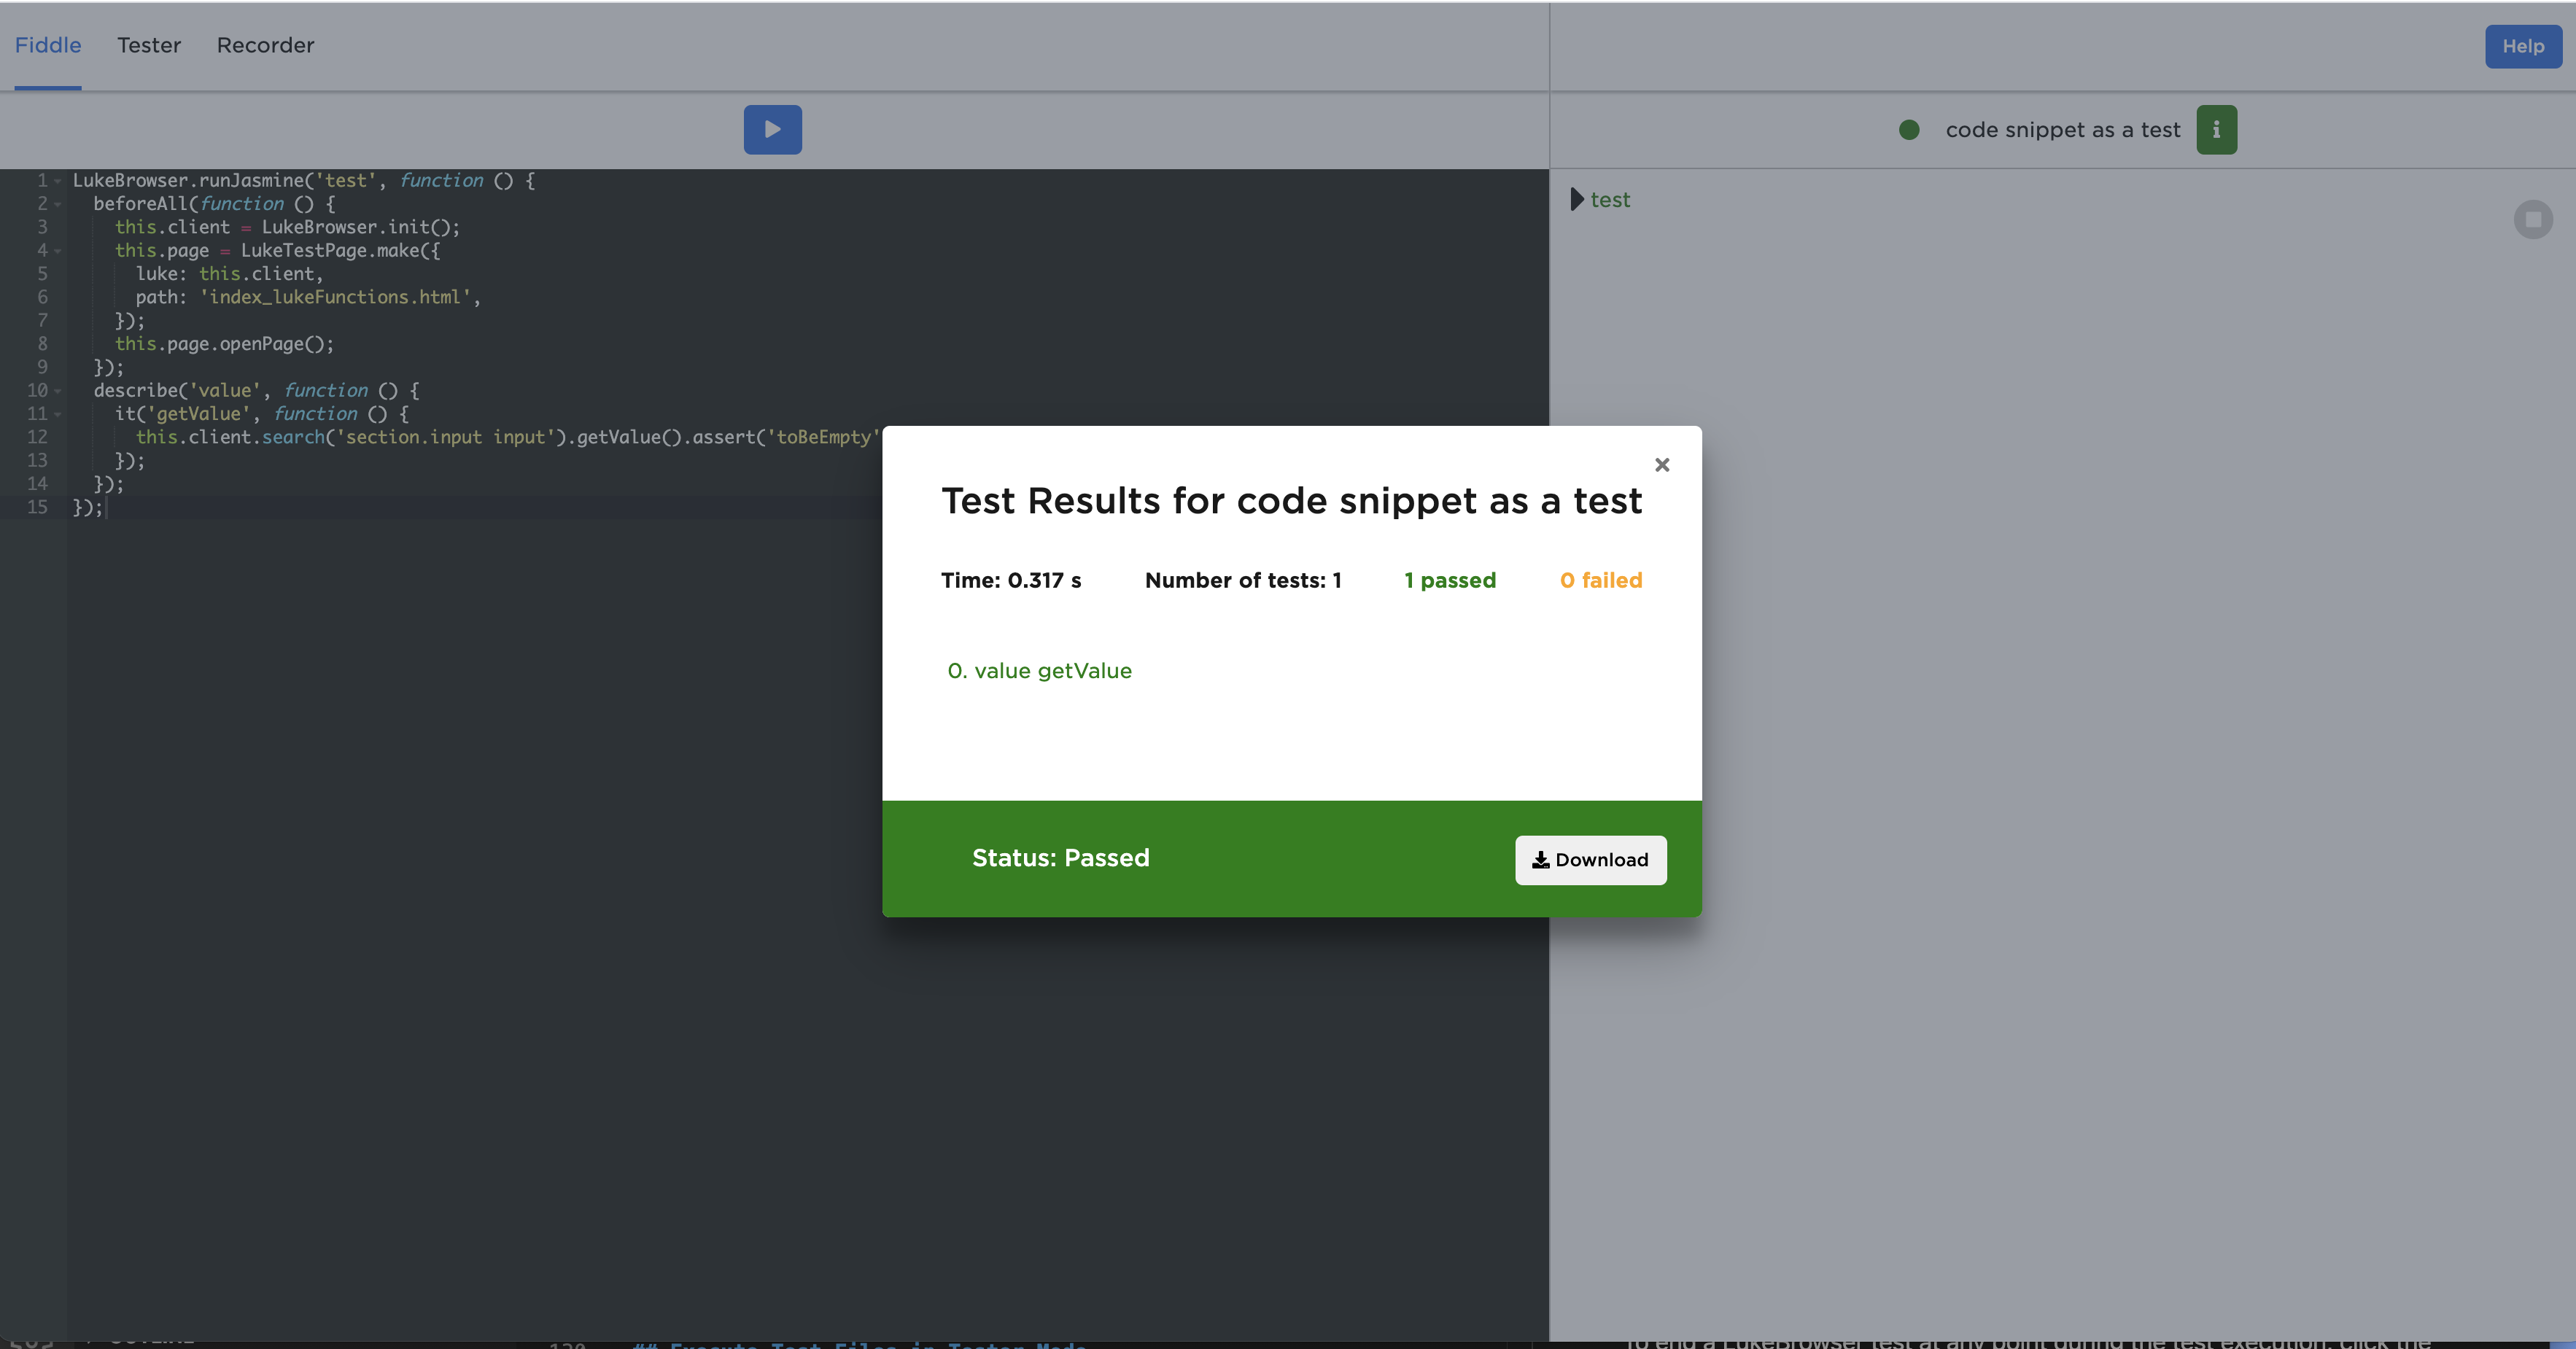
View previous the test results by clicking i. Download the results by clicking Download.
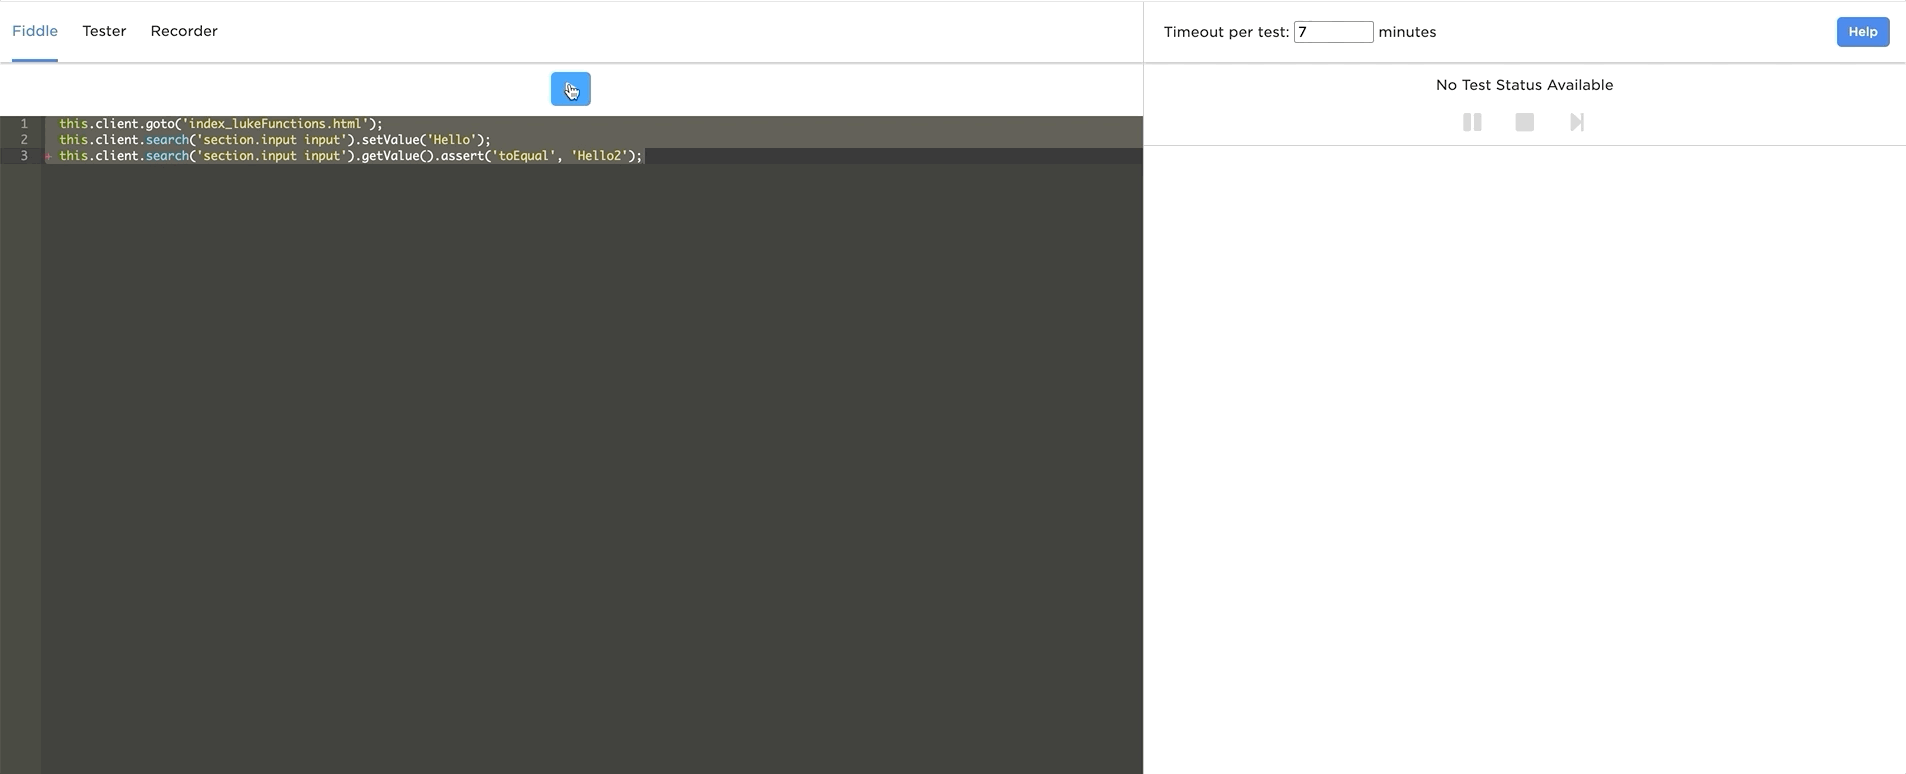
Cancel a LukeBrowser test
Click Stop in the Luke Lifecycle Visualizer to cancel a LukeBrowser test at any point during the test. The Luke instance closes once the running LukeAsyncQueueNode is evaluated. Stop is only available as an option when there is a Luke instance currently running a test.
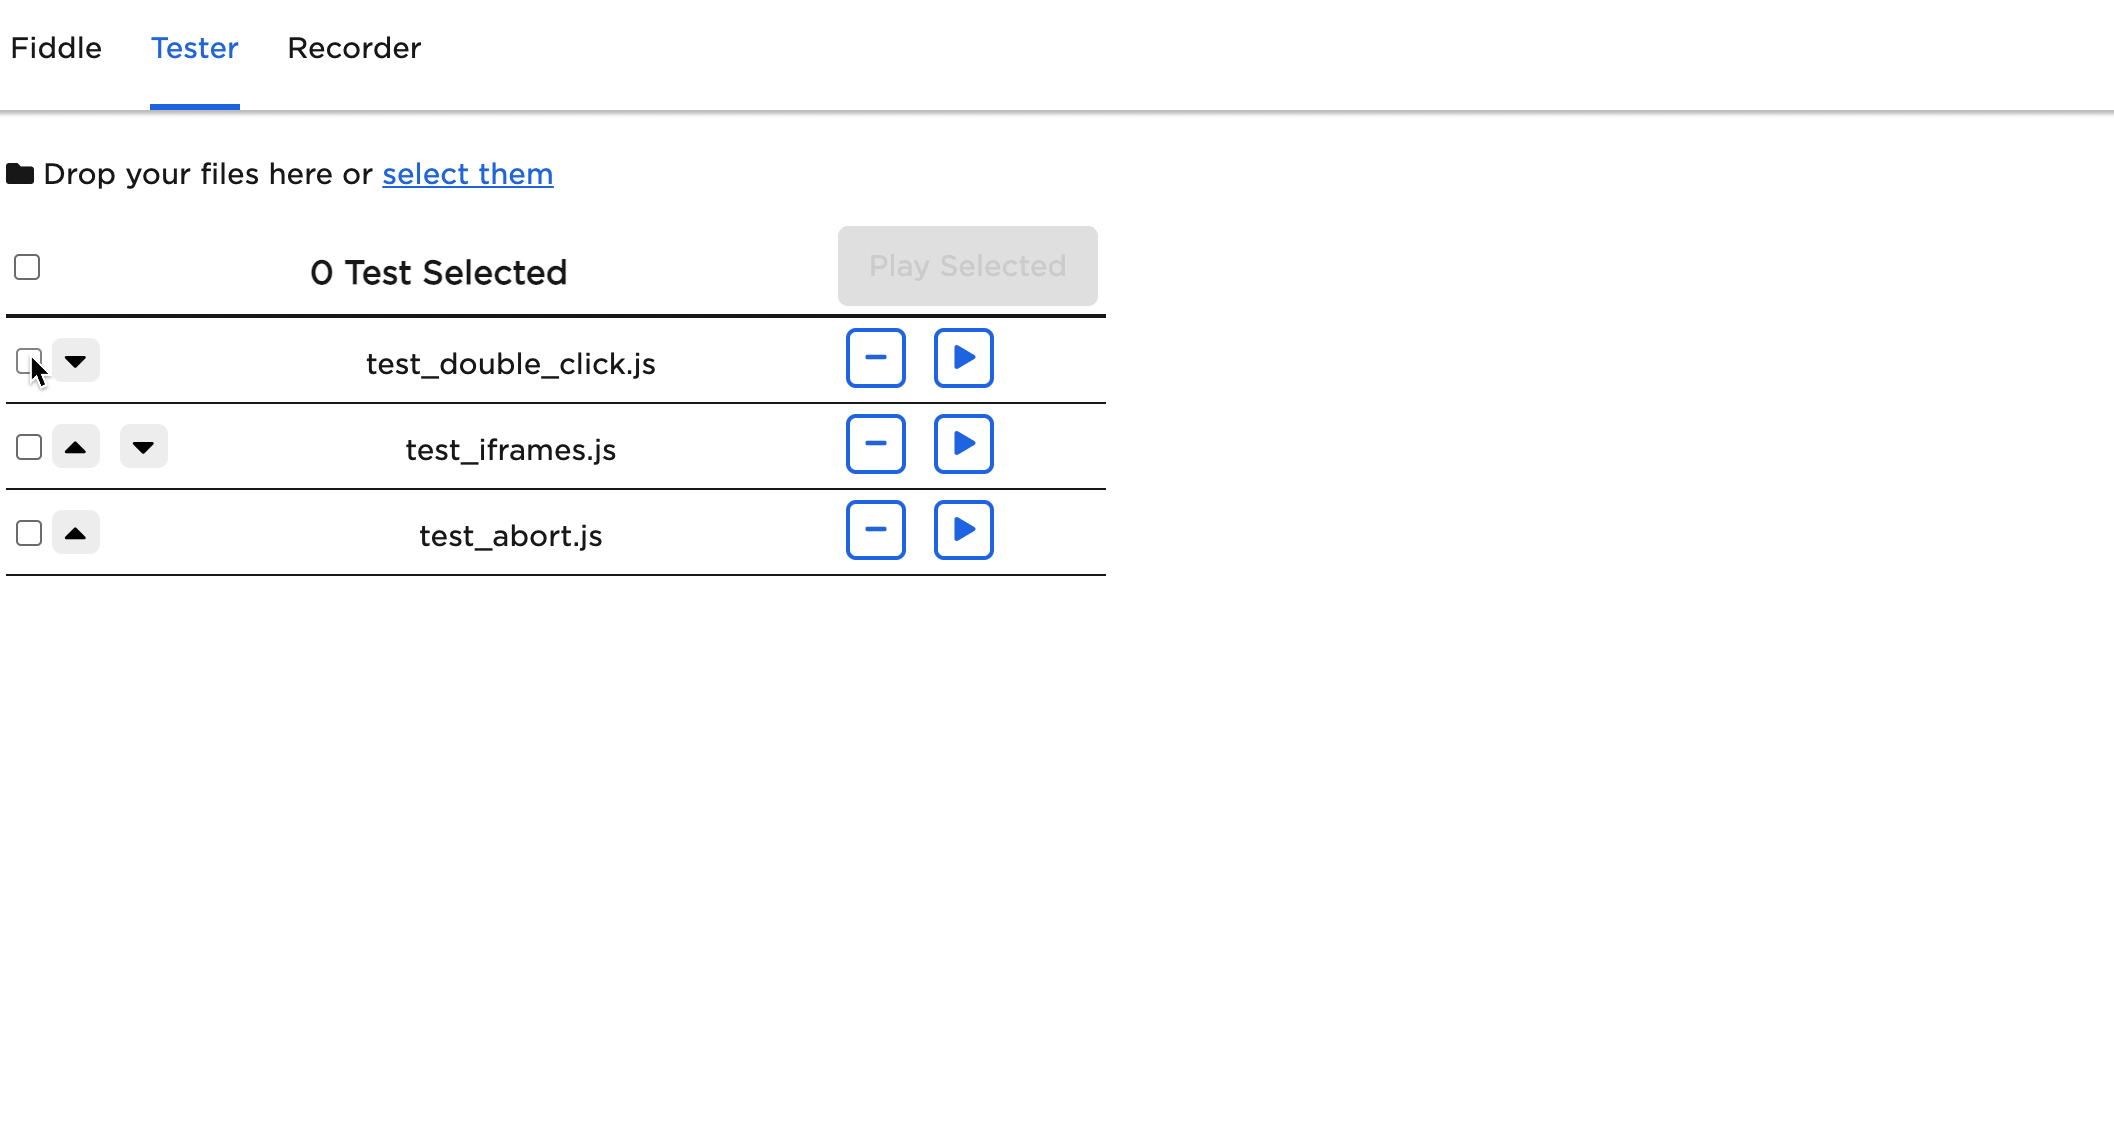
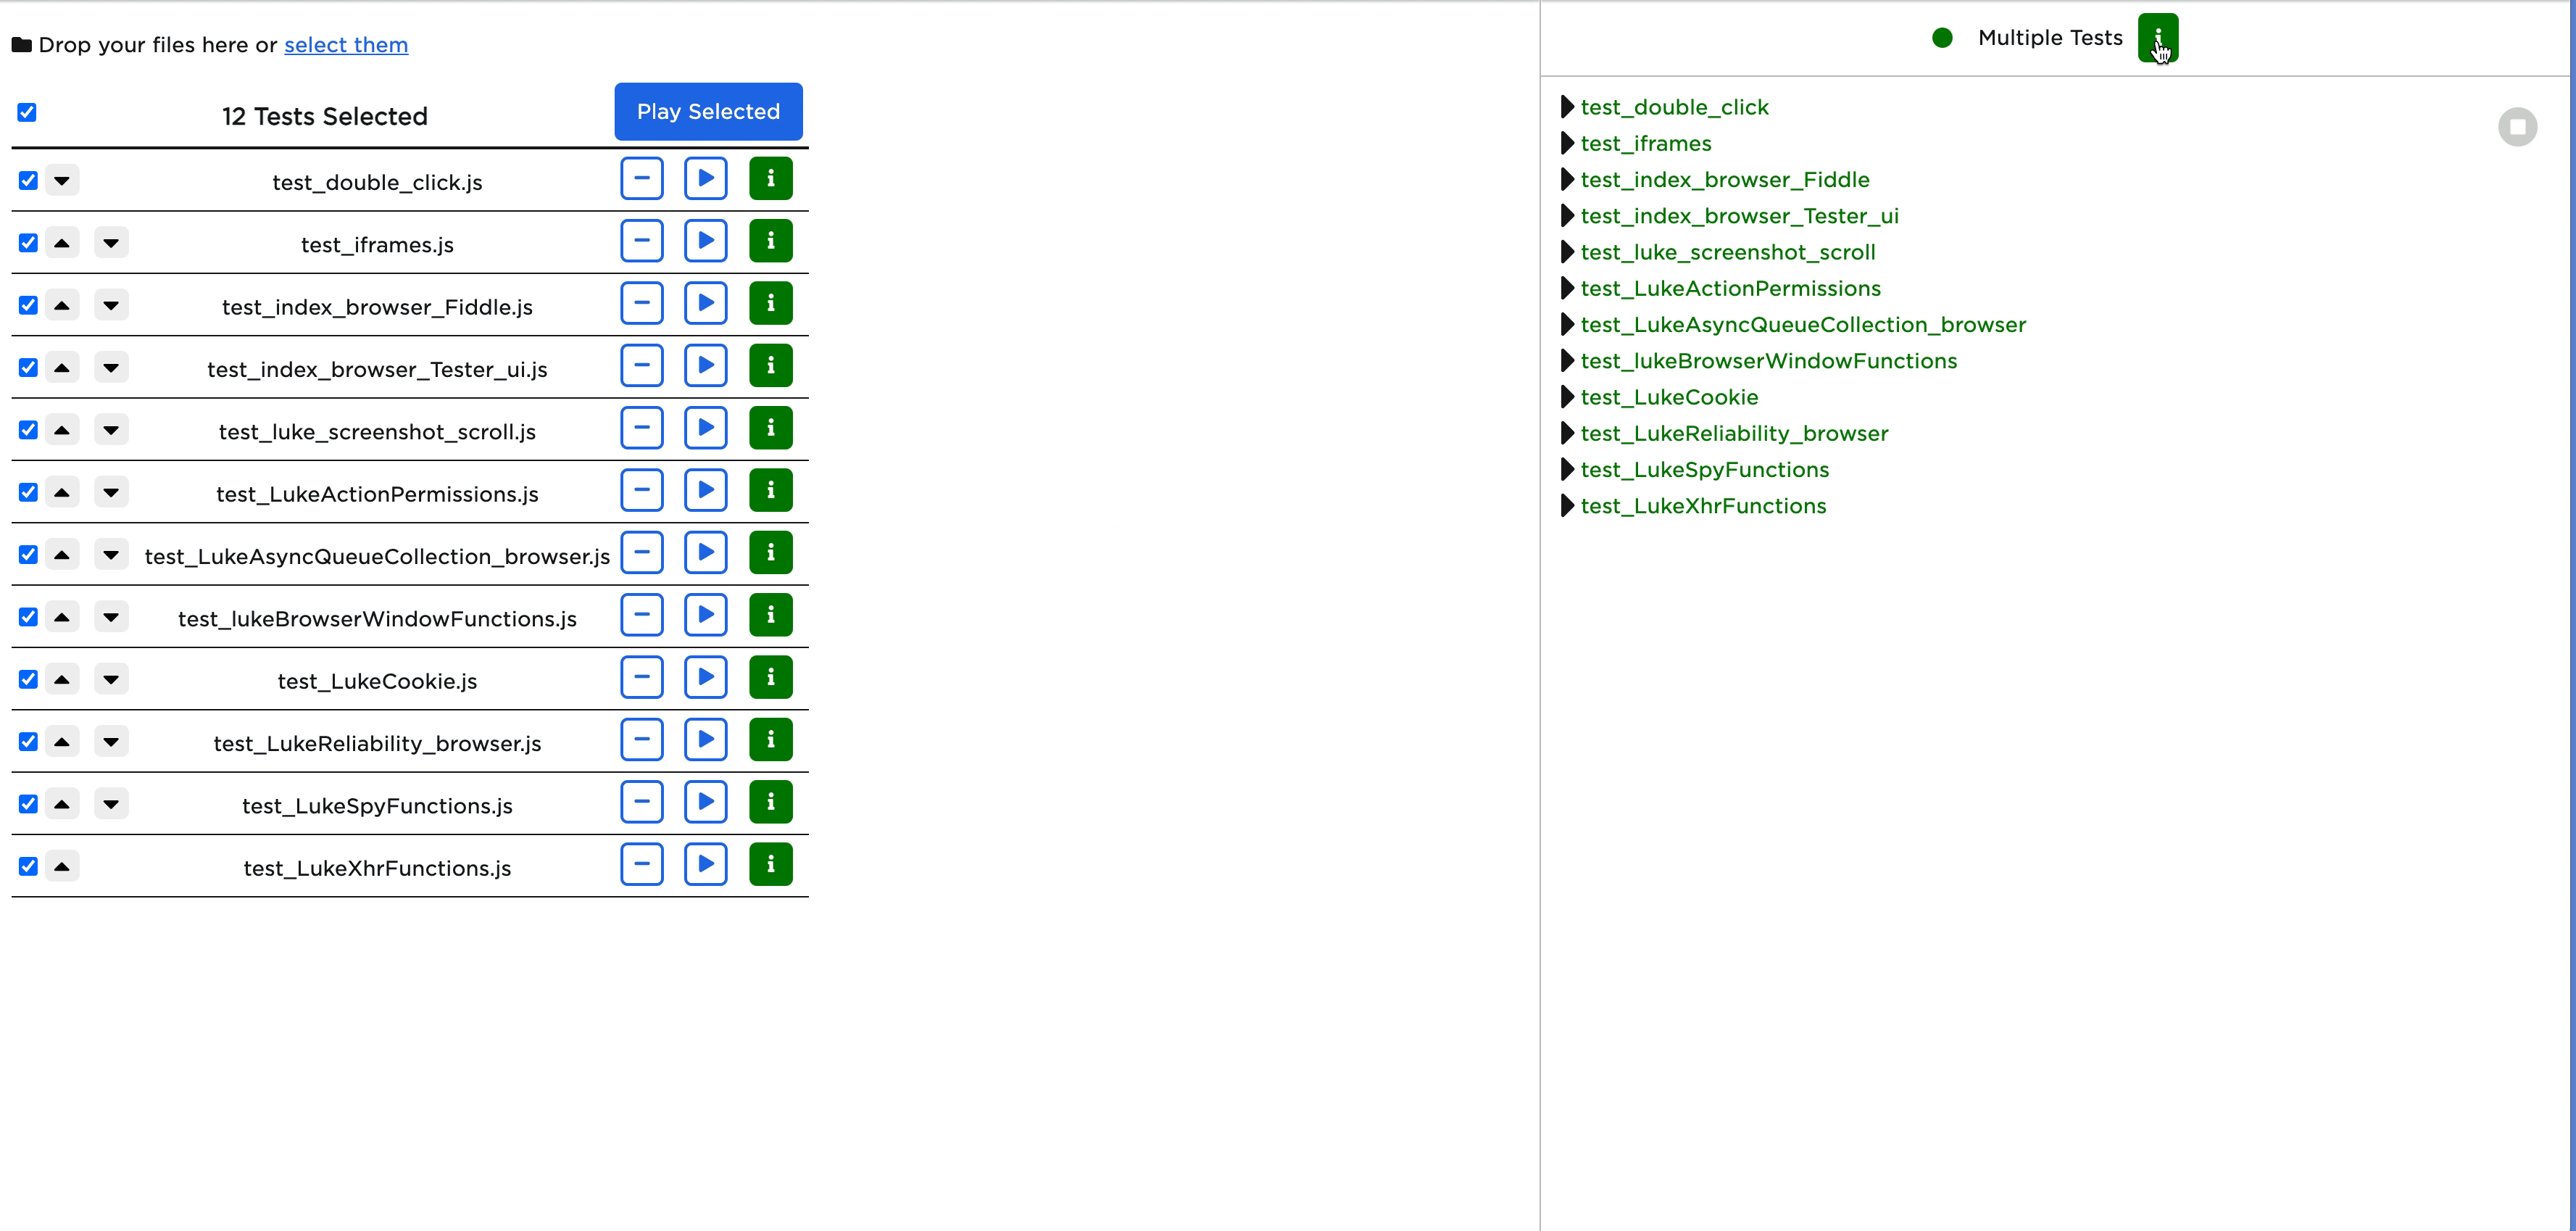
Run test files in Tester mode
Select the Tester tab to access Tester mode. This is where Jasmine test files can be entered and run. Drag and drop the test files to the Playground window or click Select Them to open the file selector and select the files you want to test.
Select tests
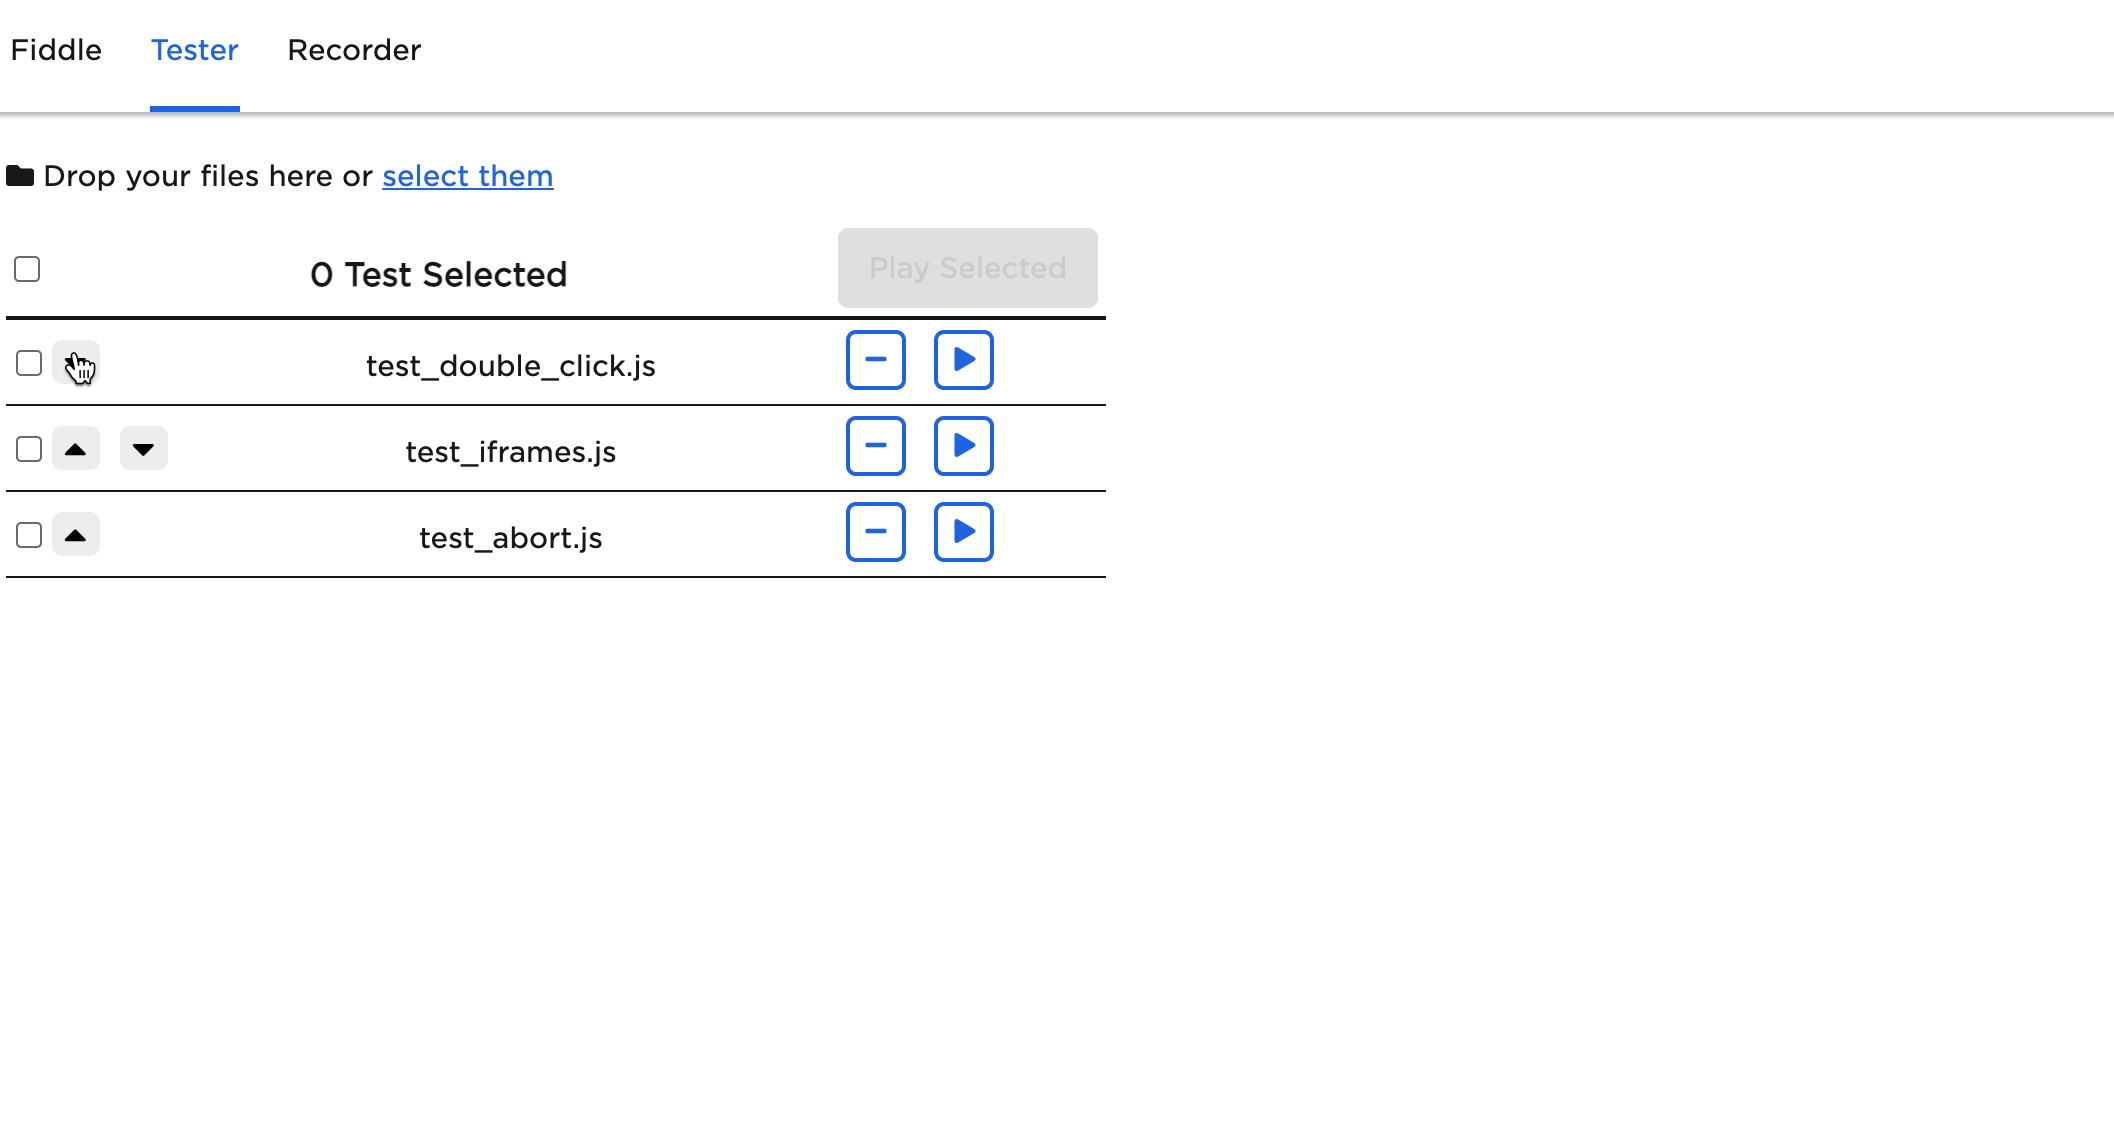
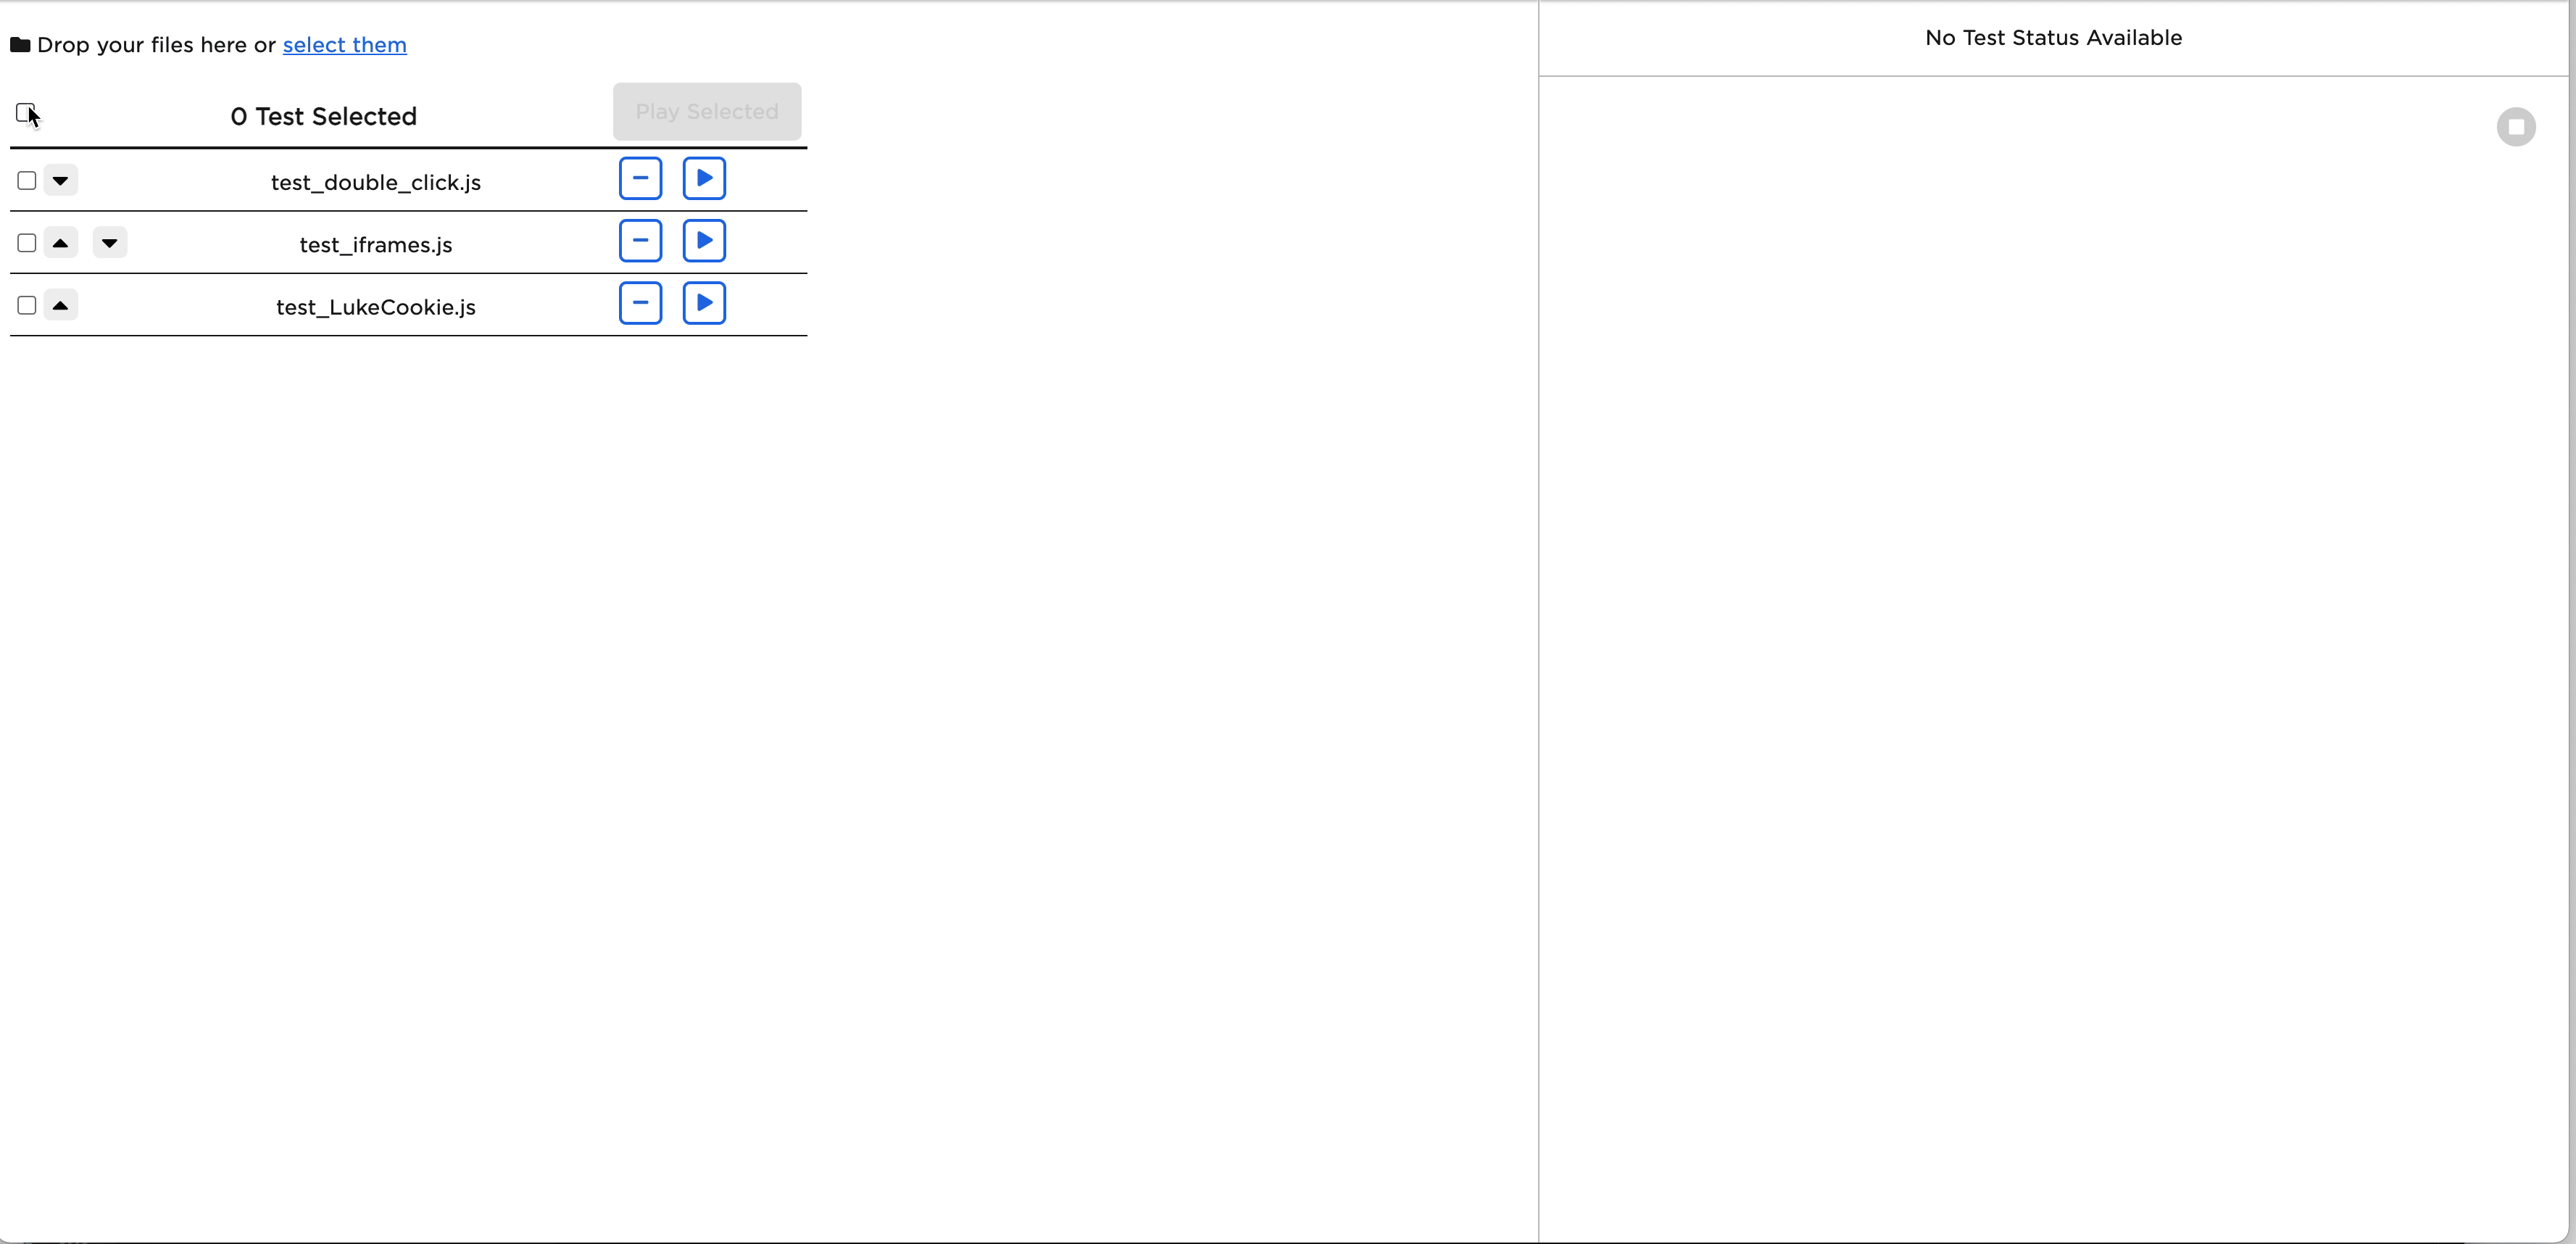
Select or deselect a single test file by clicking the checkbox associated with the test file. Or, select or deselect all test files by clicking the checkbox in the header.
Reorder tests
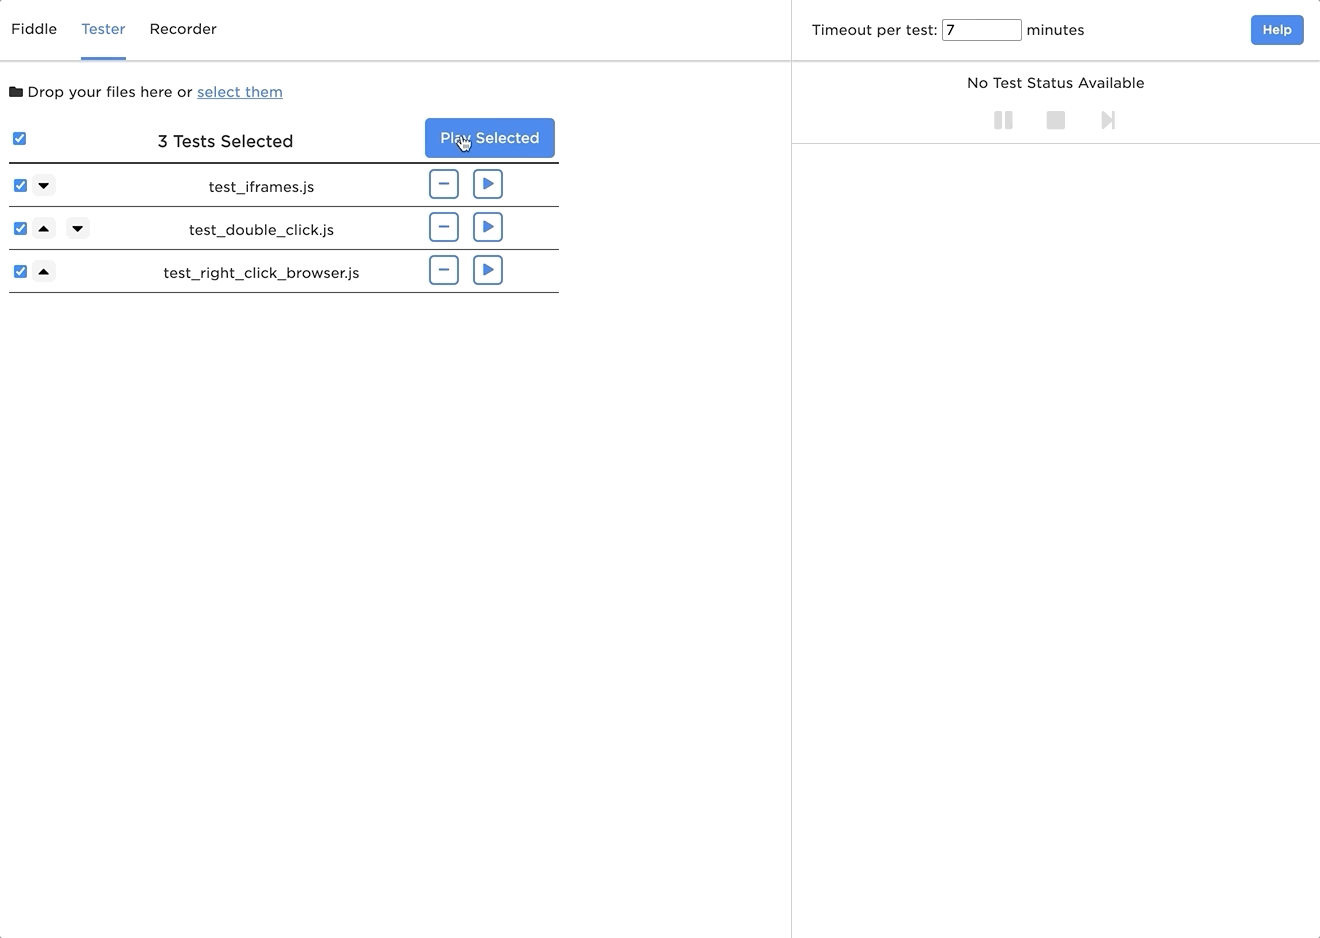
When there is more than one test file loaded, click the up or down arrow to move the corresponding file up or down in the list. Reordering the list impacts the order in which the tests are run.
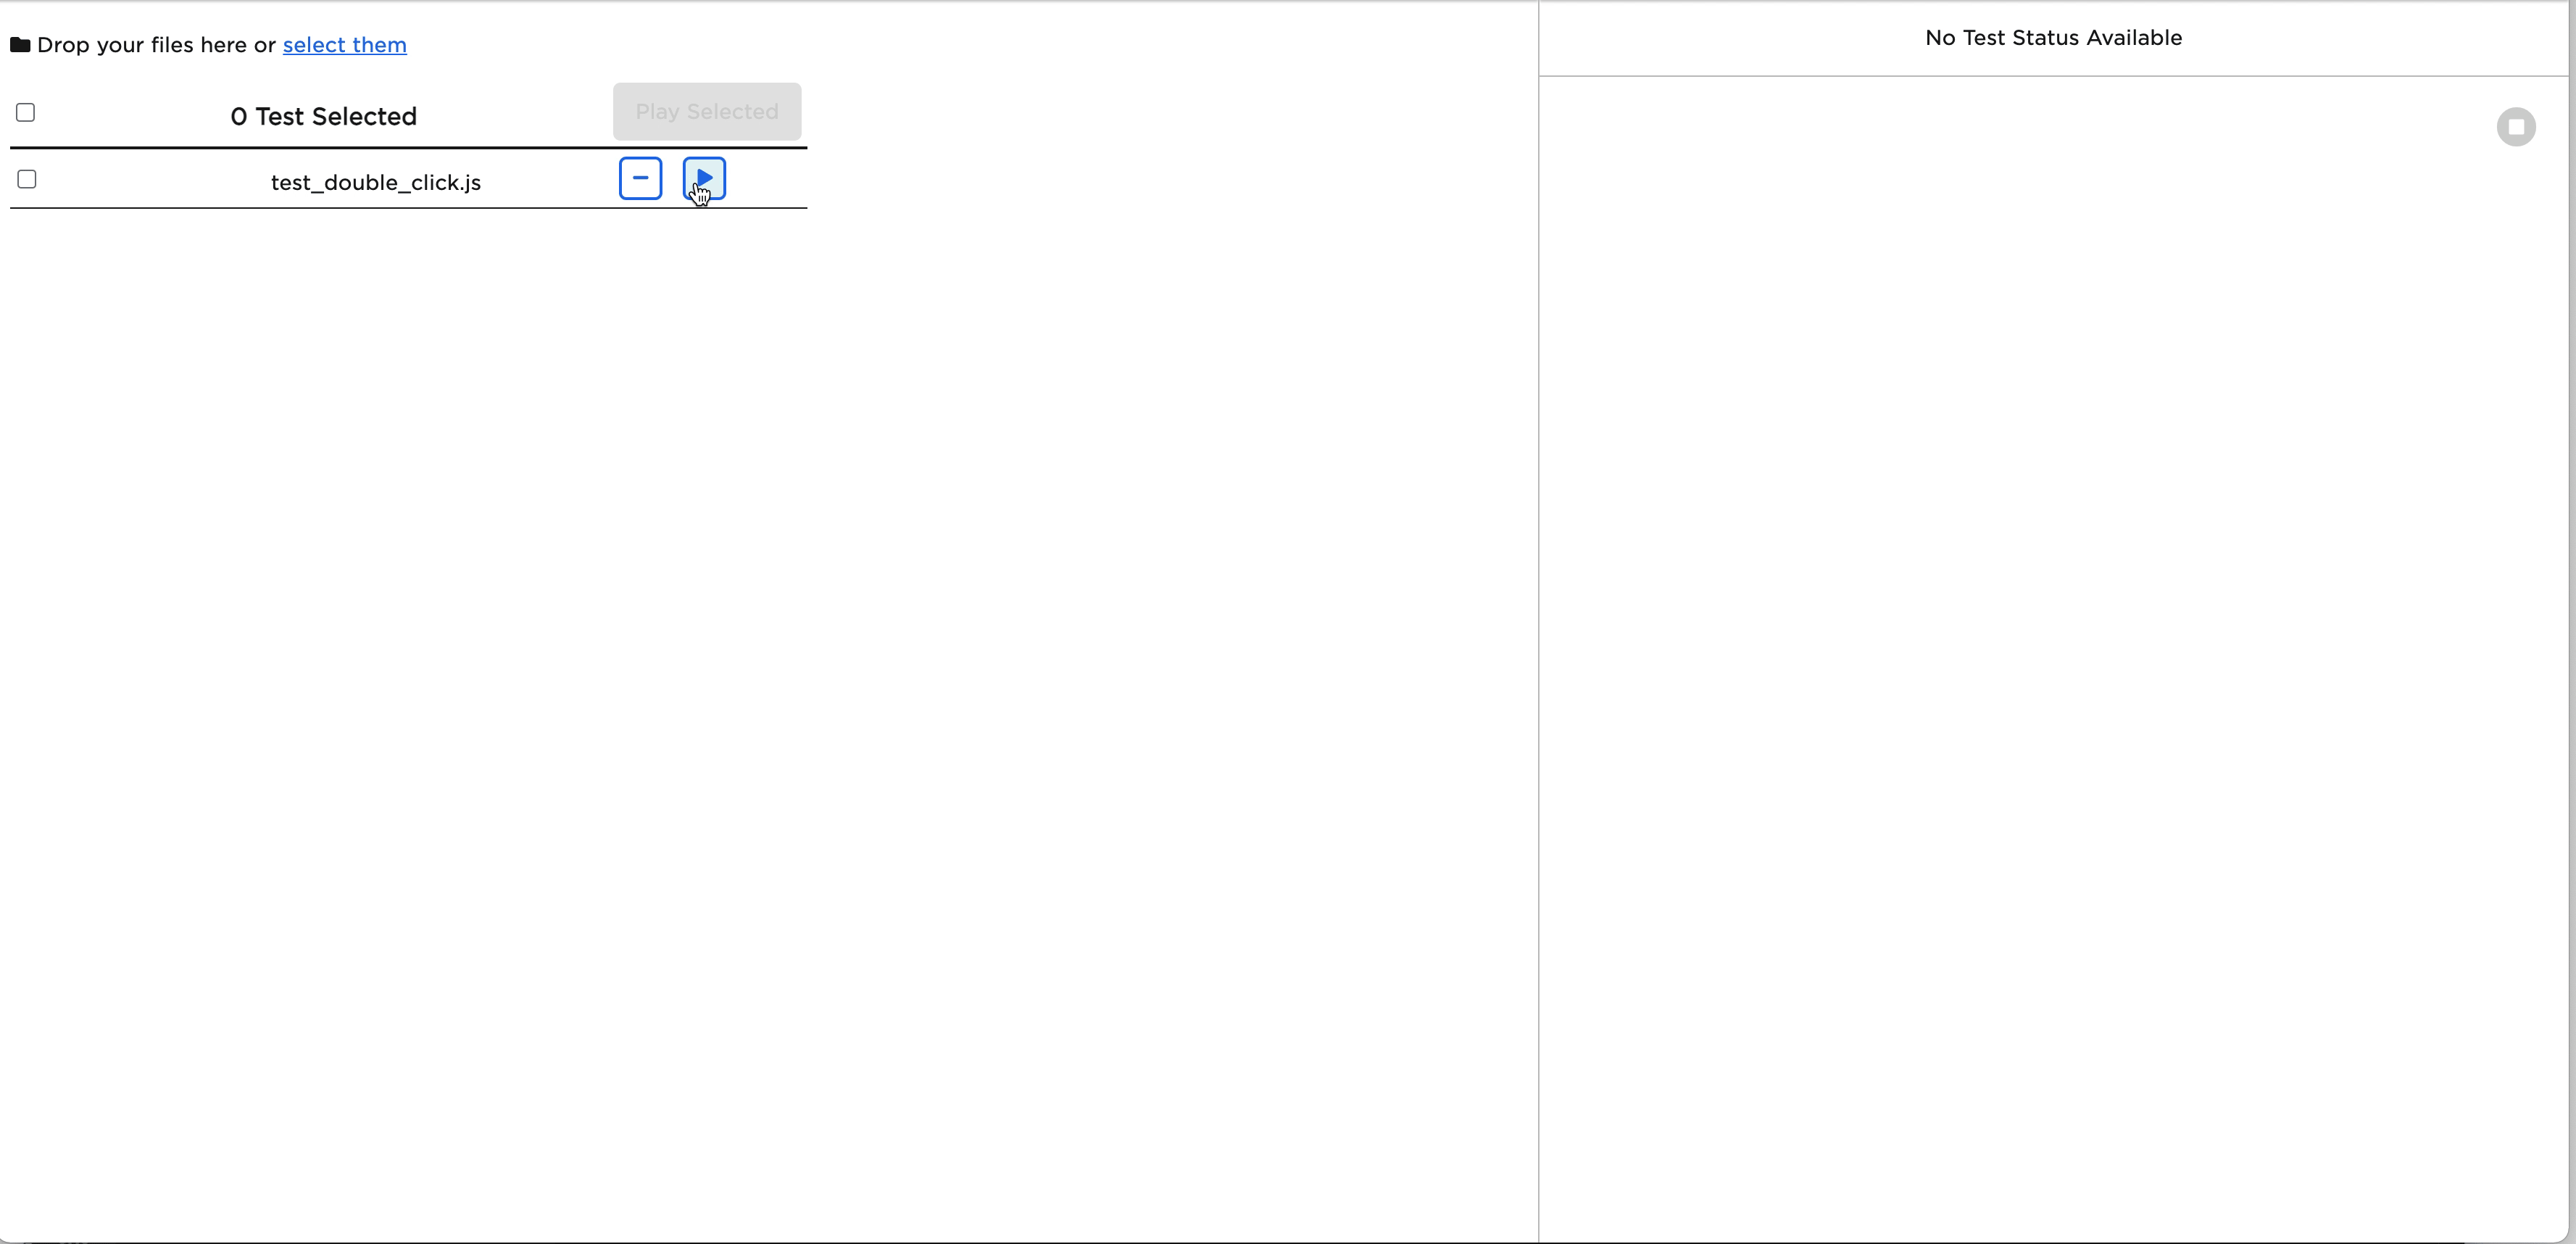
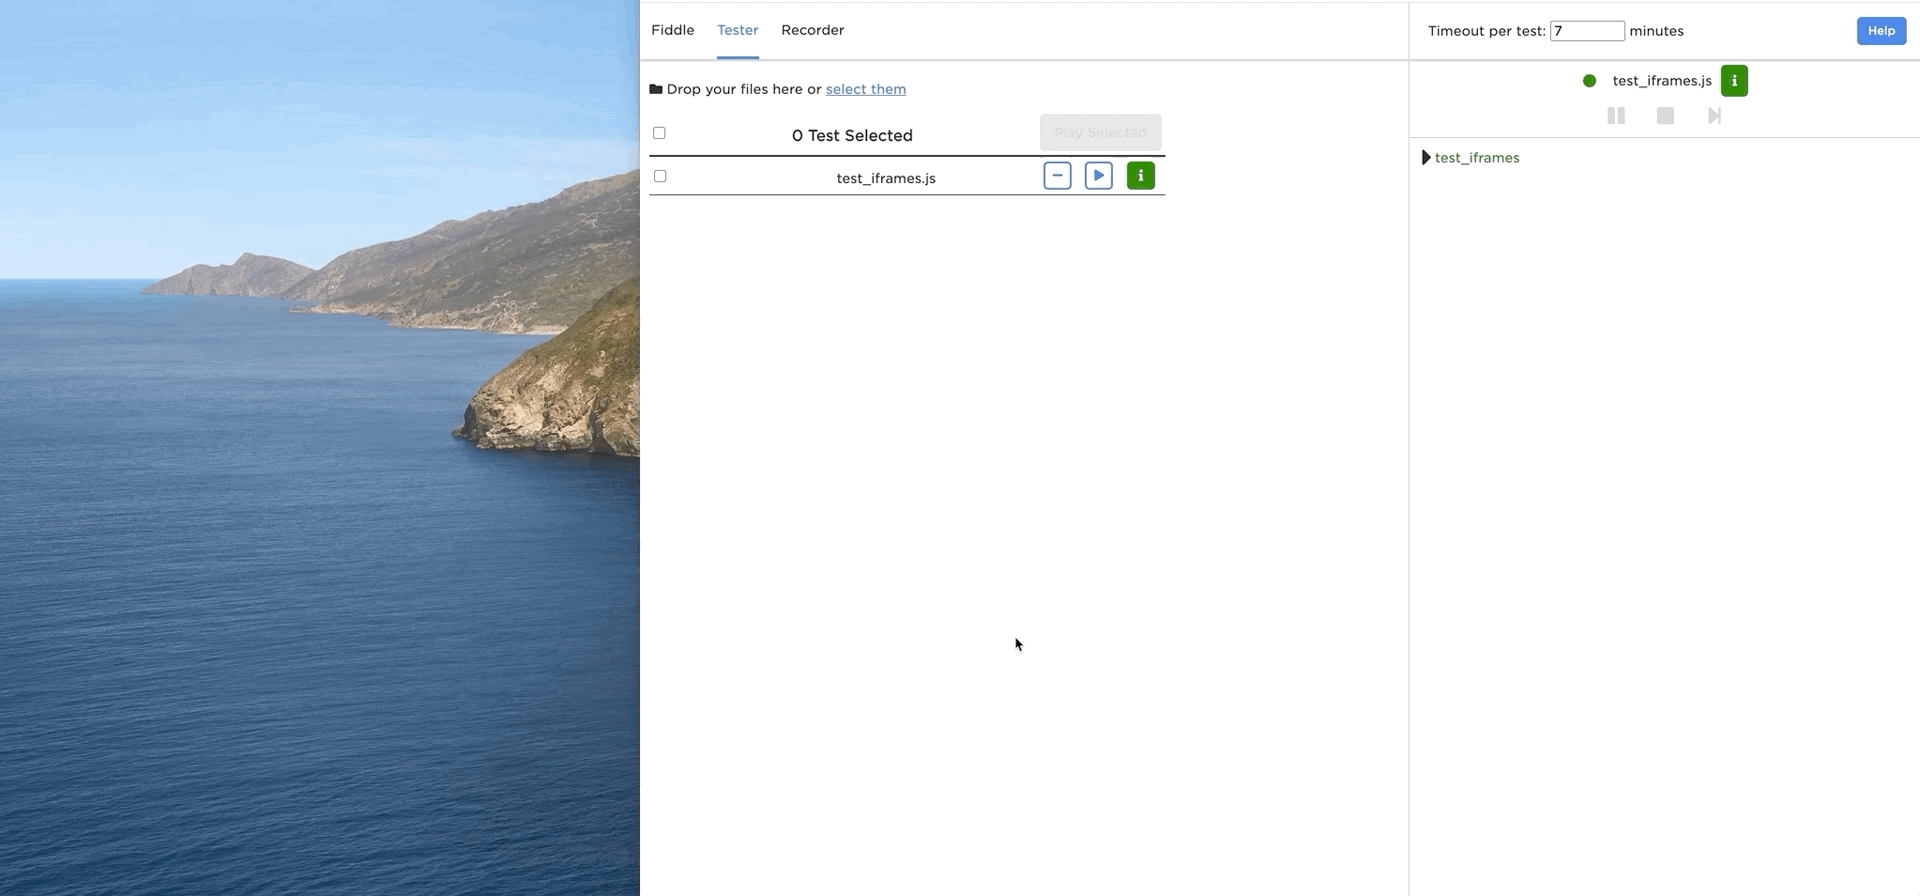
Run a single test
After loading the test files, click Play for the associated test file to run it in the playground. Or, select the desired test file and click Play Selected.
When the test completes, the test result displays automatically. Click i for the associated test file to view and download the test, or click i in the Luke Lifecycle Visualizer. All test result details are cached until it runs again.
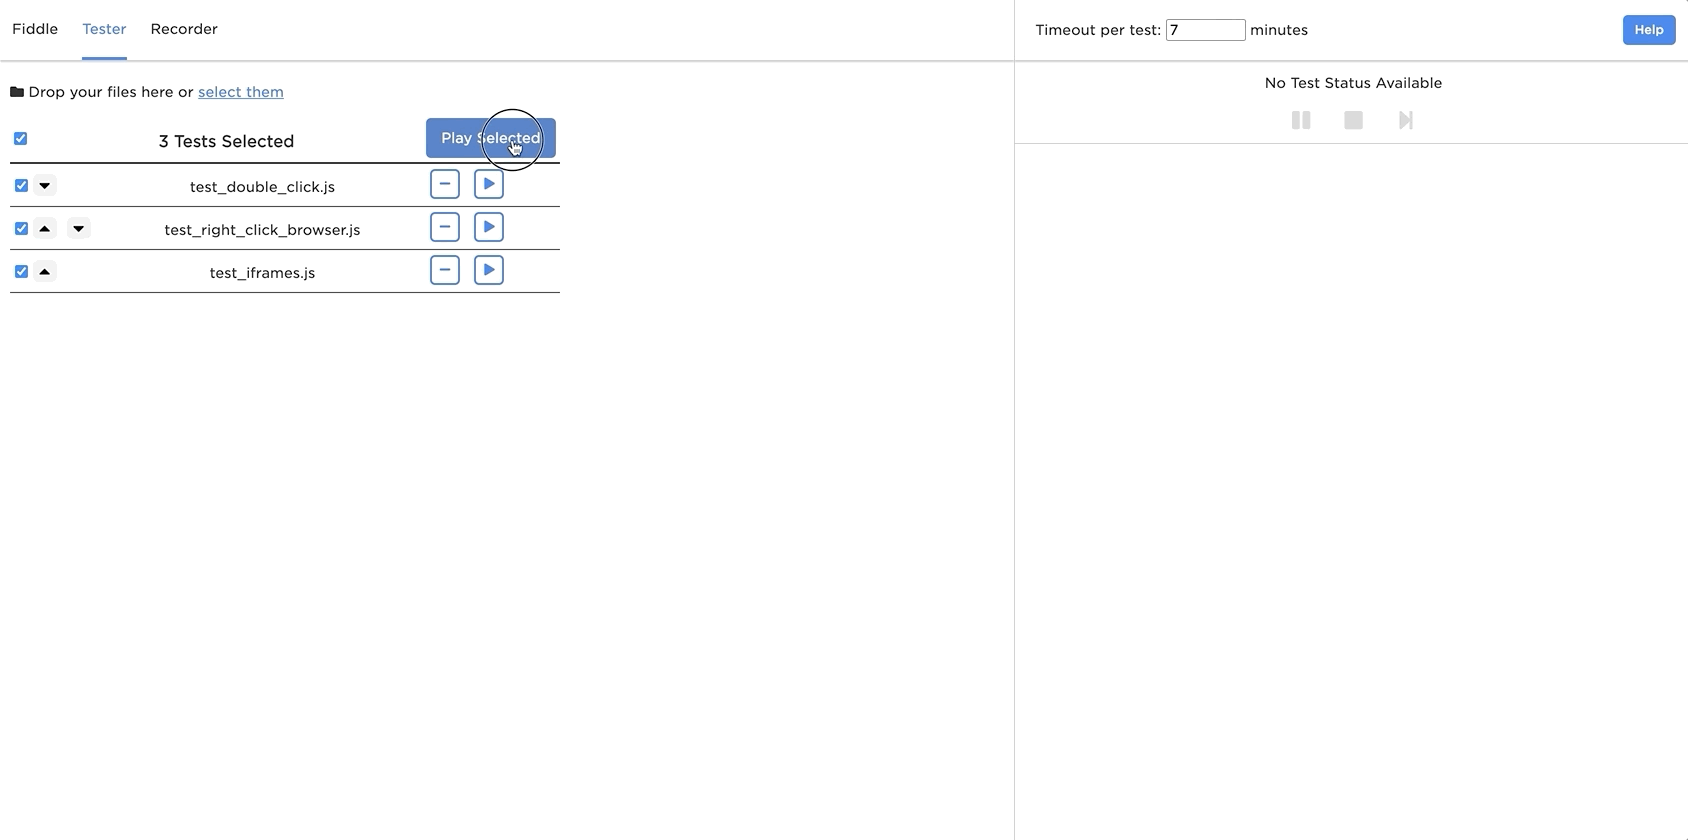
Run multiple tests
Select all the test files you want to run, then click Play Selected . The tests run sequentially. View which test is currently running in the Luke Lifecycle Visualizer.
When the tests complete, the multi-test results display automatically. Click i in the Luke Lifecycle Visualizer to view and download the tests. Download a single test result in the result modal by clicking Download.

Download all test results by clicking Download All.
View other test results by clicking the pagination in the footer.
Cancel a single test
See the "Cancel a LukeBrowser Test" section above for how to cancel a single test. If you cancel a single test while running multiple tests, only the current test will be cancelled, and Luke will continue running the rest of the test files in queue.
Cancel all tests
While running selected tests, the Play Selected button changes into Stop All. Selecting Stop All cancels the current test and unschedules all of the remaining tests.
Pause and resume test execution
While a test is running, pause, resume, step through, and cancel the test by selecting the desired option from the Player bar at the top of the Luke Lifecycle Visualizer.
Pause test execution
Pause a test by clicking Pause. The test pauses at the end of the currently running chain.
NOTE: It is not possible to pause a running test at the individual node level.
A test can be paused for 30 minutes at most before it is cancelled.
Step through paused test
Once a test is paused, you can step through the remaining series of chains by clicking Step Forward.
NOTE: The step size is a chain and not an individual node.
Resume test execution
To resume a test, click Play.
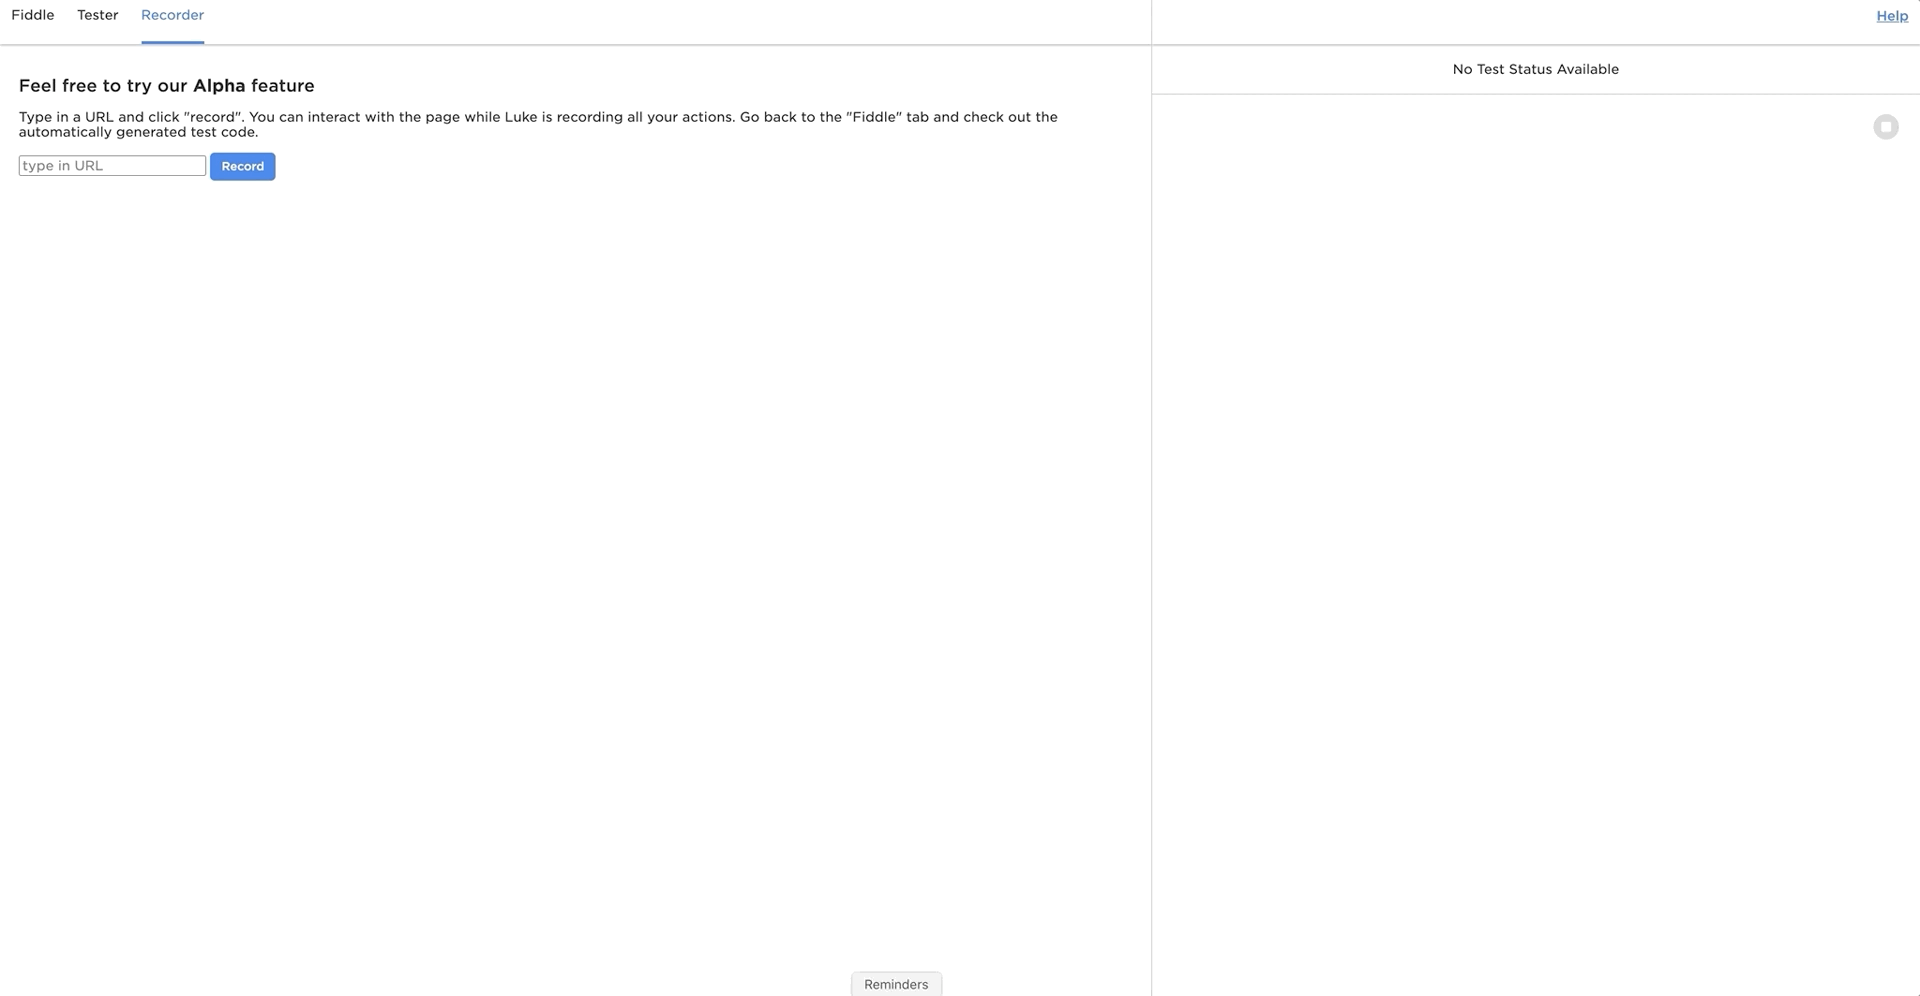
Recorder
Use Recorder to open a web page and record your actions. Access the Fiddle tab to inspect or replay the automatically generated test code that results.
The example below provides an example recording of shows a user opening a page (specifically /index_lukeDemoPage.html) and filling out some information on the form. A new window opens and returns the user to the Luke Playground Fiddle tab. The Fiddle tab is populated with test code, which the user executes to replicate the actions they performed on the new window. The example concludes with the new test script successfully passing the test.
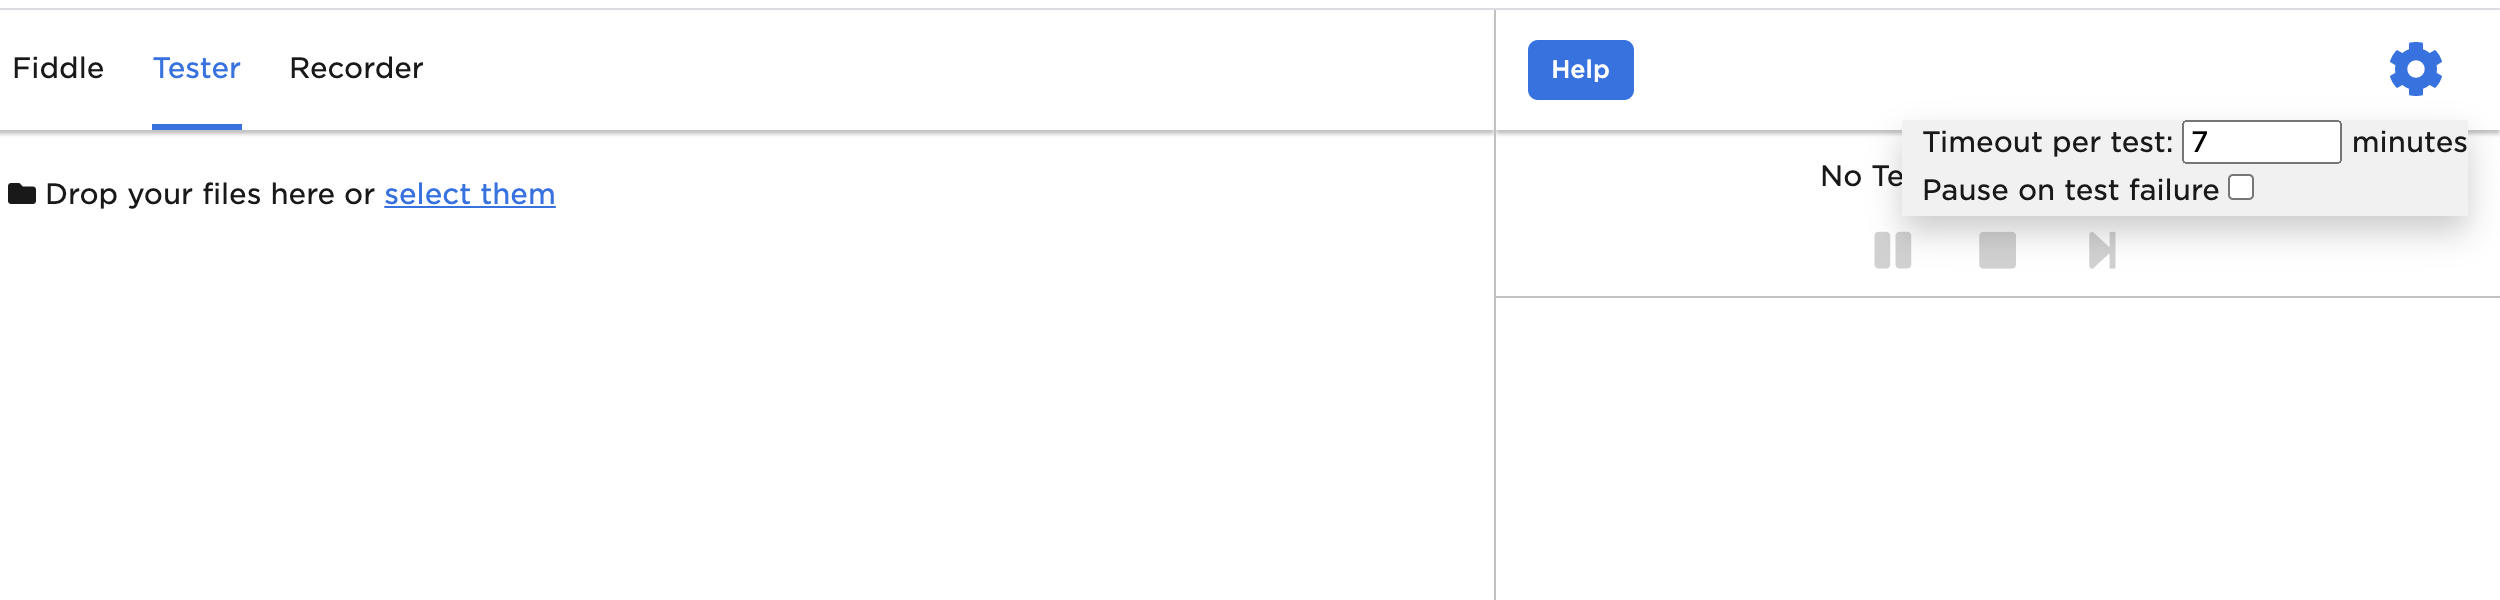
Help and settings
The Help and Settings drop-down menus are in the upper-right side the Luke Playground UI.
Help
From the Help drop-down menu, access the Luke Playground Tutorial and a document with some common Luke Functions. See also Luke Common Functions.
Timeout per test
From the Settings drop-down menu, update the Timeout Per Test option to specify the amount of time a test is given to run before it times out and is cancelled.
Pause on test failure
From the Settings drop-down menu, select the Pause on Test Failure option to automatically pause a test when a chain fails. Before pausing, the test first retries the chain multiple times and pauses at the end of the chain only if all retries are unsuccessful.
NOTE: The test does not pause if the failure is on the final chain.