Jango
Jango is a UI functional test authoring and debugging tool designed to center the UI testing experience for C3 applications to be as no-code as possible. Jango abstracts away the intricacies of the Luke framework to enable faster test authoring.
Getting started
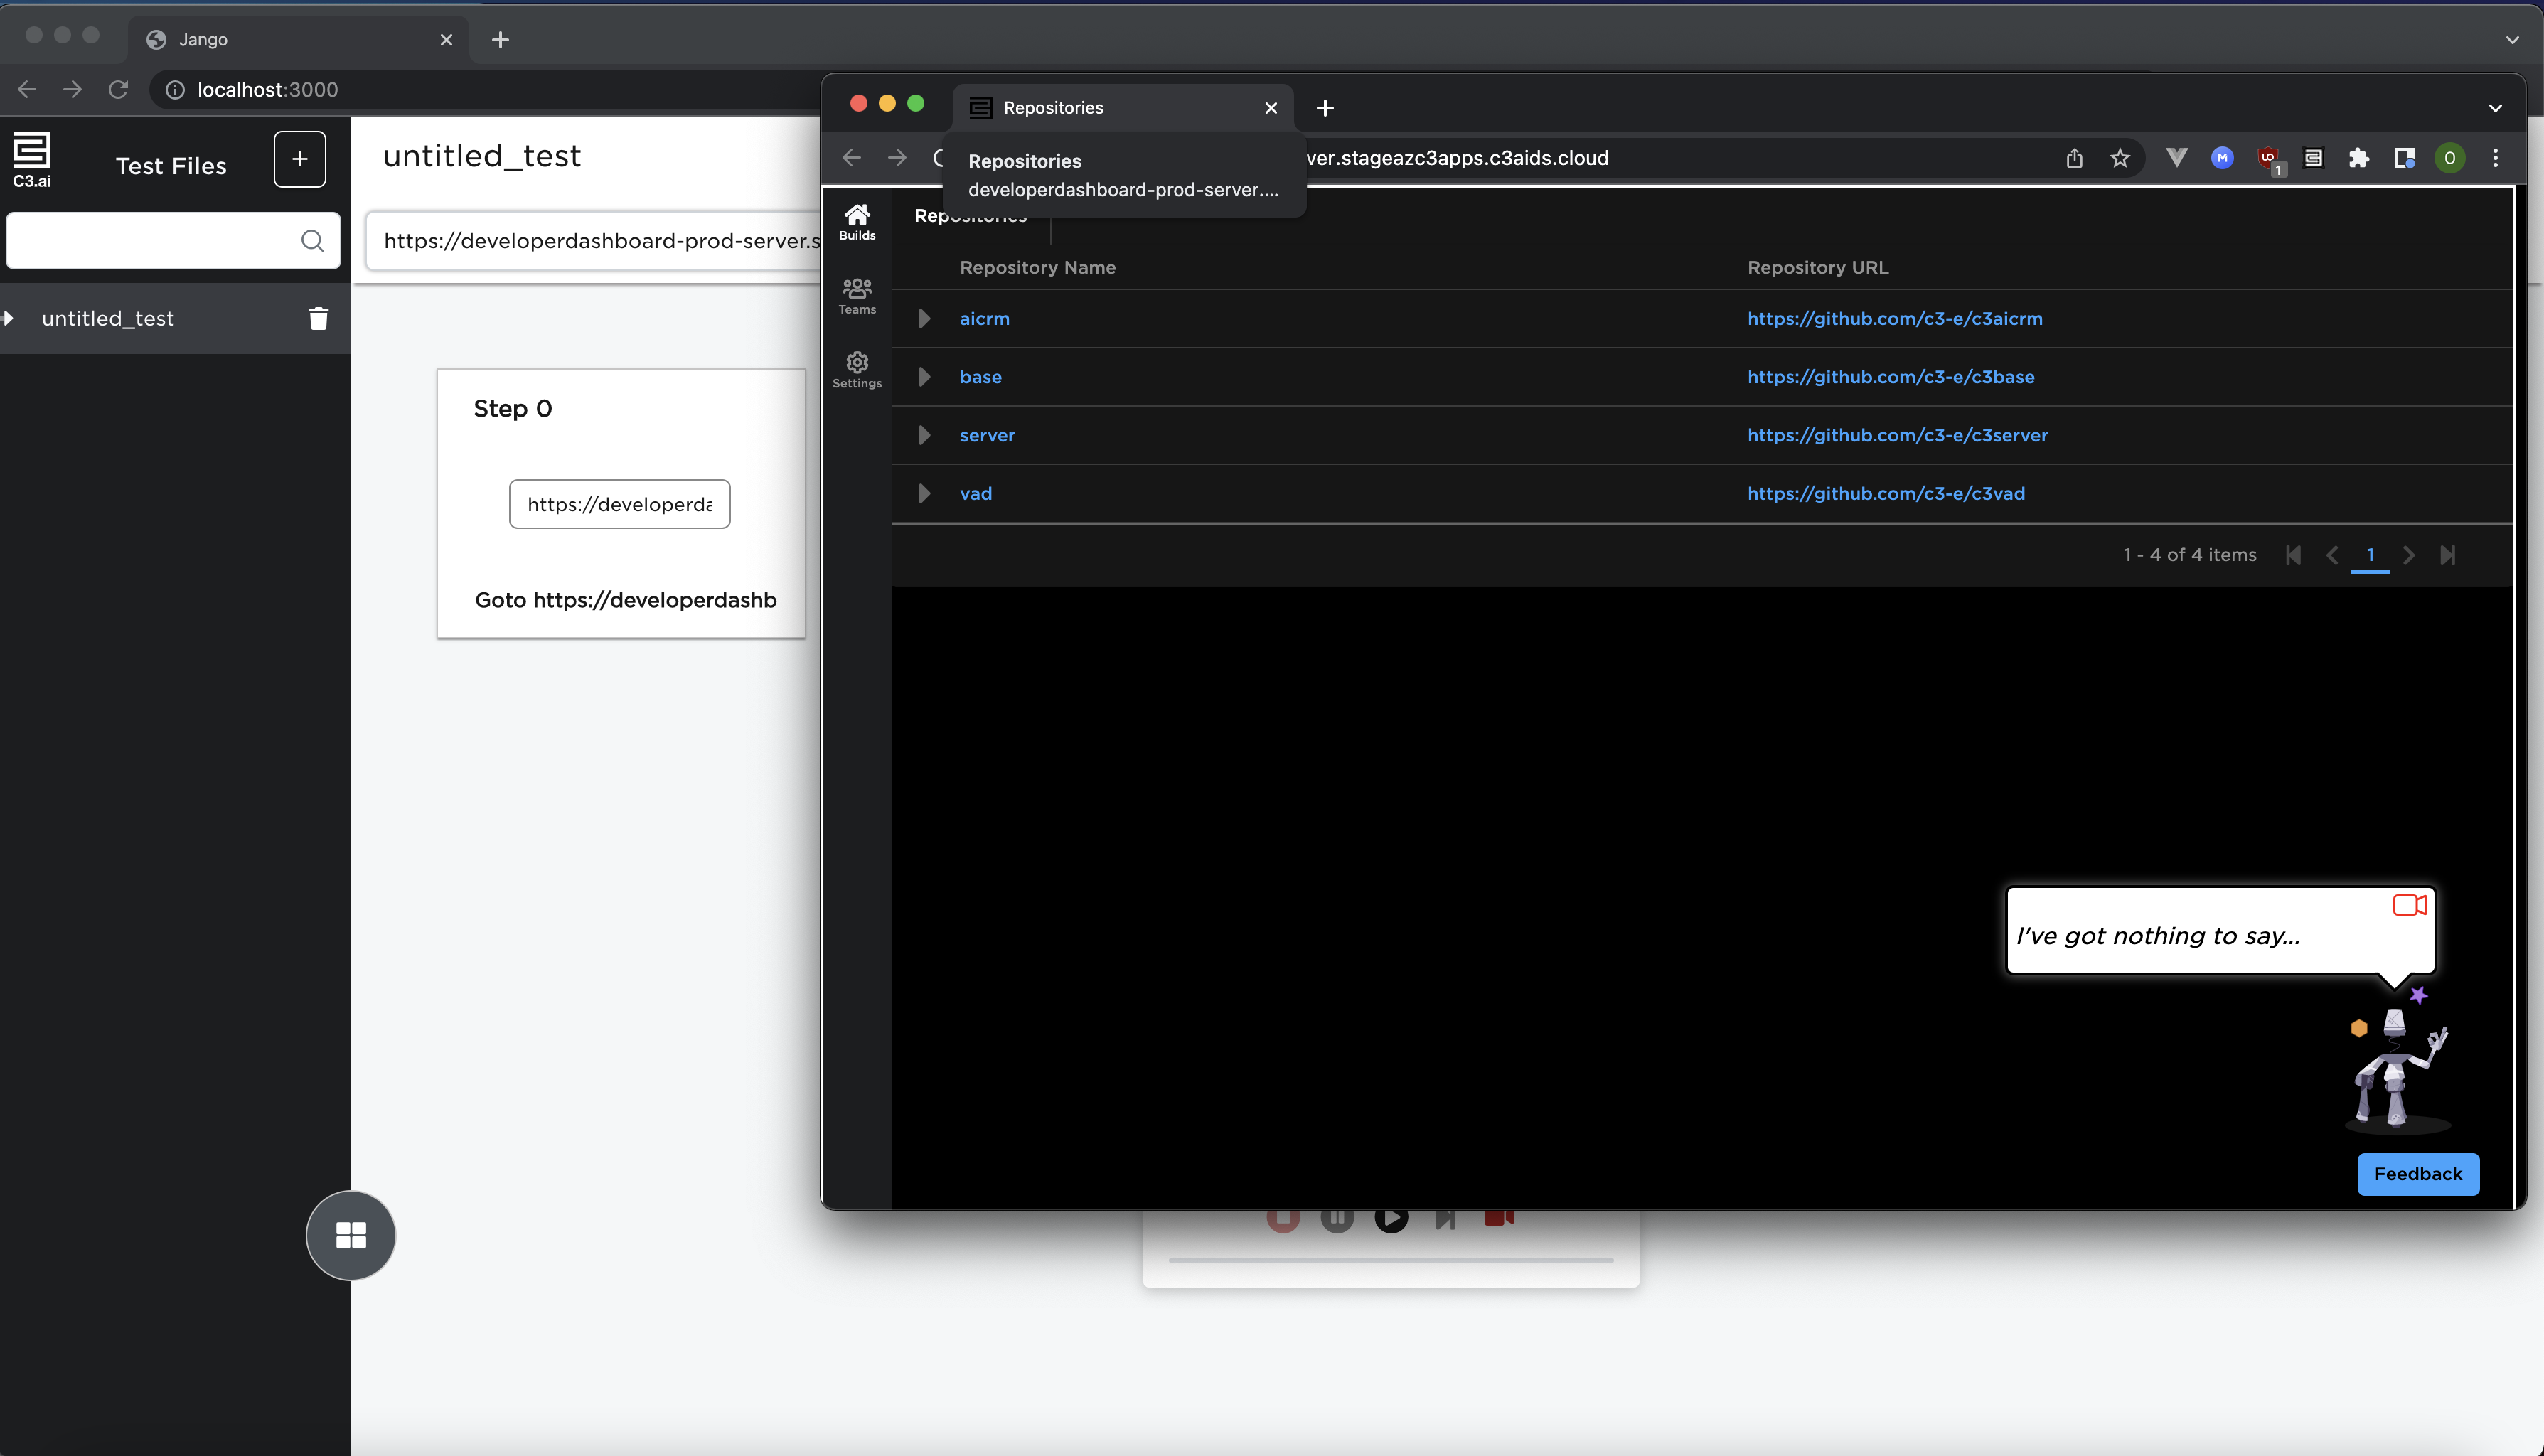
Jango can be accessed from your application either through the ClusterUrl or the AppUrl.
Example: https://cluster/env/app/jango/index.html
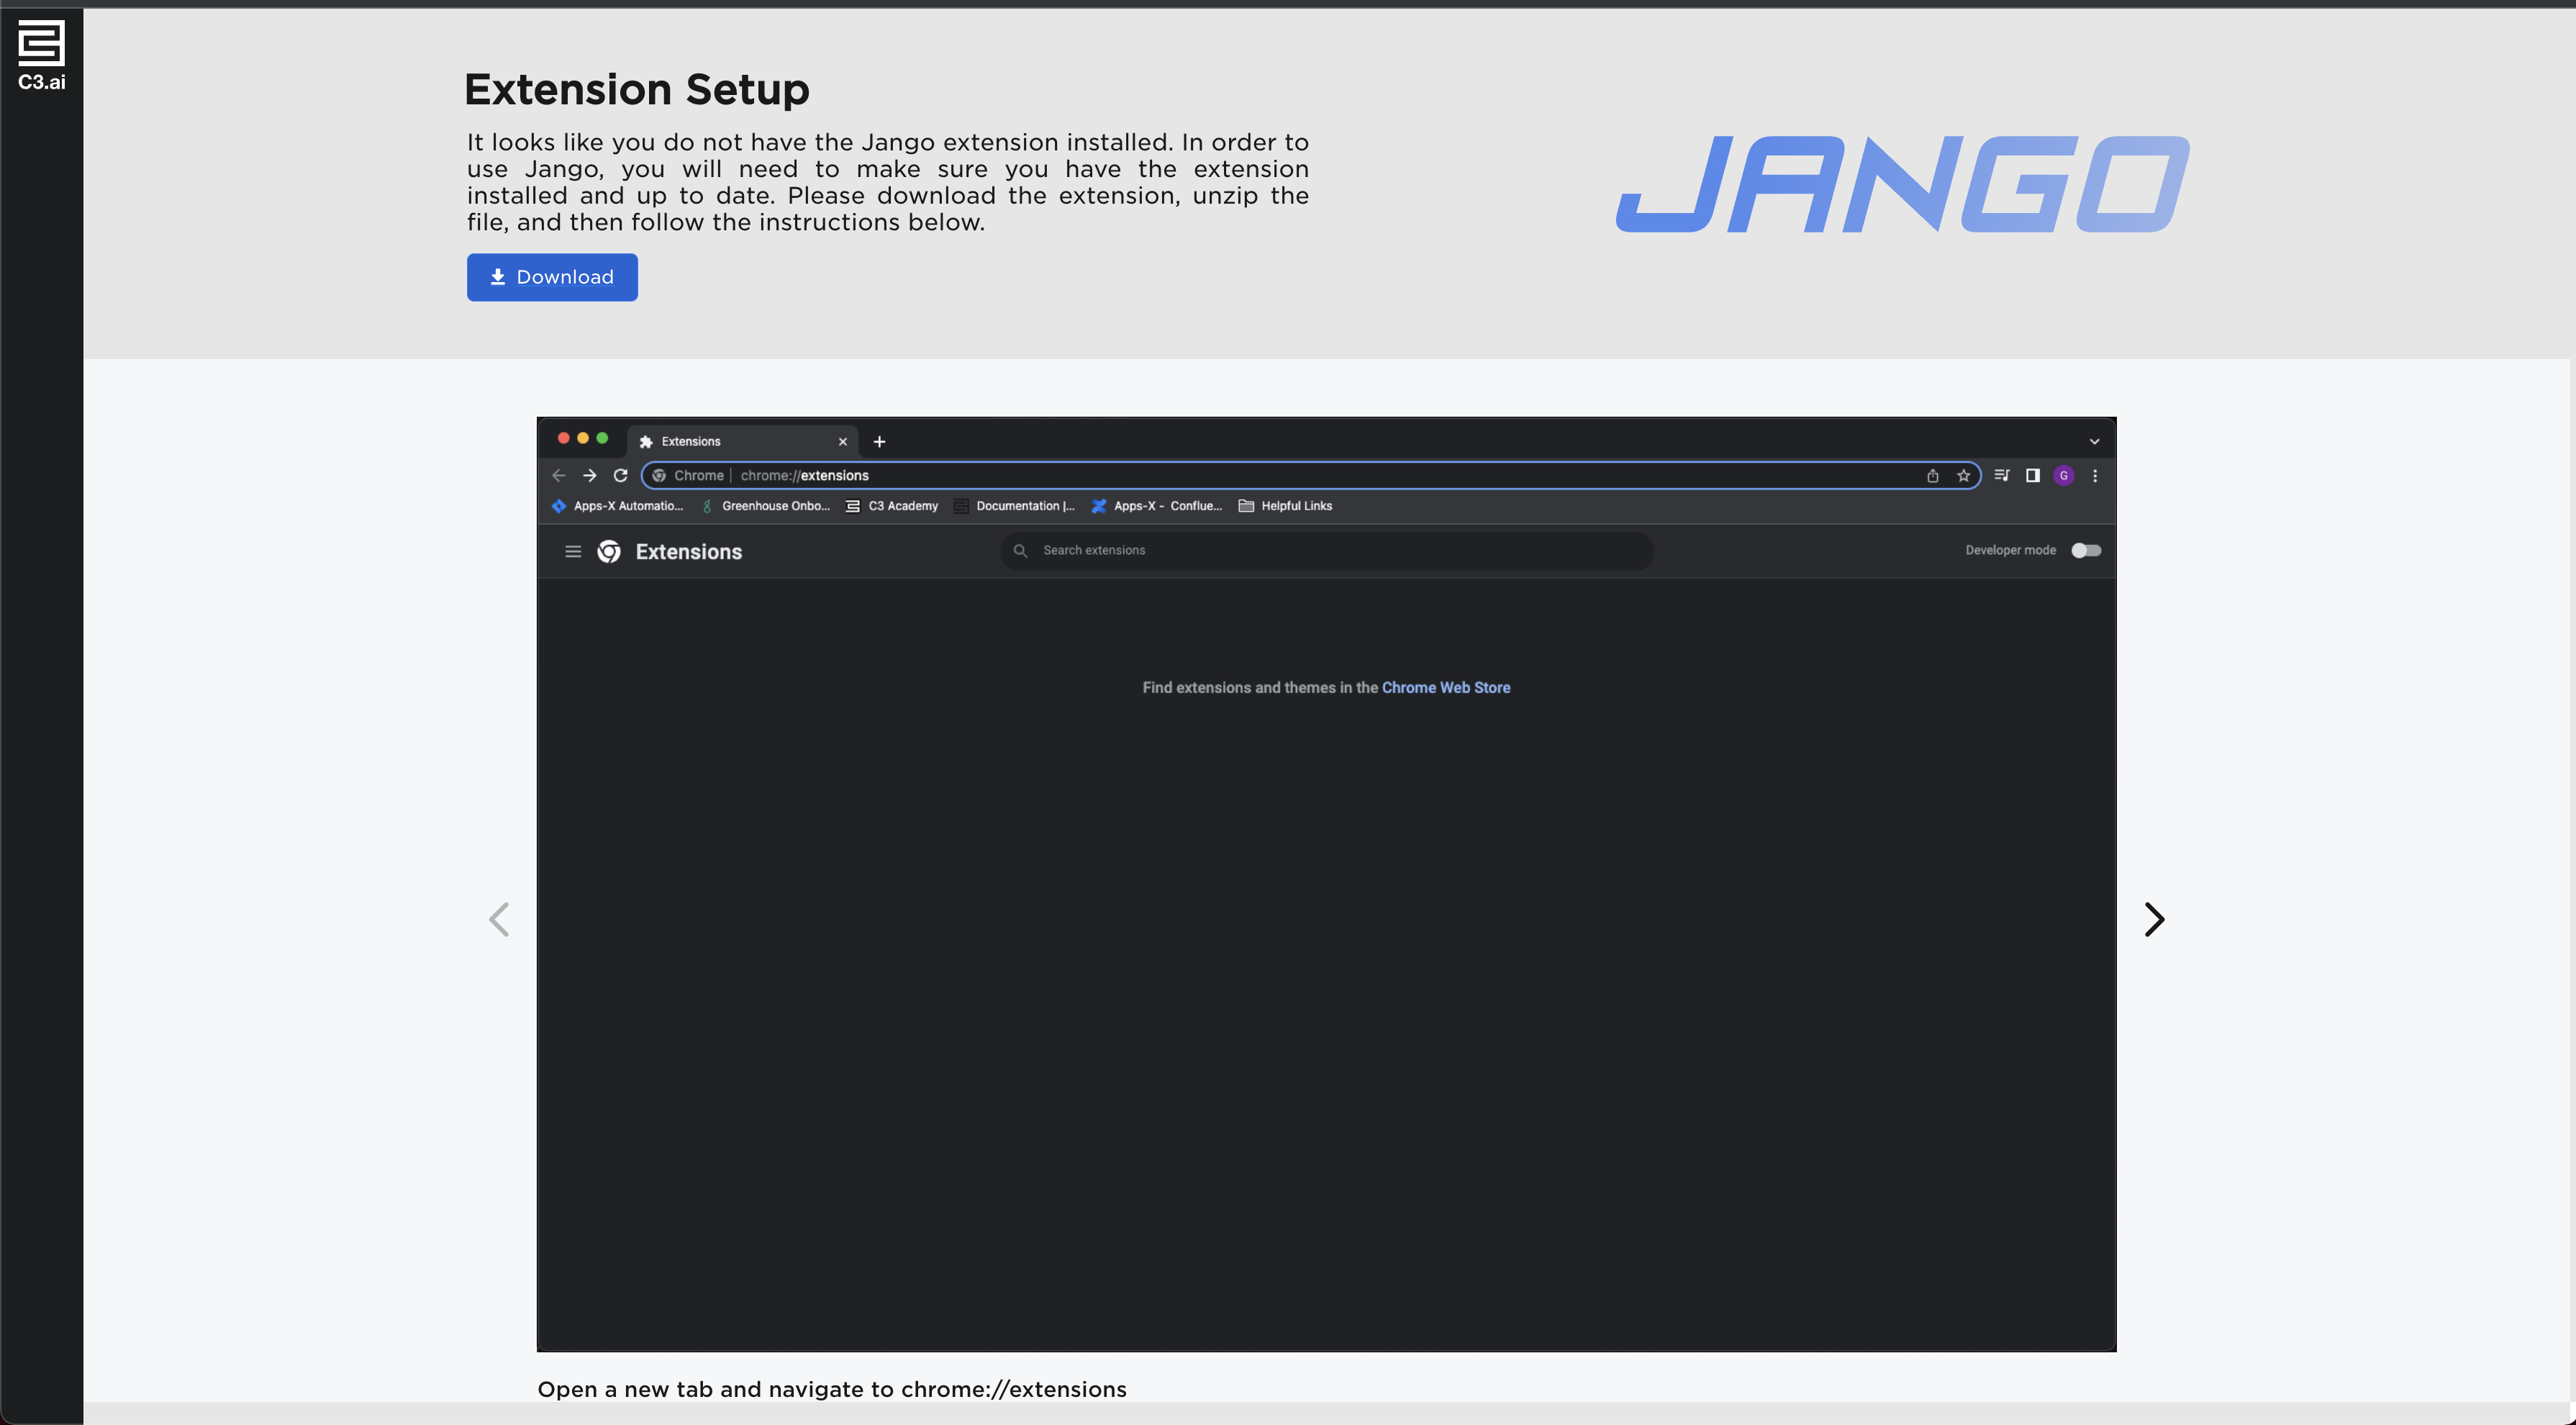
Extension setup
The first time a user accesses Jango, or if the Jango extension version has been updated since the last access, the user is prompted with a setup page.
Creating a new test
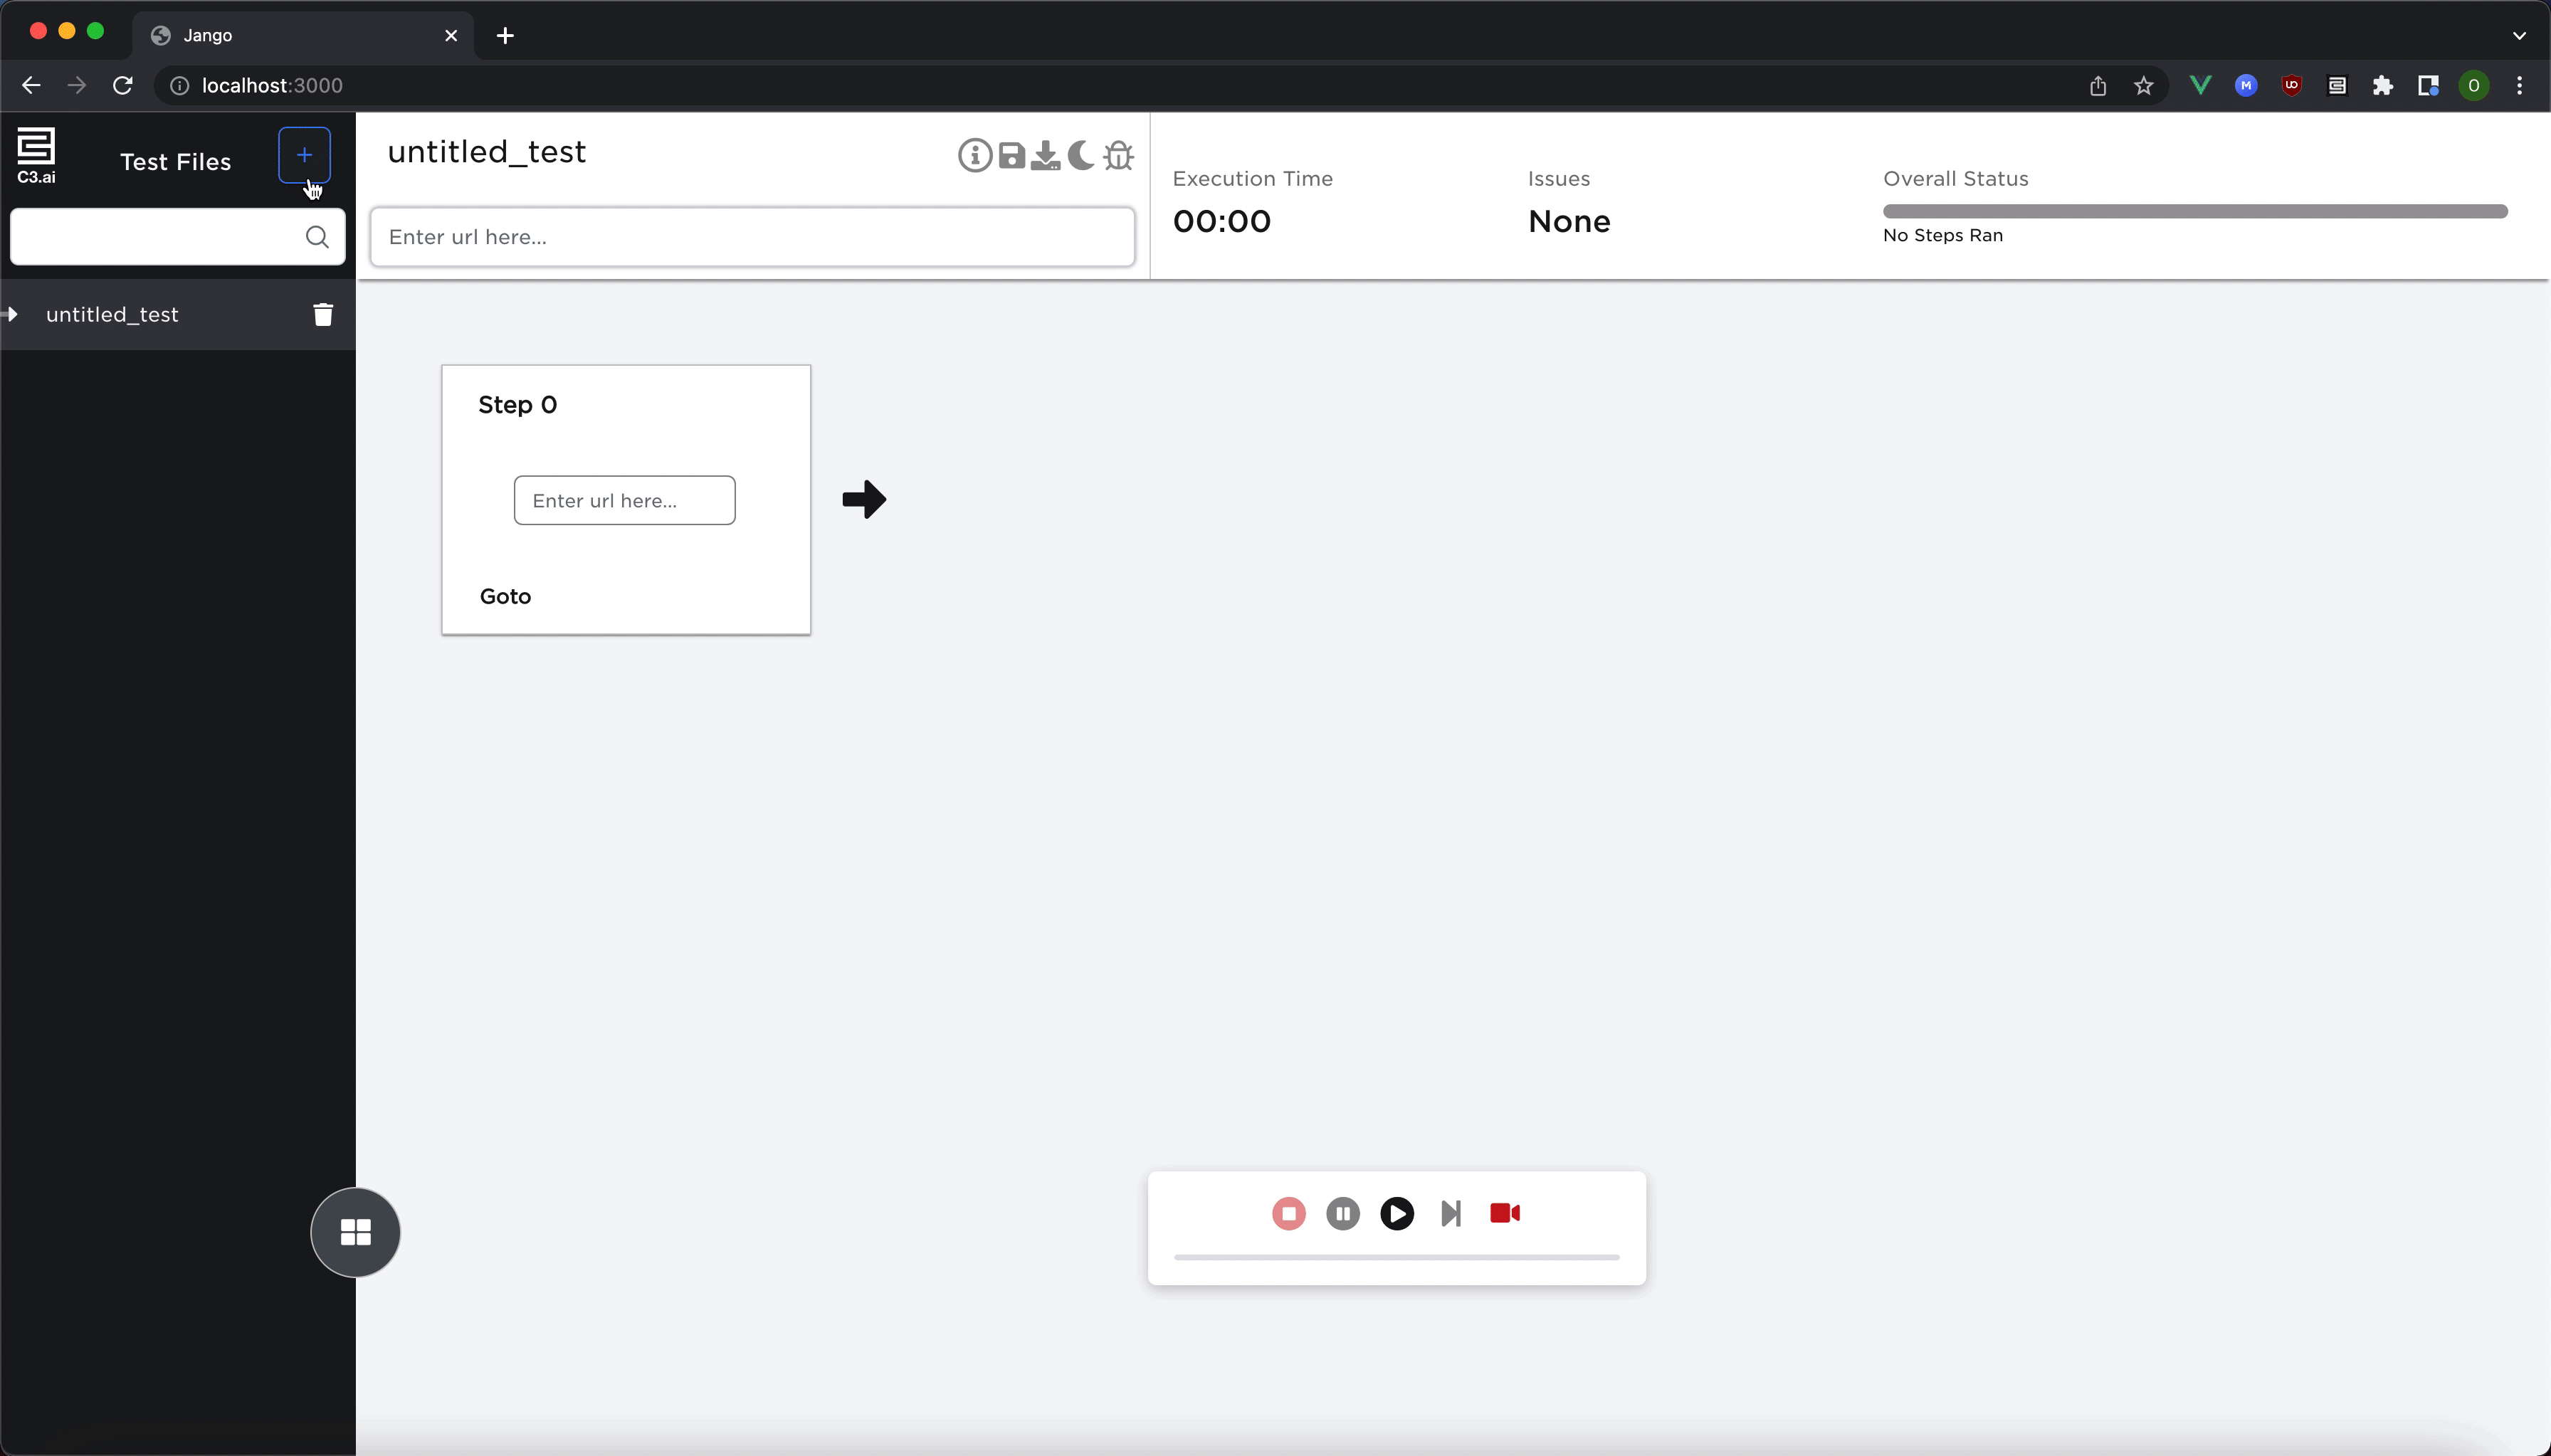
To start creating a test, users should first select the Start A New Test button from the Welcome Page. The main Jango application is displayed with a placeholder test containing a single step to open a user-provided URL. Users can proceed by selecting one of the following options:
Upload a test skeleton from Zephyr
Zephyr is a Jira Plugin that functions as a test repository. Zephyr can add additional fields in a Jira ticket, one of which provides a section for listing test steps. Users can export the Zephyr ticket into a .xlsx file that contains the structure of the test. If a user is creating a UI test based off a Zephyr ticket, Jango parses the .xlsx file generated from Zephyr and defines a test structure. This allows users to create their UI test while adhering to the test structure that was defined for them in Zephyr.
Begin recording without a test skeleton
Users can skip adding a test skeleton if they do not wish to provide a pre-defined test structure.
Initial creation
Provide the URL to the placeholder step for opening the target page. Then, select the Record button at the bottom of Jango to start recording the test. The actions issued on the target UI page are recorded and turned into a test.

Below is a list of all supported user interactions on a C3 AI application that Jango can record:
- Click
- Double click
- Right click
- Input value change
- Drag and drop
- Resize window
- Close tab
As the user records the desired interactions for their test, Jango captures screenshots of each HTML element associated with the corresponding interaction.
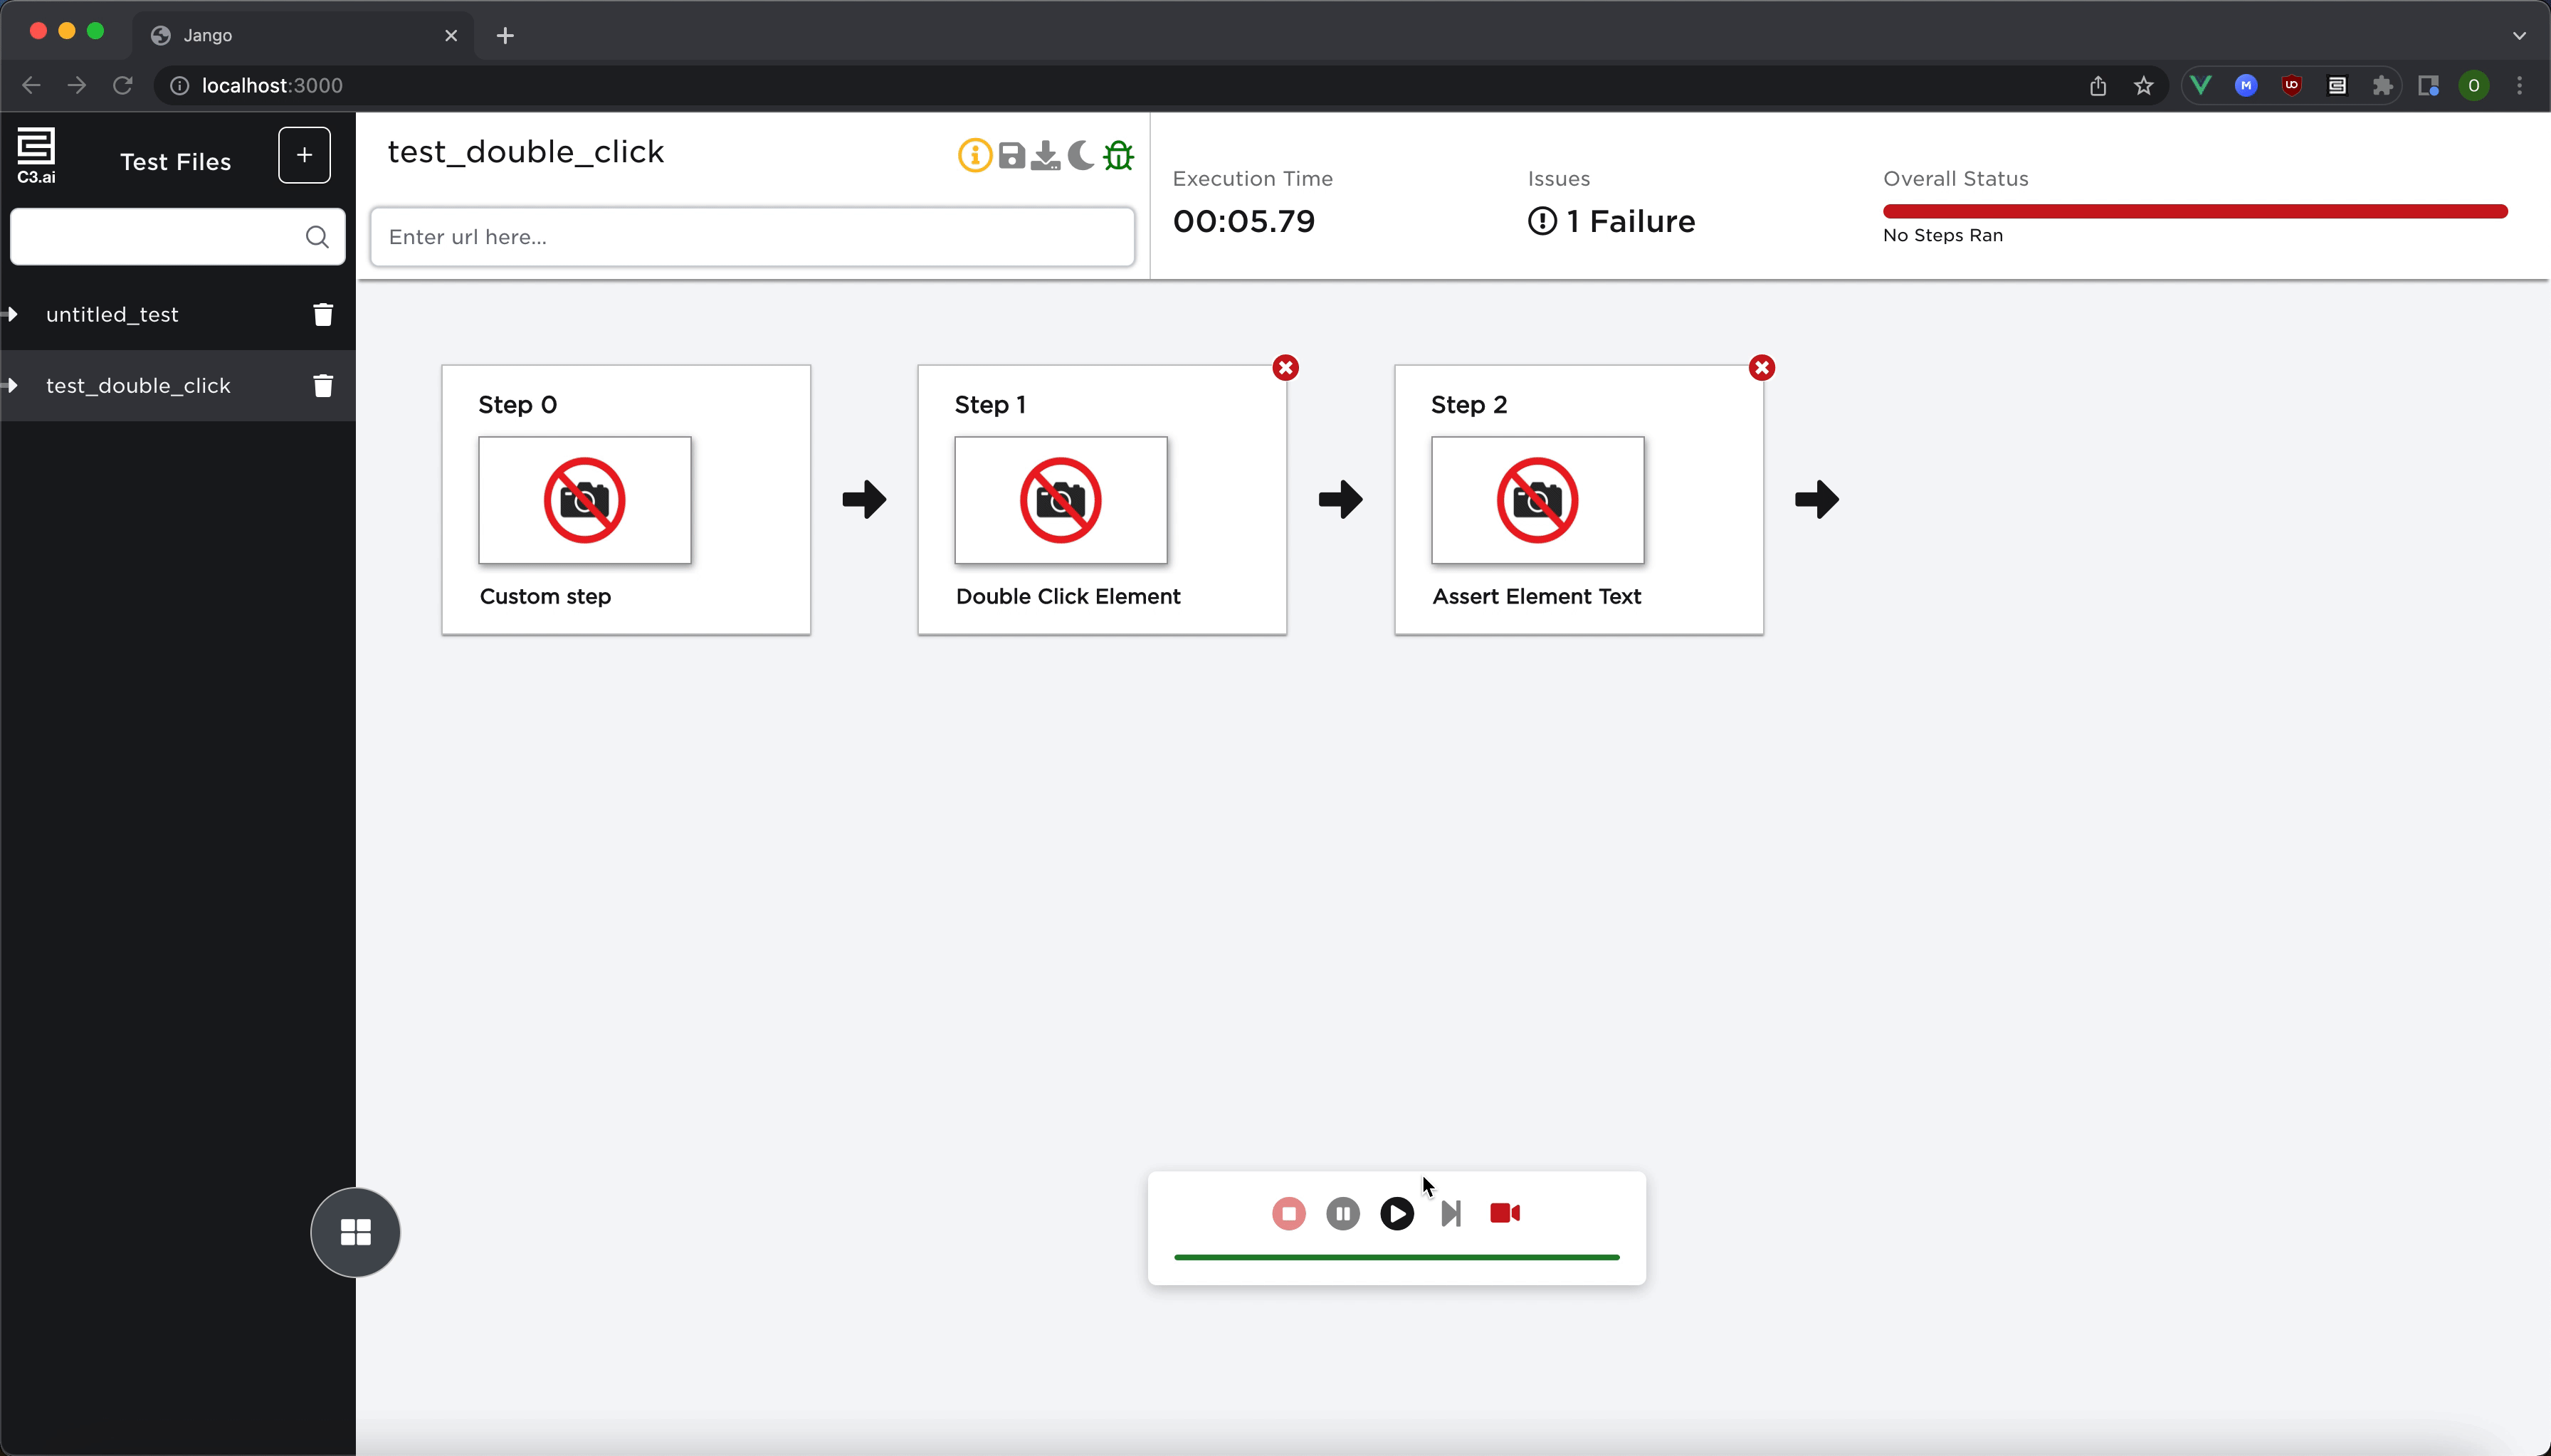
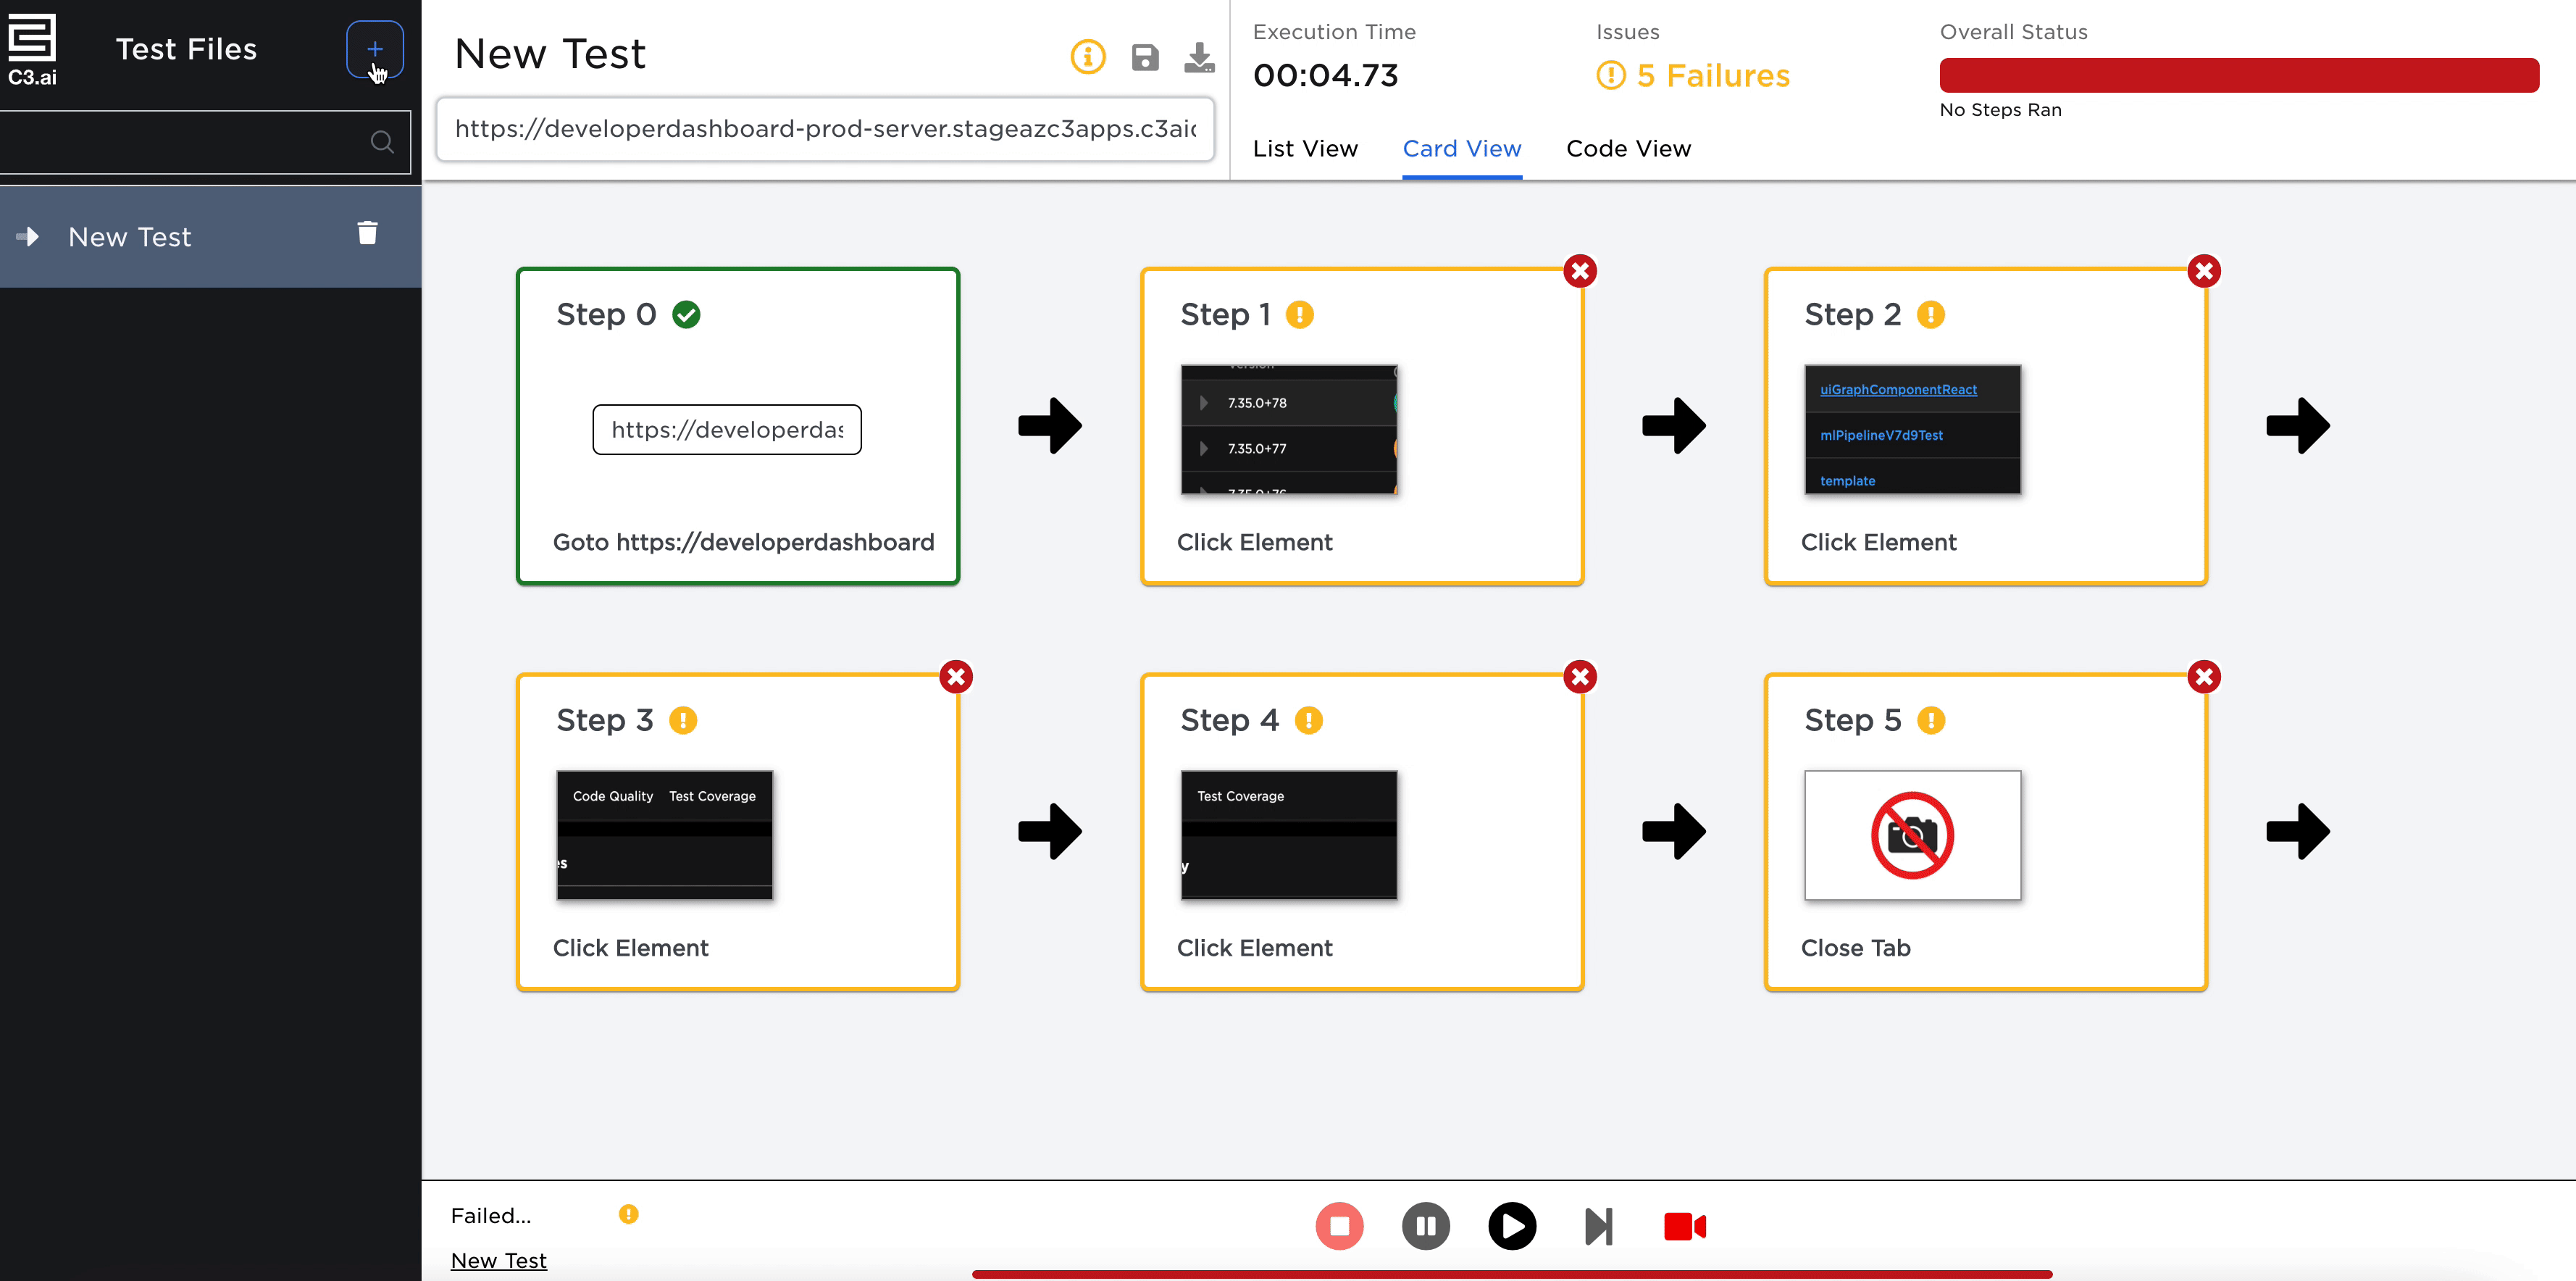
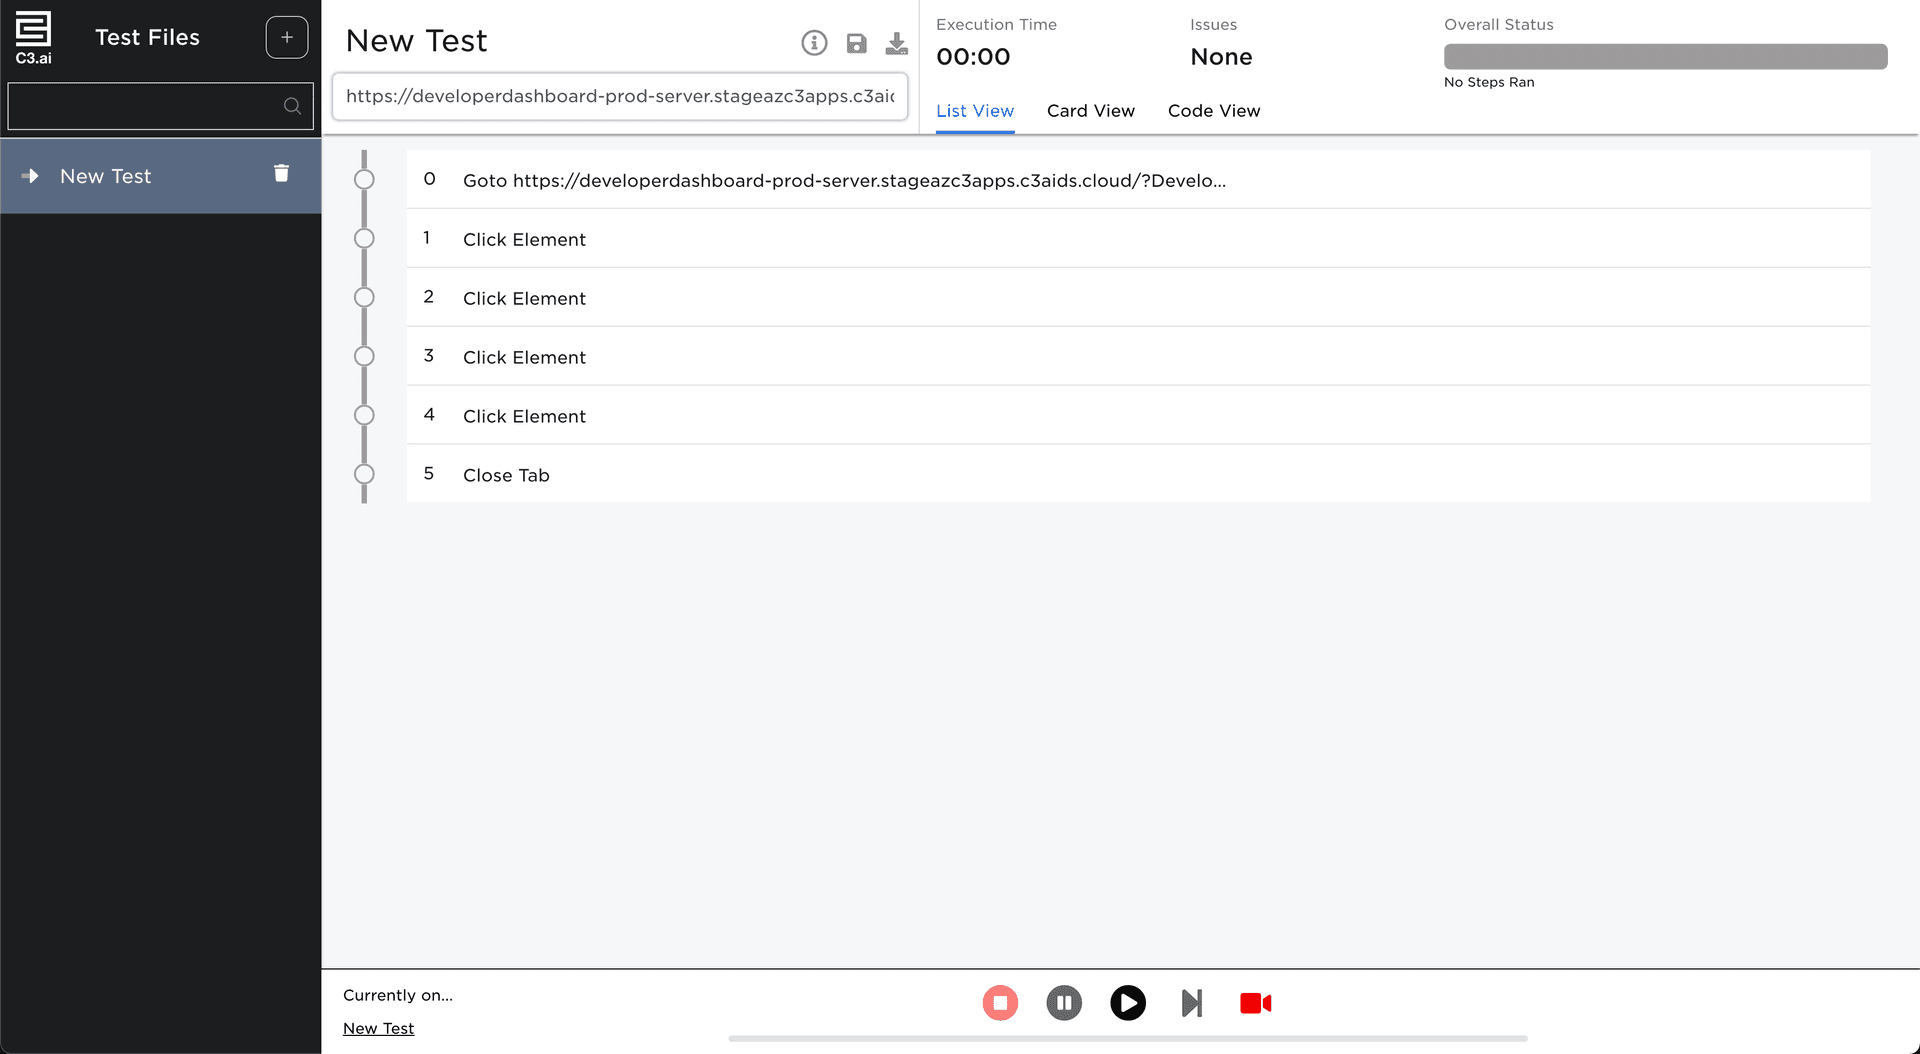
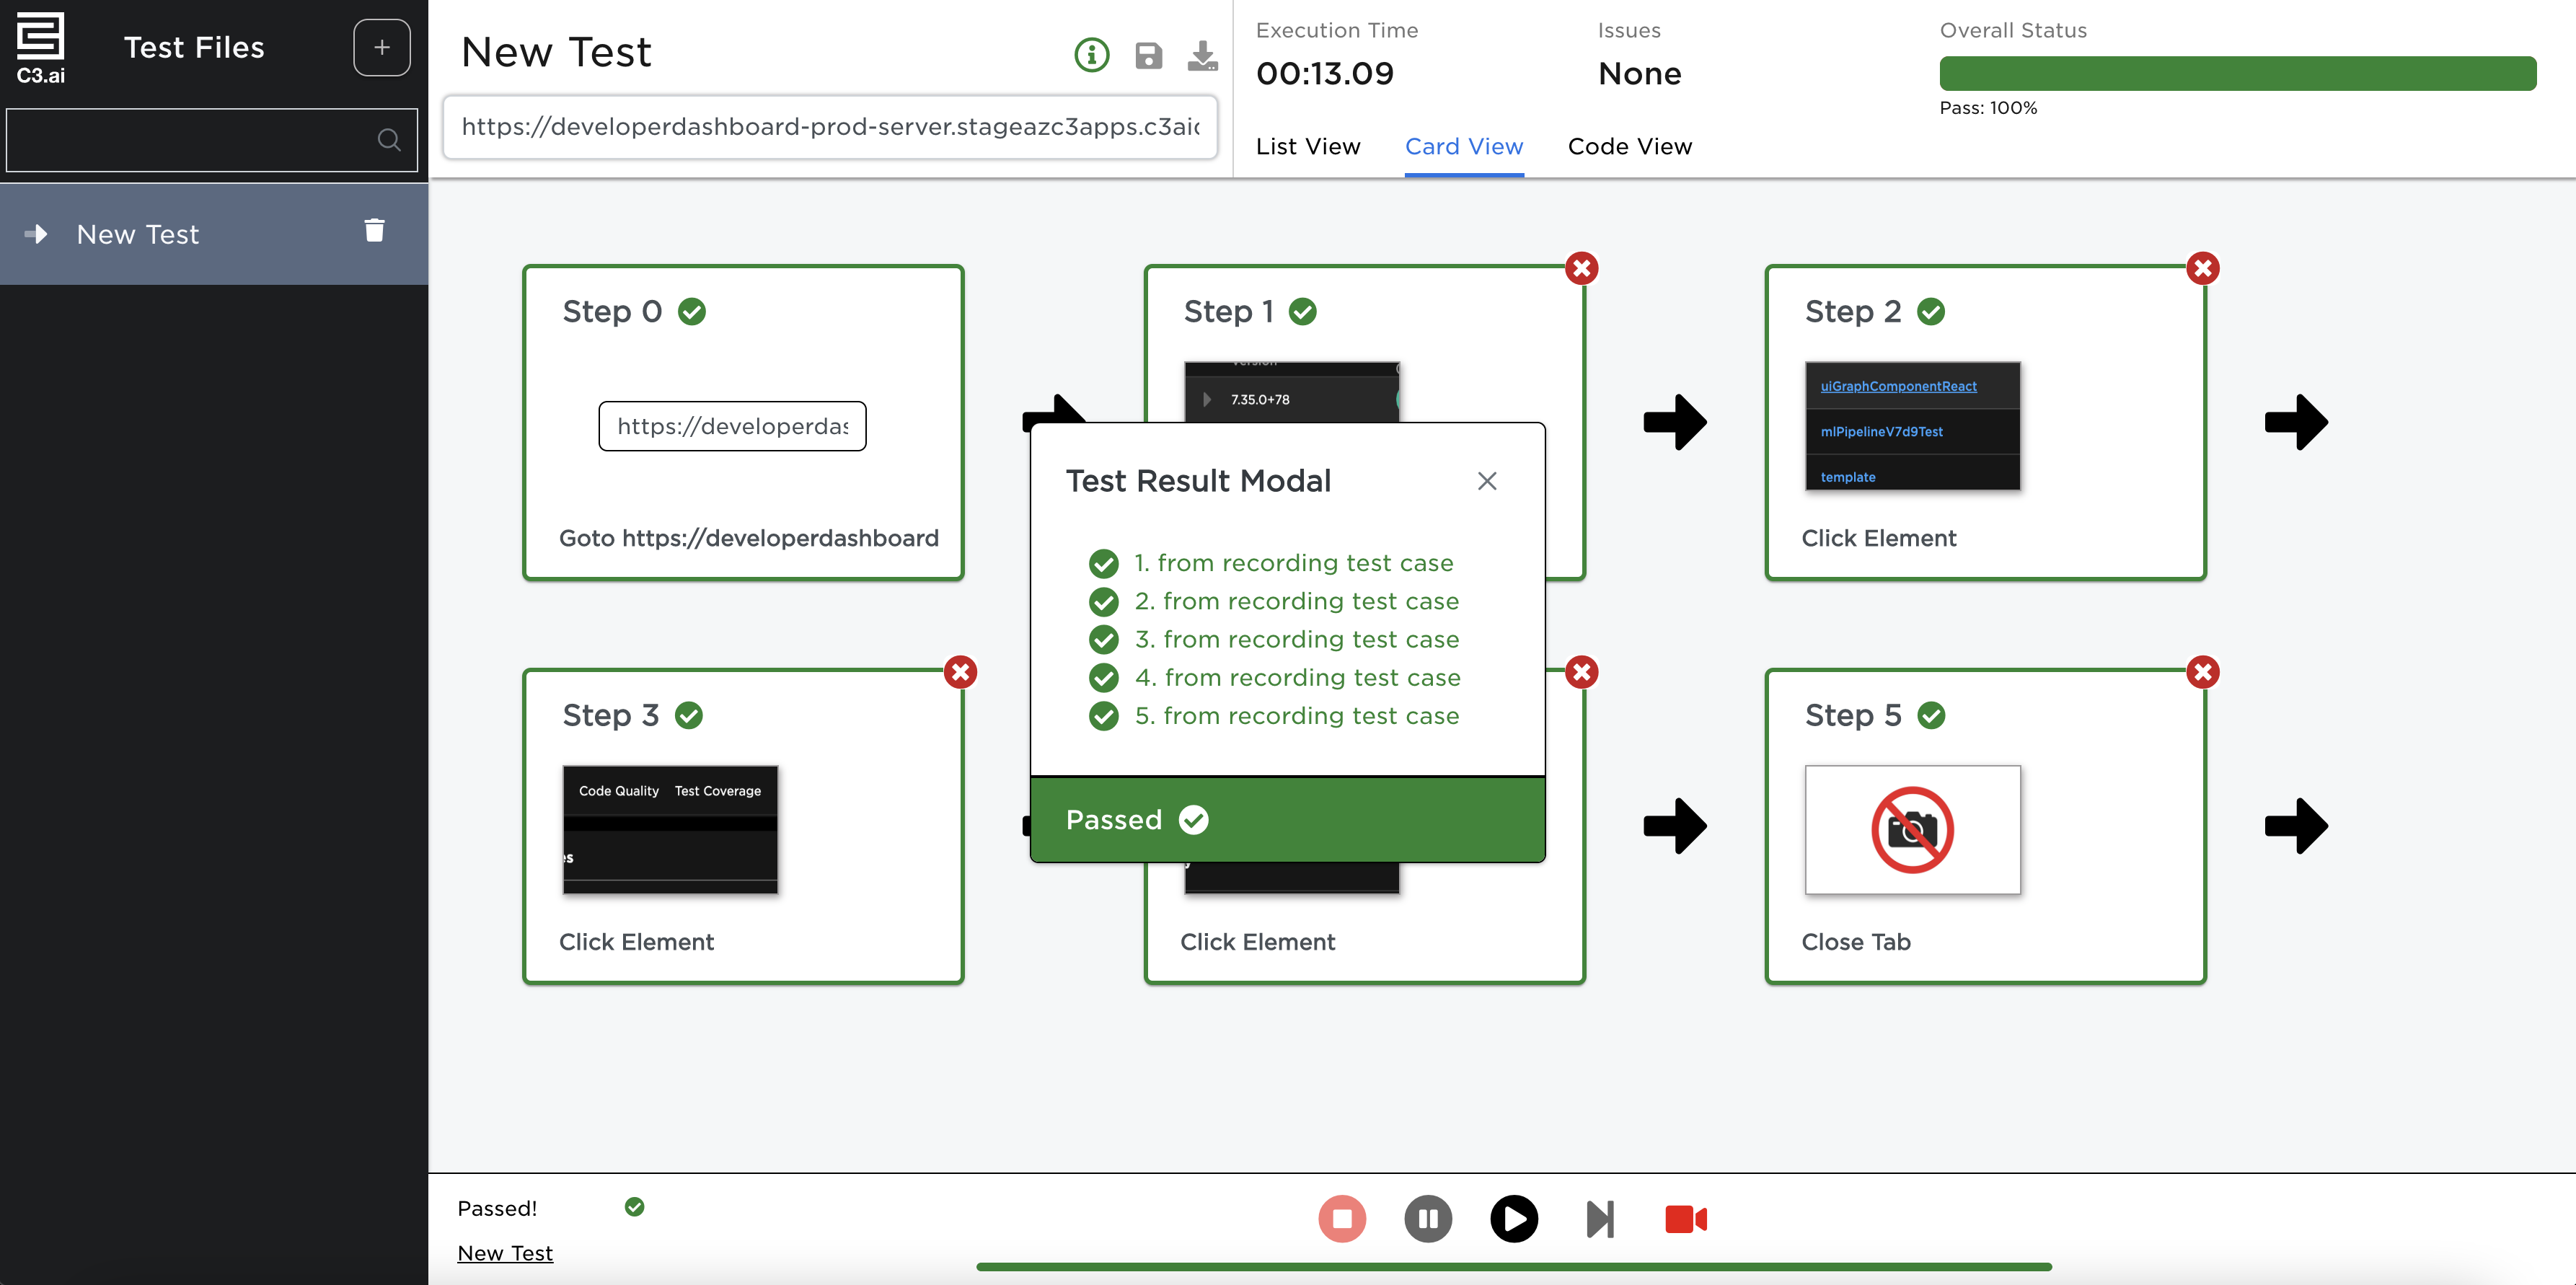
Viewing the test
List view
Users can select a condensed List View where their interactions are presented in a hierarchical list view.
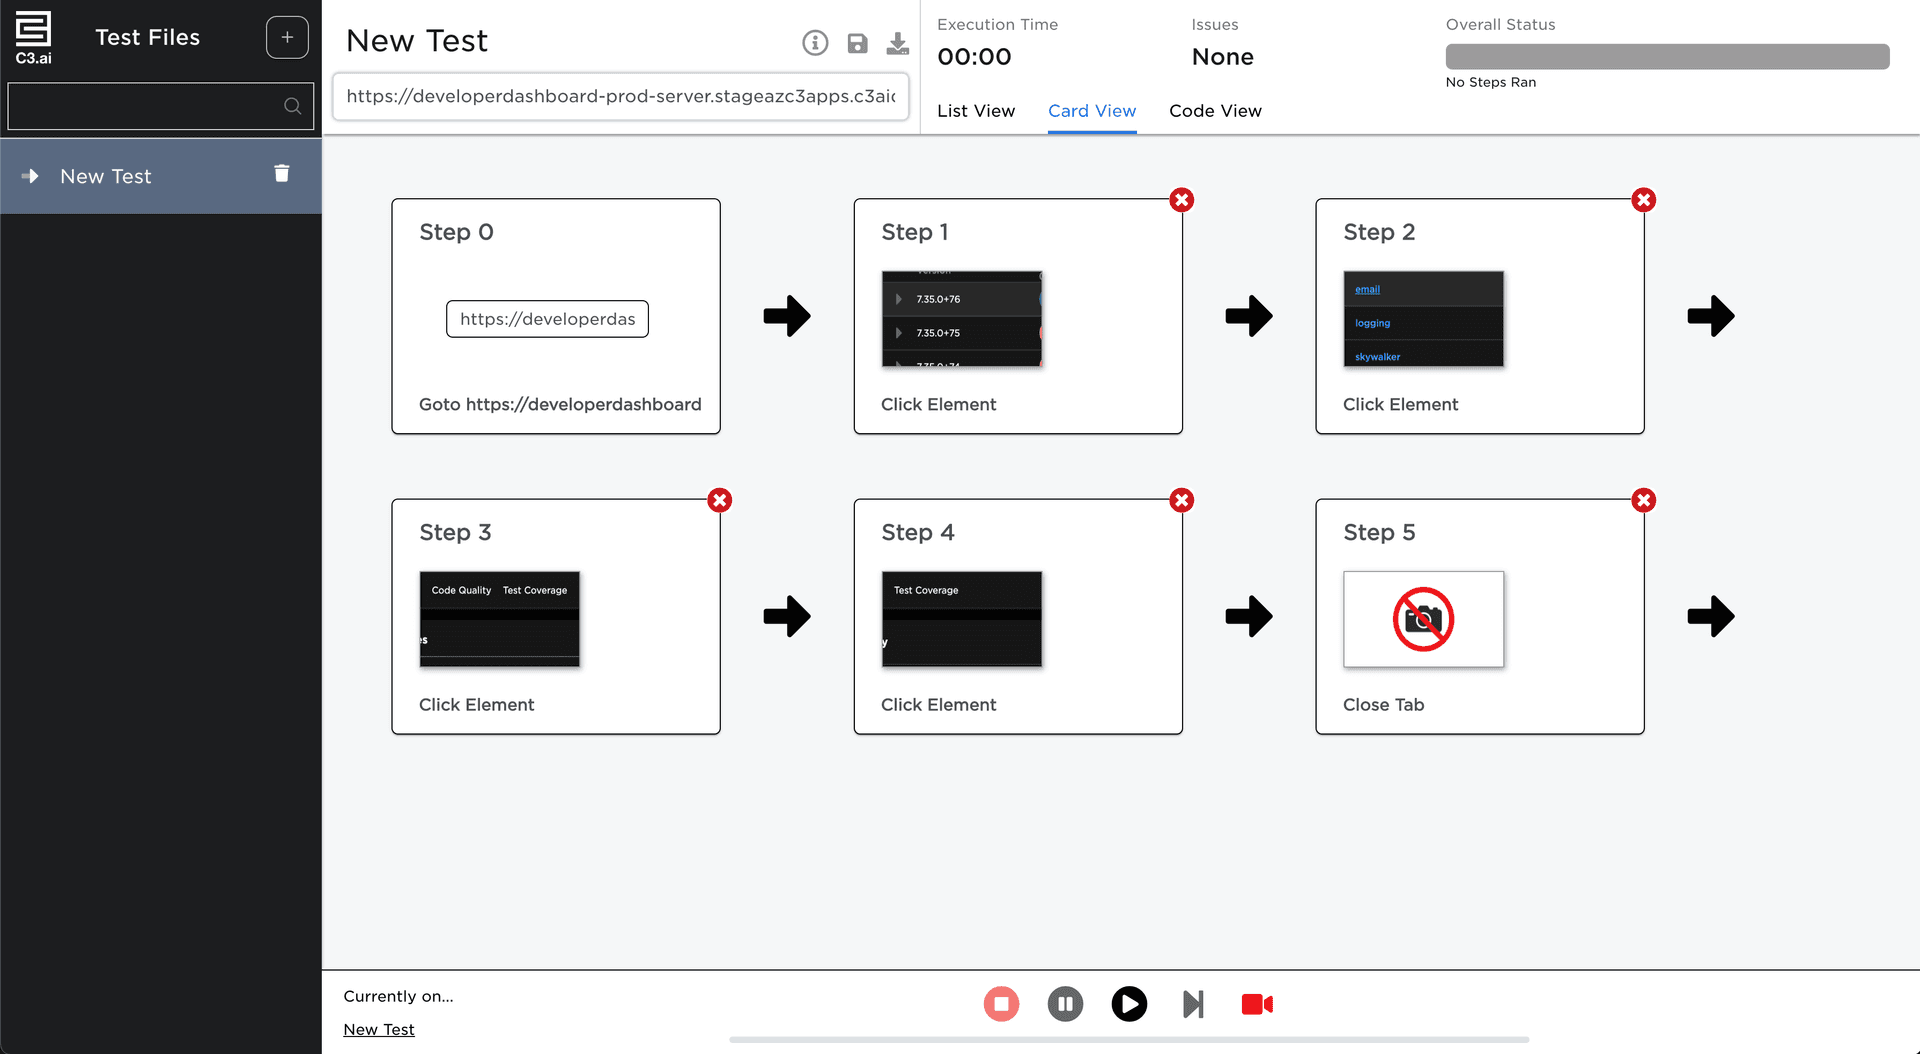
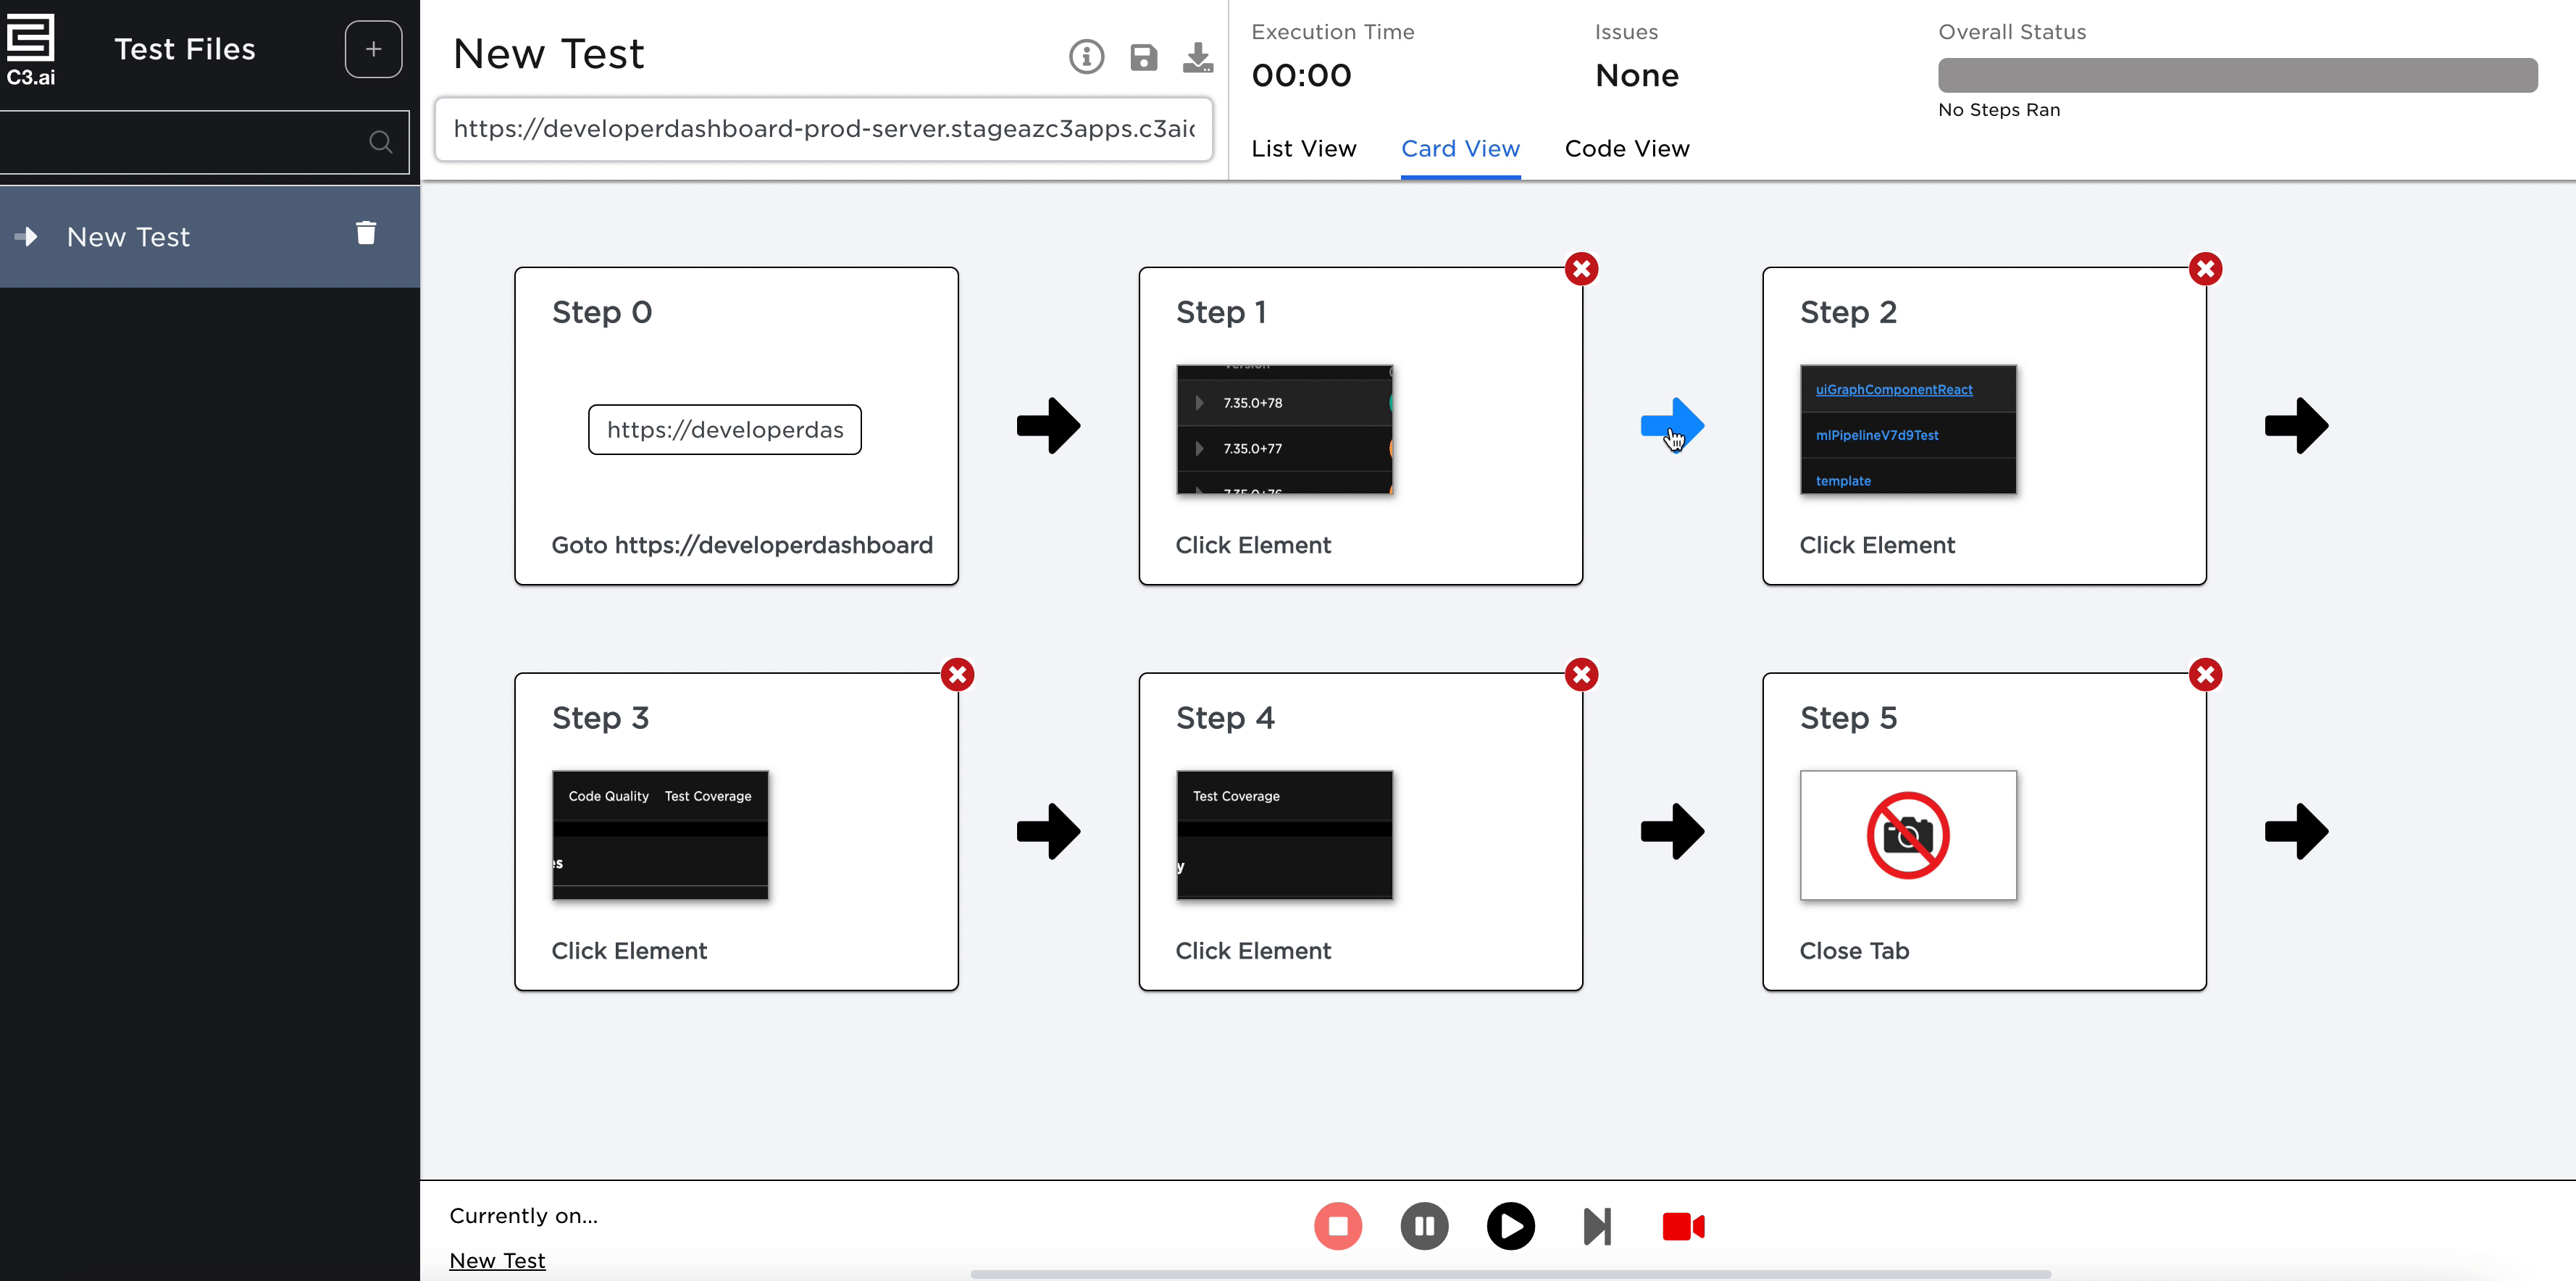
Card view
Users that want to view a more comprehensive view of their interactions with screenshots can use the Card View.
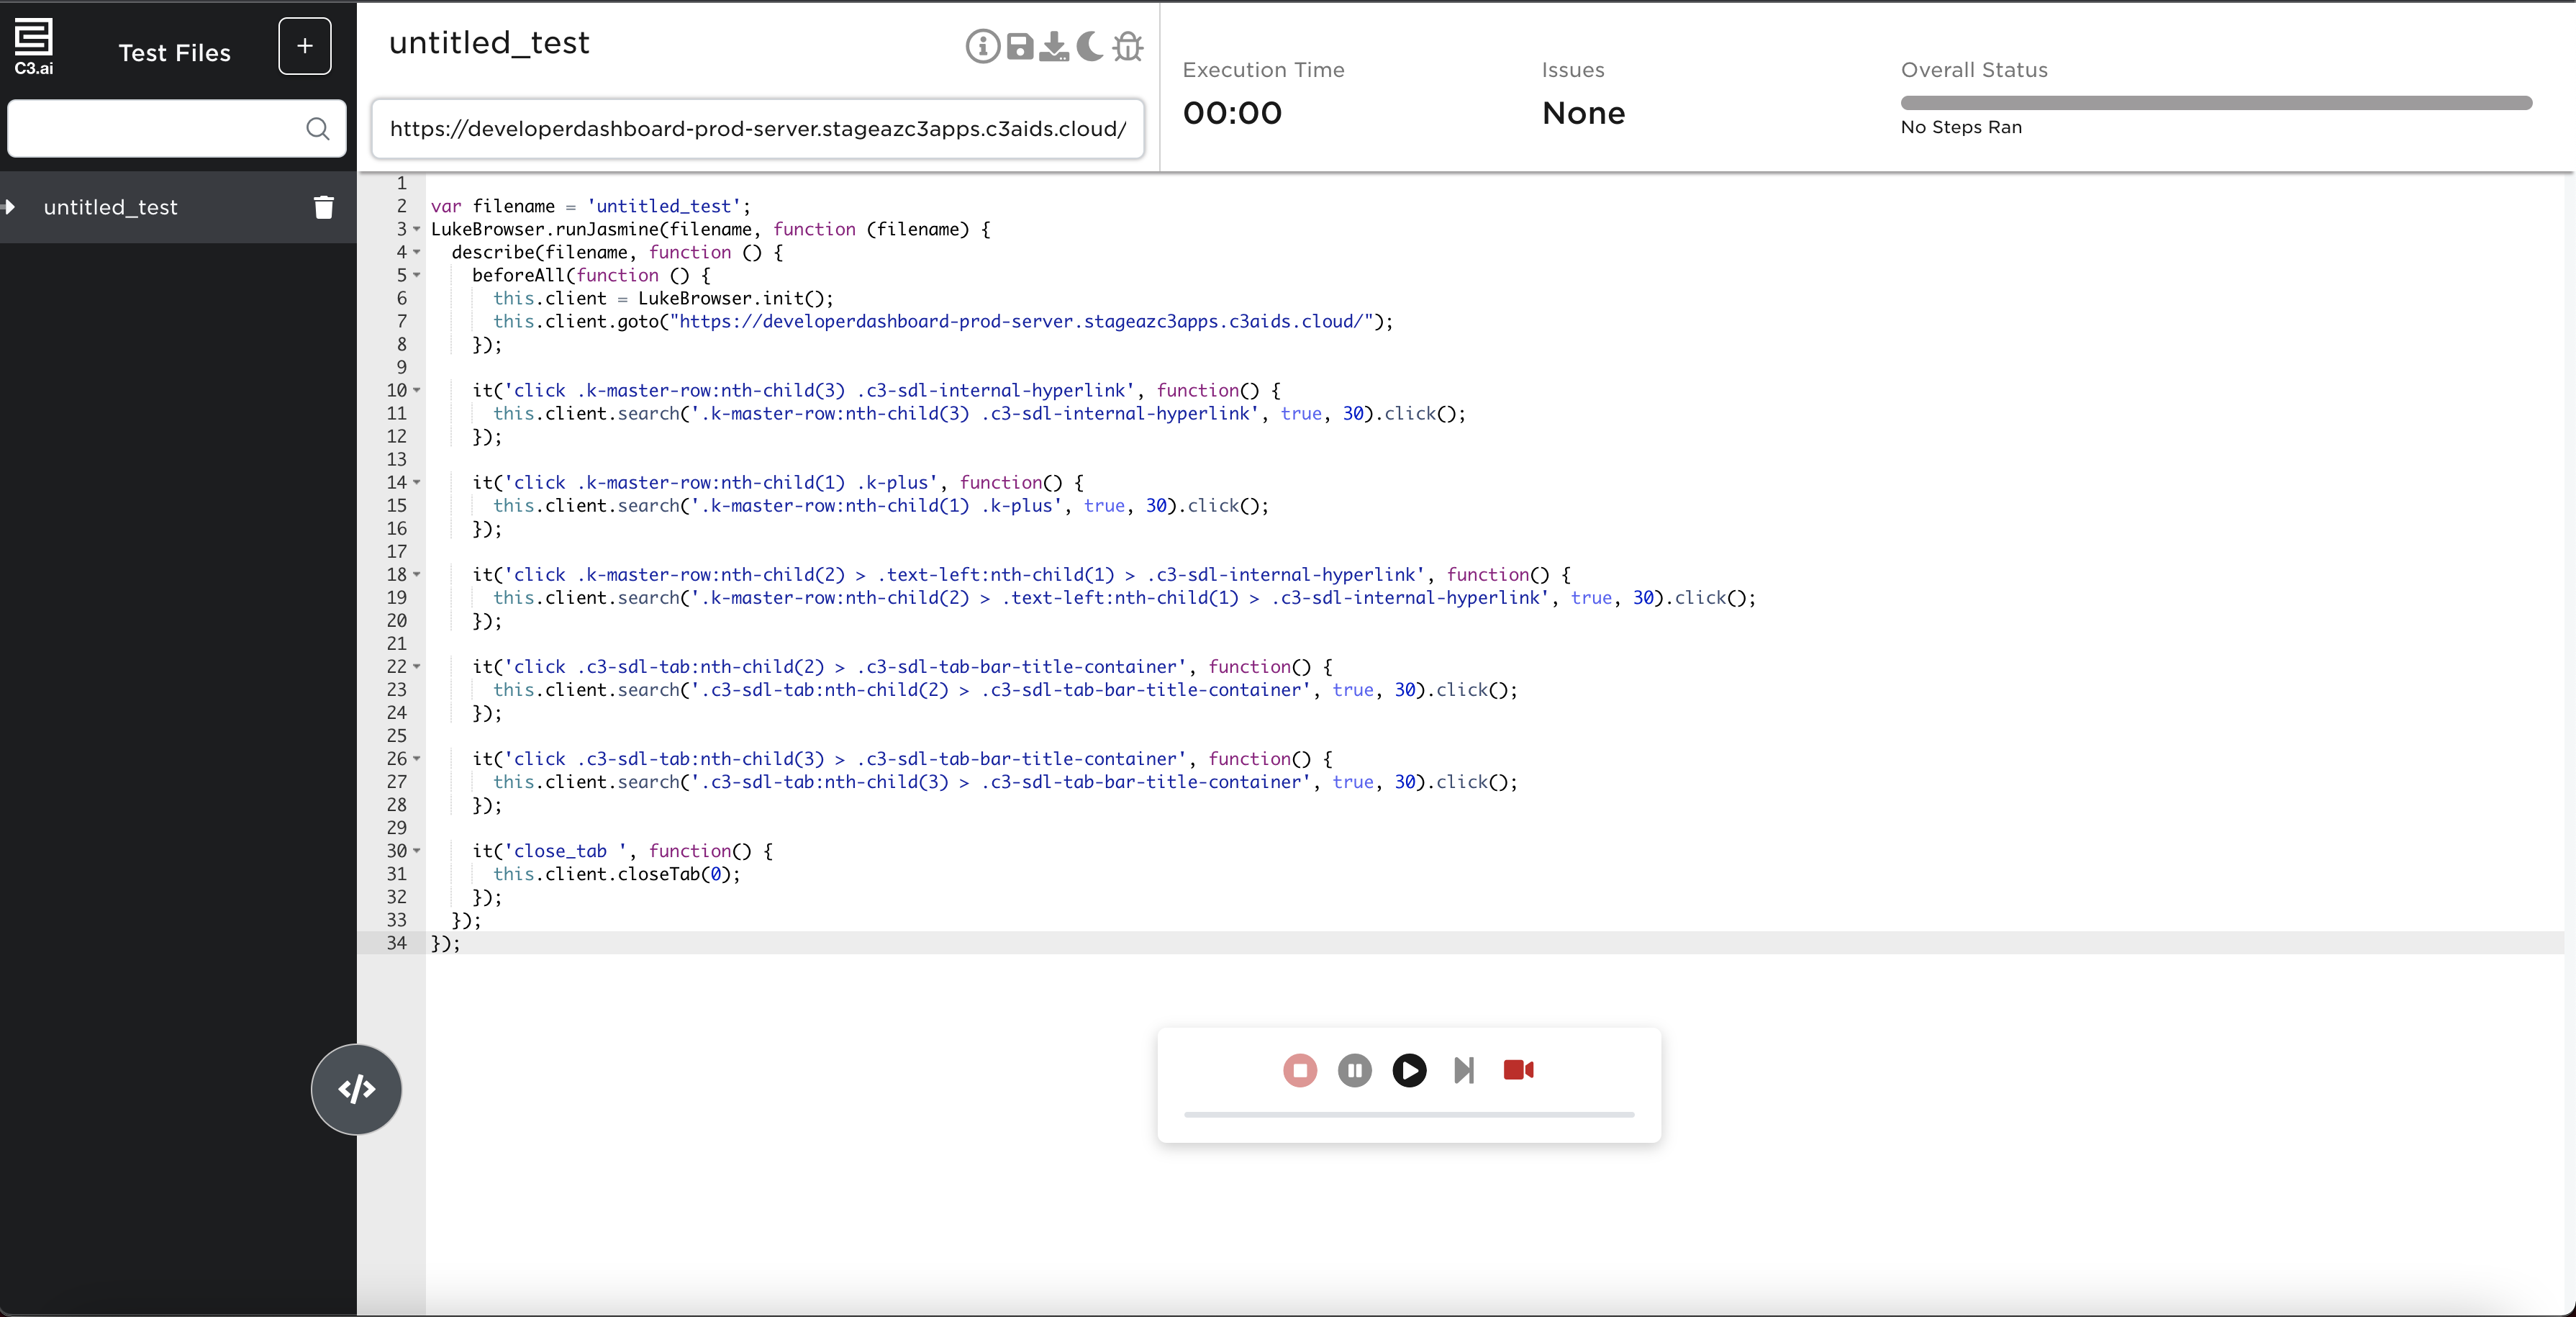
Code view
Jango can generate the code as a Jasmine test, which can be seen in the Code view. This view contains a code editor allowing users to edit the contents of the test.
Note that if a user decides to make code changes in the editor, screenshots taken during recording and displayed on the Card view are lost.
Syncing the card/list views and the code view
Jango keeps the various test views in sync so that:
- If a step is added or updated in the Card or List views, the code in the Code view is updated to reflect the latest state of the test
- If the code is edited in the Code view, the steps in the Card and List views are updated to reflect the latest state of the test
Code used for testing can be edited in the Code View. Jango understands the actions in the test code based on code patterns it is prepared to recognize. Jango traverses the tree structure of a Jasmine test (Jasmine suites and specs), and within the callback function for each block, it looks for LukeBrowser API calls corresponding to the supported user interactions described above.
If Jango recognizes the code in the block, it creates corresponding steps that are visualized in the Card and List views. If the block of code contains logic that Jango does not understand, Jango creates a custom step for the block and displays it in the Card and List views. Users can view the code for a custom step by selecting a step and viewing the code in the side panel.

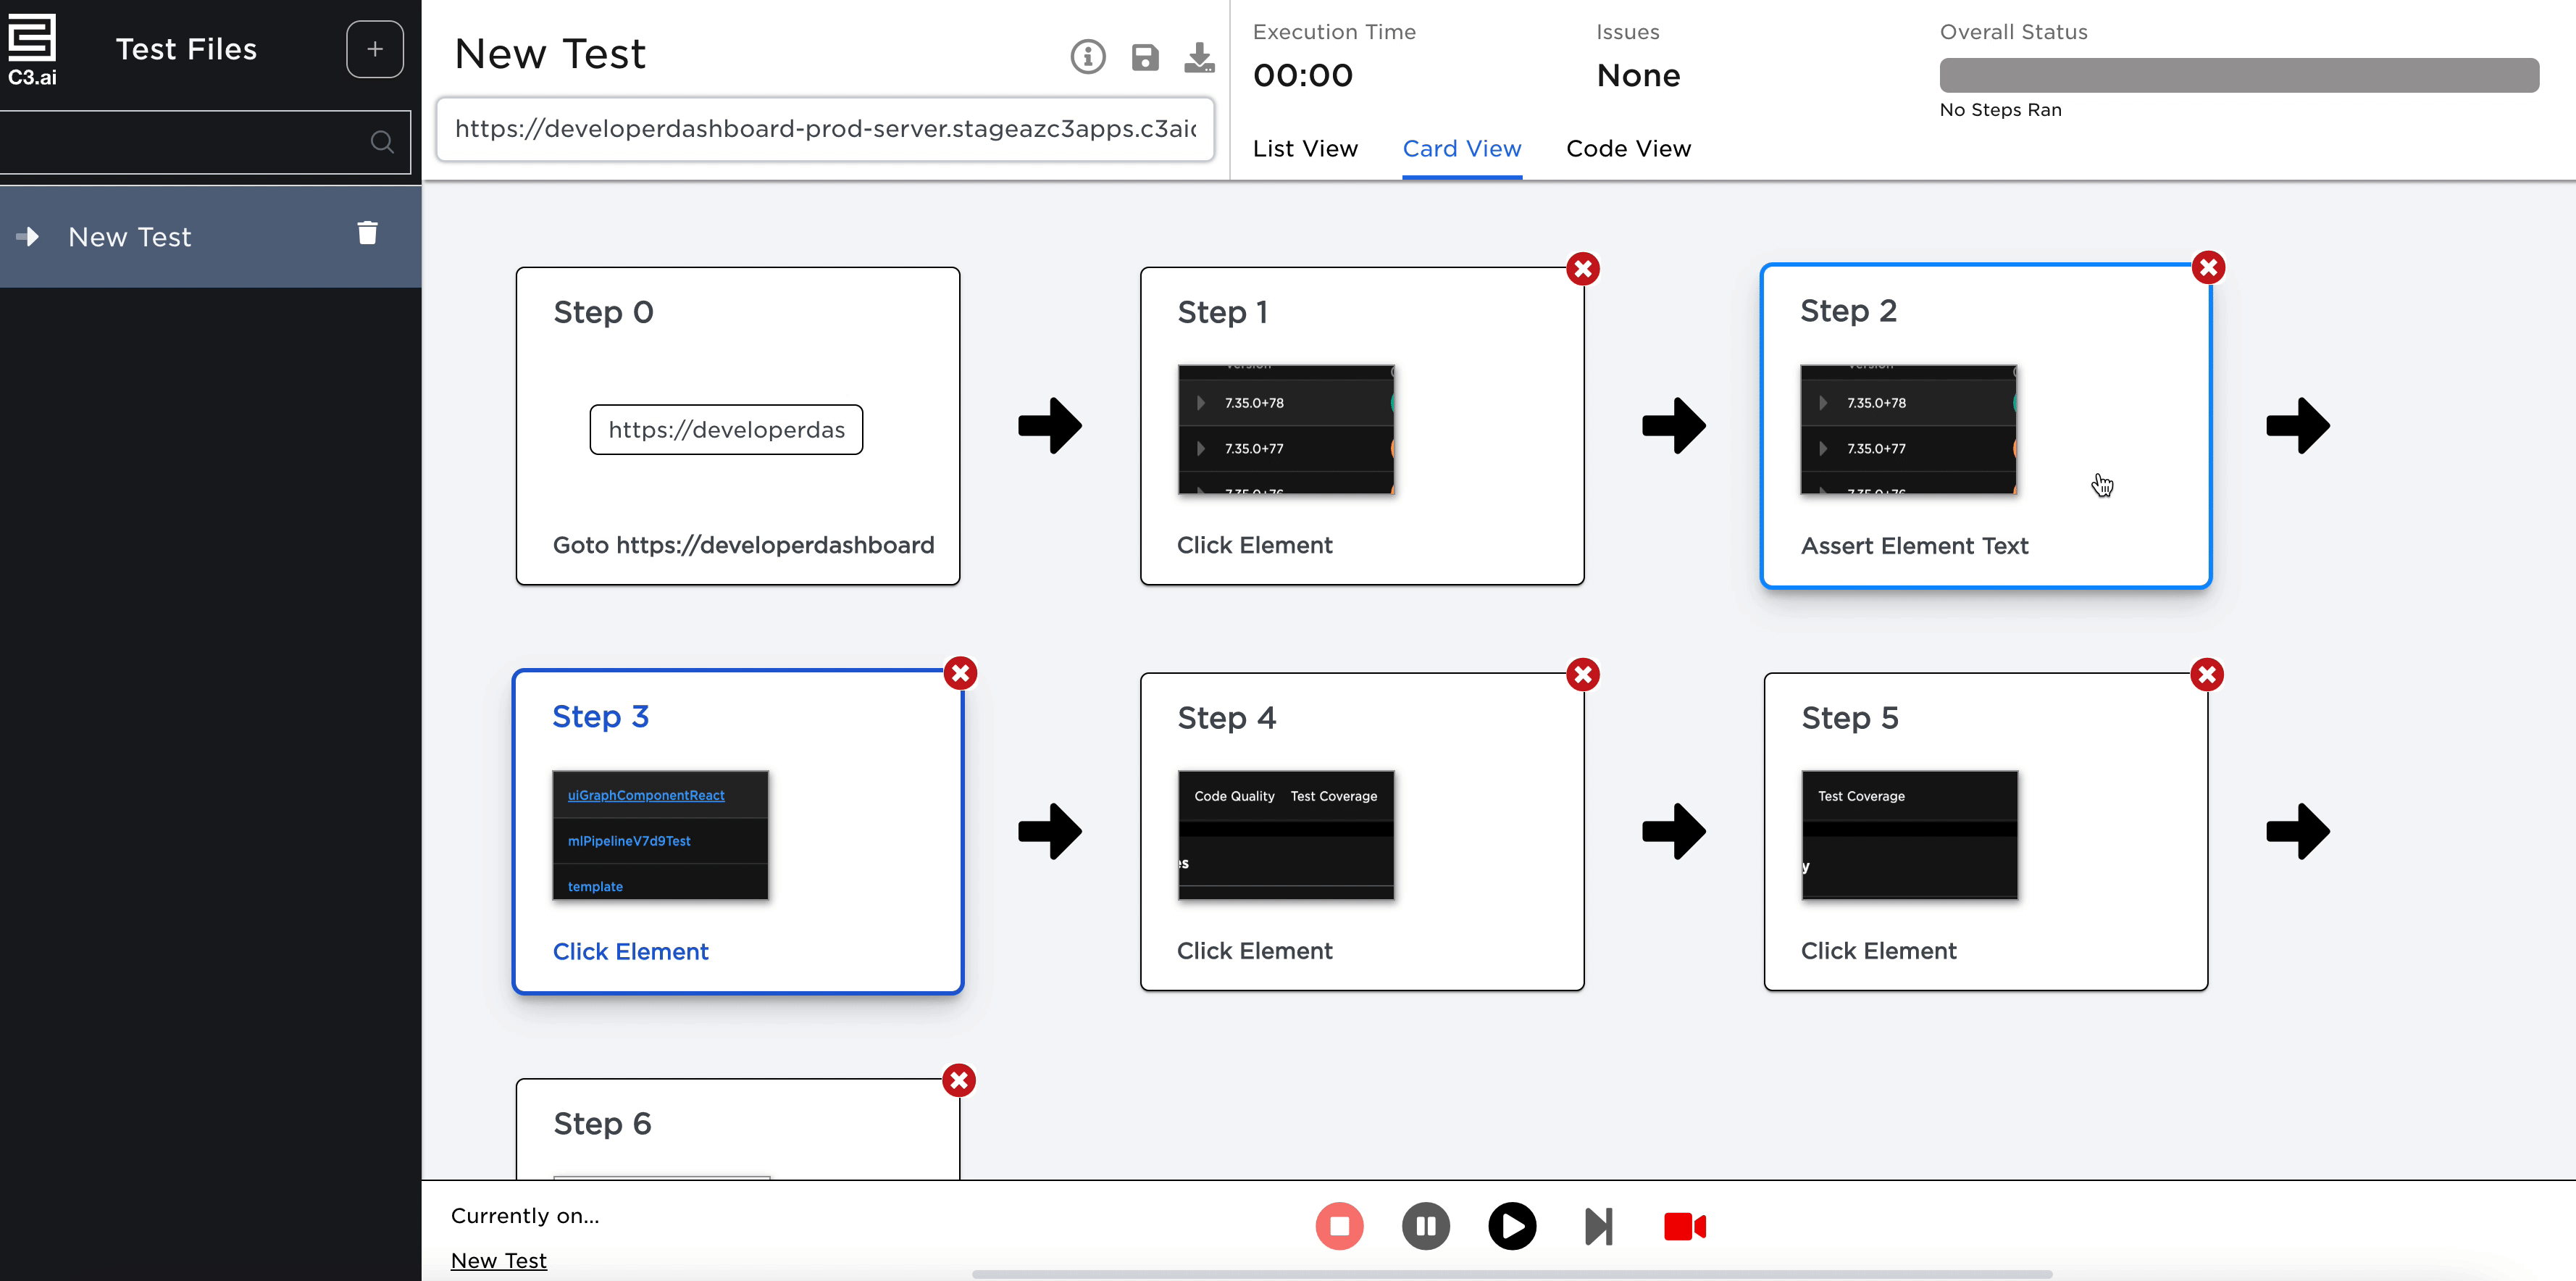
Adding and editing assertions
After going through the interactions that encompass the user story, Jango provides a reference to each of the steps that were recorded. Users can hook into each step and create assertions.
The supported assertion methods are:
Visibility
- Assertion on whether the element is visible.
JavaScriptthis.client.search('.some-selector').visible().assert('toEqual', true);Element Text
- Assertion on the text value of the element.
JavaScriptthis.client.search('.some-selector').text().assert('toEqual', 'hello world');HTML Attribute
- Assertion on a HTML attribute of the element.
JavaScriptthis.client.search('.some-selector').getElementAttribute('id').assert('toEqual', 'specific-id');CSS Property
- Assertion on a CSS property of the element.
JavaScriptthis.client.search('.some-selector').cssProperty('font-size').assert('toEqual', '1em');Performance
- Assertion on the performance of the page. More details about the performance functionality can be found here.
JavaScriptthis.client.pageLoadTime( testUrl: 'http://localhost:8080', keyElementSelectors: ['.some-selector'], timeoutSeconds: 30, customMetricNames: ['customPageLoadTime']}).assertPerformance('toBeLessThan', { "customPageLoadTime": 30 });Accessibility
- Assertion on the accessibility score of the page.
JavaScriptthis.client.accessibilityScore(30).assertAccessibility(80);
Users can also edit these assertions to better fit their needs. Steps can be configured at the following levels:
- Step Type
- This is either an interaction (clicks, inputs, scrolls, etc.) or an assertion (visibility, text, performance, etc).
- Assertion Type 8 If the Step Type is an assertion, this describes what type of assertion the step is.
- Assertion Parameters
- If the Step Type is an assertion, this describes the required inputs for the assertion.
- Selector
- The selector that the step is based on.
- Timeout
- The timeout period that the step is allowed to take to execute.
Helper bot
When the target page is opened, notice a small helper bot in the bottom right corner of the page. This bot is injected into the page by Jango, and provides assistive capabilities while recording a test. You can click on the bot to open a dialogue indicating what actions you can take, and also drag the bot anywhere on the target page if it is blocking an area of the page you wish to interact with. User interactions with the bot are not recorded by Jango.
Toggle the recording button
While creating a new test, users can pause the recording in order to inspect their application. When clicking on the helper bot, you will see a camera icon in the top right corner of the dialogue. Selecting this button will pause recording such that all further interactions in the target page will not be captured by Jango. To resume recording, simply press the button once more. You can pause and resume recording as many times as you would like in a given recording session.
It is advisable to remember the state of the application when the pause started. If a user were to pause and then resume the recording at a different state, Jango would not know how the previous state progressed to the next state and the generated test may fail during subsequent executions.
Running a test
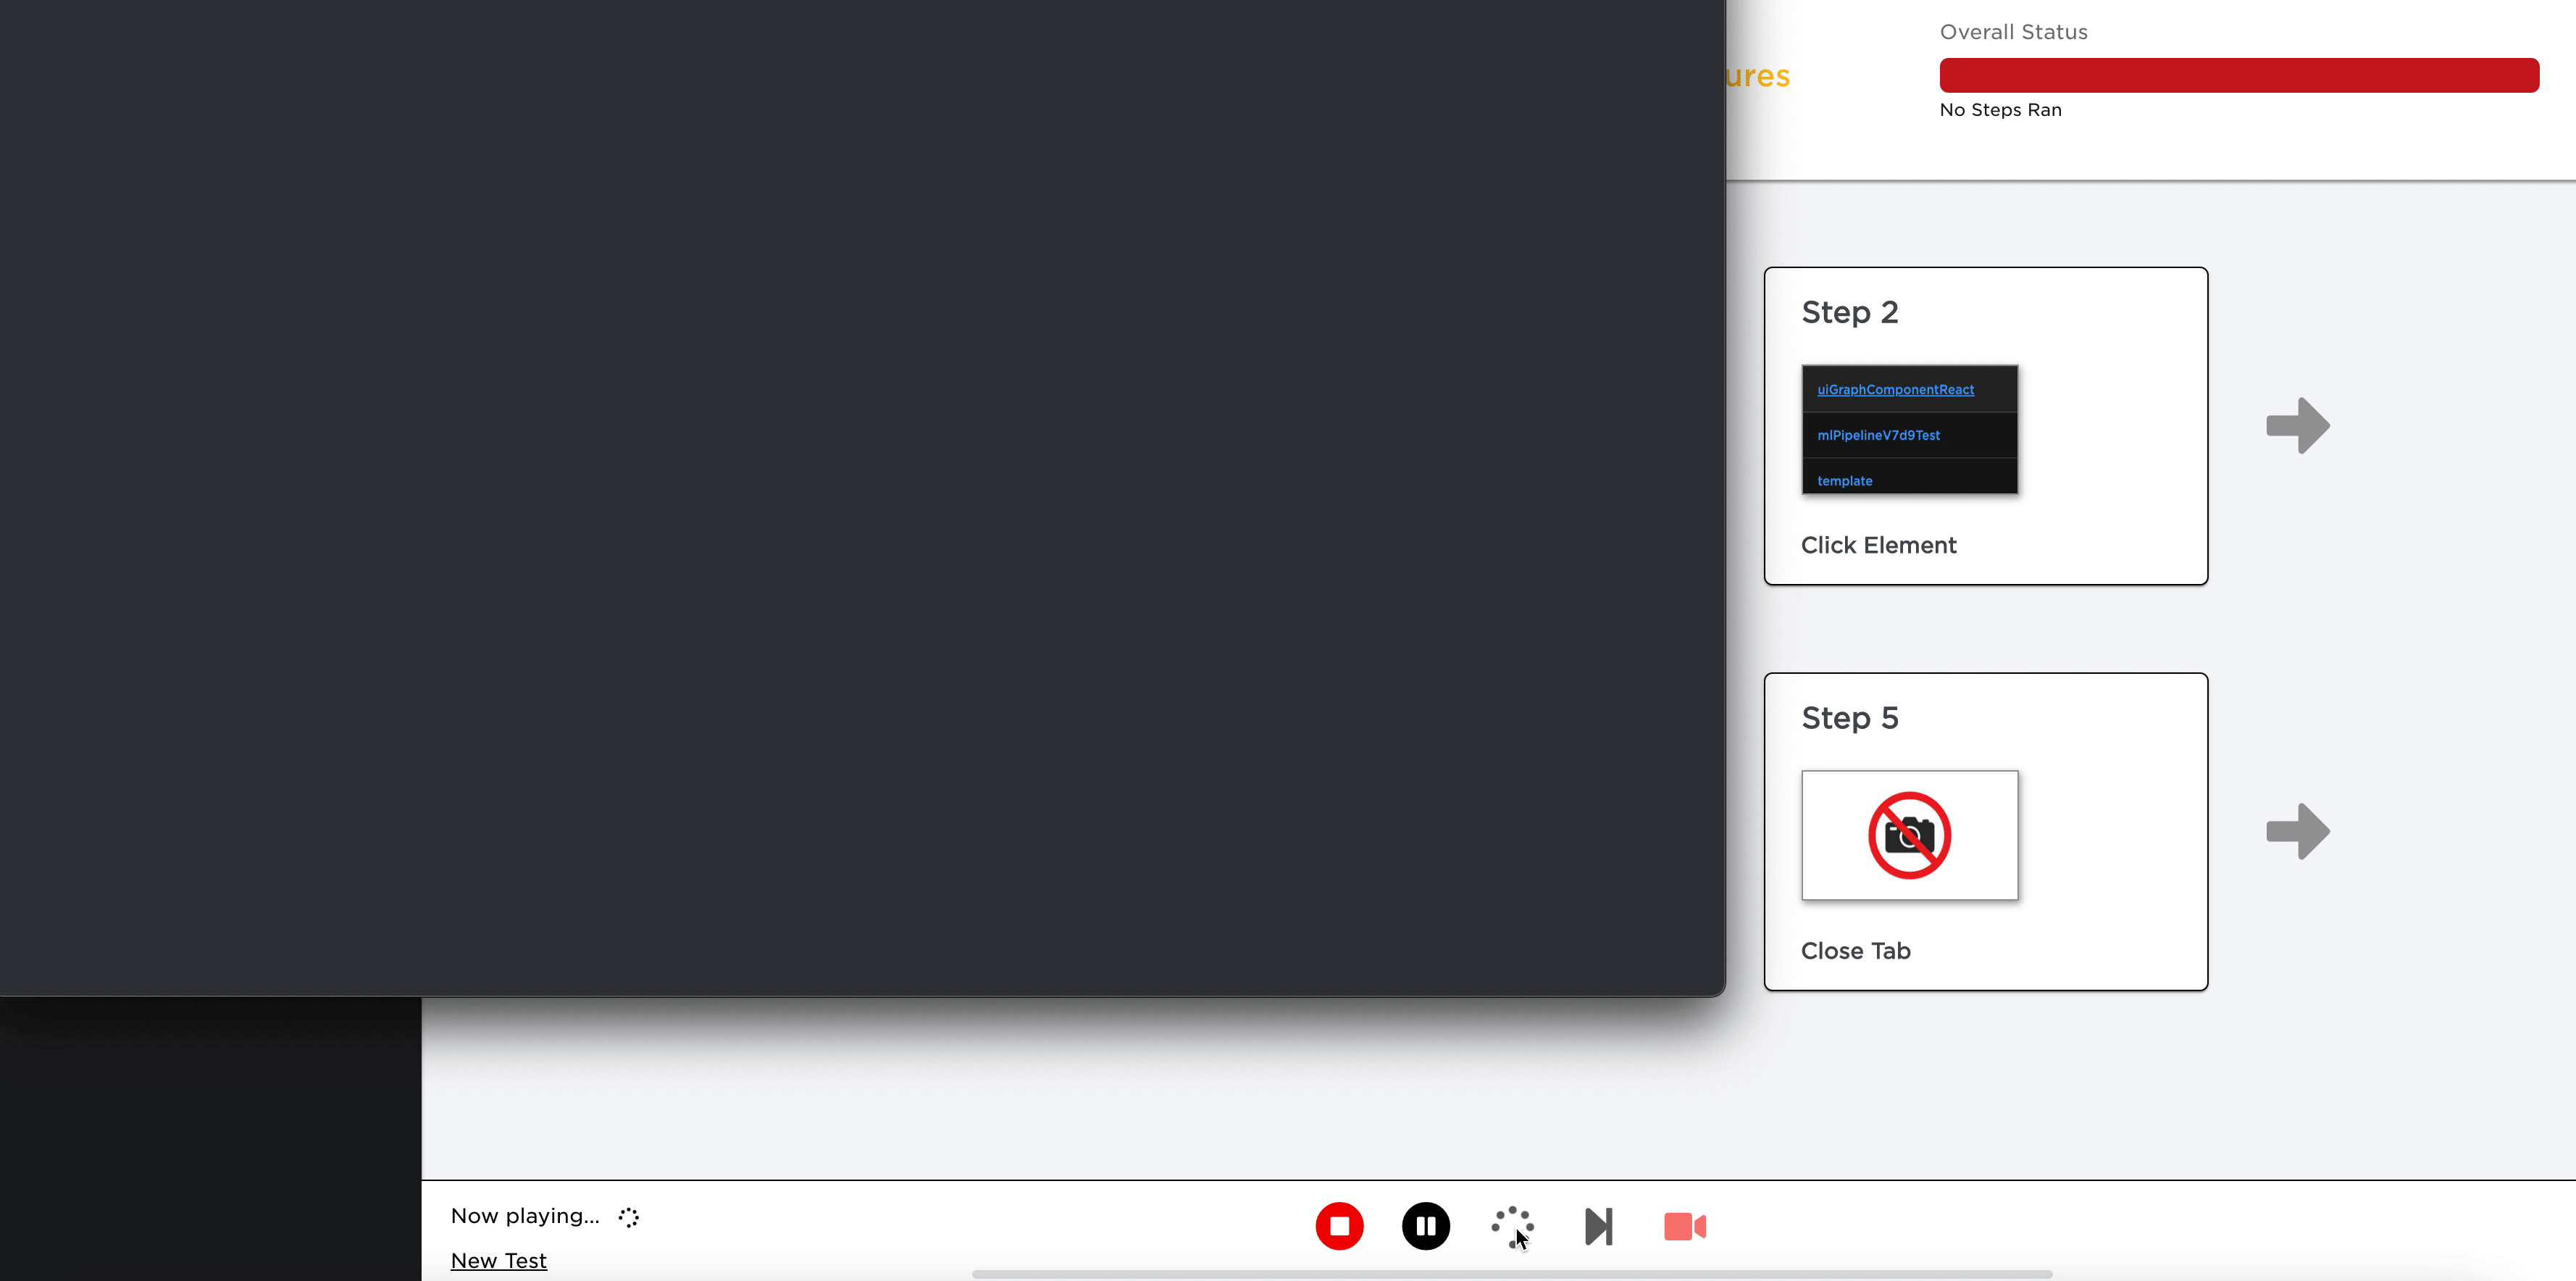
After a test is created, users can run the test to validate their workflow. There are various indicators in both the List View and the Card View that show the status of each step of the test. These indicators include status icons in the List View and border styling in the Card View.
At the end of the test a modal is displayed that provides a summary of the status of the test.
Pausing execution
Tests can be paused during execution. There may be cases where a user wants to view the state of their application after a certain step has been executed. This can be done through the Pause button located at the bottom of Jango. To resume execution, select the Play button.
Halting execution
Users may find out that they had a faulty step in their test while their test is being executed. Rather than wait for the entire test to finish or be forced to reload the page, users can terminate test execution through the Stop button located at the bottom of Jango.
Uploading an existing test
Users have the option to upload an existing LukeBrowser test to Jango.
Debugging a test failure
Debugging using Chrome native debuggers
Users can use Chrome native debuggers to directly inject break statements into their tests. In order to do this, users need to first have the Chrome DevTools open. Then, in their test script, find out where in the script you wish to make a breakpoint and do the following:
// Assuming you want to pause at this point...
this.client.search('.selector').text();

// You will now need to append this function to your Luke Chain
this.client.search('.selector').text().inspectResult();
Assuming your Chrome DevTools is open, you should see the code being paused. You can also hover above the variable "resolvedValue" to see the value of the node before inspectResult. In the example above, you would see the text of the selector.
Users can also use this to verify the state of the UI of the application they are testing. Once you are satisfied with your debugging, you can resume the execution of the script by clicking on the resume button in the Chrome DevTools.
Debugging using Jango debugger
Jango can provide assistance in debugging test failures by enabling Debug mode. To toggle the Debug mode on or off, select the bug icon in the list of buttons located next to the name of the test at the top of the page.
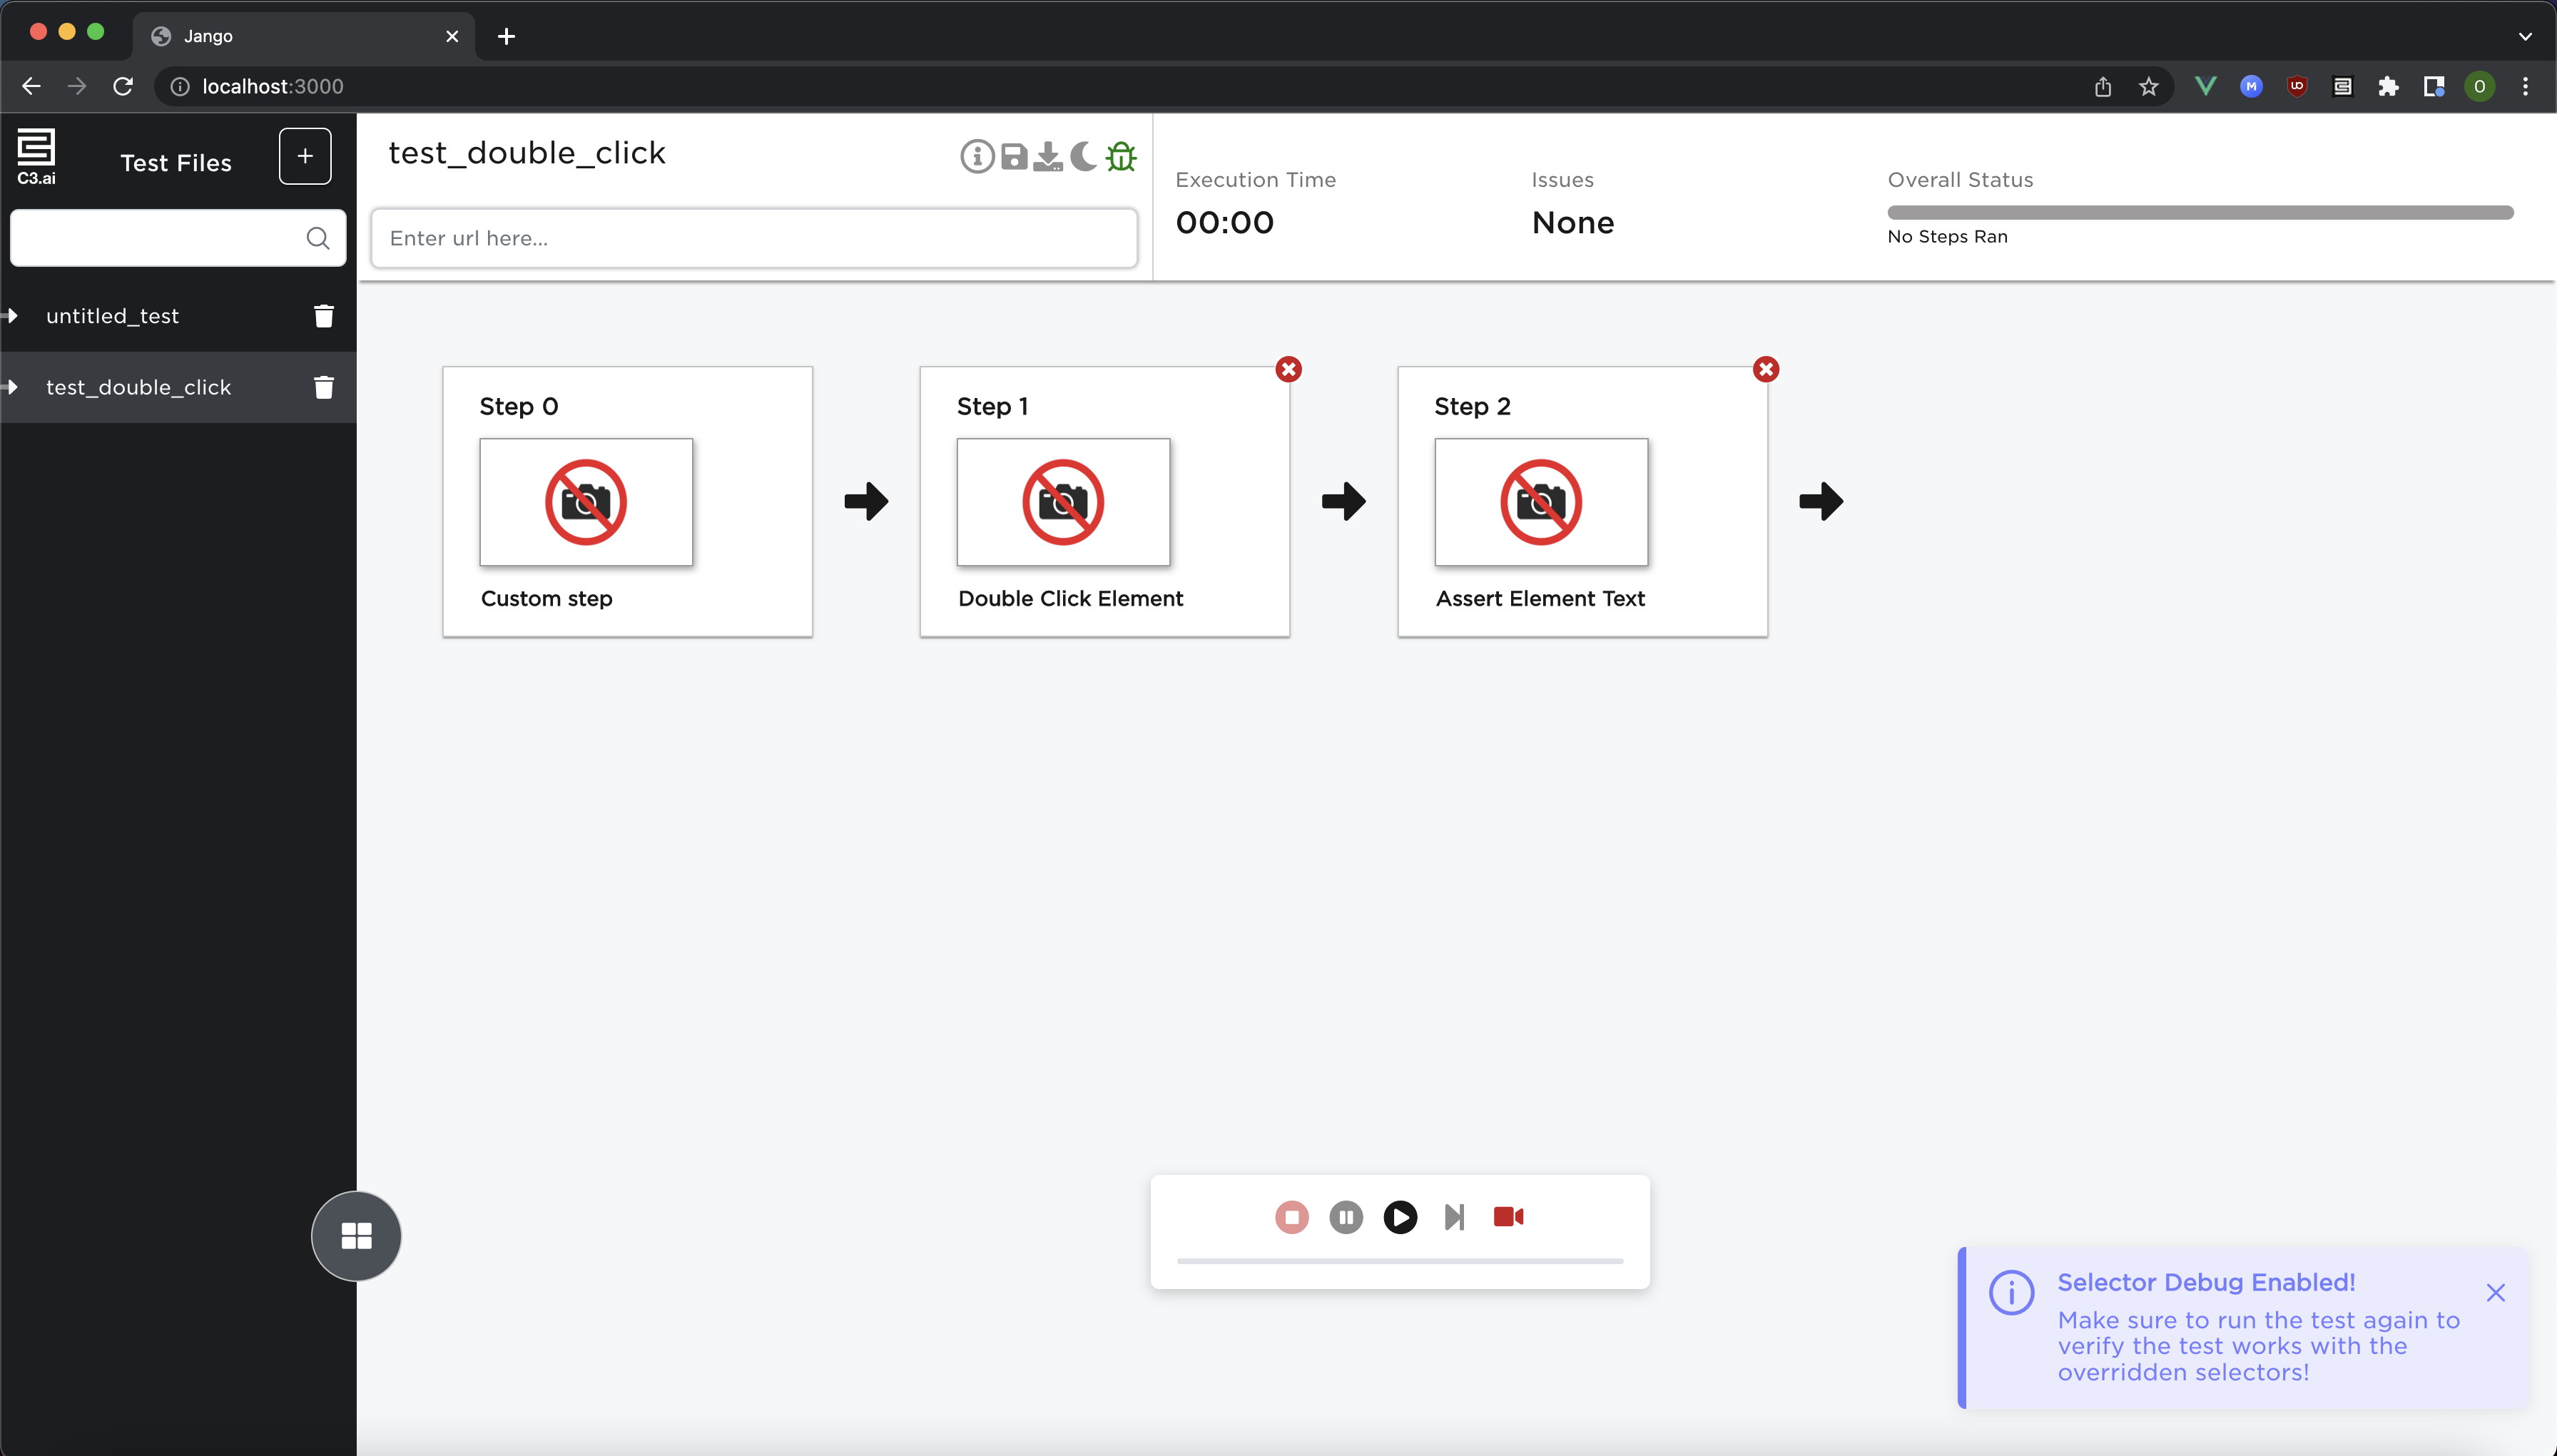
While an individual step is run during test execution, Jango can detect if the step is failing due to a CSS selector not being found. If Jango detects the step is failing due to this issue, the helper bot in the target page opens a modal notifying the user can override the erroneous selector by selecting a new element on the page. To continue execution, the user can select the new element and generate the new selector, confirming the selection. This operation can be skipped by selecting the Skip button, forcing the test to continue.
Note this feature is only available for test steps that correspond to LukeBrowser interactions Jango understands. If a selector fails within a custom step, the helper bot does not provide this capability and the test continues the normal execution cycle.