Automation in Visual Notebooks
Visual Notebooks offers advanced scheduling and parameterization features that can be combined to deploy visual notebooks and automatically update results.
Parameters
Parameters are global variables that can be used across multiple nodes in a visual notebook. Use parameters to:
- Filter or manipulate data based on dynamic timestamp values
- Create placeholder values for commonly used numbers or strings
- Quickly update multiple instances of a value in a visual notebook
Parameters are supported in select Input Data nodes, nodes that allow custom SQL, and schedules.
Open a visual notebook to create and manage parameters. Once in the visual notebook canvas, select the curly bracket icon highlighted in Figure 1 to display the parameter modal.

Figure 1: Parameter button
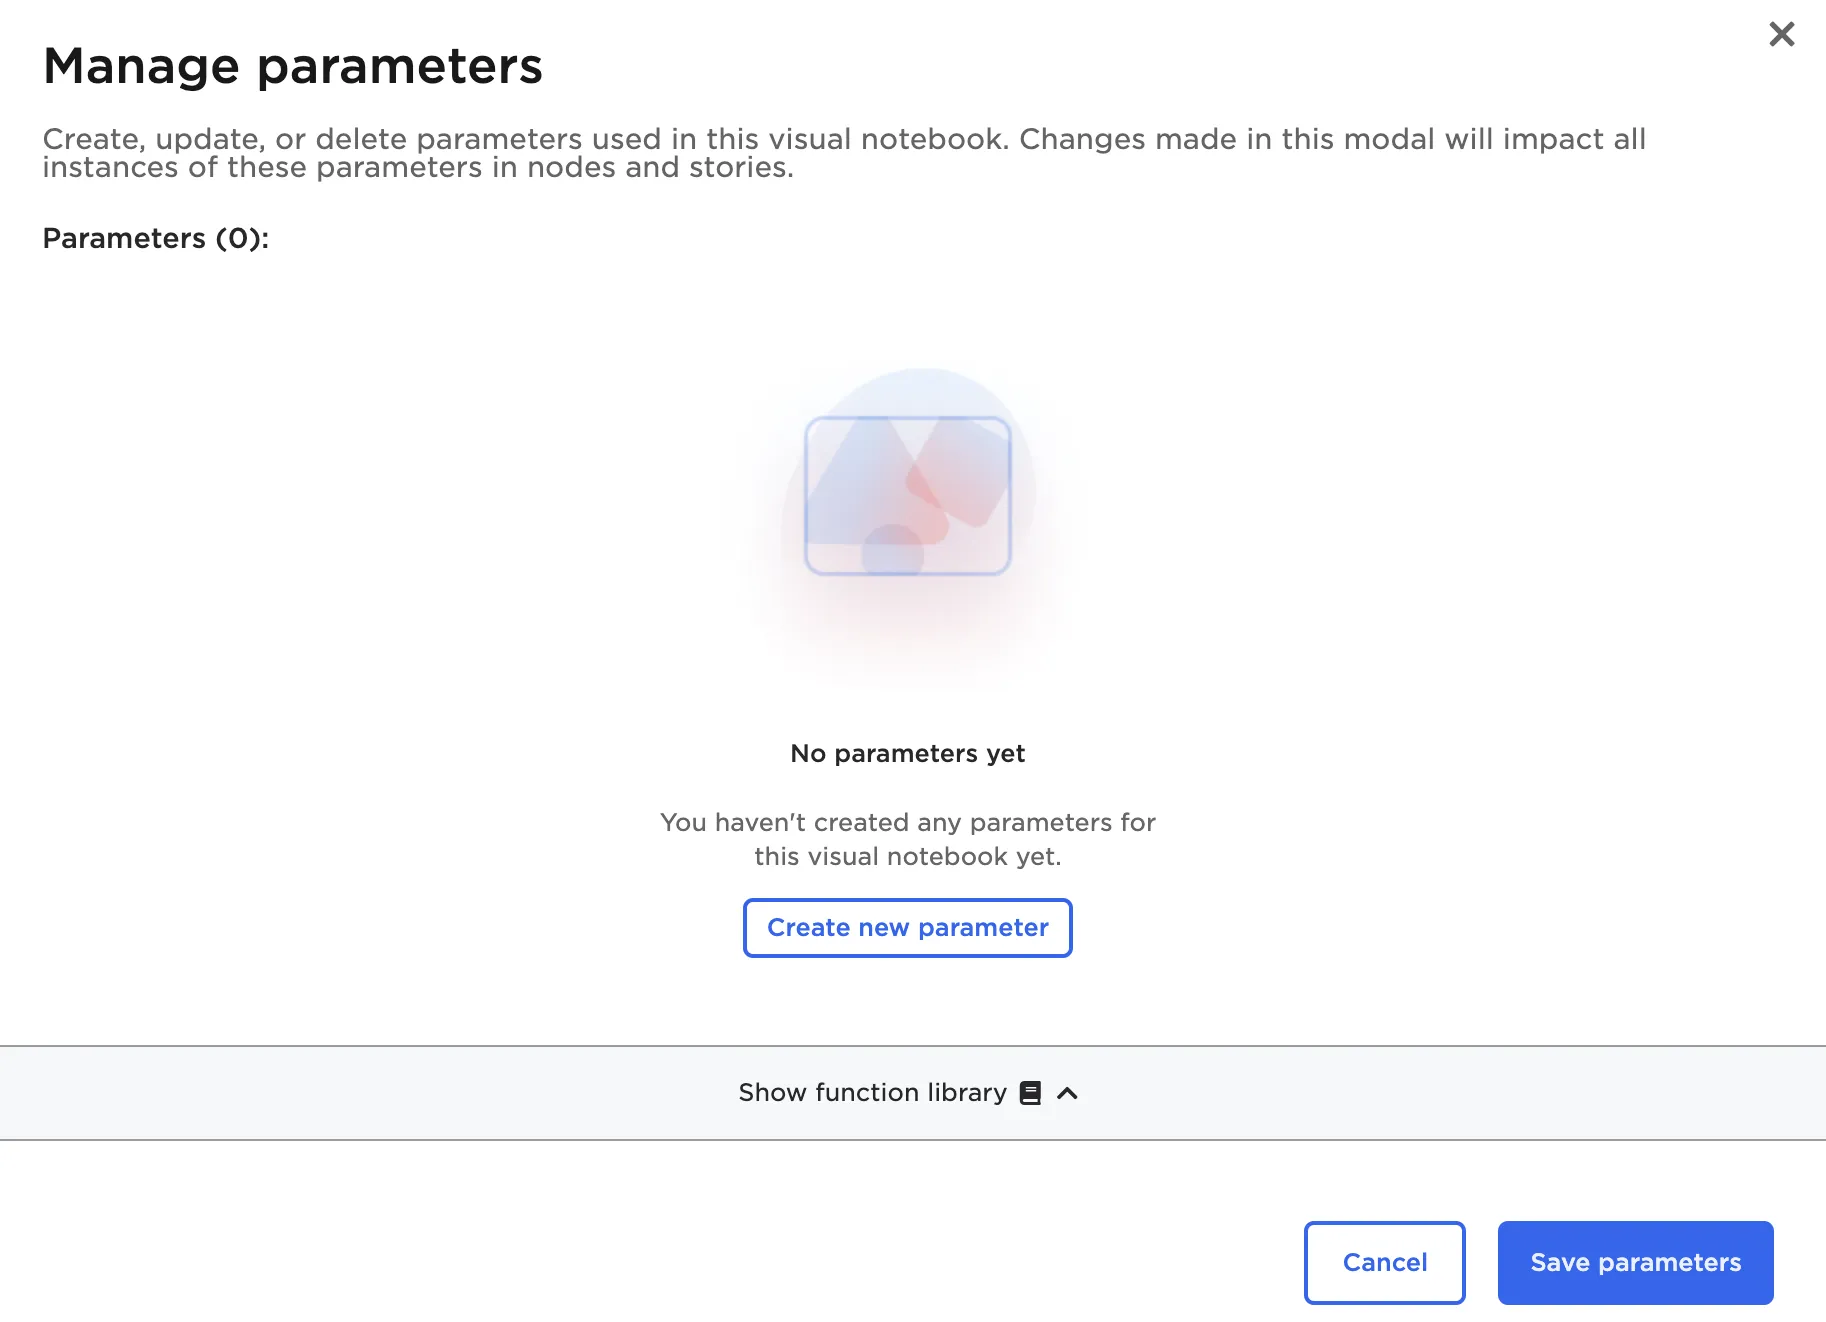
Figure 2: Parameter modal

Figure 3: Built-in function library
When defining a parameter, you must specify the data type, name, and formula. Parameters support embedding a function inside another function. For example, plusWeeks(current_date(), 3) is a valid parameter formula. Additionally, parameters support basic arithmetic when defining an integer or double.
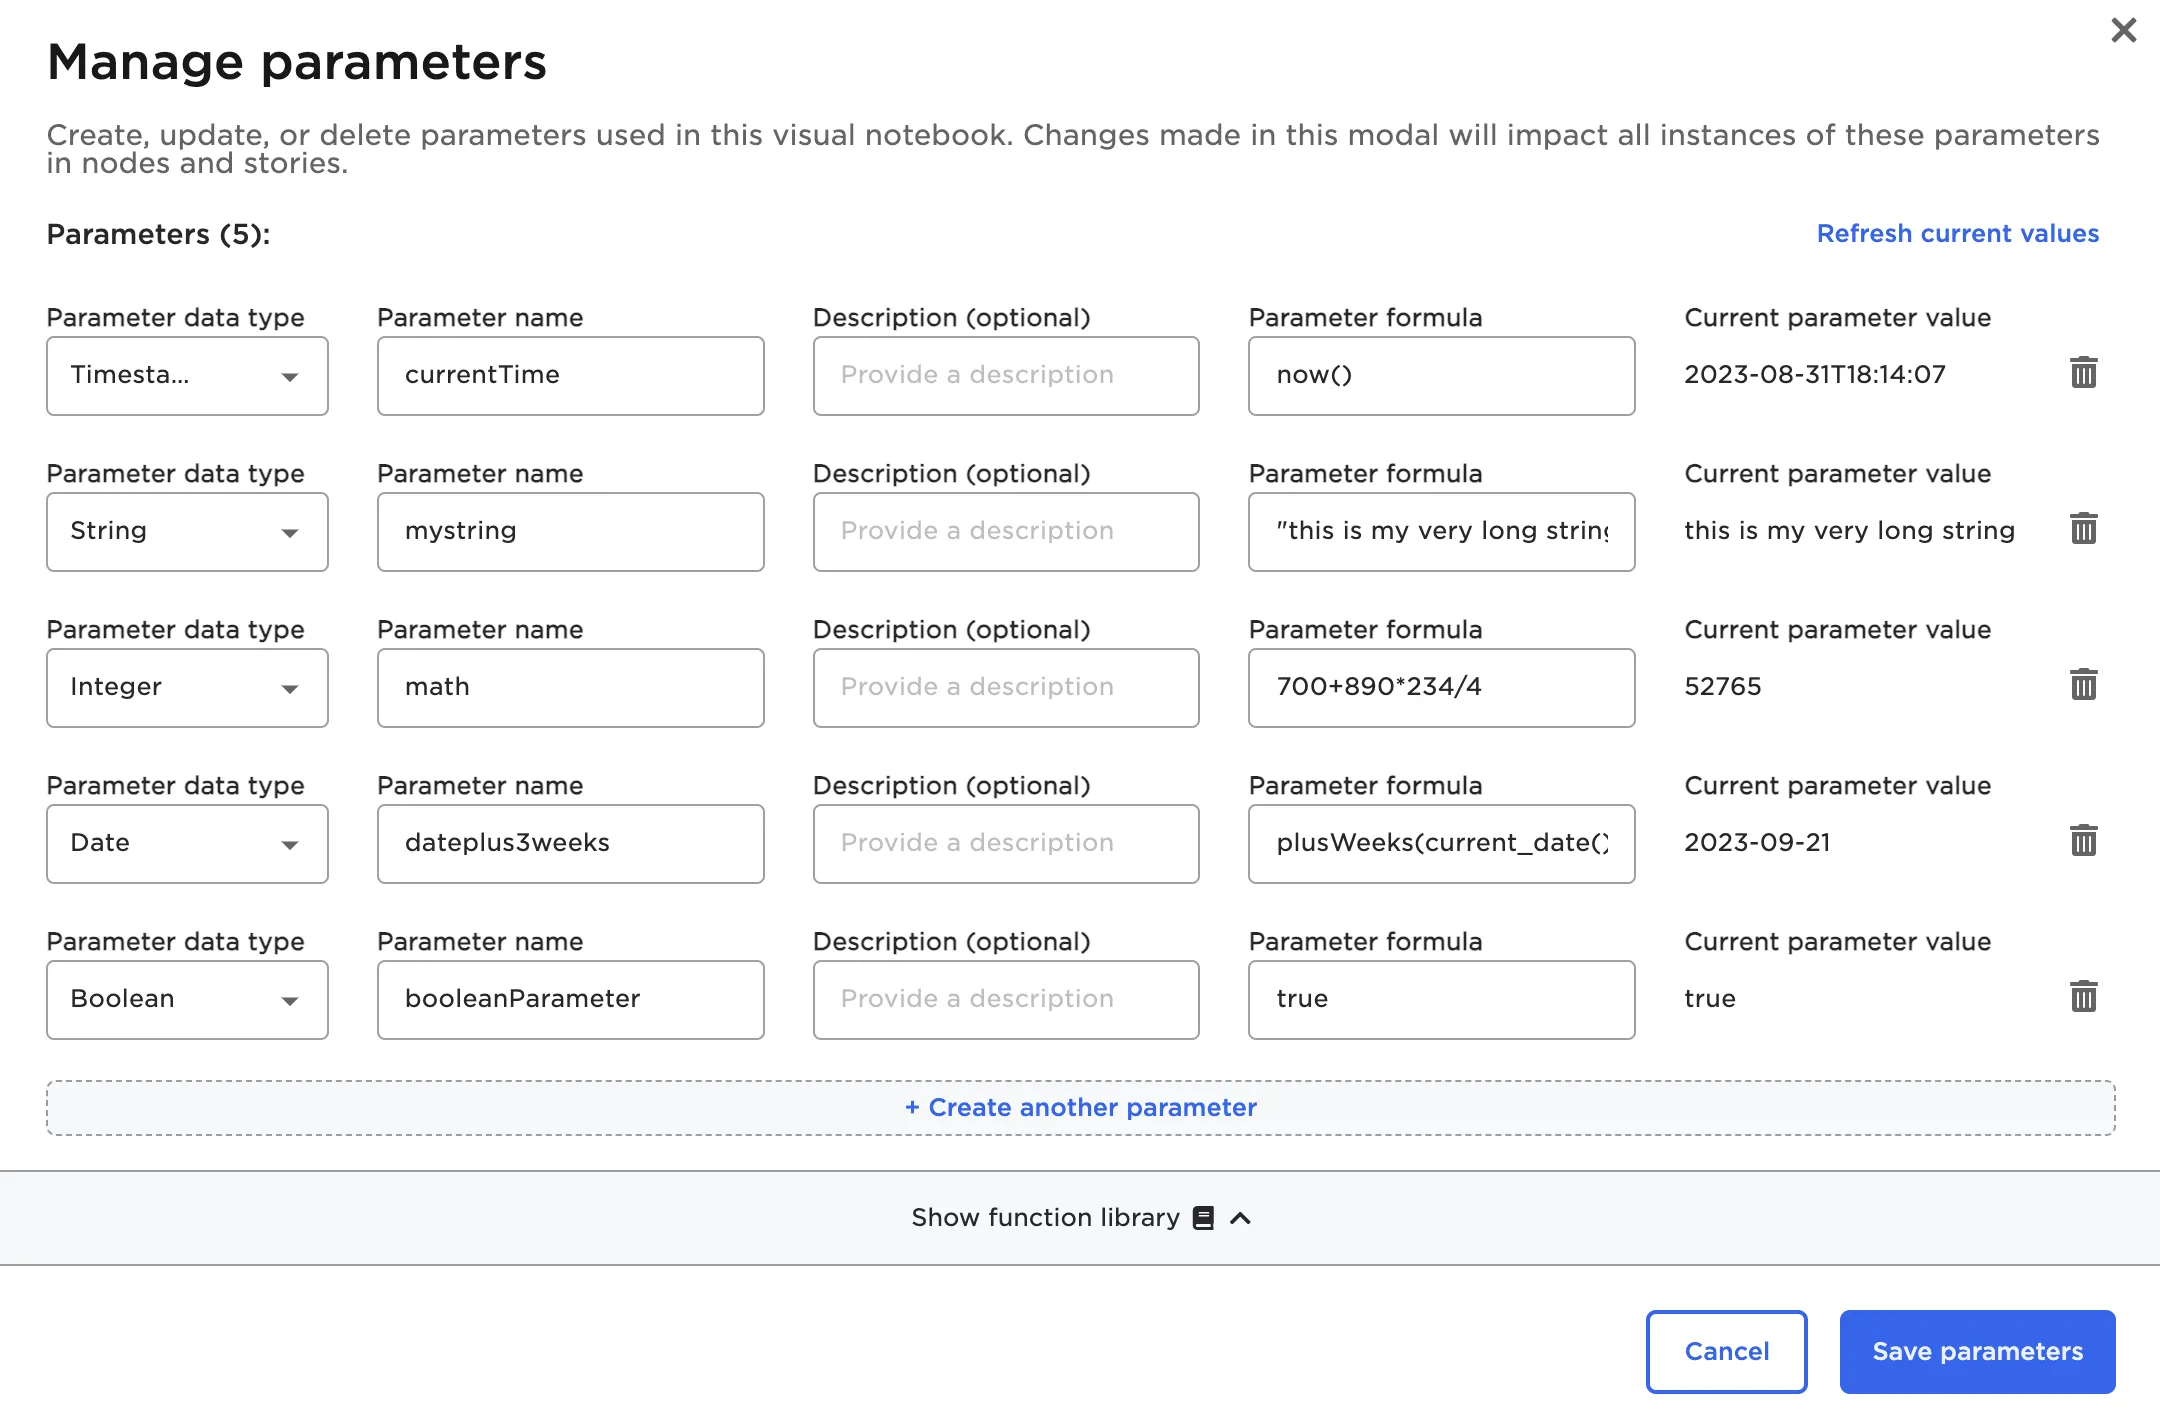
Figure 4: A variety of configured parameters
Select Save Parameters to begin using parameters in your visual notebook.
To use a parameter in an Input Data node, define a SQL query or use the optional Filter by Value widget. Within the Filter by Value widget, toggle the Parameter mode switch on. Toggling this switch populates the Define Value field to include all configured parameters.
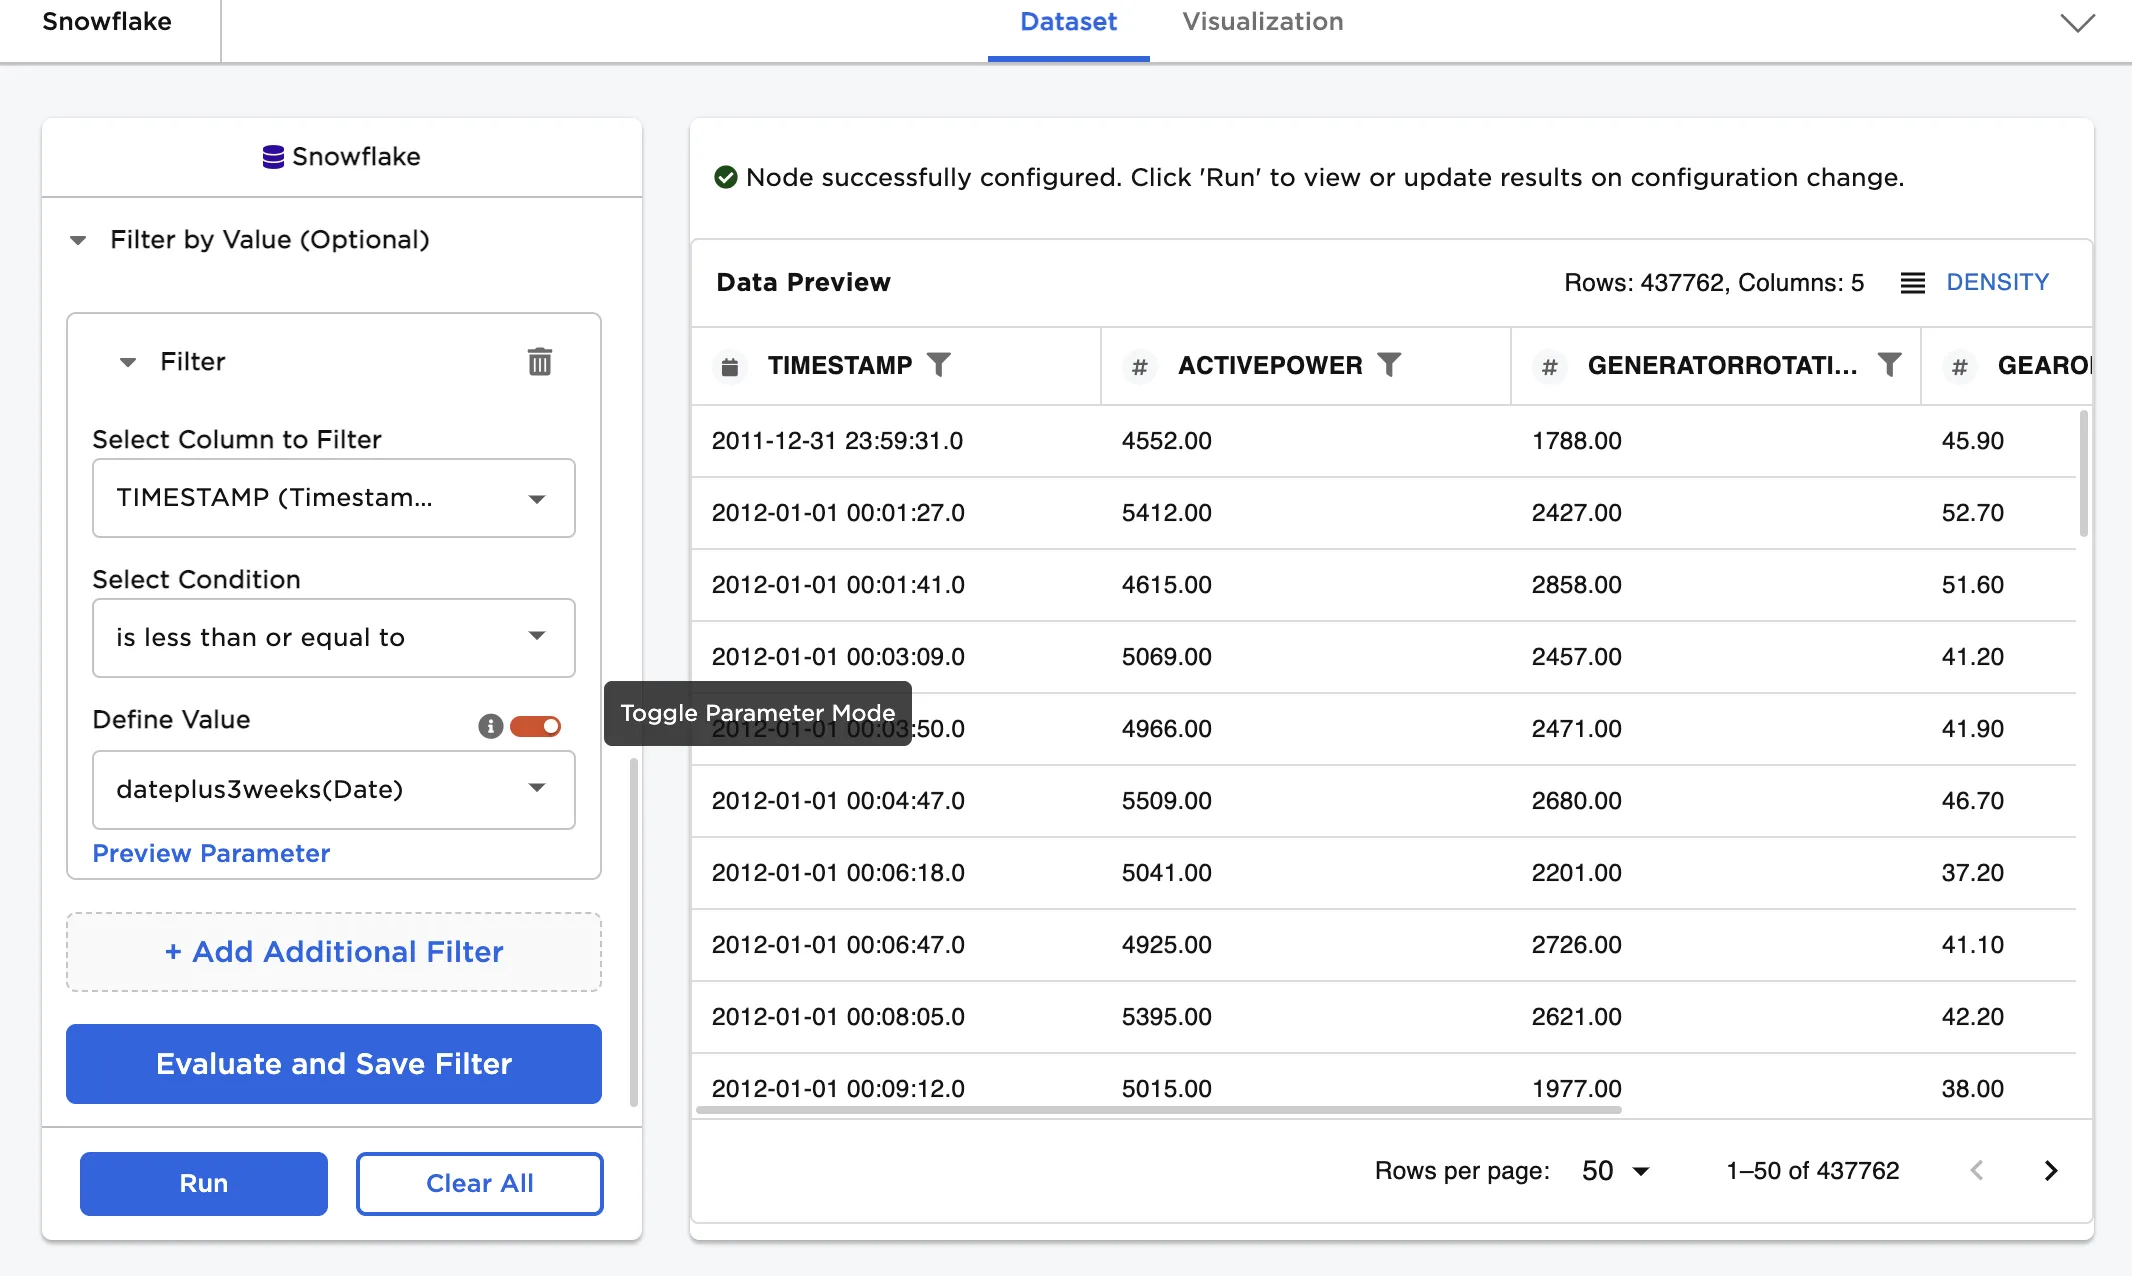
Figure 5: Parameter Mode toggle in Input Data nodes
Once a parameter is selected, select Preview Parameter to see the formula for the chosen parameter and the current parameter value.
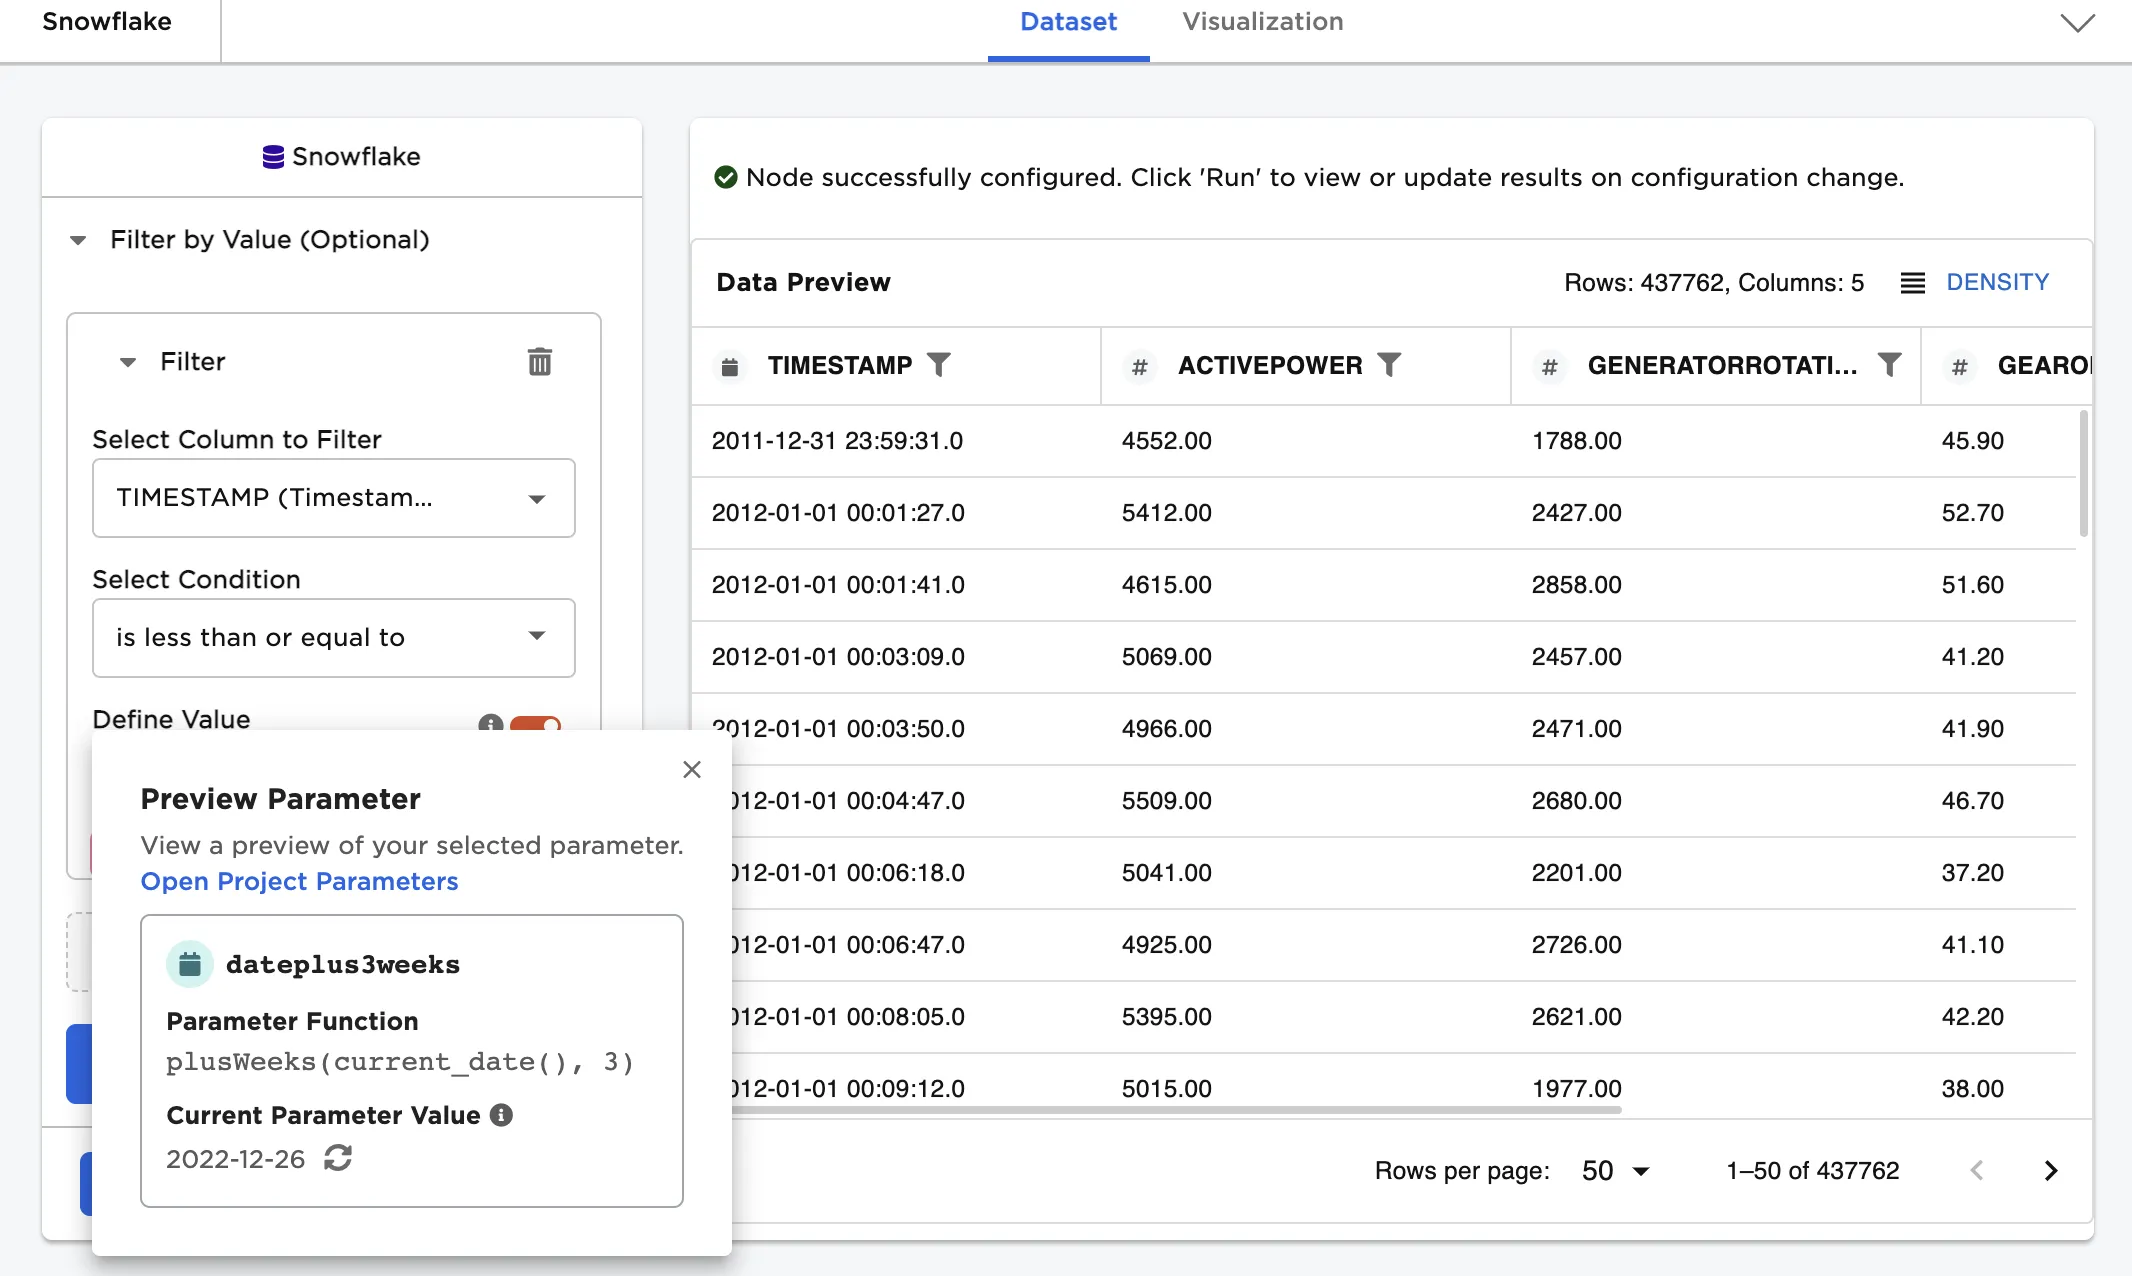
Figure 6: Preview Parameter modal
Parameters can also be used in nodes that allow custom SQL, such as Custom SQL Function, Filter by SQL, Split by Filter, and select Input Data nodes. Supported nodes include a list of configured parameters underneath the SQL Formula field.
To use a parameter, prefix it with $. Depending on the SQL functions used, you may need to encase the parameter in single quotes or curly brackets.
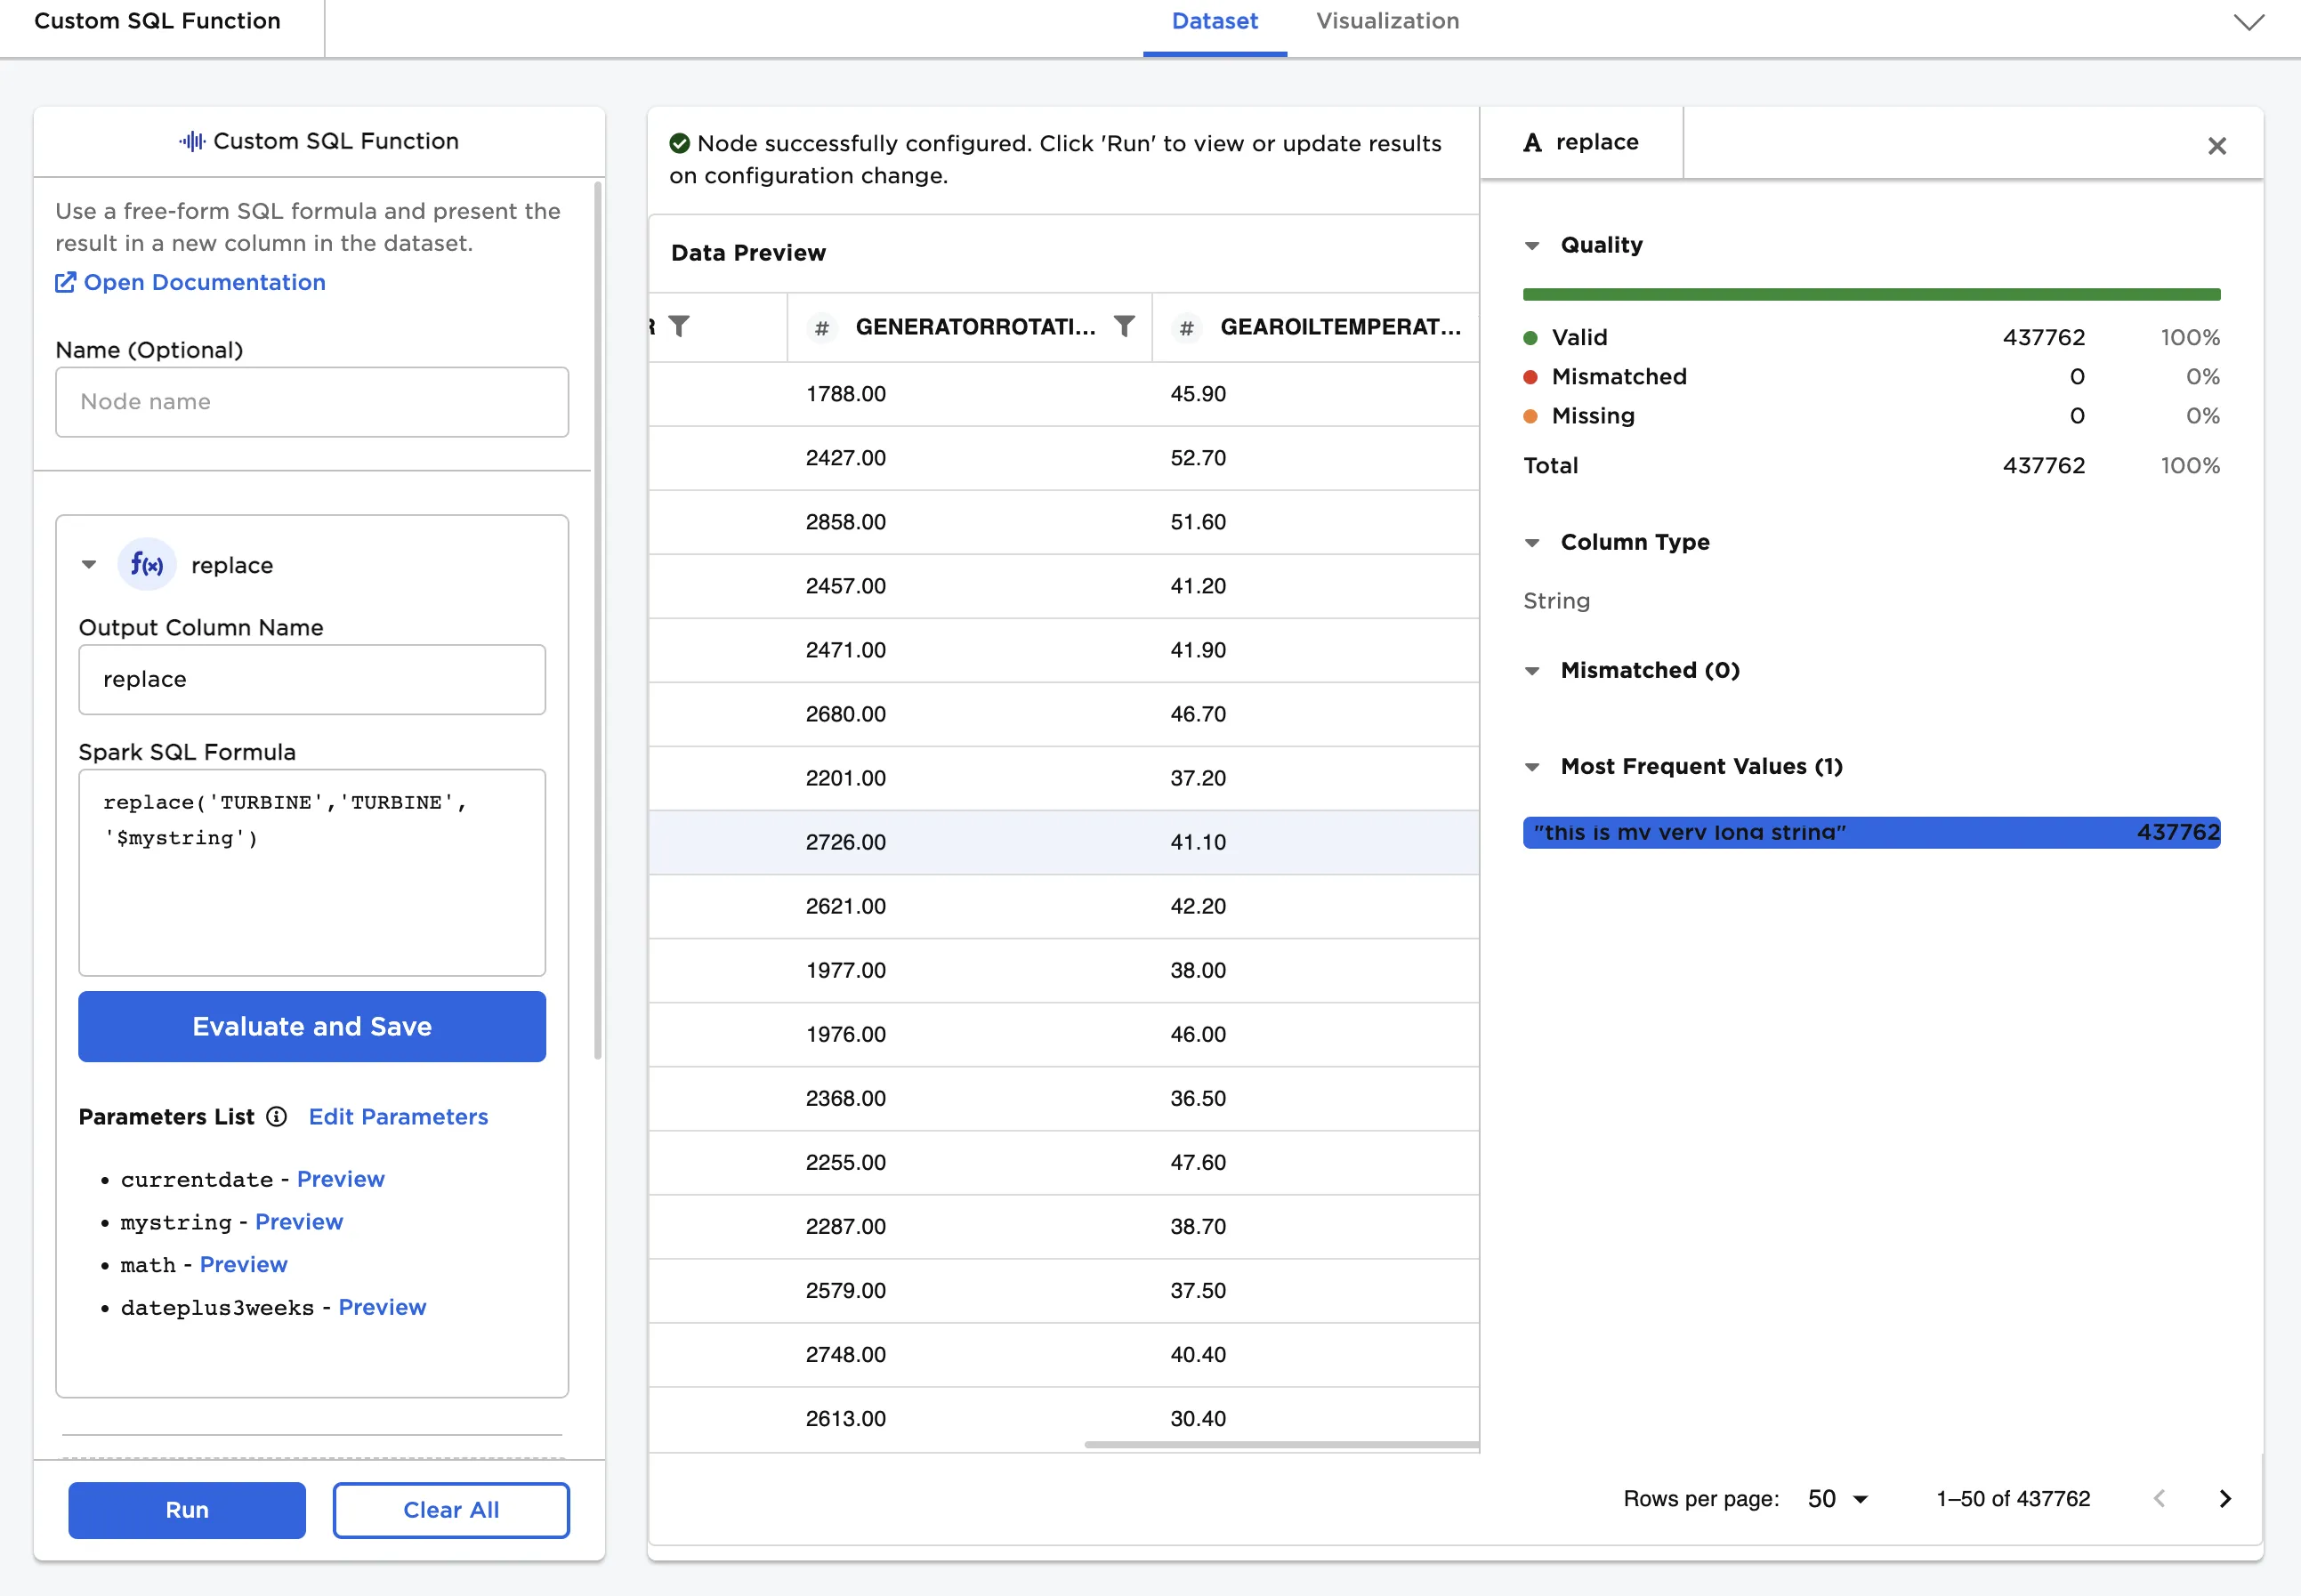
Figure 7: Parameter used in a custom SQL expression
Nodes that are configured to use parameters display a curly bracket icon when viewed on the canvas.
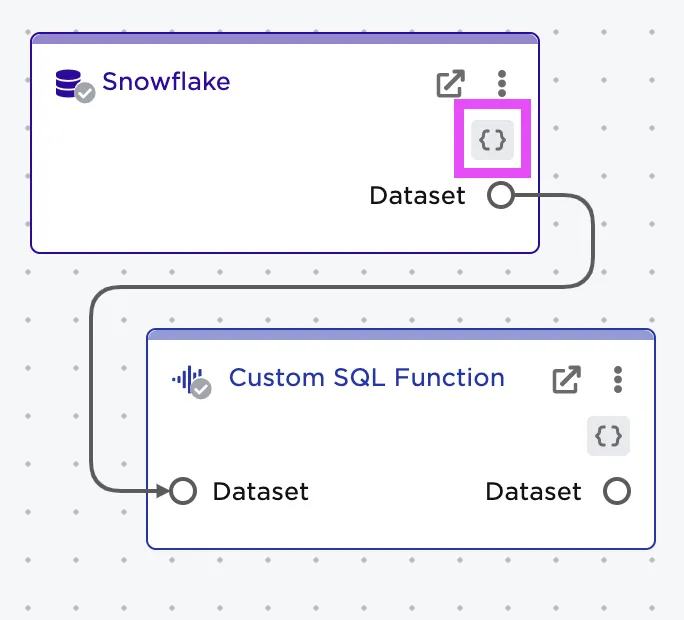
Figure 8: Parameter indicator on nodes
Schedules
Schedules automatically run published visual notebooks on a pre-defined frequency.
Access and manage schedules by navigating to the "Schedules" page. To create a schedule, select Create new in the top right corner.
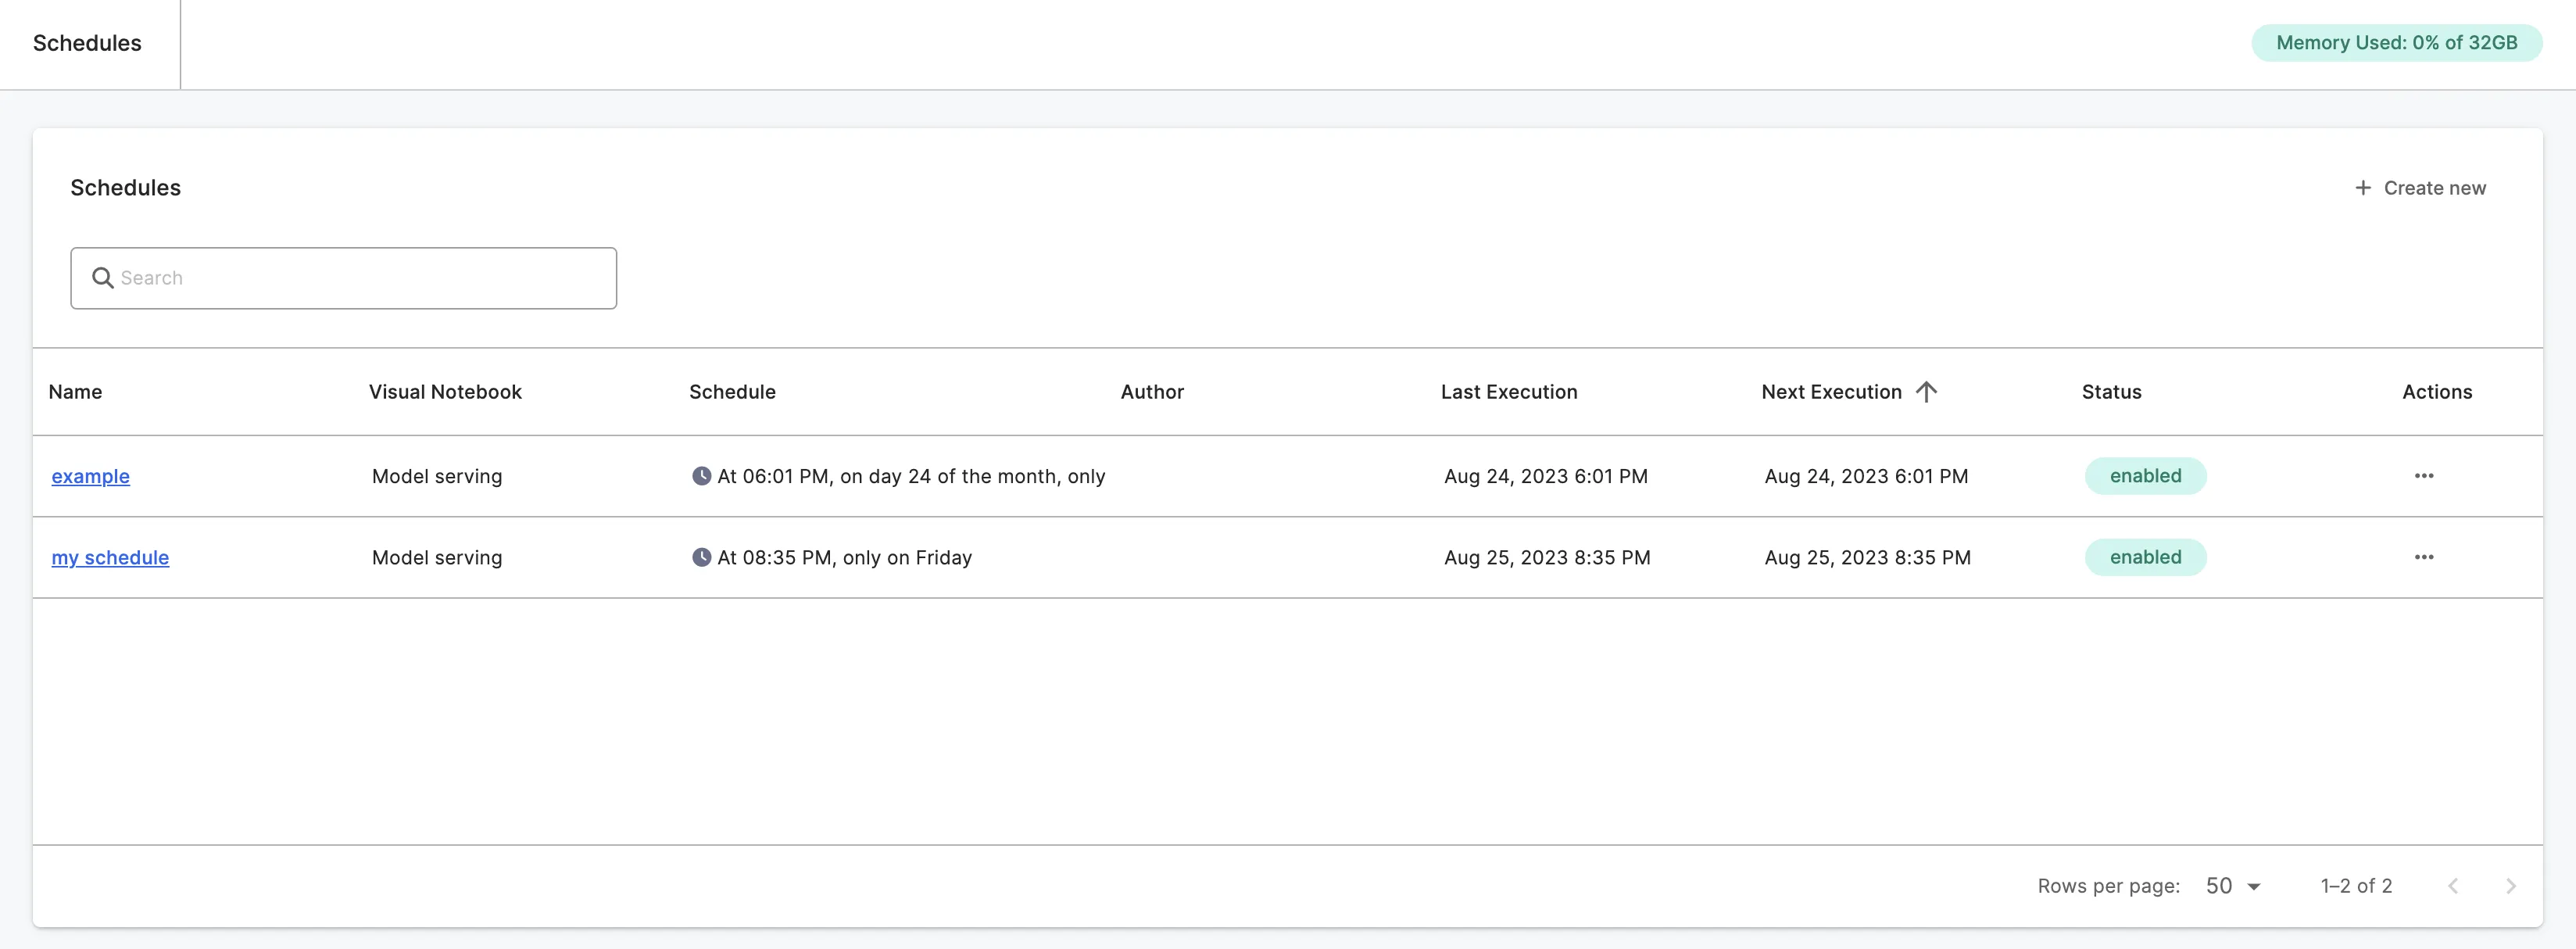
Figure 9: Schedules page with option to create a new schedule
This opens a modal with fields to create a schedule. Schedules can be run once or repeat hourly, daily, weekly, or monthly. If configured to run repeatedly, you can define an end date if desired. Once the desired frequency is specified, select a version of a published visual notebook to run using the schedule.
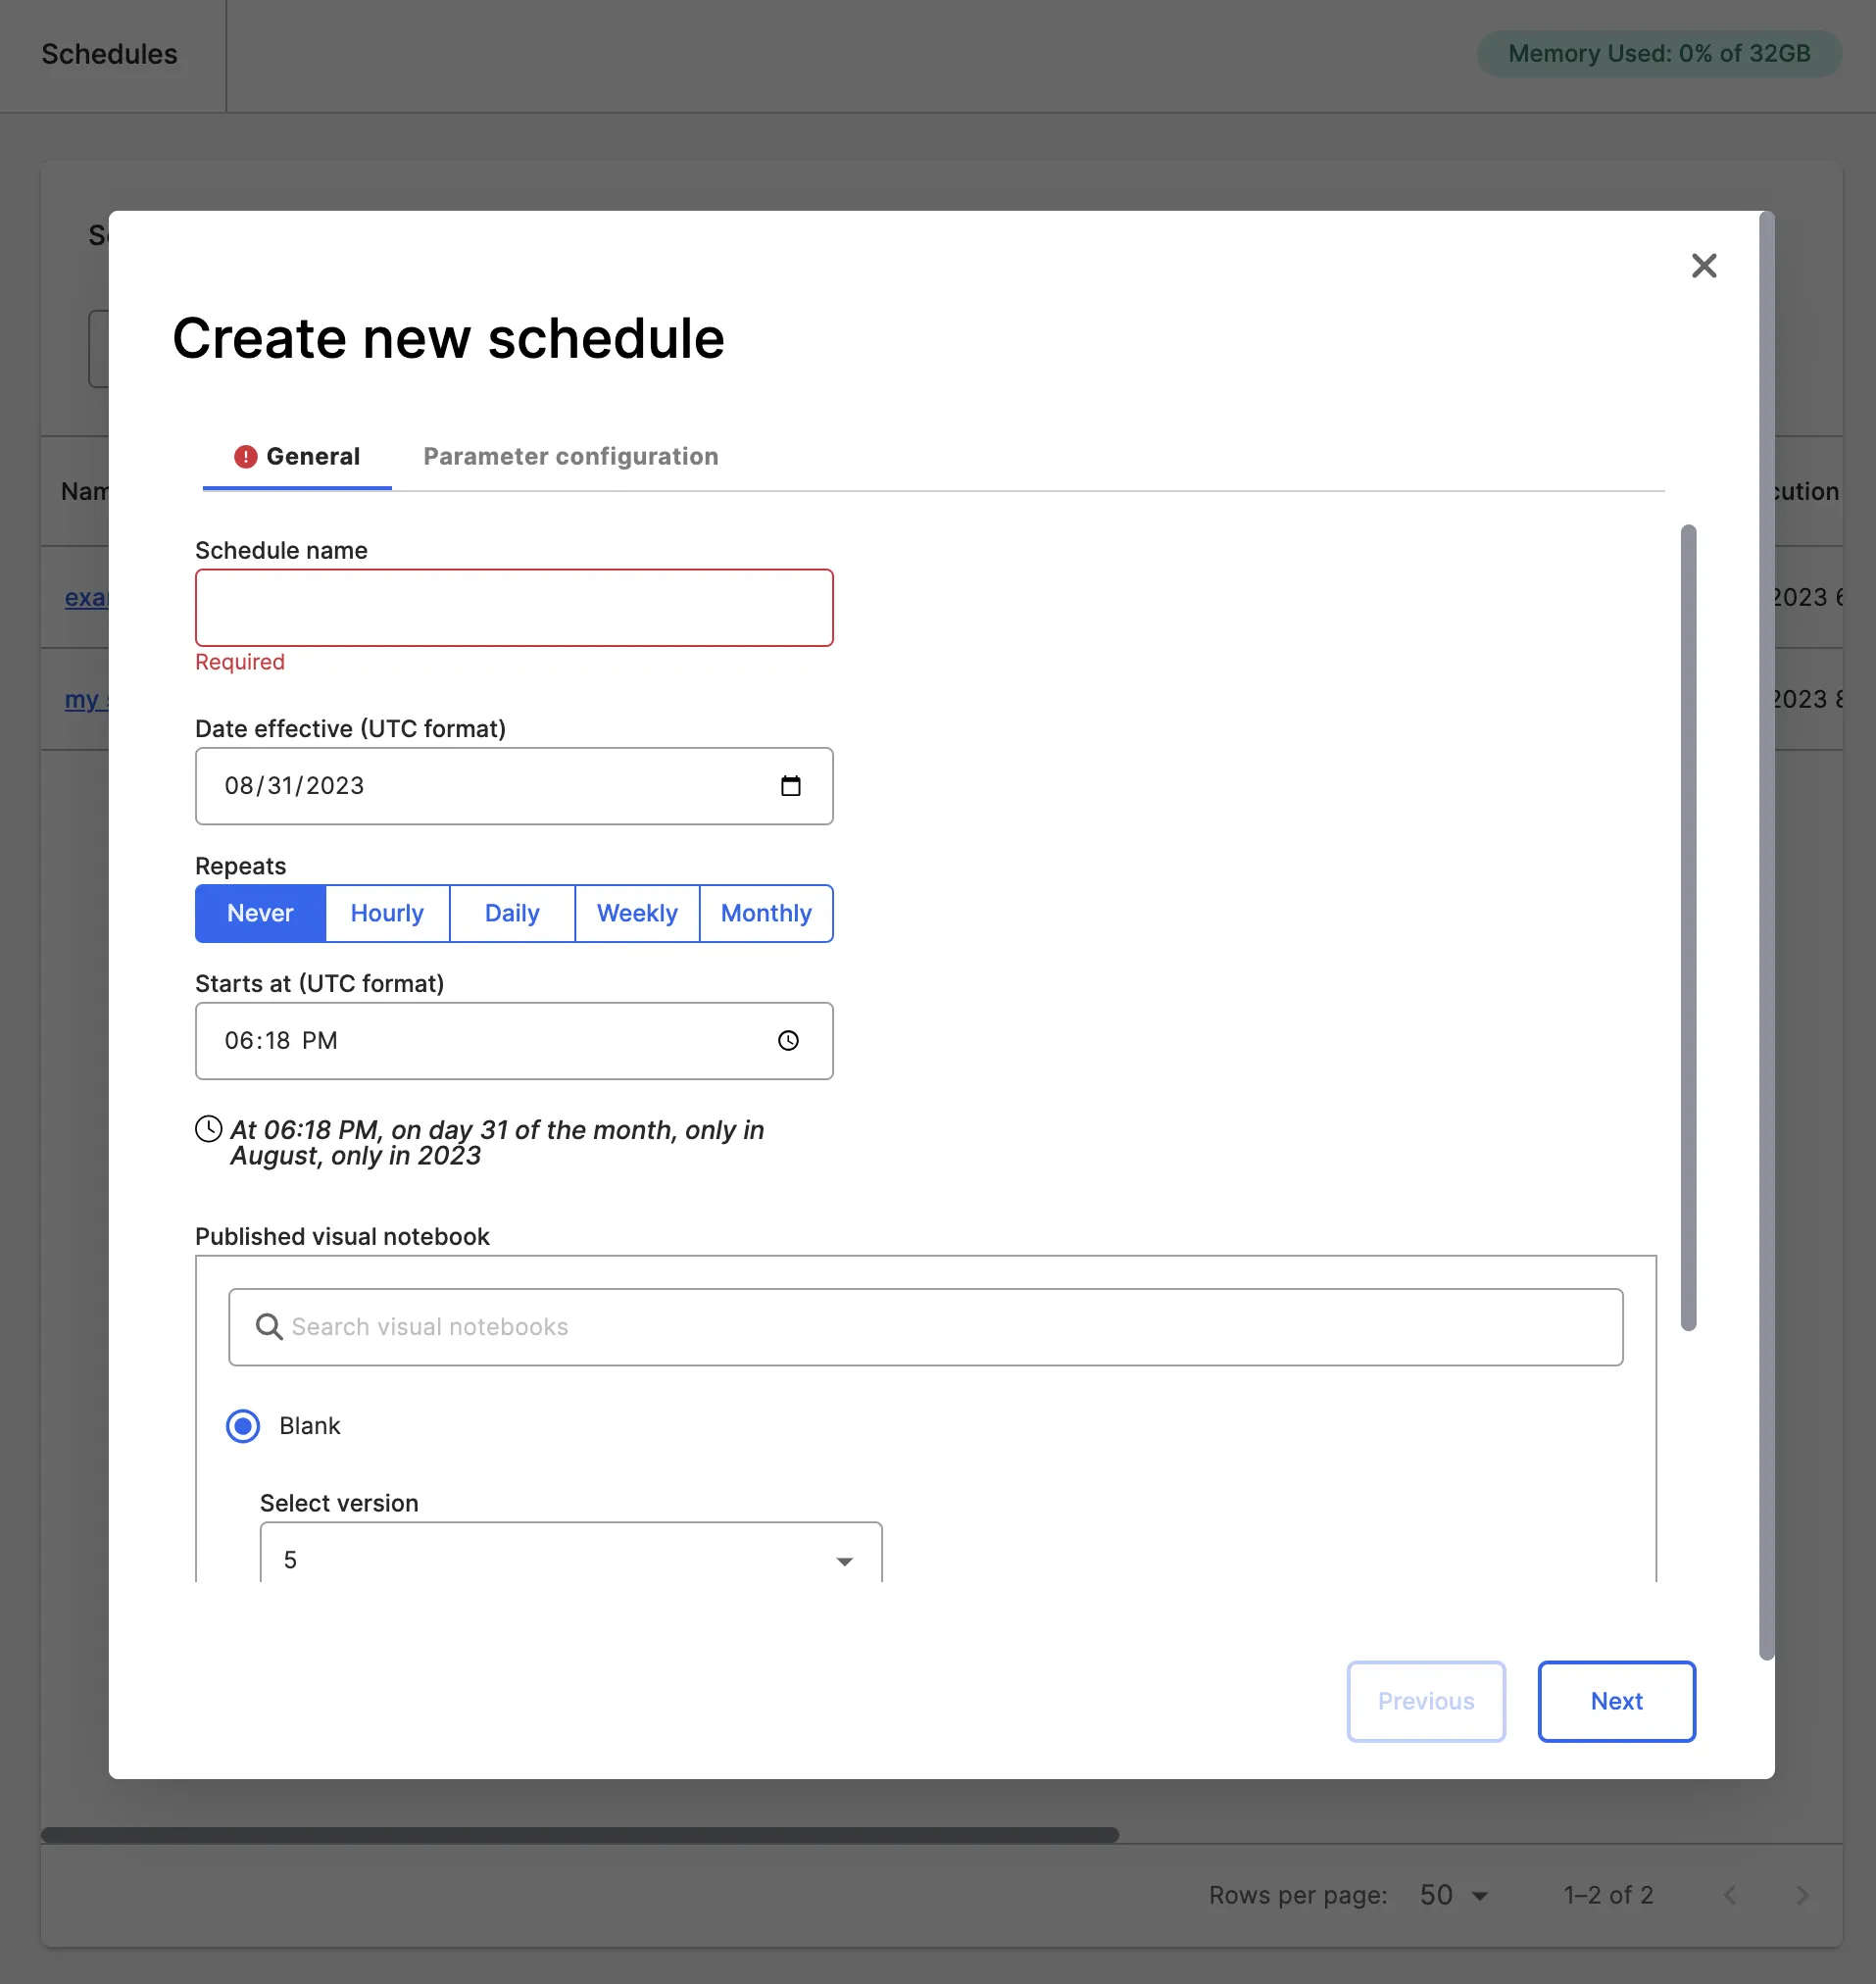
Figure 10: Configure schedules to run at a desired frequency
Select Next to view the parameters associated with the selected project.
If you want to override a parameter when running the schedule, select Custom and select the Parameter Formula field for the specific parameter to change. Modify the formula as desired, then select Save.
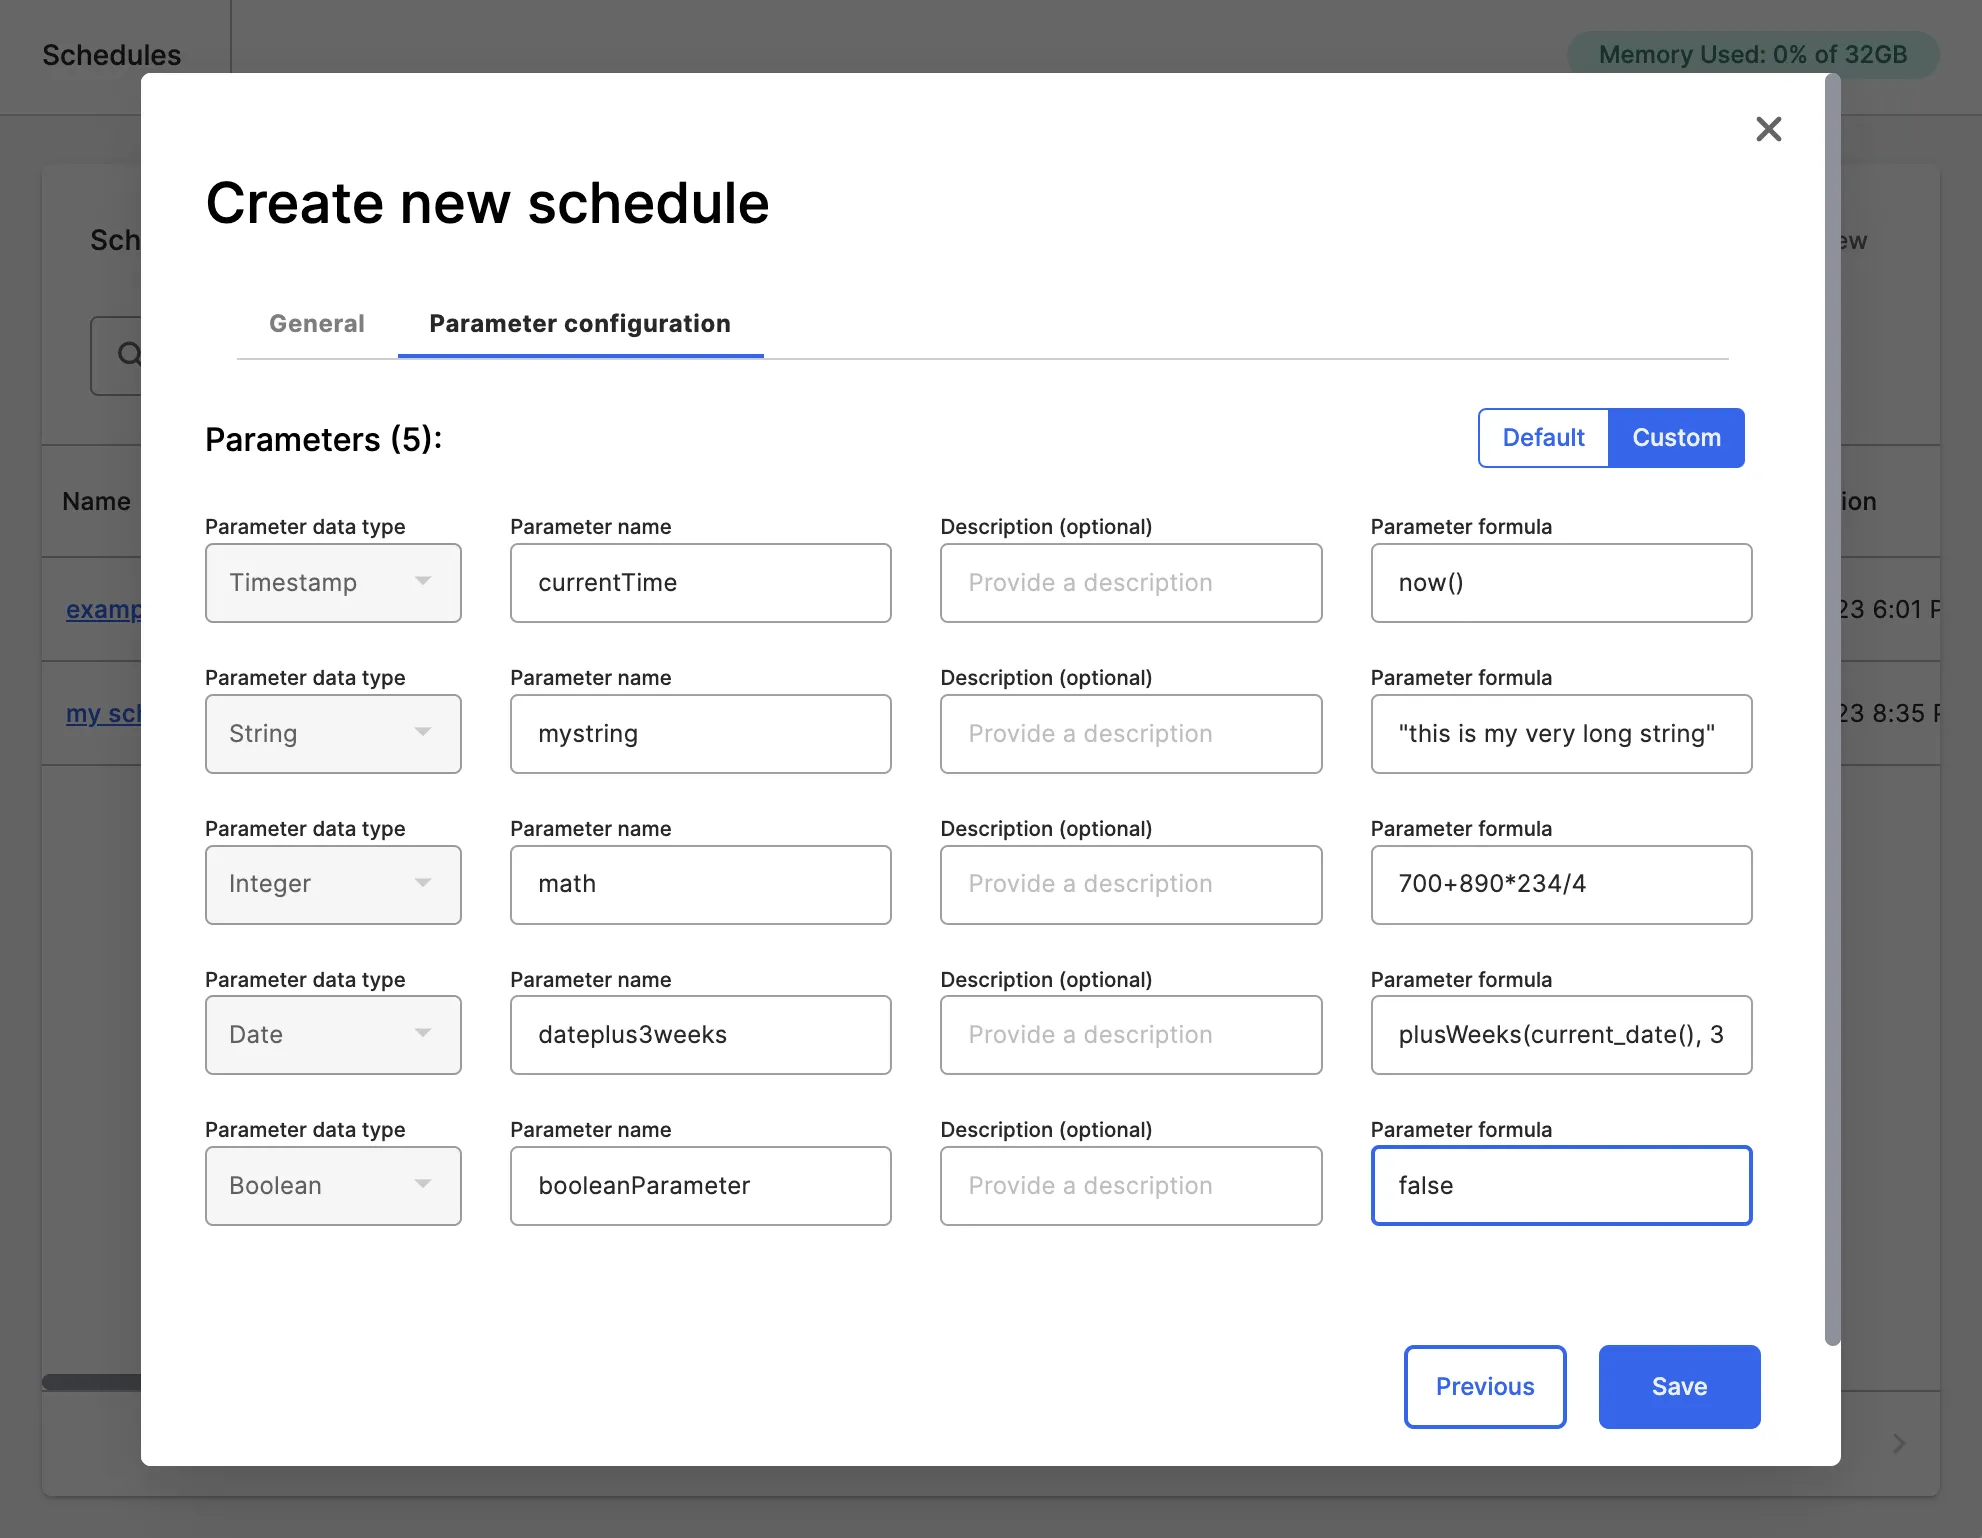
Figure 11: Modify parameters within schedules
Configured schedules appear in the Schedules page. Select a schedule to view information about historical schedule executions.

Figure 12: List of historical executions of a selected schedule