Set up Unit Tests for Your UI
At the end of this page, you should know how to write and run tests for:
- Epics
- Transforms
- Application State
Unit testing is to test an isolated part of your code and determine if it works as intended. This is an important step because you can catch early flaws in the code that may be more difficult to catch at a later stage.
All unit tests are created under the folder: examplePackage/test.
Write epic unit tests
Components can interact with one another through custom epics. To learn more about epics, see communication between components.
Create a custom epic
Under examplePackage/src/ui/epics, create the custom epic Type file, DemoEpicExample.c3typ, and the related TypeScript file, DemoEpicExample.ts. All epics must have epic in their filename.
@typeScript
type DemoEpicExample extends UiSdlEpic mixes Value {

  epic: ~ ts-client
}Test a created custom epic
Import the custom epic.
Typeimport { epic } from '@c3/ui/epics/DemoEpicExample';Import
SpecHelper.Typeimport SpecHelper from '@c3/ui/UiSdlSpecHelper';Create the test using the method,
SpecHelper.expectObservable(). Refer to the UiSdlSpecHelper#expectObservable documentation to see examples. Do not useexpectObservableto test the async function or Promise.TextSpecHelper.expectObservable( done, { epic: epic, input: [ '-a', { a: inputAction, // The action that triggers this epic }, ], output: [ '--b--c', { b: example1Action(arg1, arg2), c: example2Action(arg3), }, ], }, { // You can set up state using SpecHelper.getState() value: this.state, } );
Write transform unit test
Custom transform changes the original data format to one that you need in your applications. To test that the data is in the correct format, create a unit test for transforms.
Create a custom transform
Under
examplePackage/src/ui/dataTransforms, create the custom transform Type file,TransformDataAToDataB.c3typ.Type@typeScript type TransformDataAToDataB extends UiSdlDataTransform<json, [any]> mixes Value { transform: ~ ts-client }Under
examplePackage/src/ui/dataTransforms, create the implementations fileTransformDataAToDataB.ts.
Test a created custom transform
Import the custom transform and create and implement the test file.
JavaScriptimport { transform } from '@c3/ui/TransformDataAToDataB'; const filename = 'test_TransformDataAToDataB'; describe(filename, function () { describe('transform', function () { describe('possible valid input 1', function () { beforeAll(function () { this.expectedInput1 = {}; // expected input data this.result = {}; //expected output data }); it('should return correct output', function () { expect(transform(this.expectedInput1)).toEqual(this.result); }); }); describe('possible valid input 2', function () { beforeAll(function () { this.expectedInput2 = {}; // expected input data this.result = {}; //expected output data }); it('should return correct output', function () { expect(transform(this.expectedInput2)).toEqual(this.result); }); }); describe('invalid input input', function () { beforeAll(function () { this.invalidInput1 = {}; // invalid input data this.error = {}; //expected error }); it('should give ', function () { expect(transform(this.invalidInput1)).toEqual(this.error); }); }); }); });
Write application state unit test
To maintain application-specific logic or state, you can create a custom application state. Implementing a custom application state as a component means the component can have its action, reducers, and epics. To test these functionalities:
- Under
examplePackage/src/ui/, create a custom application state Type fileDemoApplicationStateCustom.c3typ.
Test a created custom application state unit test
Implement the test file similar to the following:
JavaScriptimport { helperFunction, exampleAction, exampleReducer, exampleEpic } from '@c3/ui/DemoApplicationStateCustom'; import SpecHelper from '@c3/ui/UiSdlSpecHelper'; const filename = 'test_DemoApplicationStateCustom'; describe(filename, function () { beforeAll(function () { this.appStateId = ...; // Other variables needed }); describe('actions', function () { describe('::exampleAction', function () { beforeAll(function () { this.result = exampleAction(args); this.expectedResult = { type: this.appStateId + '.EXPECTED_SUFFIX', payload: ..., }; }); it('...', function () { expect(this.result).toEqual(this.expectedResult); }); }); }); describe('reducers', function () { describe('::exampleReducer', function () { beforeAll(function () { // set up state this.result = exampleReducer(args); this.expectedResult = ...; }); it('...', function () { expect(this.result).toEqual(this.expectedResult); }); }); }); describe('epic', function () { describe('::exampleEpic', function () { // similar to epic example above }); }); describe('::helperFunction', function () { // test your helper function }); });
View and run tests
- Set up your application through the C3 AI VS Code Extension. To learn how to set up your application, see Set up the VS Code Extension.
- To see all the tests, go to
http://localhost:50081/c3/test.htmland select the test you would like to run.
- Alternatively, go to
http://localhost:50081/c3/test.html?file={yourTestFileName}to see the individual test. 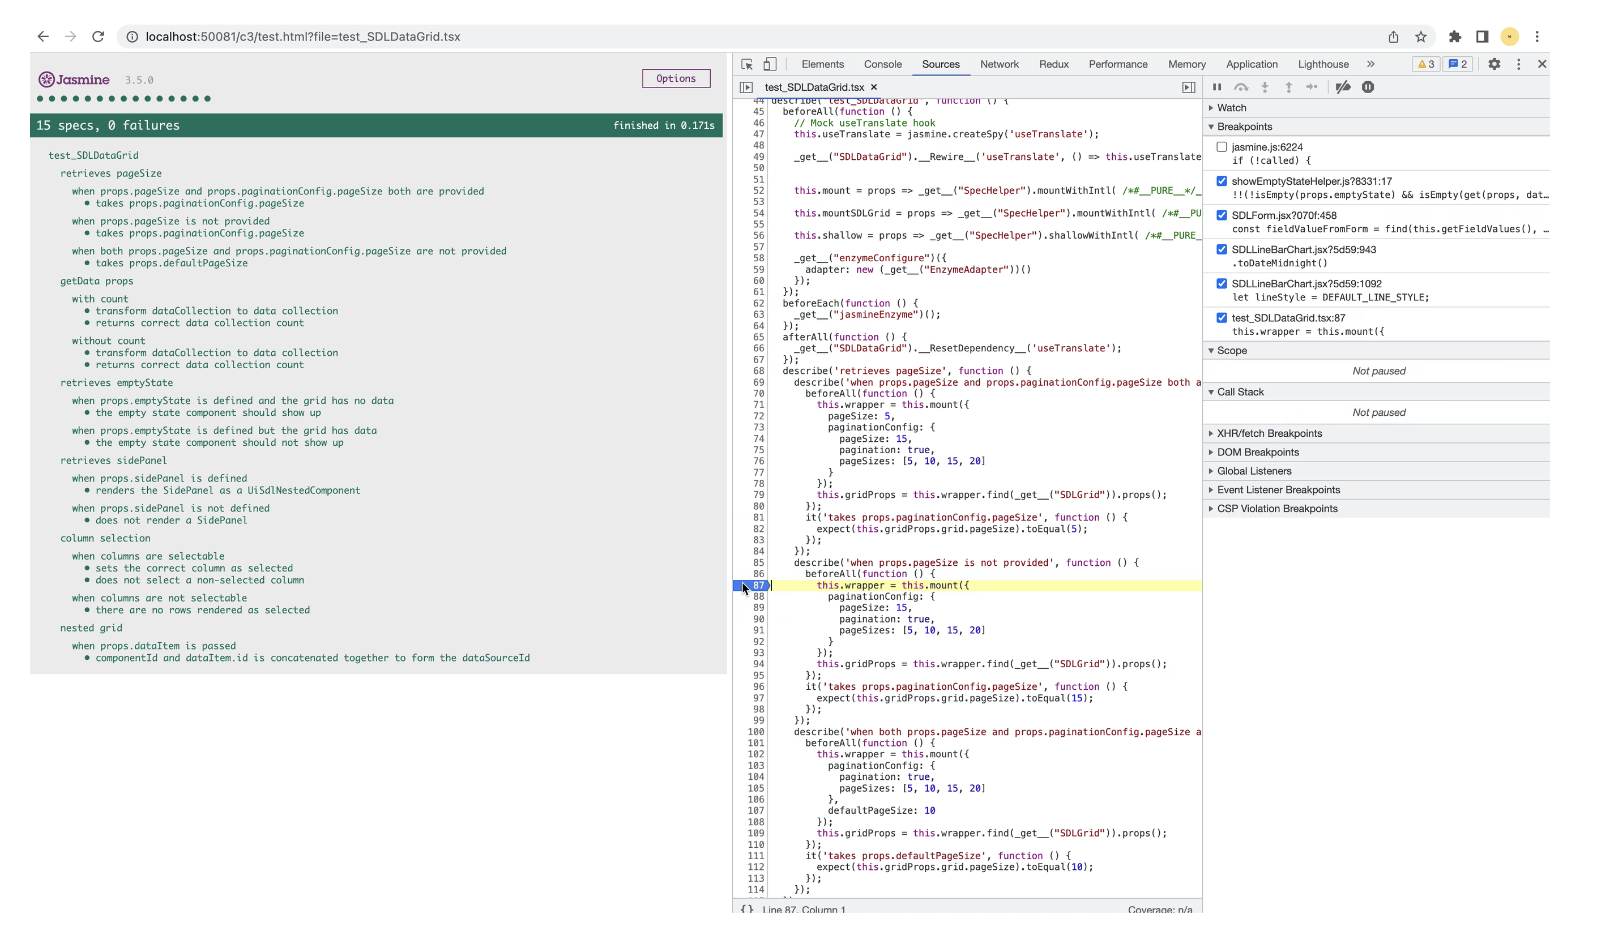
- To debug, add breakpoints in the Chrome Source tab. To learn more about debugging your UI, see Debug and troubleshoot your UI.
View test in release management
To learn more about release management, see Release Management.