Discover and Subscribe to Domains
Consumer applications can discover published domains exposed by provider applications within the same C3 AI cluster. After discovering a domain, consumer applications can subscribe to it, request access, monitor subscription status, and validate compatibility between consumer and provider applications.
This topic explains how to use the Discover, My Subscriptions, and Access Management workflows in Studio to manage Cross Application Data Sharing subscriptions and access requests.
Discovering Domains
Consumer admins use the Discover tab to browse domains published by other applications within the same environment.
The Discover page groups domains by provider application. Each provider section lists the domains that application has published and displays the current subscription and access status for each domain.
The Discover table includes:
- Domain — the published domain name
- Subscribed — indicates whether the consumer application is currently subscribed to the domain
- Has Access — indicates whether access has been granted by the provider application
- Actions — controls for subscribing to the domain or requesting access
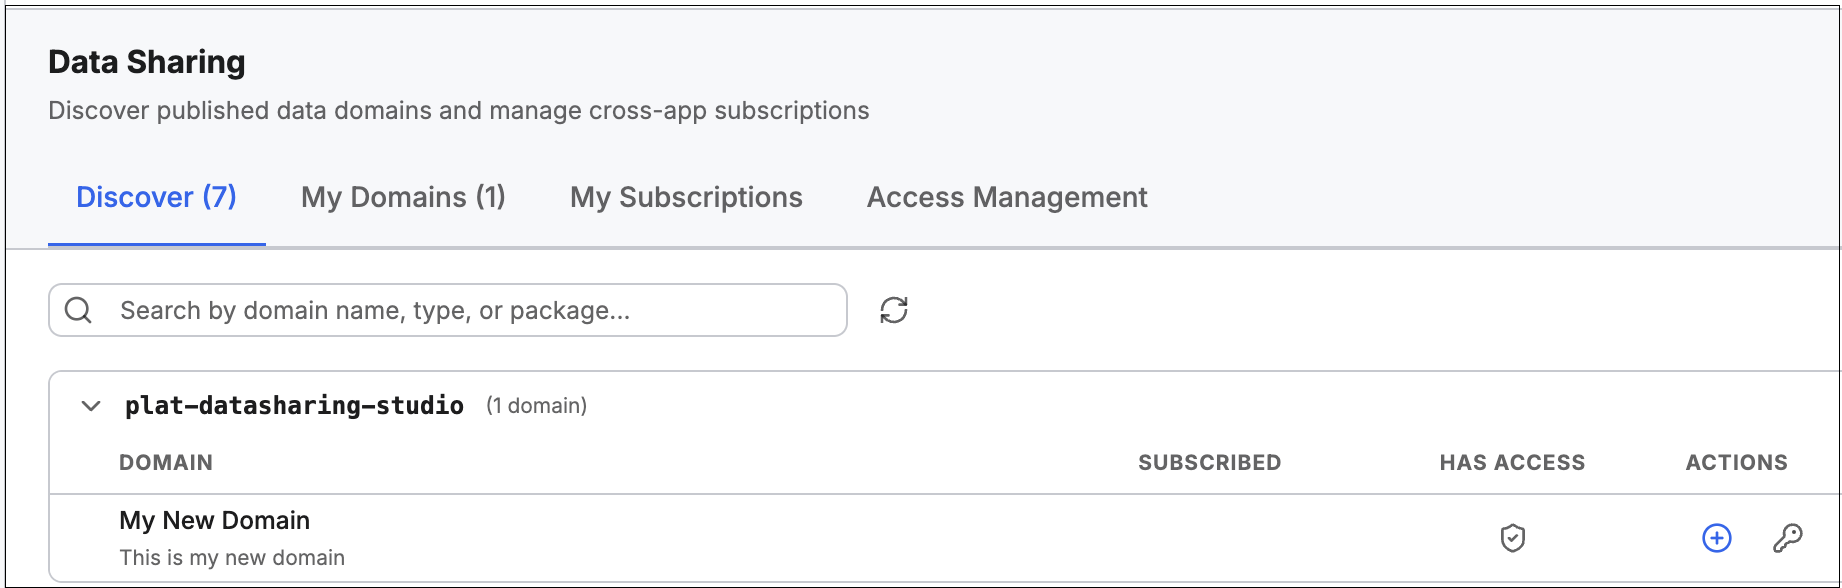
To discover available domains:
- Navigate to Data > Data Sharing.
- Open the Discover tab.
- Browse the available provider applications and domains.
- Use the search bar to filter domains by name, type, or package.
From the Discover tab, consumer admins can subscribe to domains and request access to provider-managed data.
Subscribing to a Domain
Before you can query data from a provider application, you must subscribe to one of its domains. Subscribing establishes the consumer application's connection to the provider domain.
The Discover tab lists all domains published by other applications on the same environment. Domains are grouped by publisher application. Expanding an app shows its published domains in a table with three columns: Domain, Status, and Actions.
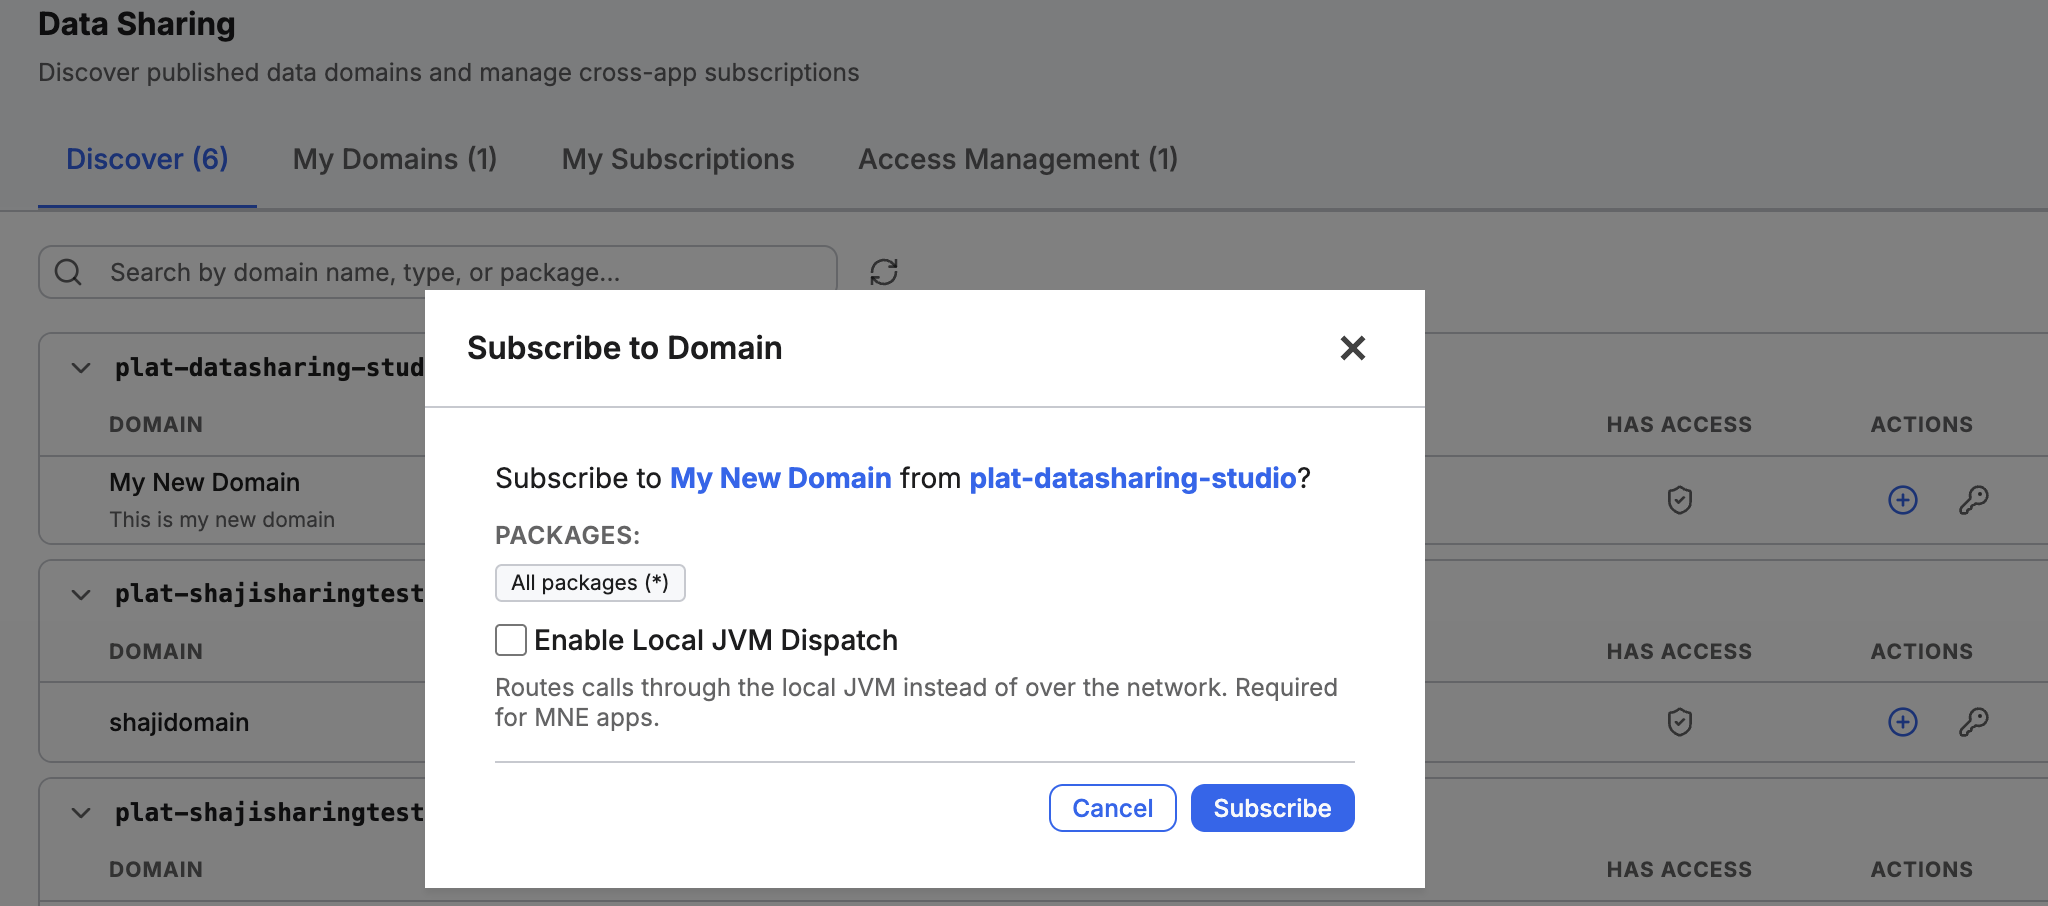
The Actions column includes:
- Subscribe (+) — creates a subscription to the domain
- Request Access (key icon) — sends an access request to the provider application
Subscribing to a domain establishes the connection between the consumer application and the provider domain.
To subscribe to a domain:
- Navigate to Data > Data Sharing.
- Open the Discover tab.
- Locate the domain you want to subscribe to.
- Click the Subscribe icon (+). The Subscribe to Domain dialog opens.
- Review the domain name and exposed packages.
- (Optional) Enable Local JVM Dispatch to route requests through the local JVM instead of over the network.
- Click Subscribe.
After the subscription request is submitted, the subscription appears in the My Subscriptions tab when successfully configured.
A consumer application cannot create a subscription that overlaps with an existing active subscription. If the requested subscription exposes packages or types that are already available through another active subscription, Studio rejects the subscription request.
Local JVM Dispatch
By default, subscriptions communicate with provider domains over the network.
The Subscribe to Domain dialog includes an Enable Local JVM Dispatch option, which routes requests through the local JVM instead of network-based dispatch. Depending on the current application configuration, this option may be enabled automatically for certain multi-node application deployments.
If your application does not yet have access to a domain, click the key icon in the Actions column to open the Request Access dialog. You can optionally provide a reason for the request, then click Request Access to submit it. The provider application must approve the access request before the consumer application can perform access-controlled operations against the shared domain.
Requesting Domain Access
Some domains require provider approval before the consumer application can access shared data.
Consumer admins can request access directly from the Discover tab using the Request Access action.
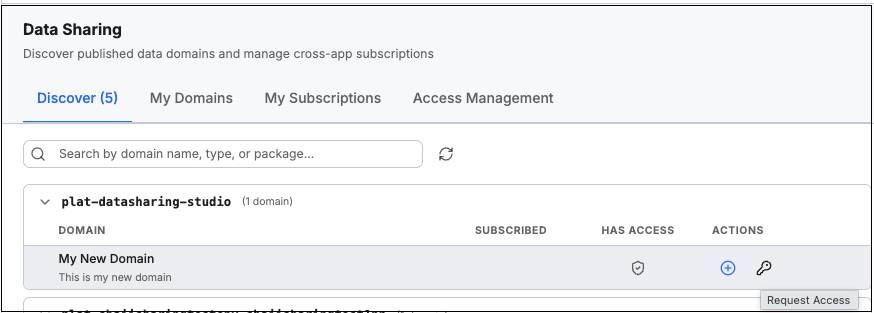
To request access to a domain:
- Navigate to Data > Data Sharing.
- Open the Discover tab.
- Locate the domain you want to access.
- Click the Request Access icon (key icon) in the Actions column. The Request Access dialog opens.
- Select the access level:
- a. Read Only — allows read access to all types exposed by the domain
- b. Read & Write — allows read and write access to all types exposed by the domain
- Select the access level you are requesting.
- (Optional) Enter a reason for the access request.
- Click Request Access.
After the request is submitted, if the provider domain is configured for automatic approval and your application is running in a single-node environment, the request is approved automatically as Read Only access, regardless of the access level requested. In all other cases, the request requires manual review in the provider application's Access Management tab. .
The Has Access column indicates the current access state for the domain. Once access is approved, the consumer application can perform authorized operations against the shared domain.