Data Fusion Overview
Data Fusion is in Beta. Please contact your C3 AI representative to enable this feature.
Data Fusion streamlines the integration and management of data sources within the C3 Agentic AI Platform. This tool empowers you to set up connectors, configure pipelines, and integrate data through UI elements. Use Data Fusion to simplify the connection and configuration of external data sources for ingestion into the C3 Agentic AI Platform.
Along with an overview of Data Fusion, this guide provides tutorials for connecting to external data sources. Data sources are sorted into four distinct categories. Although this guide does not cover all supported sources, it provides at least one example per category.
This guide offers the following example per category:
- Database & Data warehouse: Snowflake
- File system: S3 by Amazon Web Services
- Cloud Message Brokers / Streaming: Kinesis by Amazon Web Services
- File upload: CSV upload
The steps for connecting sources in each category are similar. Use the category for your source to determine which example best matches your use case.
Data Fusion additionally supports the following data source categories:
- Big Data & NoSQL
- ERP & CRM
- Accounting
- Marketing & Analytics
- Collaboration
- File & API Integration
- E-Commerce
- Relational Databases
How Data Fusion works
Data Fusion enables you to set up and manage connections to external data sources. Data Fusion can also create and manage C3 AI Entities directly from the UI. Use this tool to extend or create new data pipelines for your applications, whether extending an existing application or building something new.
Data Fusion allows you to use the following C3 Types without writing any code to update data pipelines:
- SourceSystem: Any external system, streaming service, data warehouse, or database that you use to import data into C3 Agentic AI Platform
- SourceCollection: A logical grouping of data objects from a specific data source
- Source: A model for data objects that are imported to your application on the platform
- Canonical: An inbound interface that specifies the schema of data loaded into the platform
- Transform: A function or method that transforms data to match a Source, Canonical, or Entity schema
You can build and update data pipelines using high-code tools and Data Fusion interchangeably. For more information about the data pipeline, see Data Pipeline Architecture.
Data Fusion in C3 AI Studio
To access Data Fusion in C3 AI Studio:
- Select your application from the Home page or Apps list.
- Select Data Fusion from the application menu.
The Data Fusion page contains the following tabs:
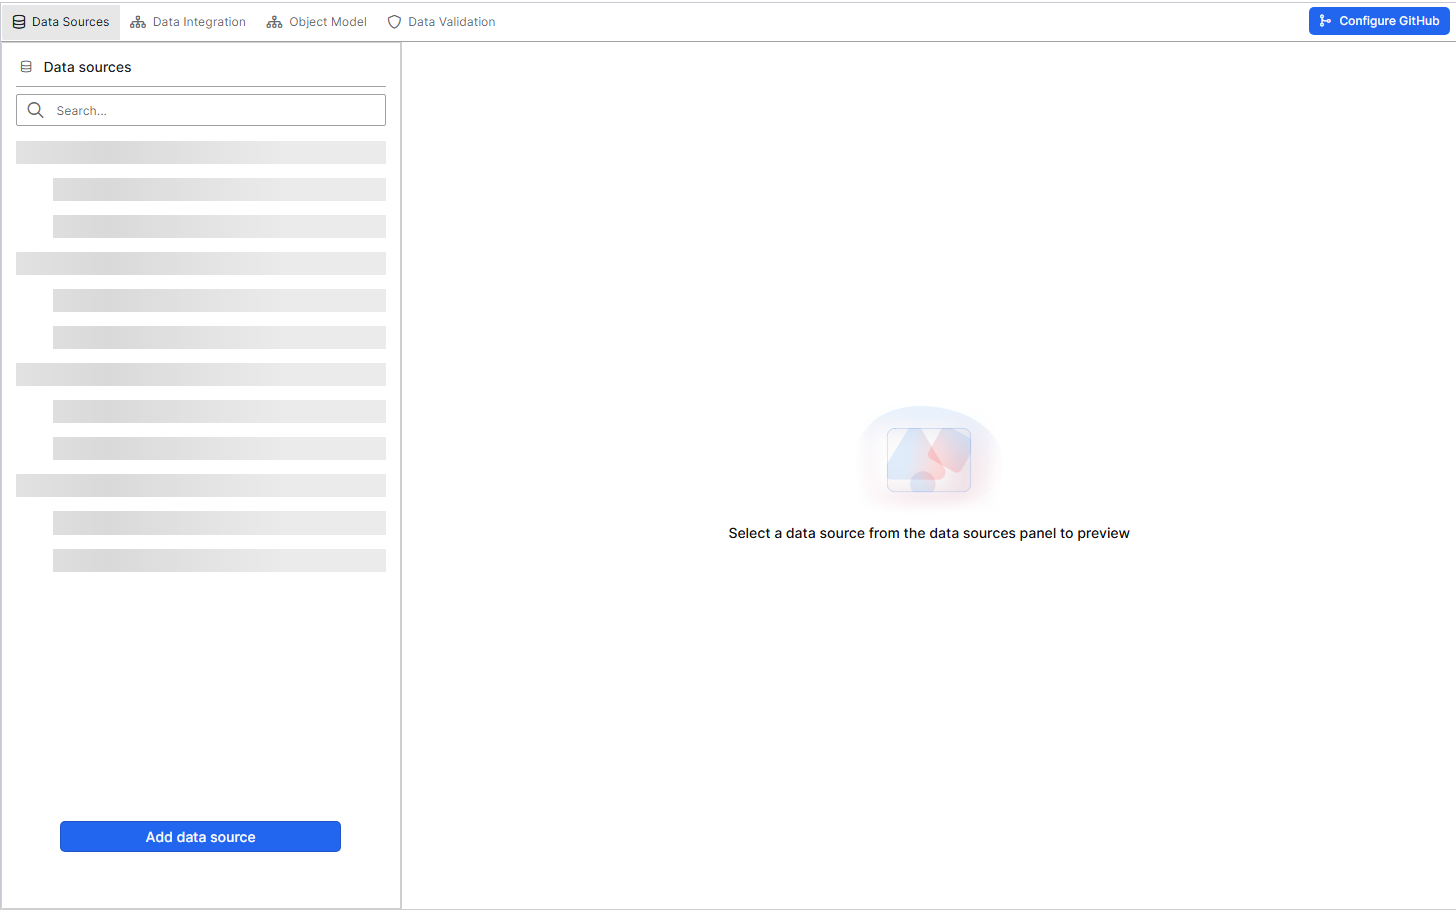
Data Sources
The Data Sources tab configures and manages the connections to your external databases, file systems, cloud storage, and other data repositories.
In this tab, you can:
- Add new data sources: Configure connections to external databases or systems, including setting up authentication and connection parameters.
- View and manage existing data sources: See all active data sources, edit their connection settings, or remove them.
- Test connection: Verify credentials before saving the data source.
- Preview data: After connecting a data source, you can preview its data to verify that the connection is working properly.
This tab is essential for linking your application to external systems so that you can begin utilizing your data in C3 Agentic AI Platform.
Data Integration
The Data Integration tab transforms data from connected sources for use in your application. In this tab, you can:
- Configure data pipelines: Set up processes to extract, transform, and load (ETL) data from your data sources into the platform.
- Map data to models: Define how the data should be mapped to your data models, ensuring the data is aligned and formatted correctly for your use cases.
- Handle data transformations: Apply necessary transformations to the data during integration, such as filtering, aggregating, or reshaping data for optimal performance and analysis.
This tab is crucial for defining how data flows from its source into the platform. Defining data correctly in this step ensures it’s structured and ready for analysis or modeling.
Object Model
The Object Model tab in C3 AI Studio provides a graph-based, interactive view of your application’s data structure, displayed as an Entity Relationship Diagram (ERD). It serves as a central workspace for visualizing, creating, and managing entities (data objects) and their relationships within your C3 AI application. This visual representation helps you understand how data is structured, related, and used across the platform, forming the foundation for data integration, validation, and downstream analytics.
The following list describes actions you can take in the Object Model Tab.
Visualize Entity Relationships:
- Explore how different entities are connected, understand dependencies, and navigate across packages using the color-coded legend under legend.
- You can also switch the node coloring to visualize entities by different categorizations, helping you interpret the model from different functional perspectives. Entity categories include:
- Relational vs Key-Value
- Integration Status vs App Population
- Data Presence vs Absence
Create and Manage Entities:
- Create Entity from File Upload: Upload structured data (CSV) to automatically generate entities and their schema.
- Define in Code (Advanced): Programmatically creates entities for greater flexibility.
- Edit Schemas: Refine entity schemas to ensure the data structure meets your application requirements.
Identify Entity Attributes: Use intuitive icons to identify key characteristics such as Primary Key, Foreign Key, Indexed Field, and Stored Calculation for each entity.
Customize and Manage Diagram Views:
- Save and Manage Views: Save your current diagram layout as a View for easy reuse. Rename, delete, or manage saved views directly from the interface.
- Publish Views to Git: Export and version-control your saved views as metadata to share across environments.
Adjust Diagram Settings:
- Toggle between Integrated View (includes entities from dependency packages) and Application View (shows only entities defined in your app). Use zoom, layout, and alignment controls to adjust the visualization.
Export the Diagram:
- Download a snapshot of the current model layout for documentation or offline reference.
The Object Model tab gives you an end-to-end understanding of your data architecture—empowering you to design, maintain, and share consistent, well-structured data models across your application ecosystem.
Data Validation
The Data Validation tab allows you to create, manage, and monitor validation rules that check the quality of ingested data. These rules help ensure that the data coming from external sources is consistent, accurate, and ready for downstream use in the C3 AI Object Model and applications.
Key elements in this tab include:
- Deployed Rules: Displays all active validation rules that have been deployed. Each rule evaluates ingested data against specific quality checks (for example, ensuring no missing values in critical columns, verifying ranges for numeric fields, or enforcing referential integrity).
- Drafts: Allows you to create and test validation rules before deploying them. Drafts help you experiment with rules and refine them to fit your data requirements.
- Type Health: Provides insights into the overall health of the data types in your application model, based on the results of deployed validation rules.
- Filters: Use filters such as Status and Last Run (start and end dates) to locate specific rule results. This makes it easy to track validation checks over time.