Register an Artifact to a Cluster
Most packages are available to be the base packages for your application. Refer to the following document to Start Your Application Based on a Package and Build from C3 AI Release Management.
If the package is not available, you can register an artifact to a cluster. To register an artifact to an external cluster, you can:
- Identify available artifacts
- Download desired artifacts
- Register artifacts to a cluster
User Permissions
All Studio users can view the artifacts grid. However, only users with the role of C3.ArtifactHubAdmin or a role that includes it as a nested role will be able to download/upload artifacts for the current Studio.
You may need to request a C3.StudioAdmin to elevate your user permissions by running the following script in the static console of the studio application:
// The script can be adjusted as necessary (e.g. using a role that includes C3.ArtifactHubAdmin instead)
var email = 'YOUR EMAIL ADDRESS HERE';
var group = UserGroup.forId('C3.ArtifactHubAdmin');

var user = User.fetch({ filter: Filter.eq('email', email) }).objs[0];
user.withC3Groups([...user.c3Groups, group]).merge();
Please refer to C3 Agentic AI Platform Built-in Roles for more detailed information about roles and permissions.
Identify the available artifacts
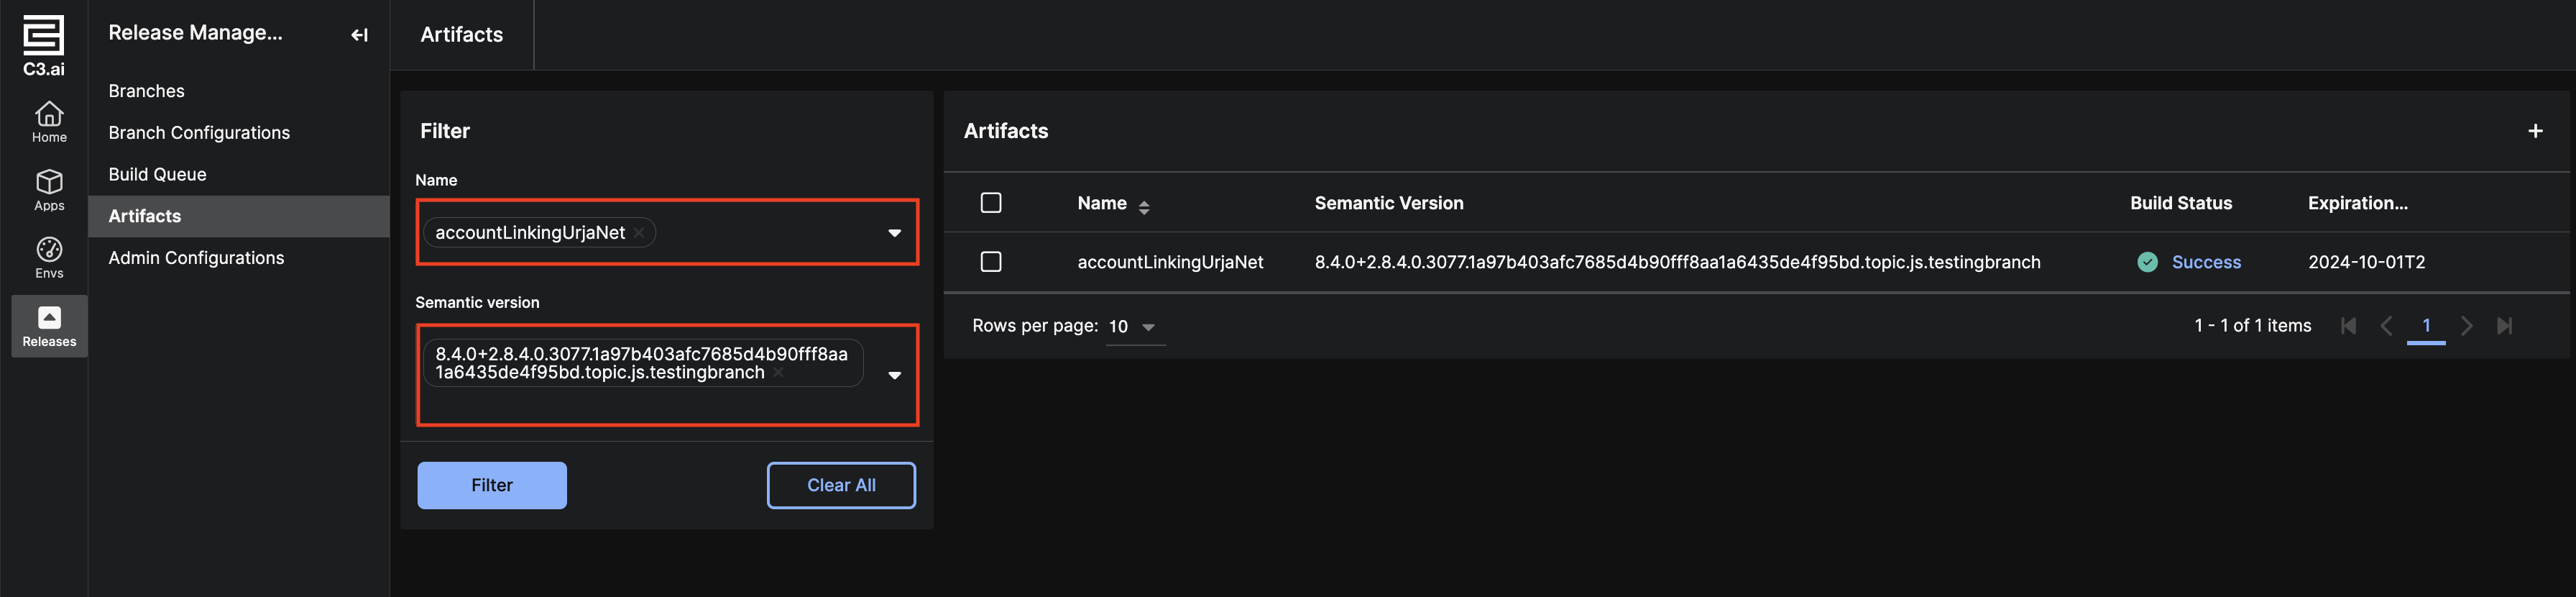
To view all the artifacts that are available in a specific Studio, select Releases and then Artifacts on the left sidebar of C3 AI Studio. For each artifact, the grid displays the name of the package, the semantic version, and the expiration date (if it exists). If the artifact was generated from a build in the same Studio, there will be a build status that links to the build in question.
Download the desired artifact
By default, the artifacts grid displays all the artifacts that are available in the current Studio. The filter panel to the left of the grid can be used to filter on the name of the package or the desired semantic version.
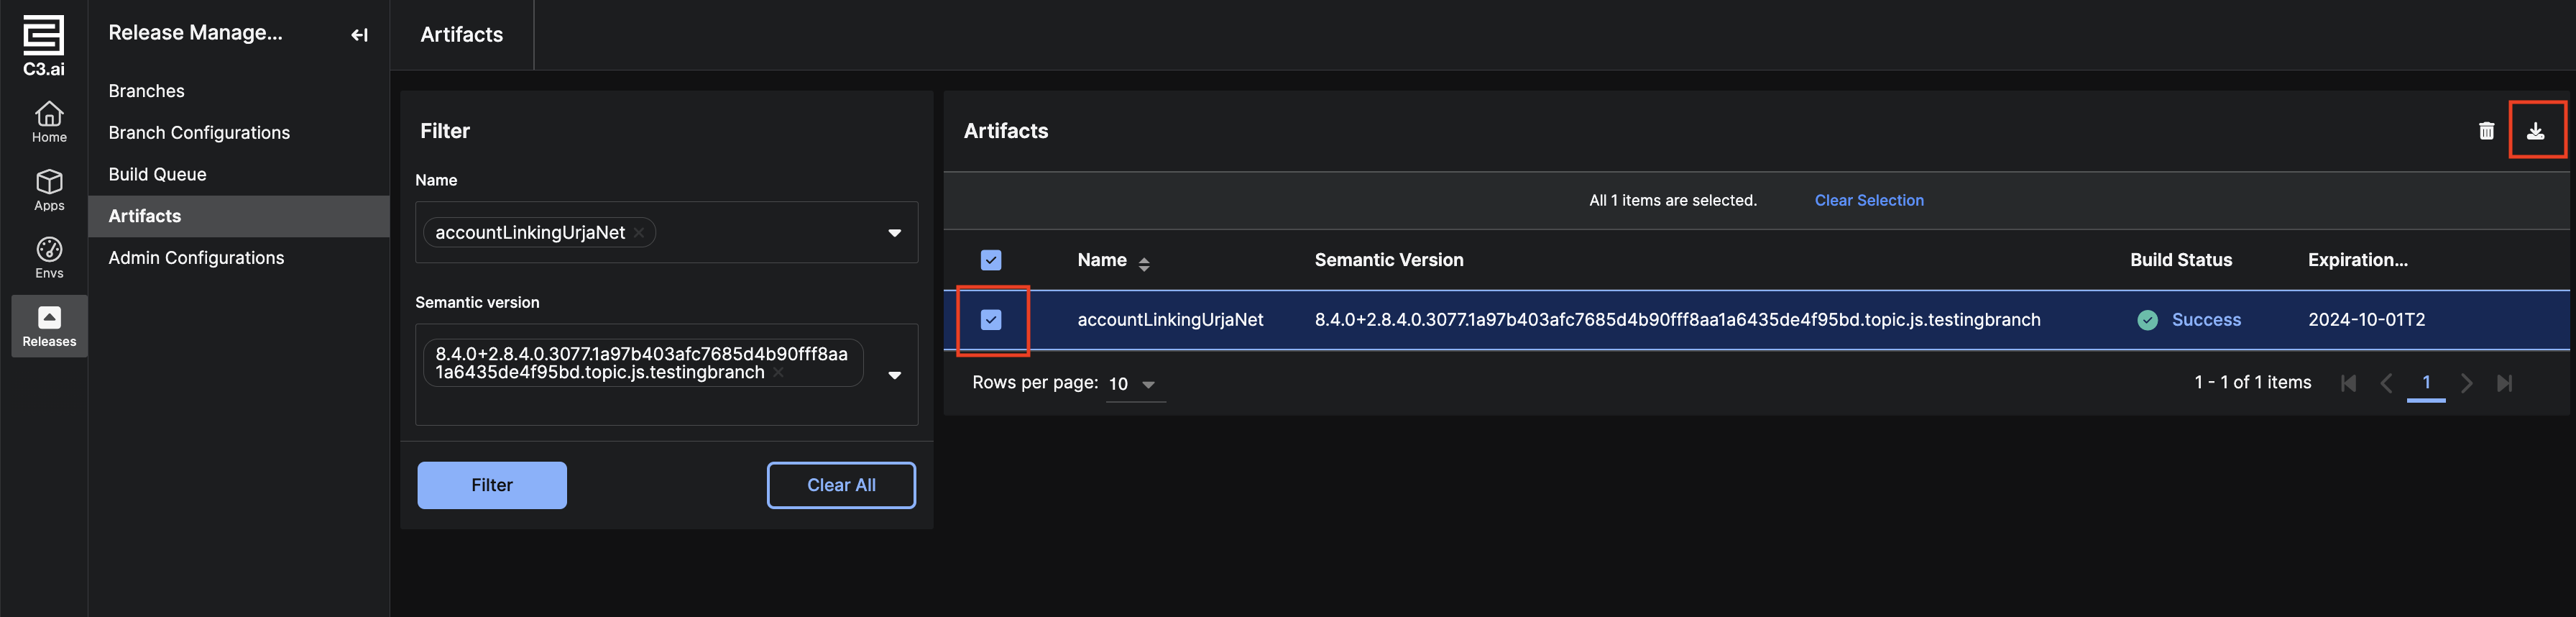
Select the artifacts that you want to download by selecting the appropriate checkboxes, then choose the download icon in the top right corner of the grid. Alternatively, if you are downloading a single artifact, you can hover over the end of the relevant row and click the download icon.
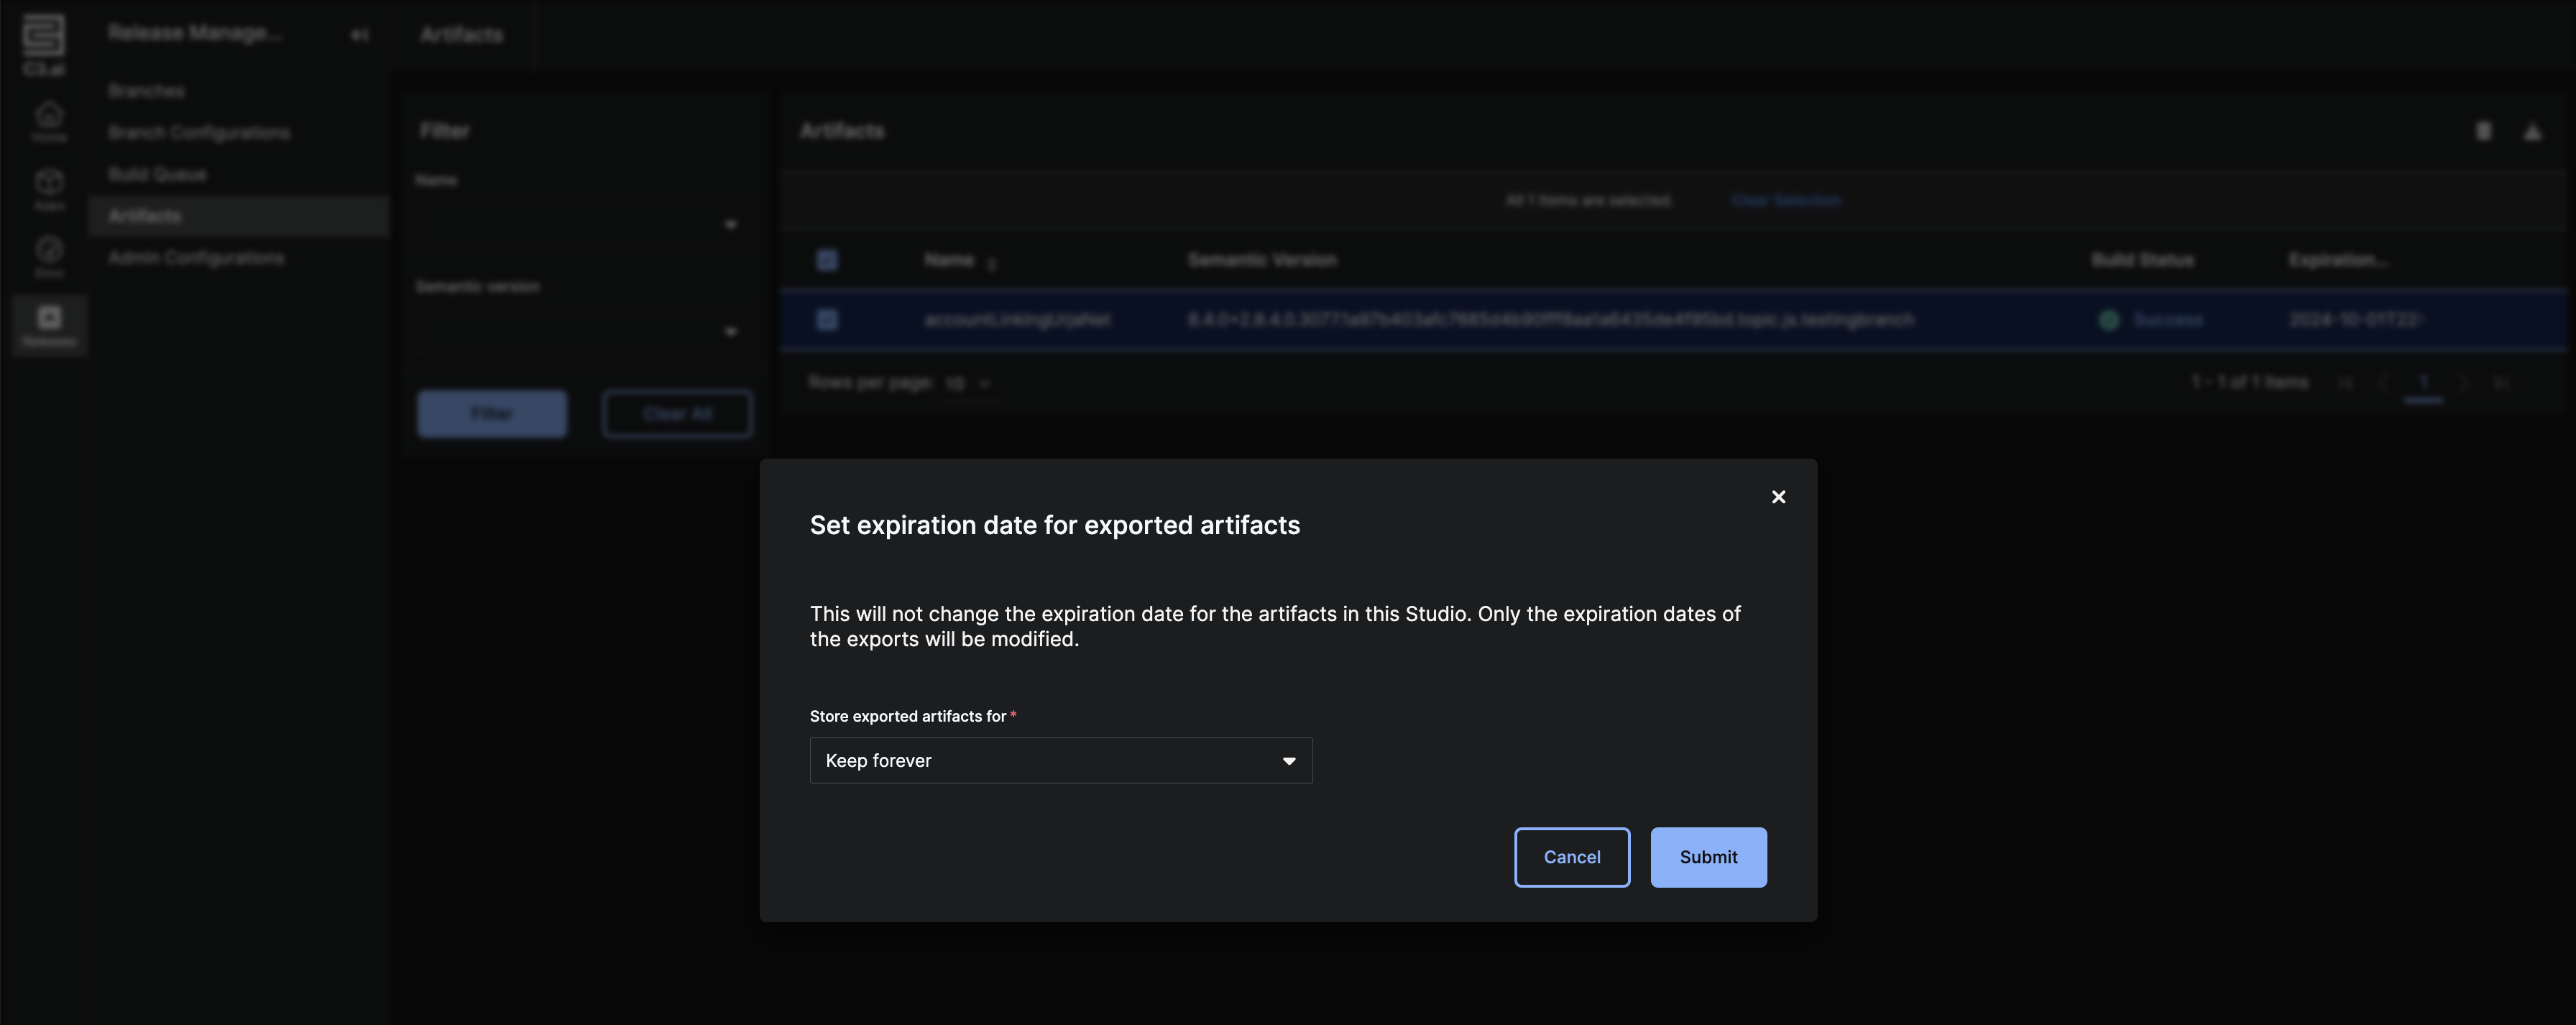
A modal will pop up from which you can set the expiration date of the exported artifacts. For example, selecting 5d sets the expiration date of all the exports to 5 days from the time the "Submit" button is clicked. Note that the artifacts in the current Studio will not be affected and that this new expiration date is only applicable for the artifacts you will upload to a different Studio.
A single ZIP file will be downloaded regardless of the number of artifacts selected. When uploading to another Studio, the ZIP file should be uploaded as is without any modifications.
Downloading artifacts may take several minutes, depending on the number of artifacts and your network bandwidth. Download only one artifact at a time if progress is slow.
Register artifacts to a cluster
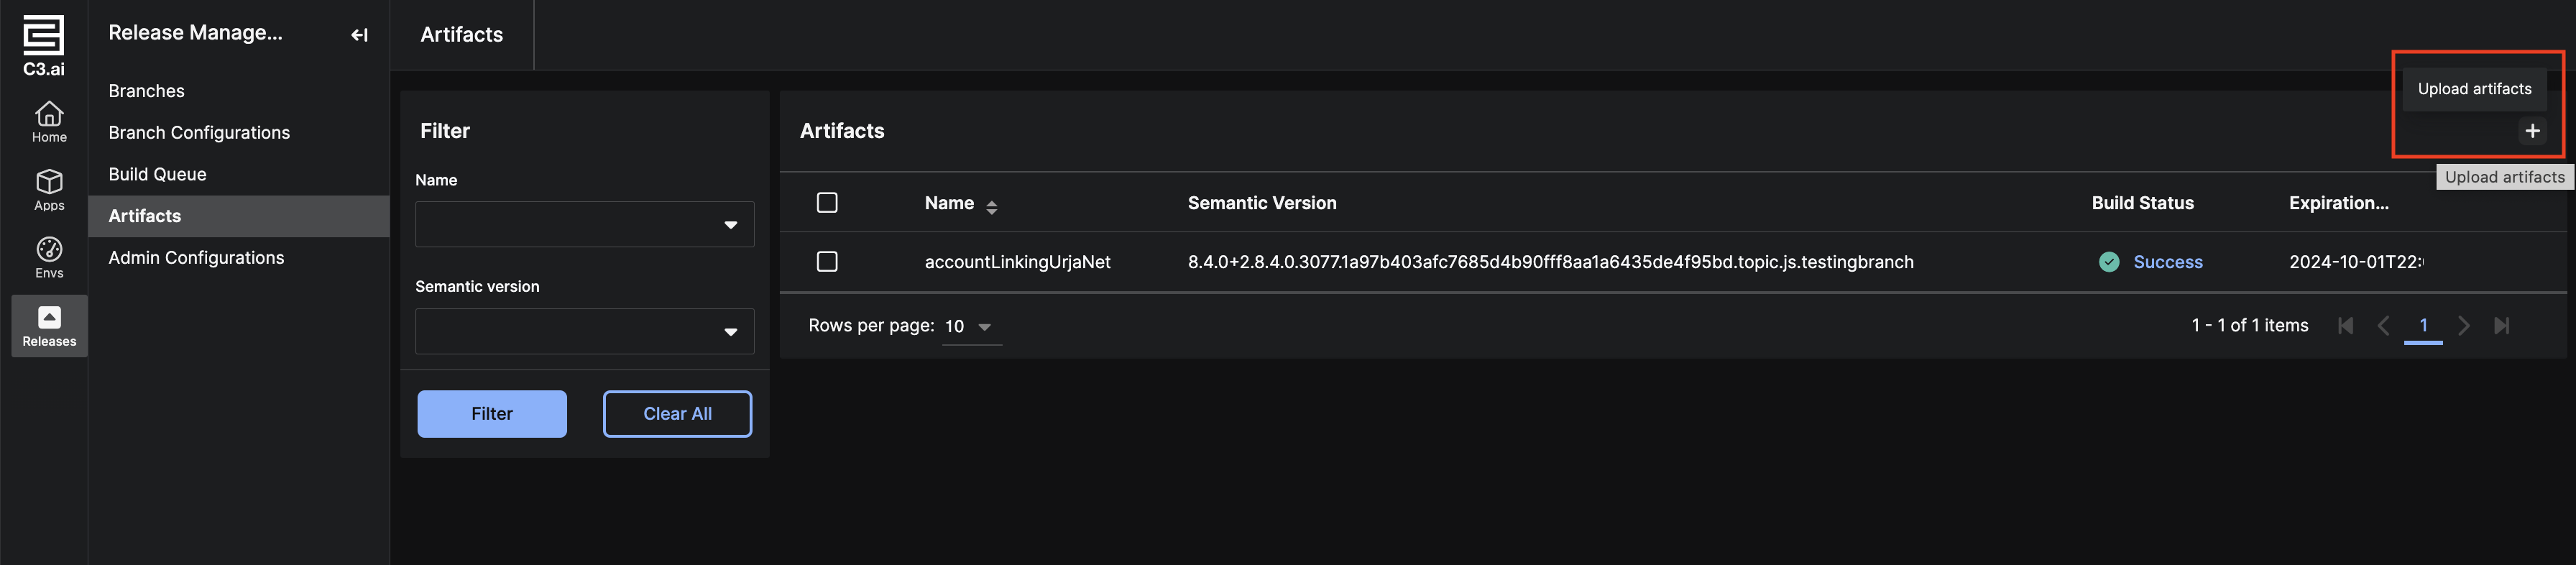
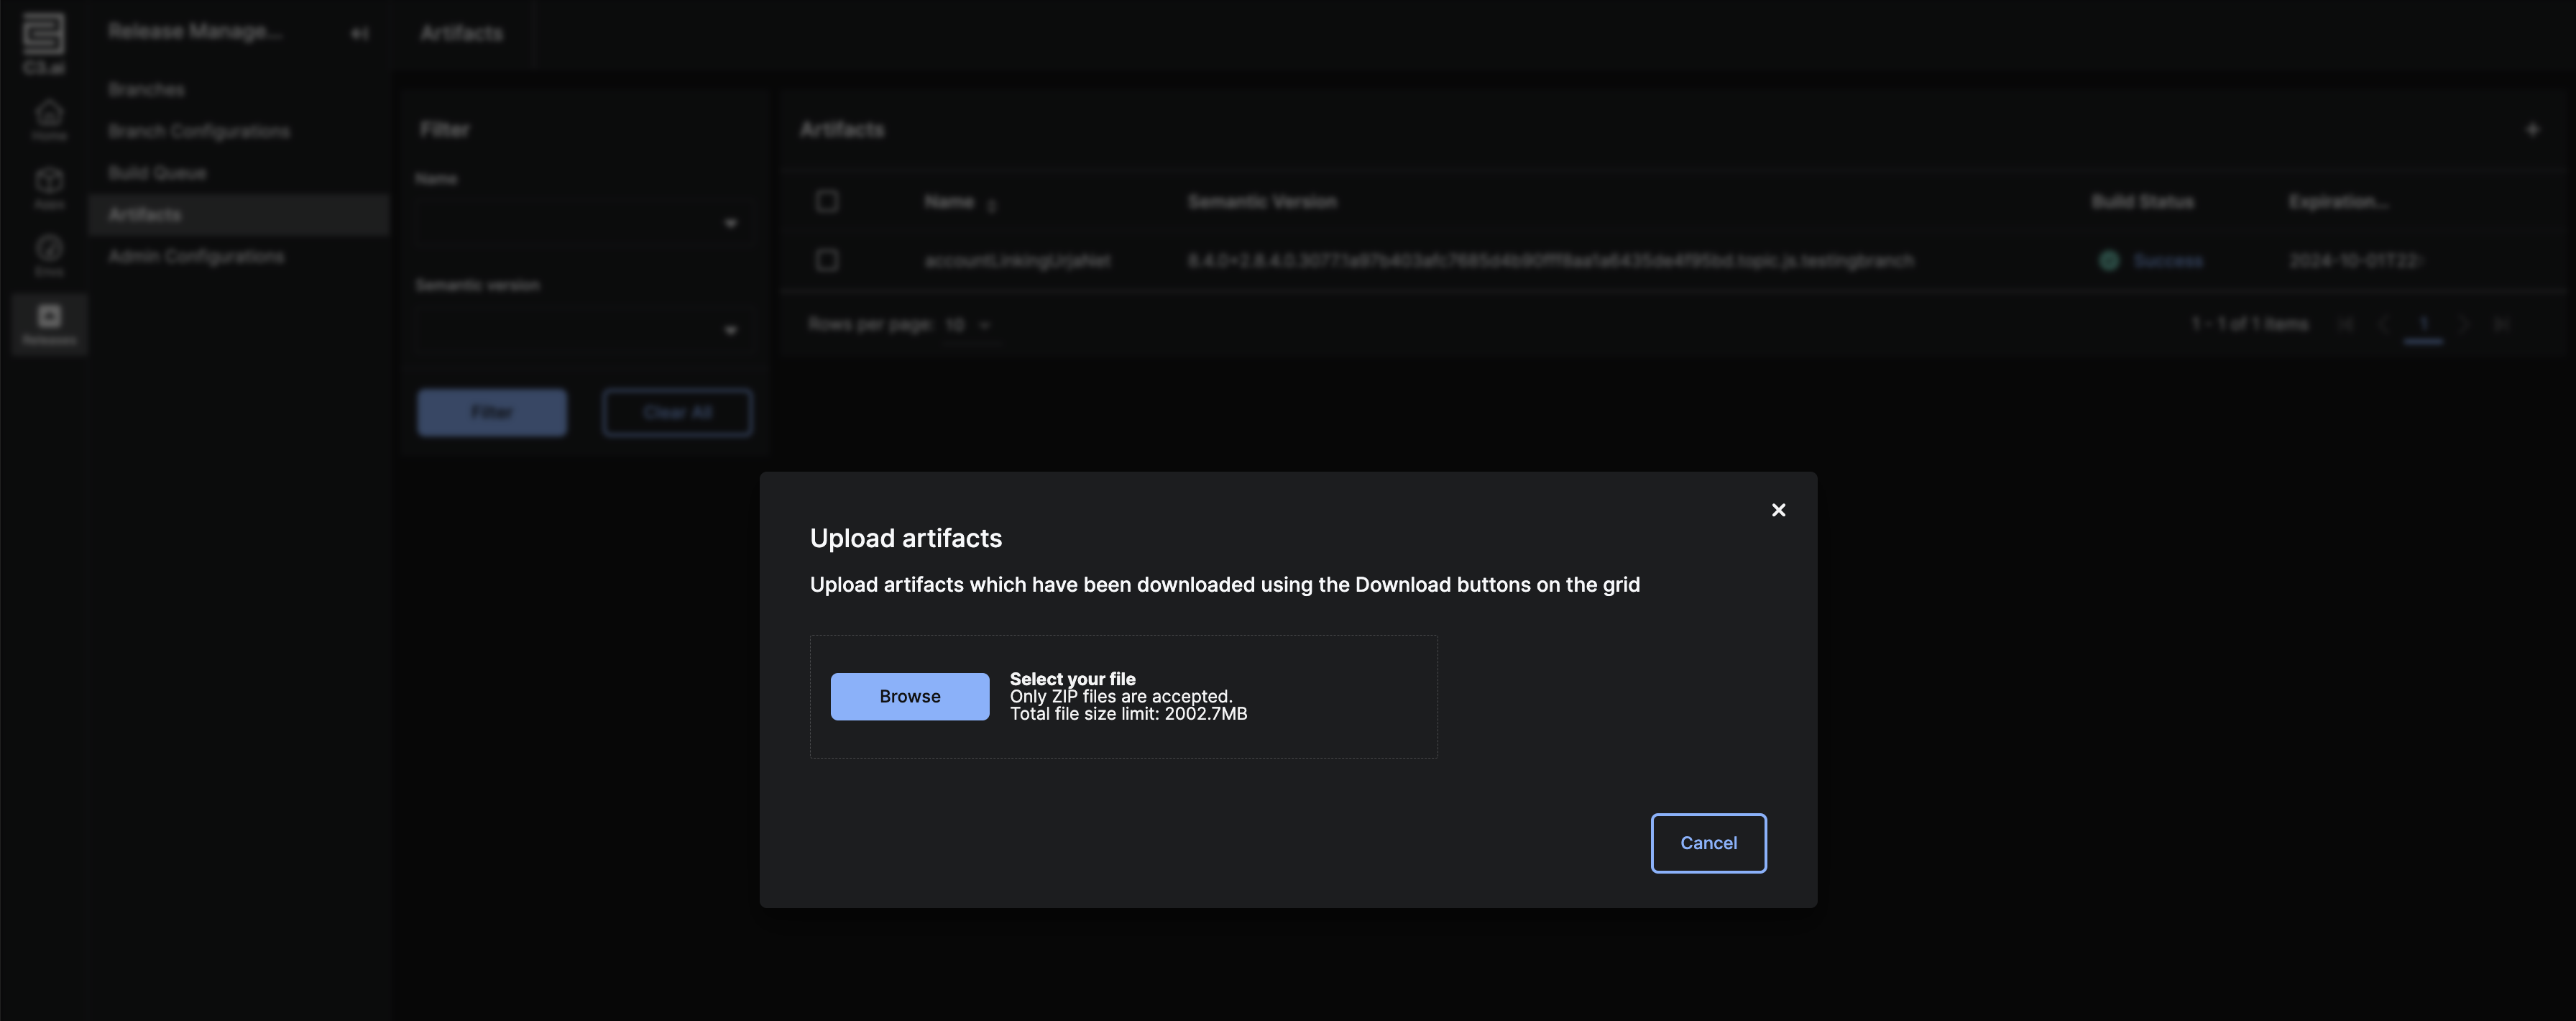
You can register artifacts to a cluster by navigating to the appropriate Studio and using the upload feature on the same artifacts grid page. Only upload artifacts here with the ZIP files that were downloaded through the artifacts grid. Click on the "+" icon in the top right corner of the grid to begin.
Select Browse in the modal that pops up to find the downloaded ZIP and upload it.
Uploading artifacts may take several minutes, depending on how many artifacts the ZIP file contains and your network bandwidth. Upload ZIP files, each containing a single artifact, one by one if progress is slow.
Troubleshooting Tips
This section covers some common issues that can occur when downloading and uploading artifacts and how to troubleshoot them.
Artifact upload failed
If an error occurs while uploading a ZIP, the most likely reason is that the ZIP has been modified after being downloaded from Studio. For example, a user may attempt to manually change artifact metadata by unzipping the file, modifying a file, and re-zipping. In this case, the only solution is to re-download a ZIP from the artifacts grid.
If an artifact needs to be modified, it should be done before the download. Metadata for an artifact can be manually changed by a user in the artifacthubservice application. The application URL should look similar to https://<hosting-cluster>/c3/artifacthubservice/console/index.html. As an example, the following script would change the expiration date of an artifact:
var pkgName = 'PACKAGE NAME HERE';
var semanticVersion = 'SEMANTIC VERSION HERE';
var expirationDate = '2025-01-01T00:00:00Z'; // YYYY-MM-DDTHH:MM:SSZ

var artifact = ArtifactHubService.Artifact.fetch({ filter: Filter.eq('name', pkgName).and().eq('semanticVersion', semanticVersion) }).objs[0];
artifact.withExpiresAt(expirationDate).merge();Cannot find artifact after upload
If an upload completes without any errors but the artifacts are not showing up in the grid, it is very likely that the artifact expiration date precedes the current time. This phenomenon can occur because the expiration date is set at the time of download. You can set a later expiration date, or specify "keep forever" when downloading. Alternatively, you can modify the expiresAt or keepForever fields after uploading.
Since the grid does not show "expired" artifacts, you may need to check if they exist by attempting to fetch the relevant ArtifactHubService.Artifacts in the artifacthubservice application.