Collaboration in Visual Notebooks
Visual Notebooks lets you create teams of users with different roles. Visual Notebooks supports multiple team collaboration features, including the ability to share datasets, stories, and configured connectors.
User roles
There are three user roles available in Visual Notebooks: admins, editors, and viewers.
Admins have complete visibility and control over the account. Admins can modify user roles and set each user's maximum workspace size. Admins can also create, edit, and manage teams.
Editors can access all core features in Visual Notebooks but have limited control over the management of members and teams. They can view the current teams but cannot modify membership in them or create new teams.
Viewers can log into Visual Notebooks to access stories—Visual Notebooks's built-in visual dashboards—in a read-only mode. Viewers cannot access the Visual Notebooks canvas or build visual notebooks of their own.
Visual Notebooks teams
Account administrators can create "user-groups" or "teams" within their account, used to control data access. From the Teams page, account administrators can create multiple teams and add members of an account to different teams based on their role or department. Users can have membership in multiple teams, maintaining access to data shared with each team.
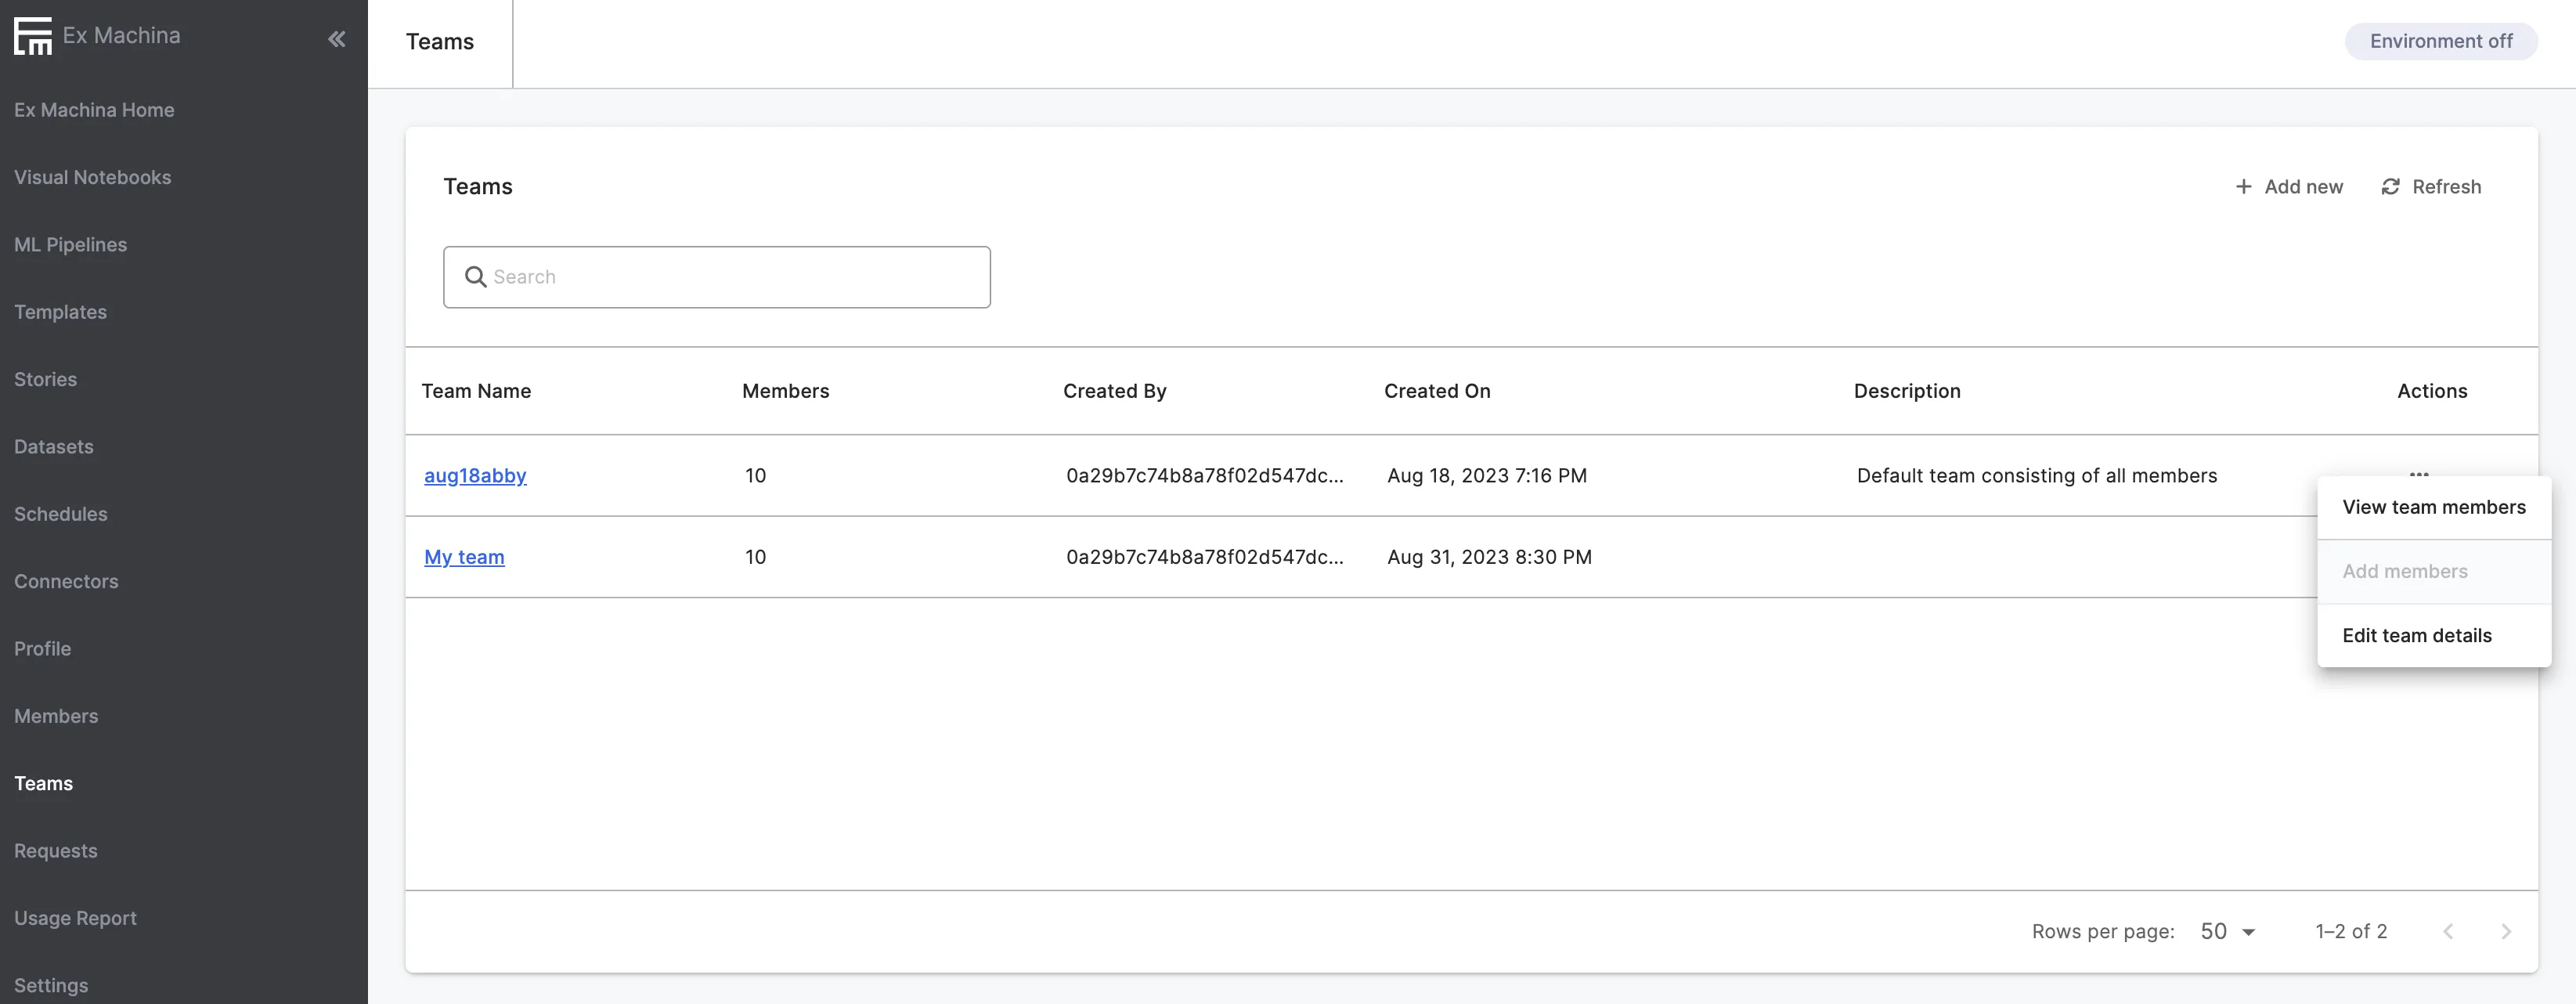
Figure 1: Visual Notebooks Teams page
Sharing in Visual Notebooks
Users can share assets, which include datasets, stories, and connectors, directly with other teams. Additionally, visual notebooks and ML Pipelines can be shared between individual users via export and import features.
Sharing datasets
Visual Notebooks datasets can be shared with colleagues assigned to a team. Follow the steps below to share a dataset.
- Navigate to the "Datasets" page and click the arrow icon under "Actions"
- Navigate to the "Datasets" page and click the arrow icon under "Actions" beside the dataset you want to share.
- Search for the team(s) to share with and click "Save."
After sharing a dataset with a team, account members within the team can use the data within their visual notebooks for further analysis.
Often, a user within the team may be responsible for loading and preparing data and features for a data science project, while another team member uses the data for further analysis and machine learning. Dataset sharing amongst team members facilitates this typical collaborative workflow.
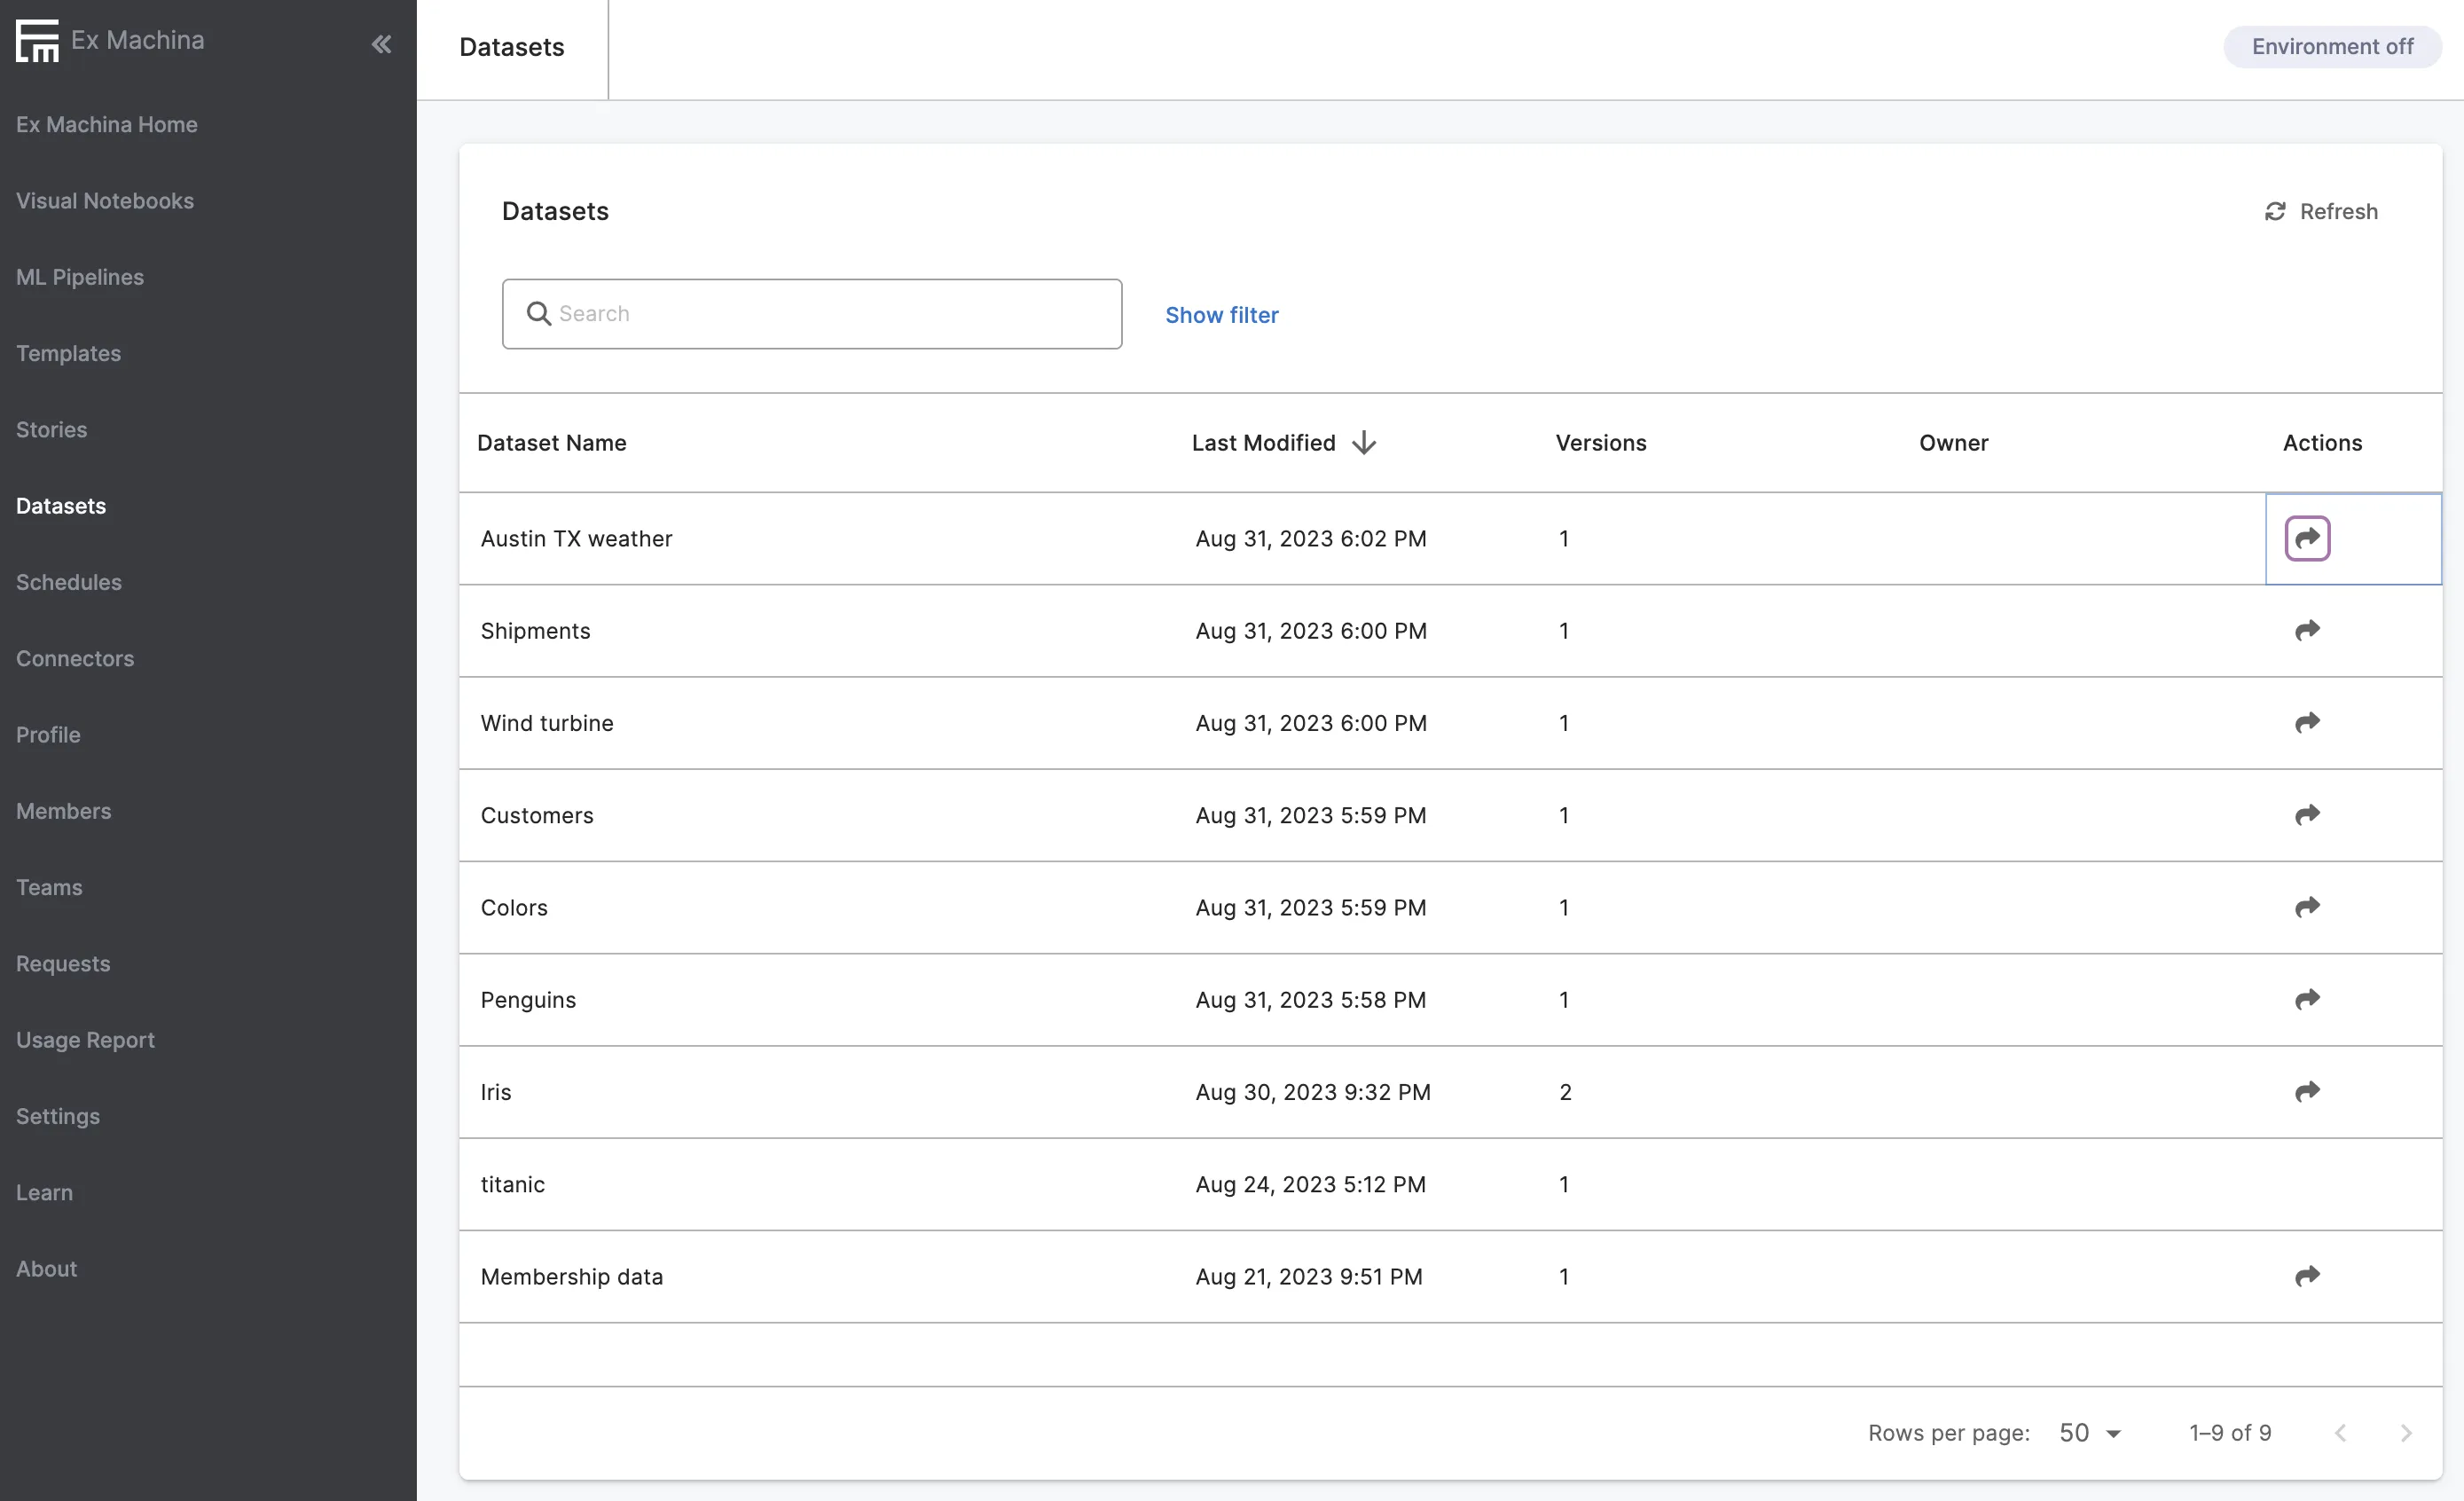
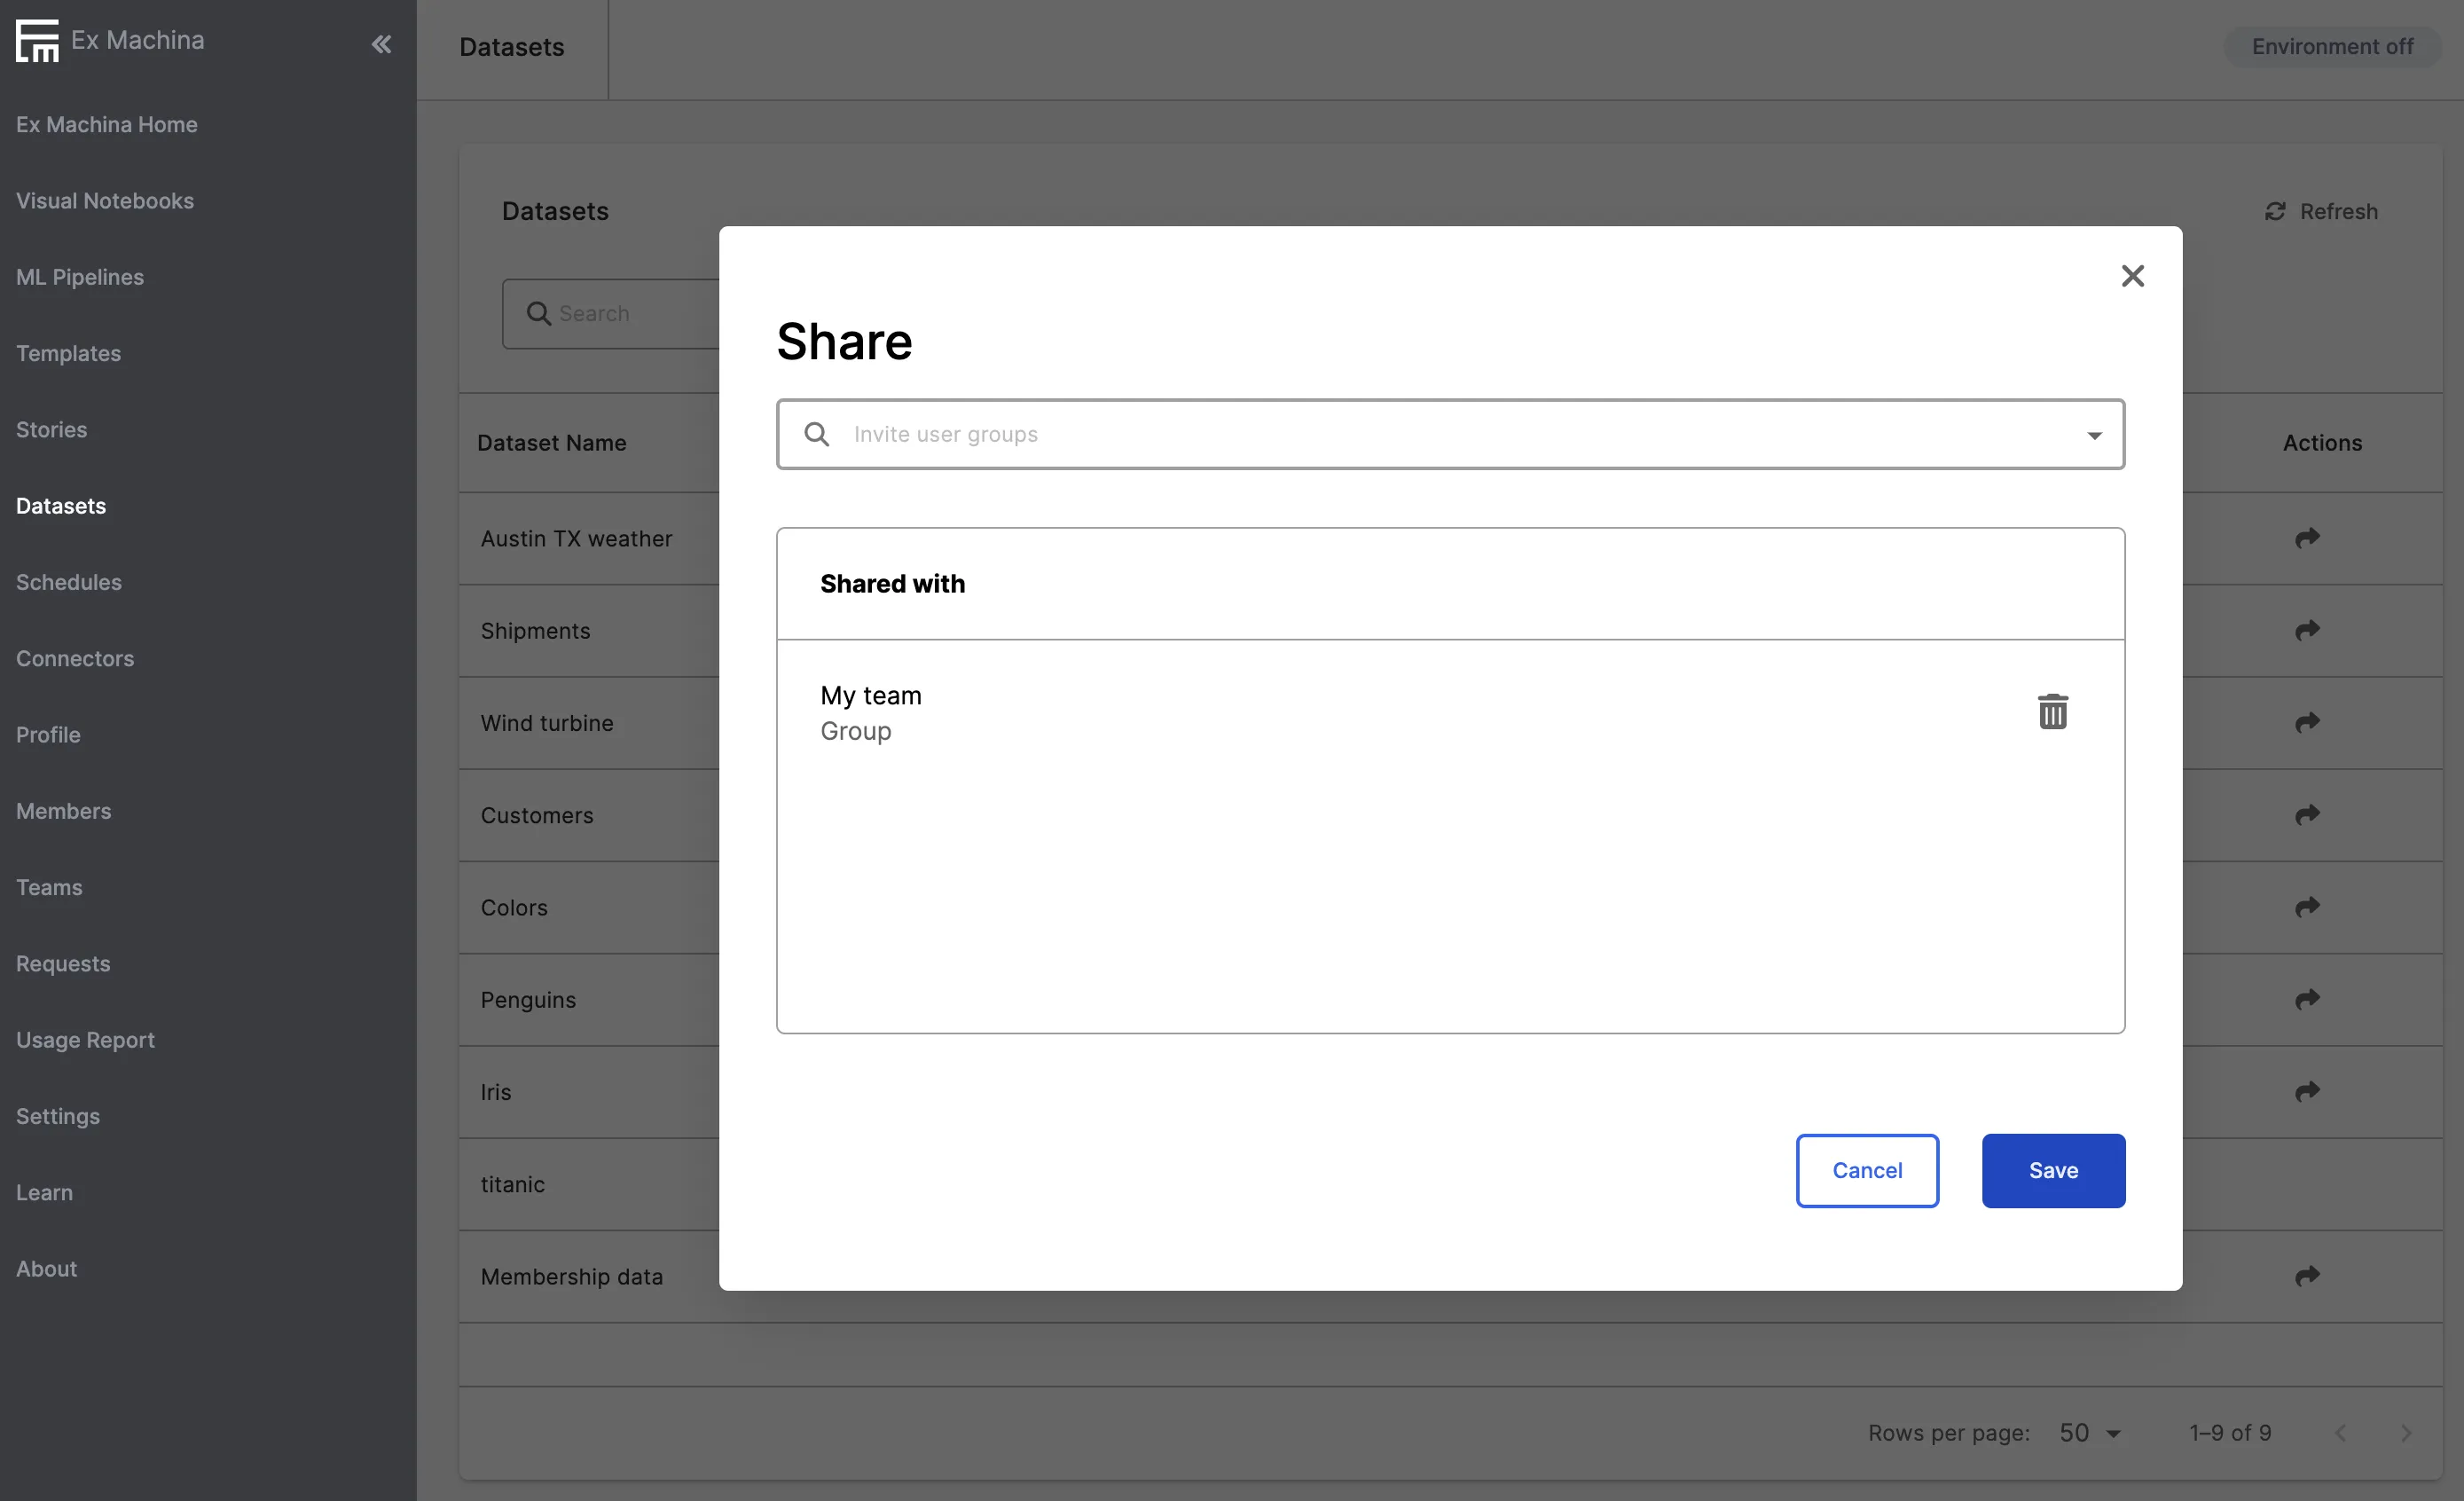
Figure 2: Sharing Visual Notebooks Datasets
Sharing stories
Stories may be shared with team members in an analogous manner to C3 AI Ex Machina datasets. Navigate to the "Stories" page and find the story you'd like to share. Select "Share" followed by the team of users to share with. This is shown in Figure 3.
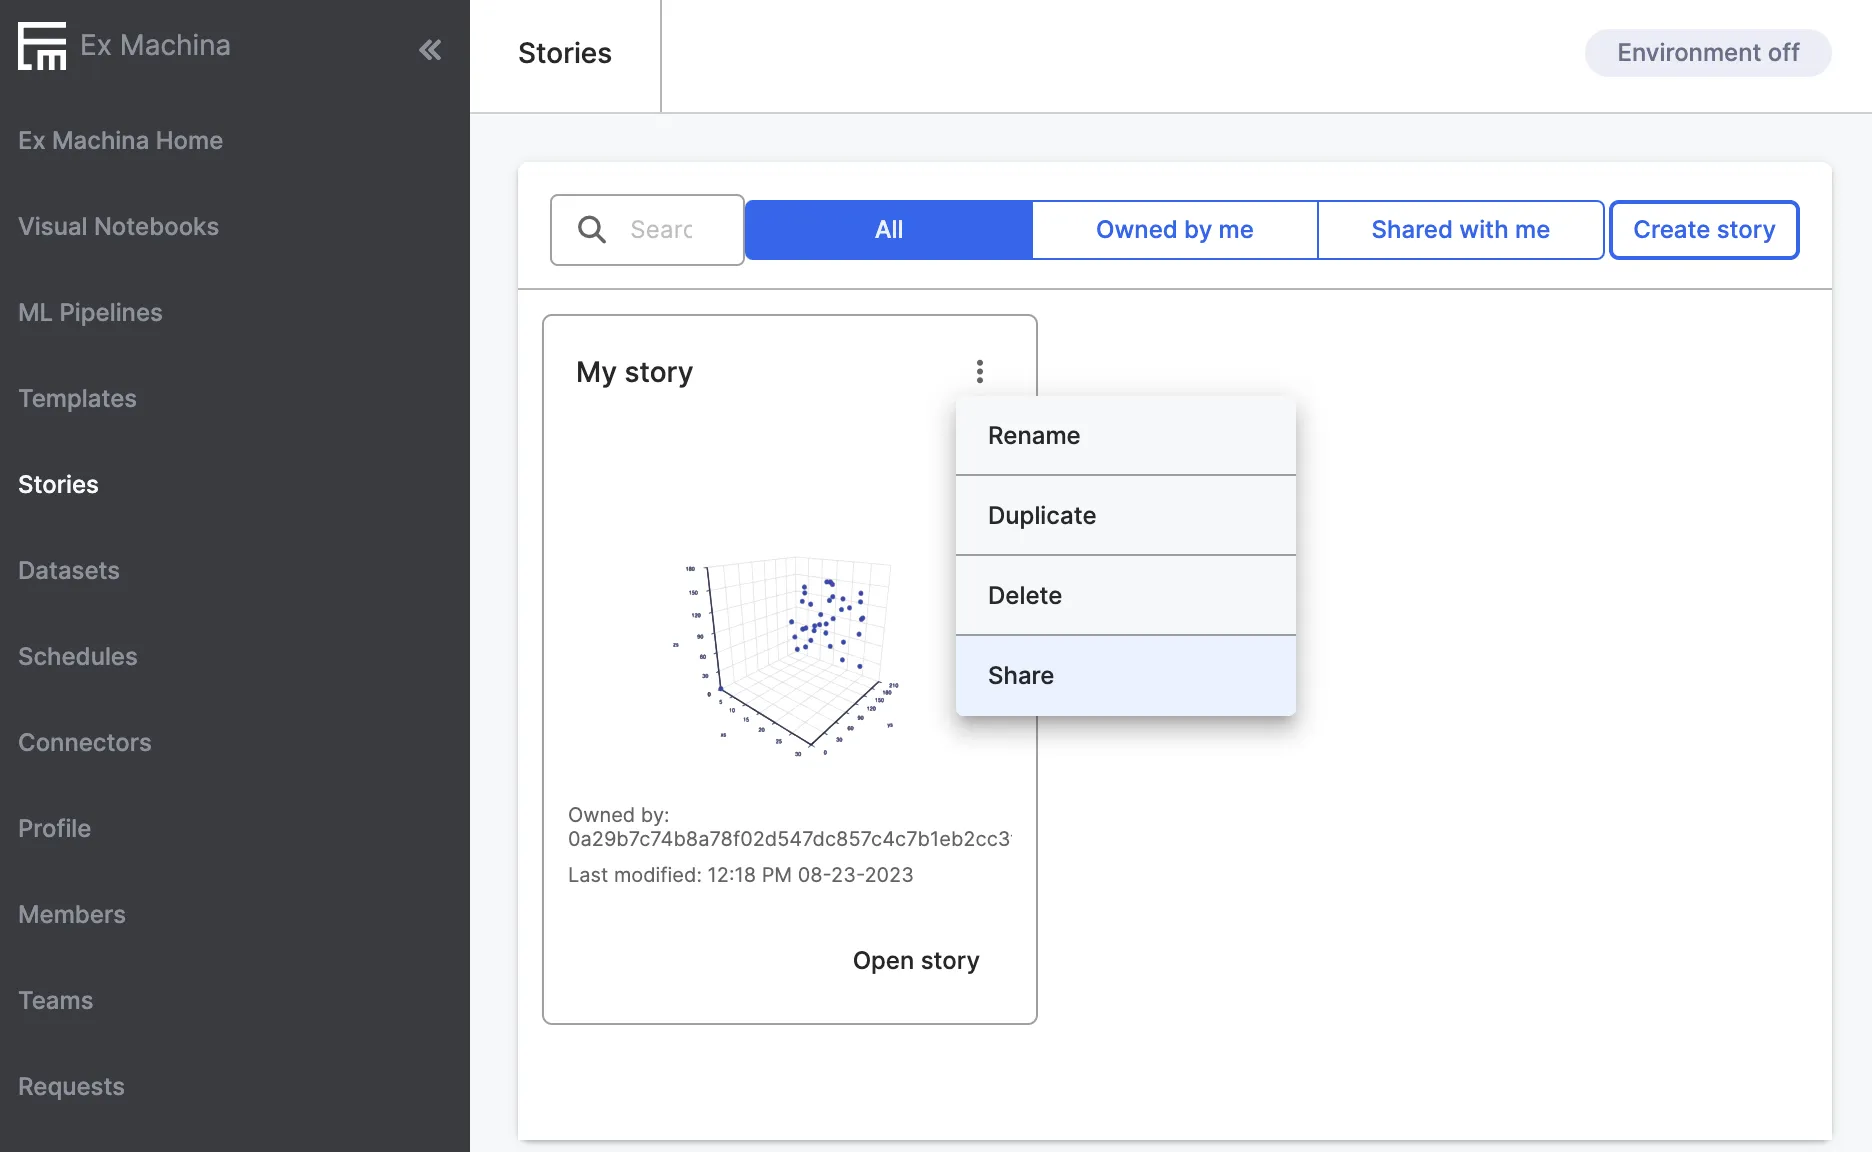
Figure 3: Sharing Visual Notebooks Stories
Sharing connectors
Visual Notebooks supports sharing connectors to external data resources such as Big Query, Snowflake, and Databricks. The steps are like those for datasets and can be seen in Figure 4.
It is often not desirable to share credentials to underlying data resources with multiple users. Instead, an account administrator can create a new "connector" and enter credentials once. The account administrator may then share the connector with all users, or a subset of users defined within an Visual Notebooks team.
Recipient members can leverage the shared connector without ever requiring access to the underlying credentials. The team admin can rescind or change access to credentials at any time.
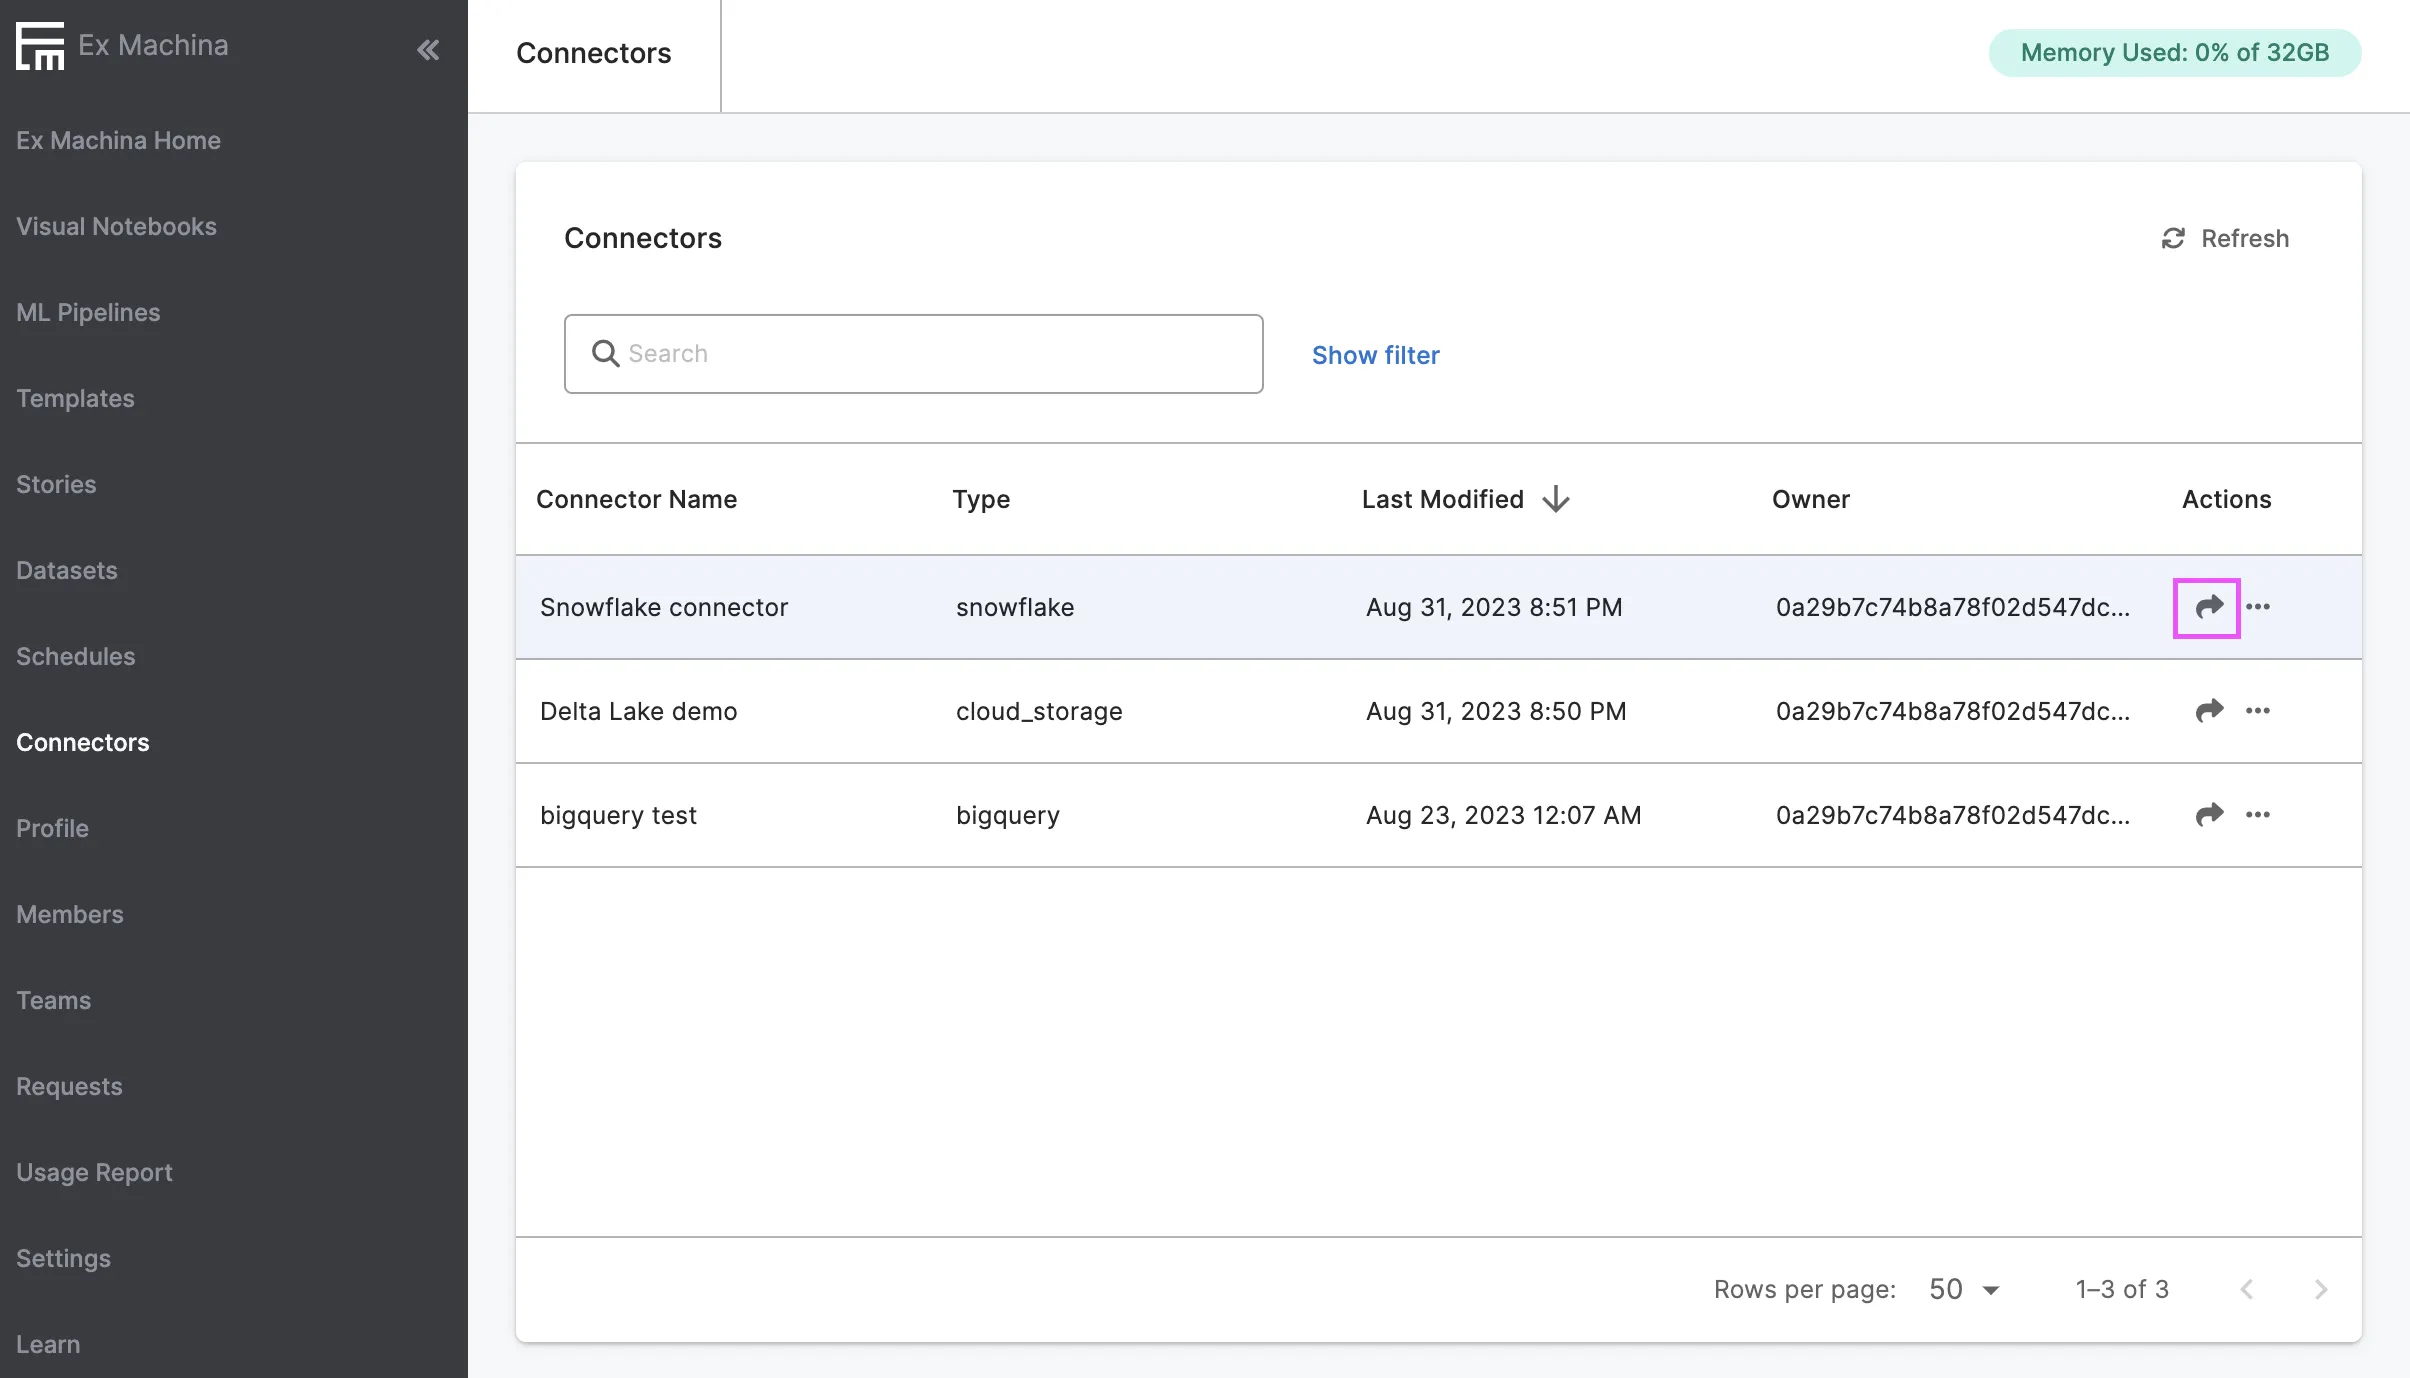
Figure 4: Sharing External Data Resource Connectors
Sharing visual notebooks and ML pipelines
Visual notebooks and ML pipelines can be shared by performing the following steps:
- Navigate to the "Visual Notebooks" or "ML Pipelines" page.
- Click the three dots beside the visual notebook or ML Pipeline to be shared, and then "Export" to save as a local JSON file. This is shown in Figure 5.
- Send the file to desired recipients using any third-party file transfer service.
- In the recipient account, navigate to the "Visual Notebooks" or "ML Pipelines" page.
- Select "Import" in the top right corner.
- Click browse to locate and upload the JSON file, as shown in Figure 6.
- Enter a name for the visual notebook or pipeline and click "Save."
Any visual notebooks or pipelines shared in this way are copies of one another, so changes made by the sender or recipients are local.
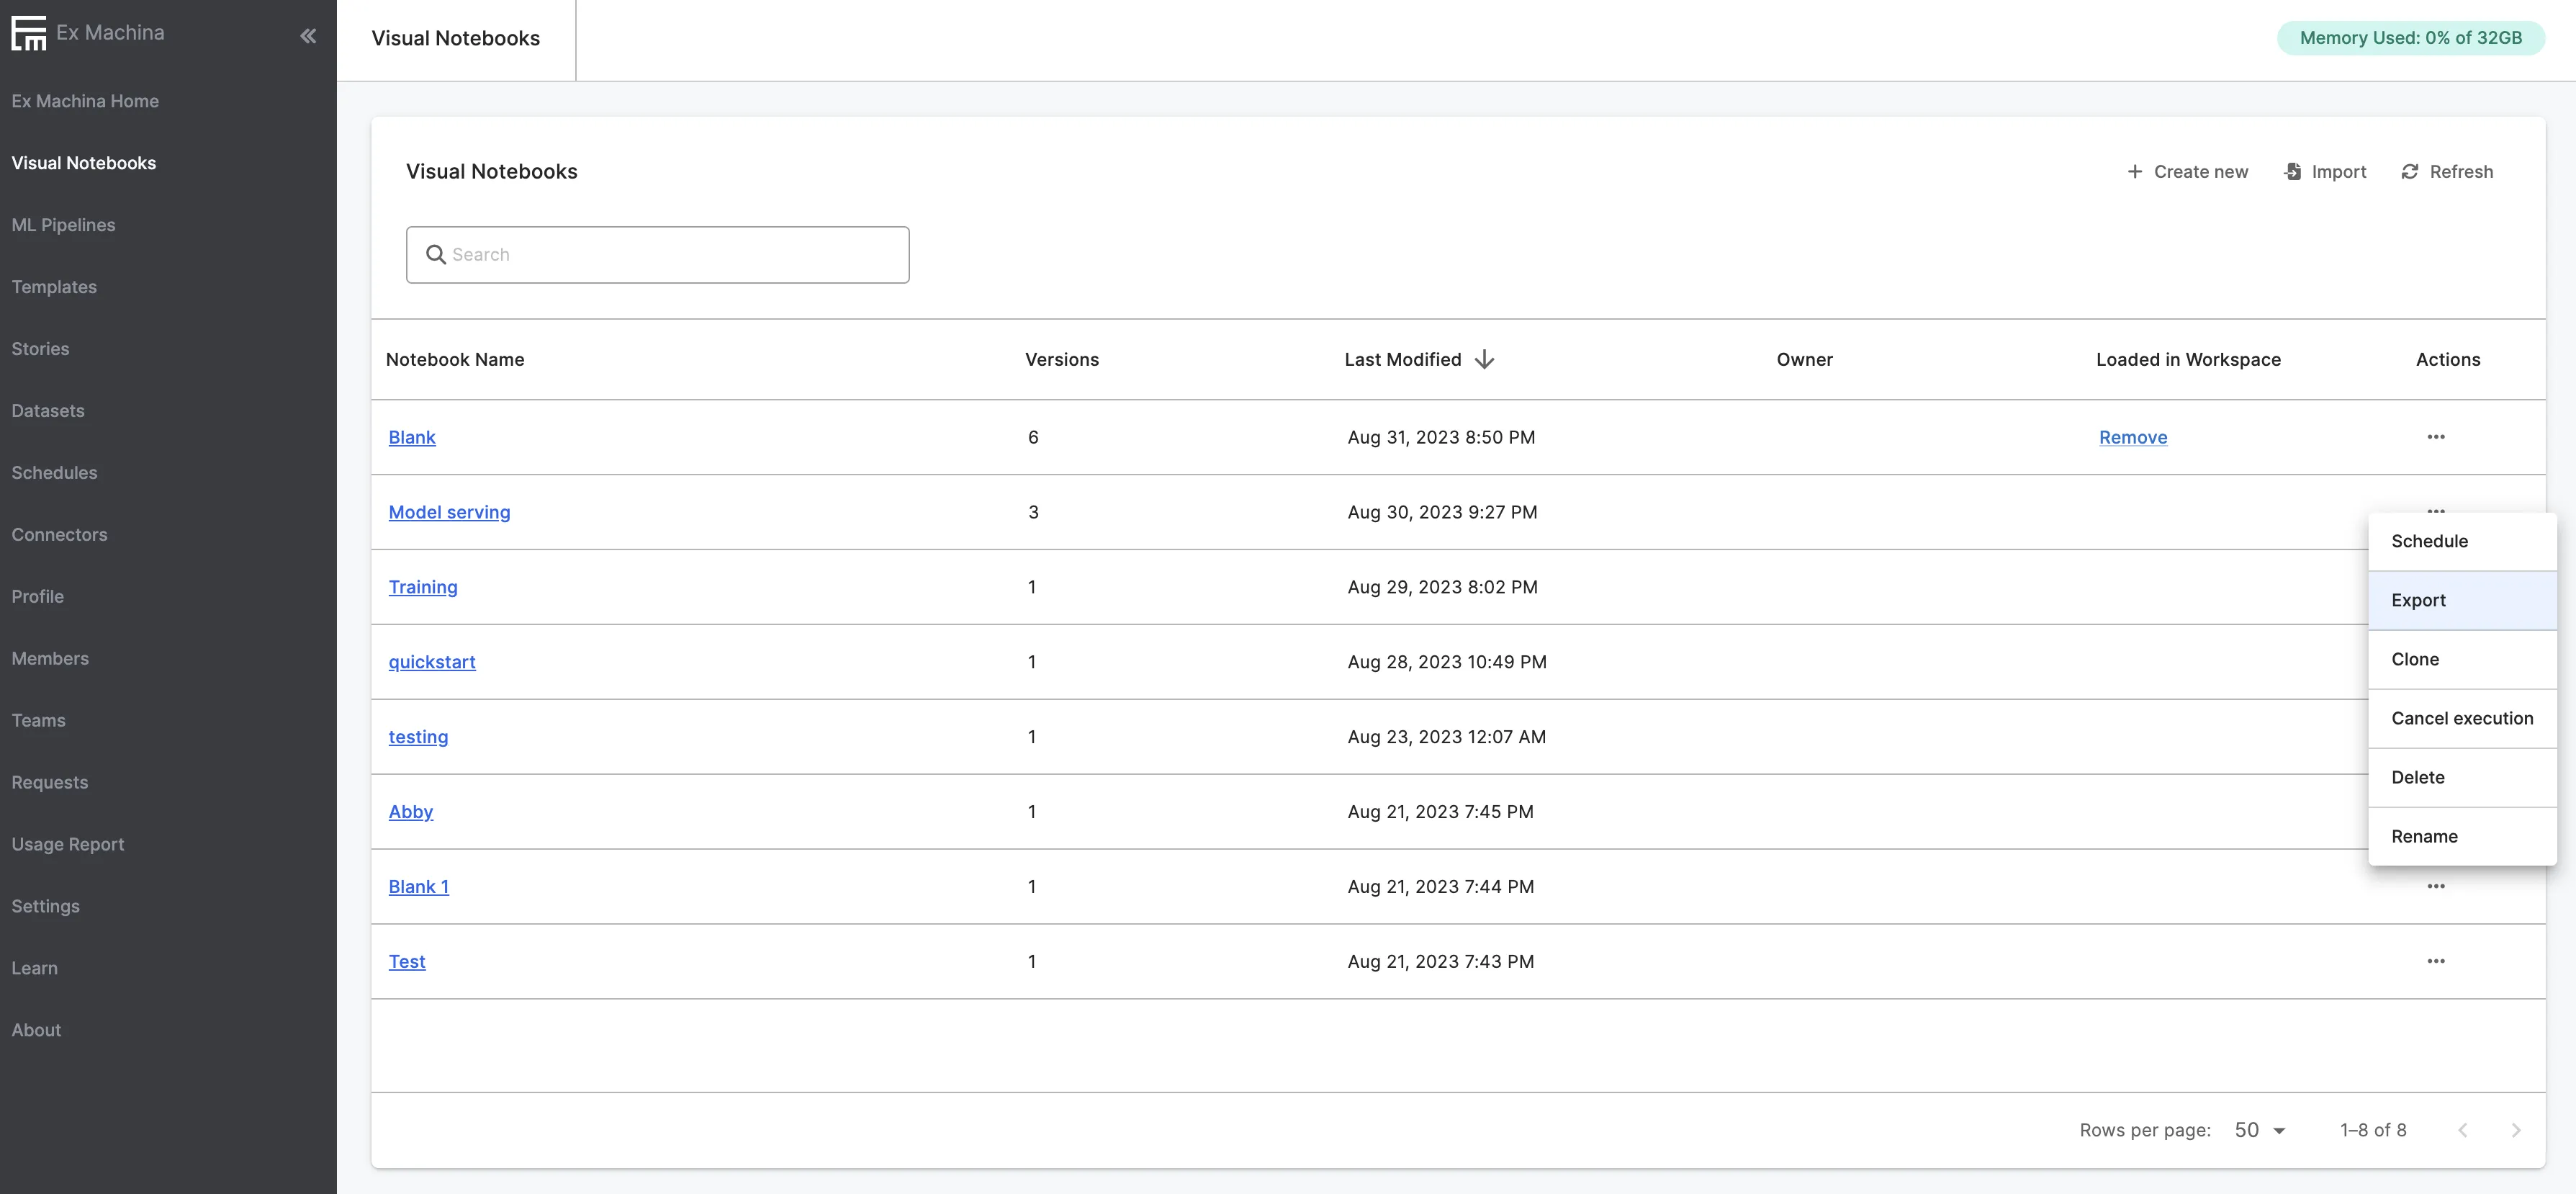
Figure 5: Exporting an Visual Notebooks Visual Notebook
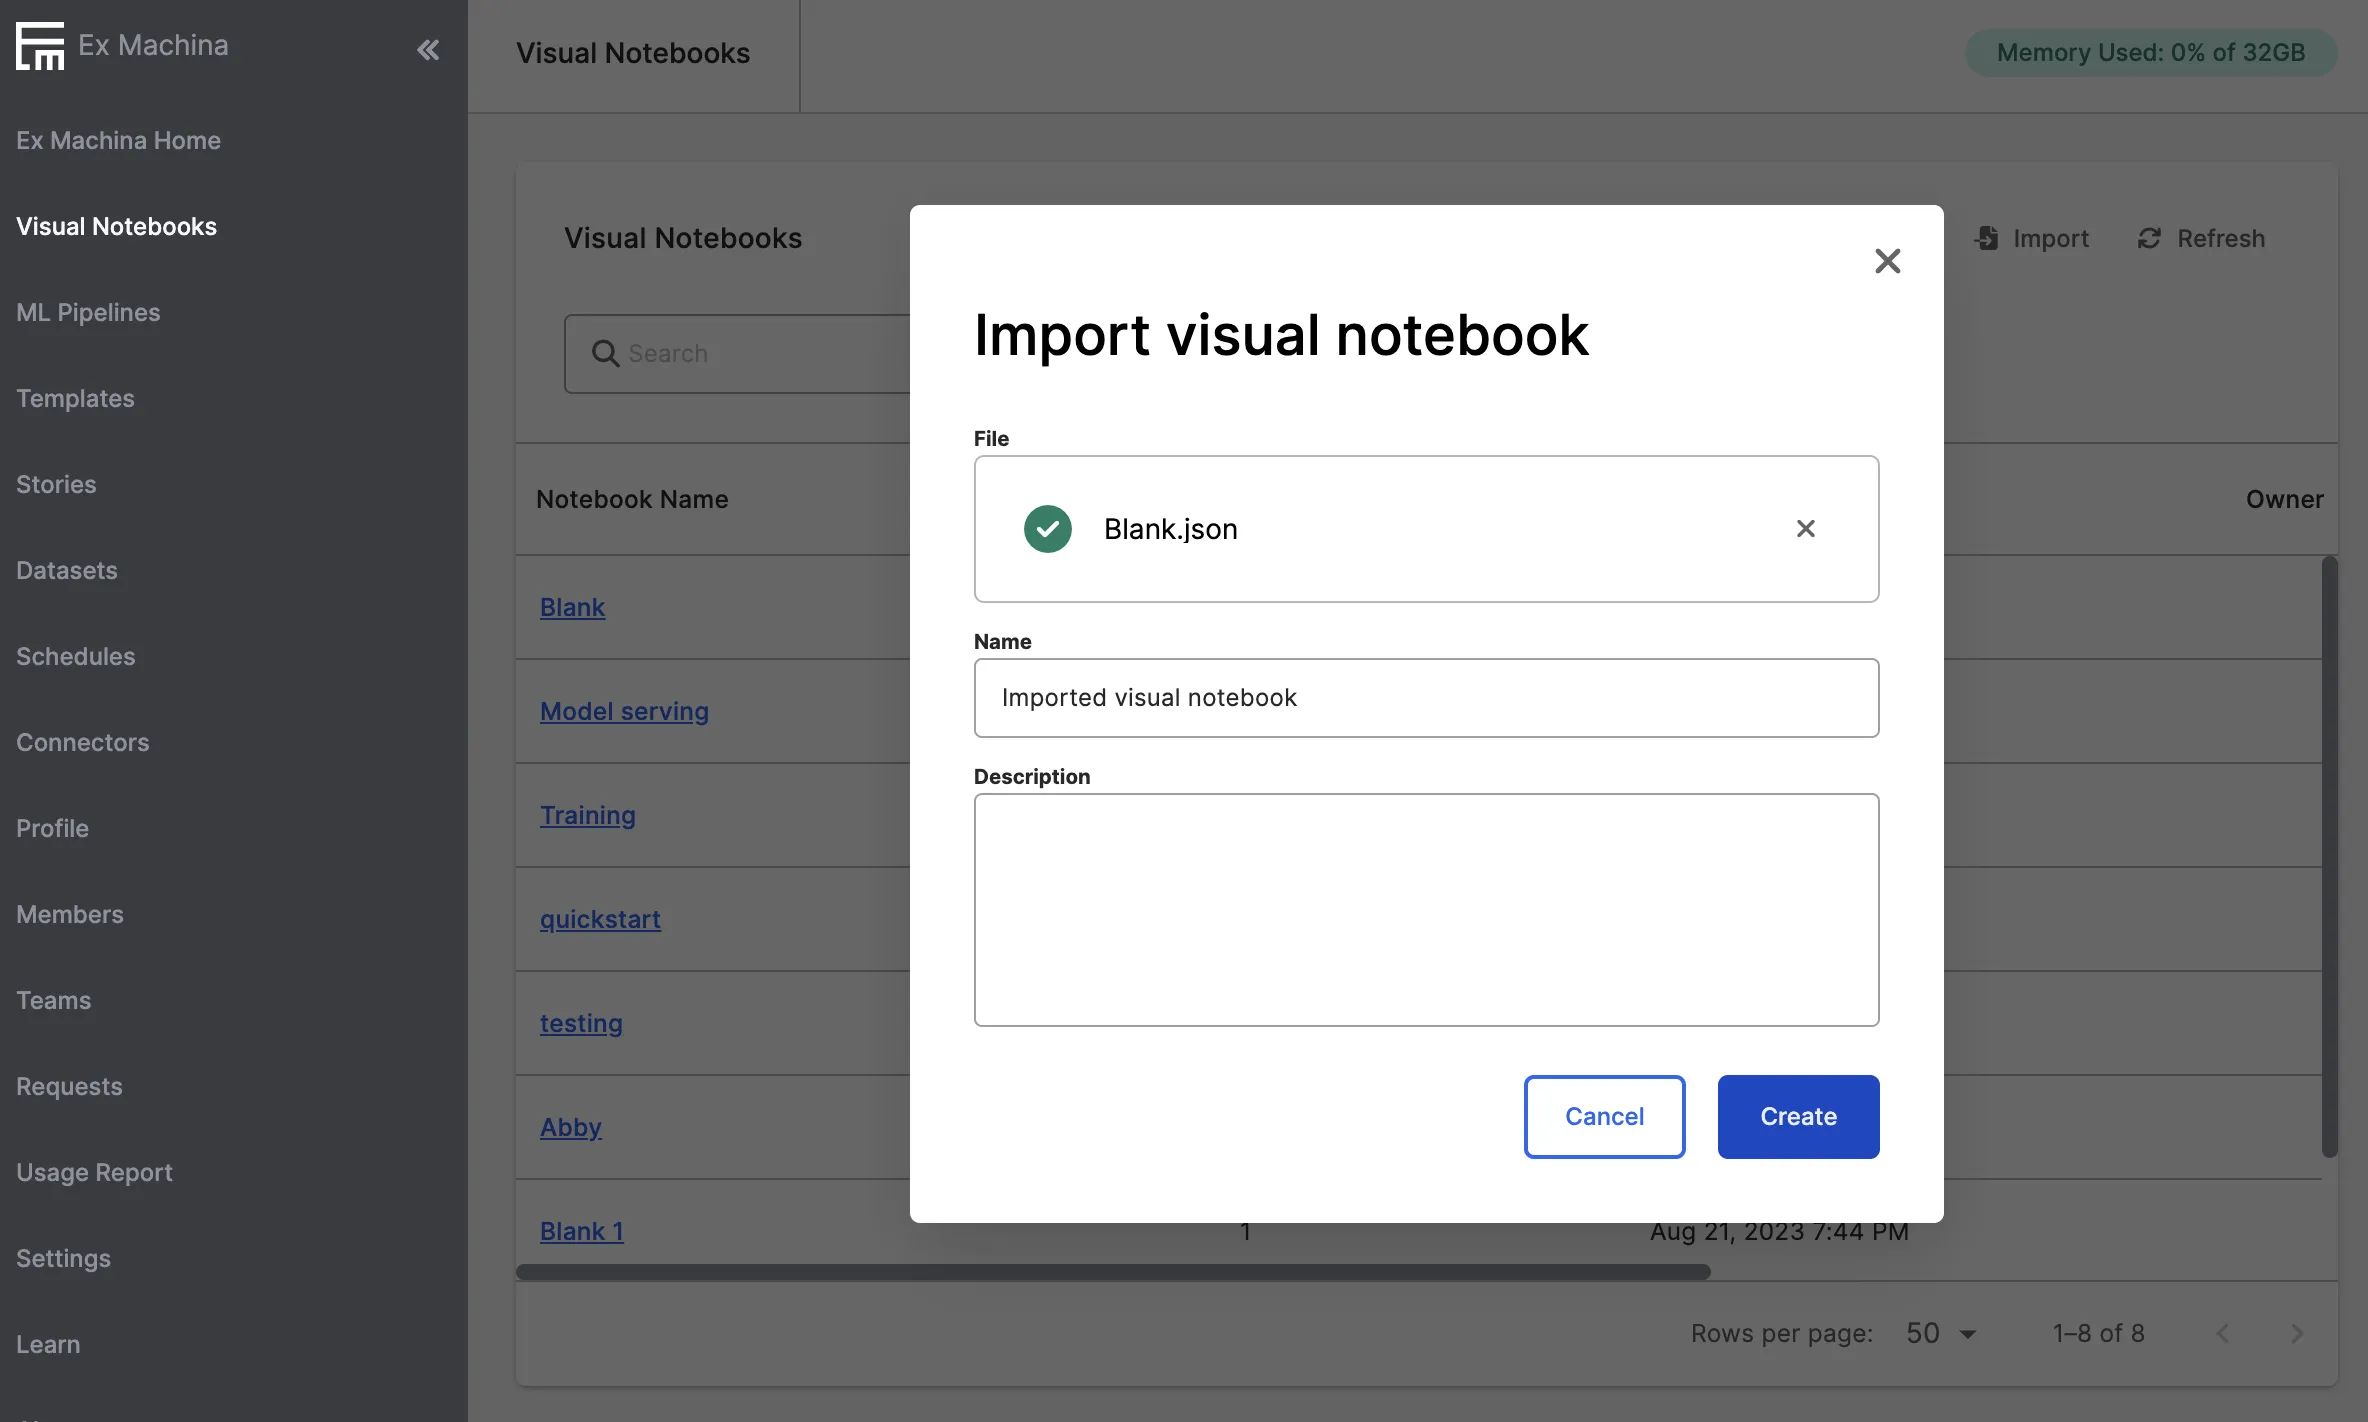
Figure 6: Importing an Visual Notebooks Visual Notebook