Schedules
Schedules automatically execute published visual notebooks on a specified cadence. Schedules help automate data input, model inference, and visualization updates.
Publishing a visual notebook
Schedules can only execute published visual notebooks. To publish a visual notebook, select the blue Publish button in the top right corner of the editor when the notebook is open. When the modal appears, select Publish.
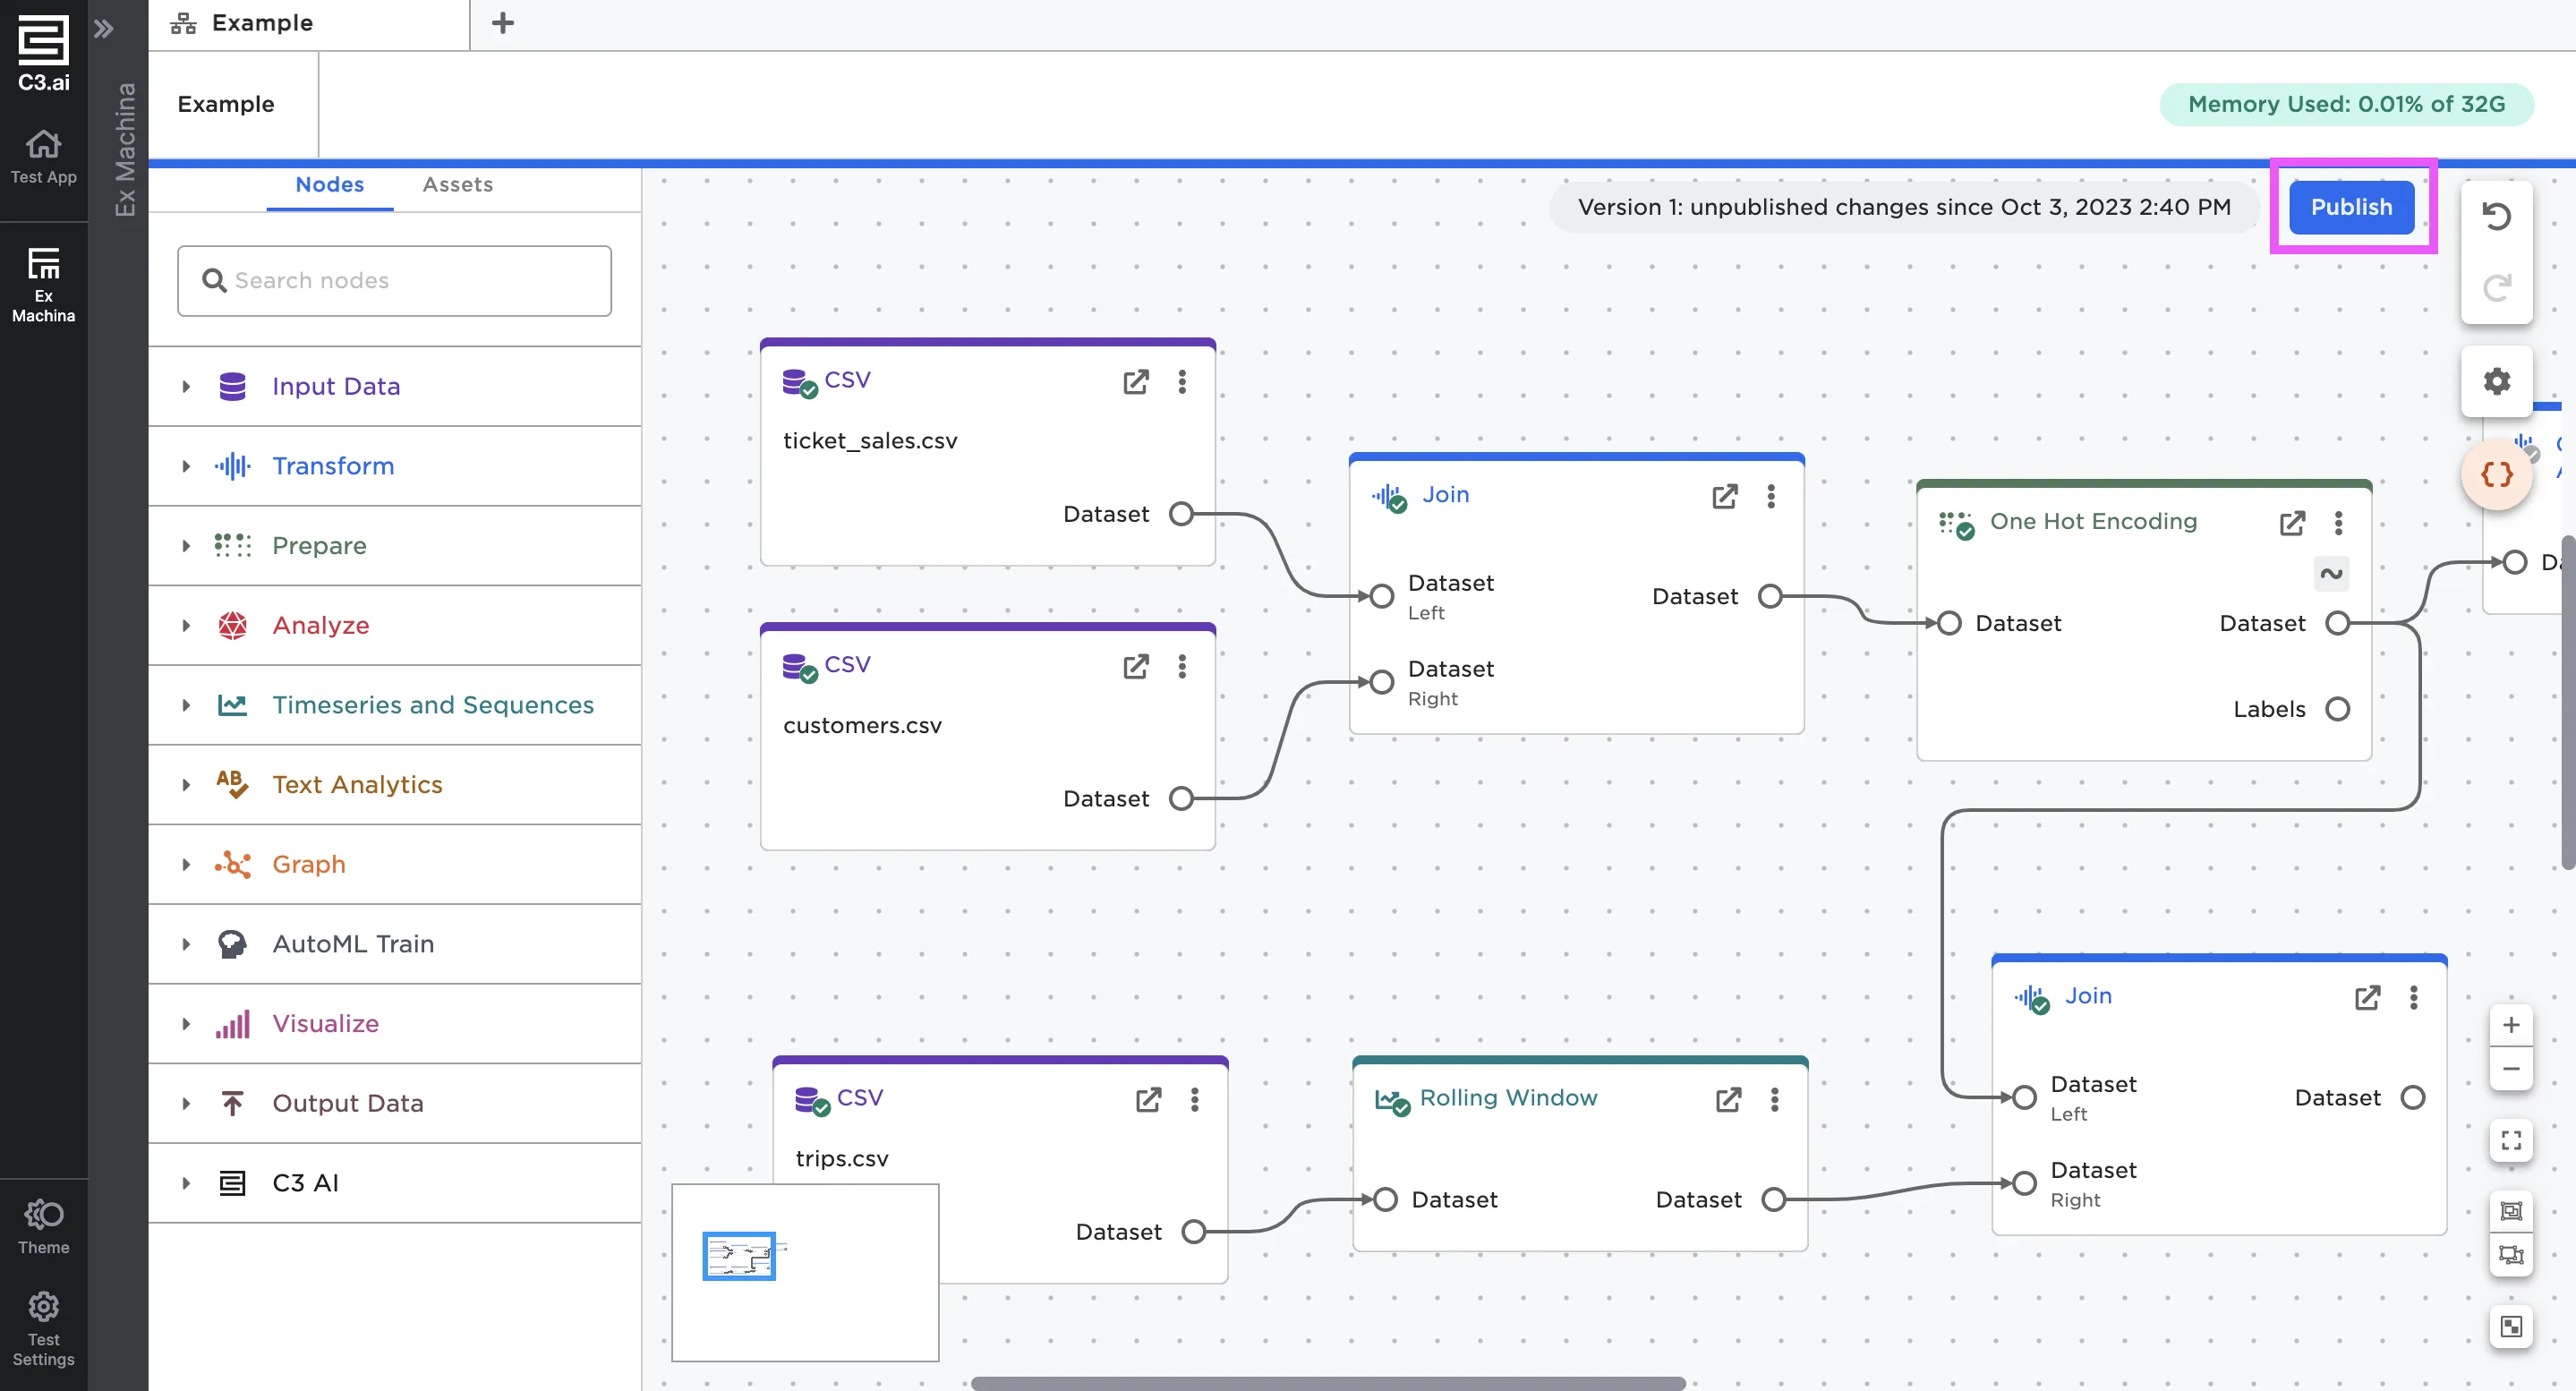
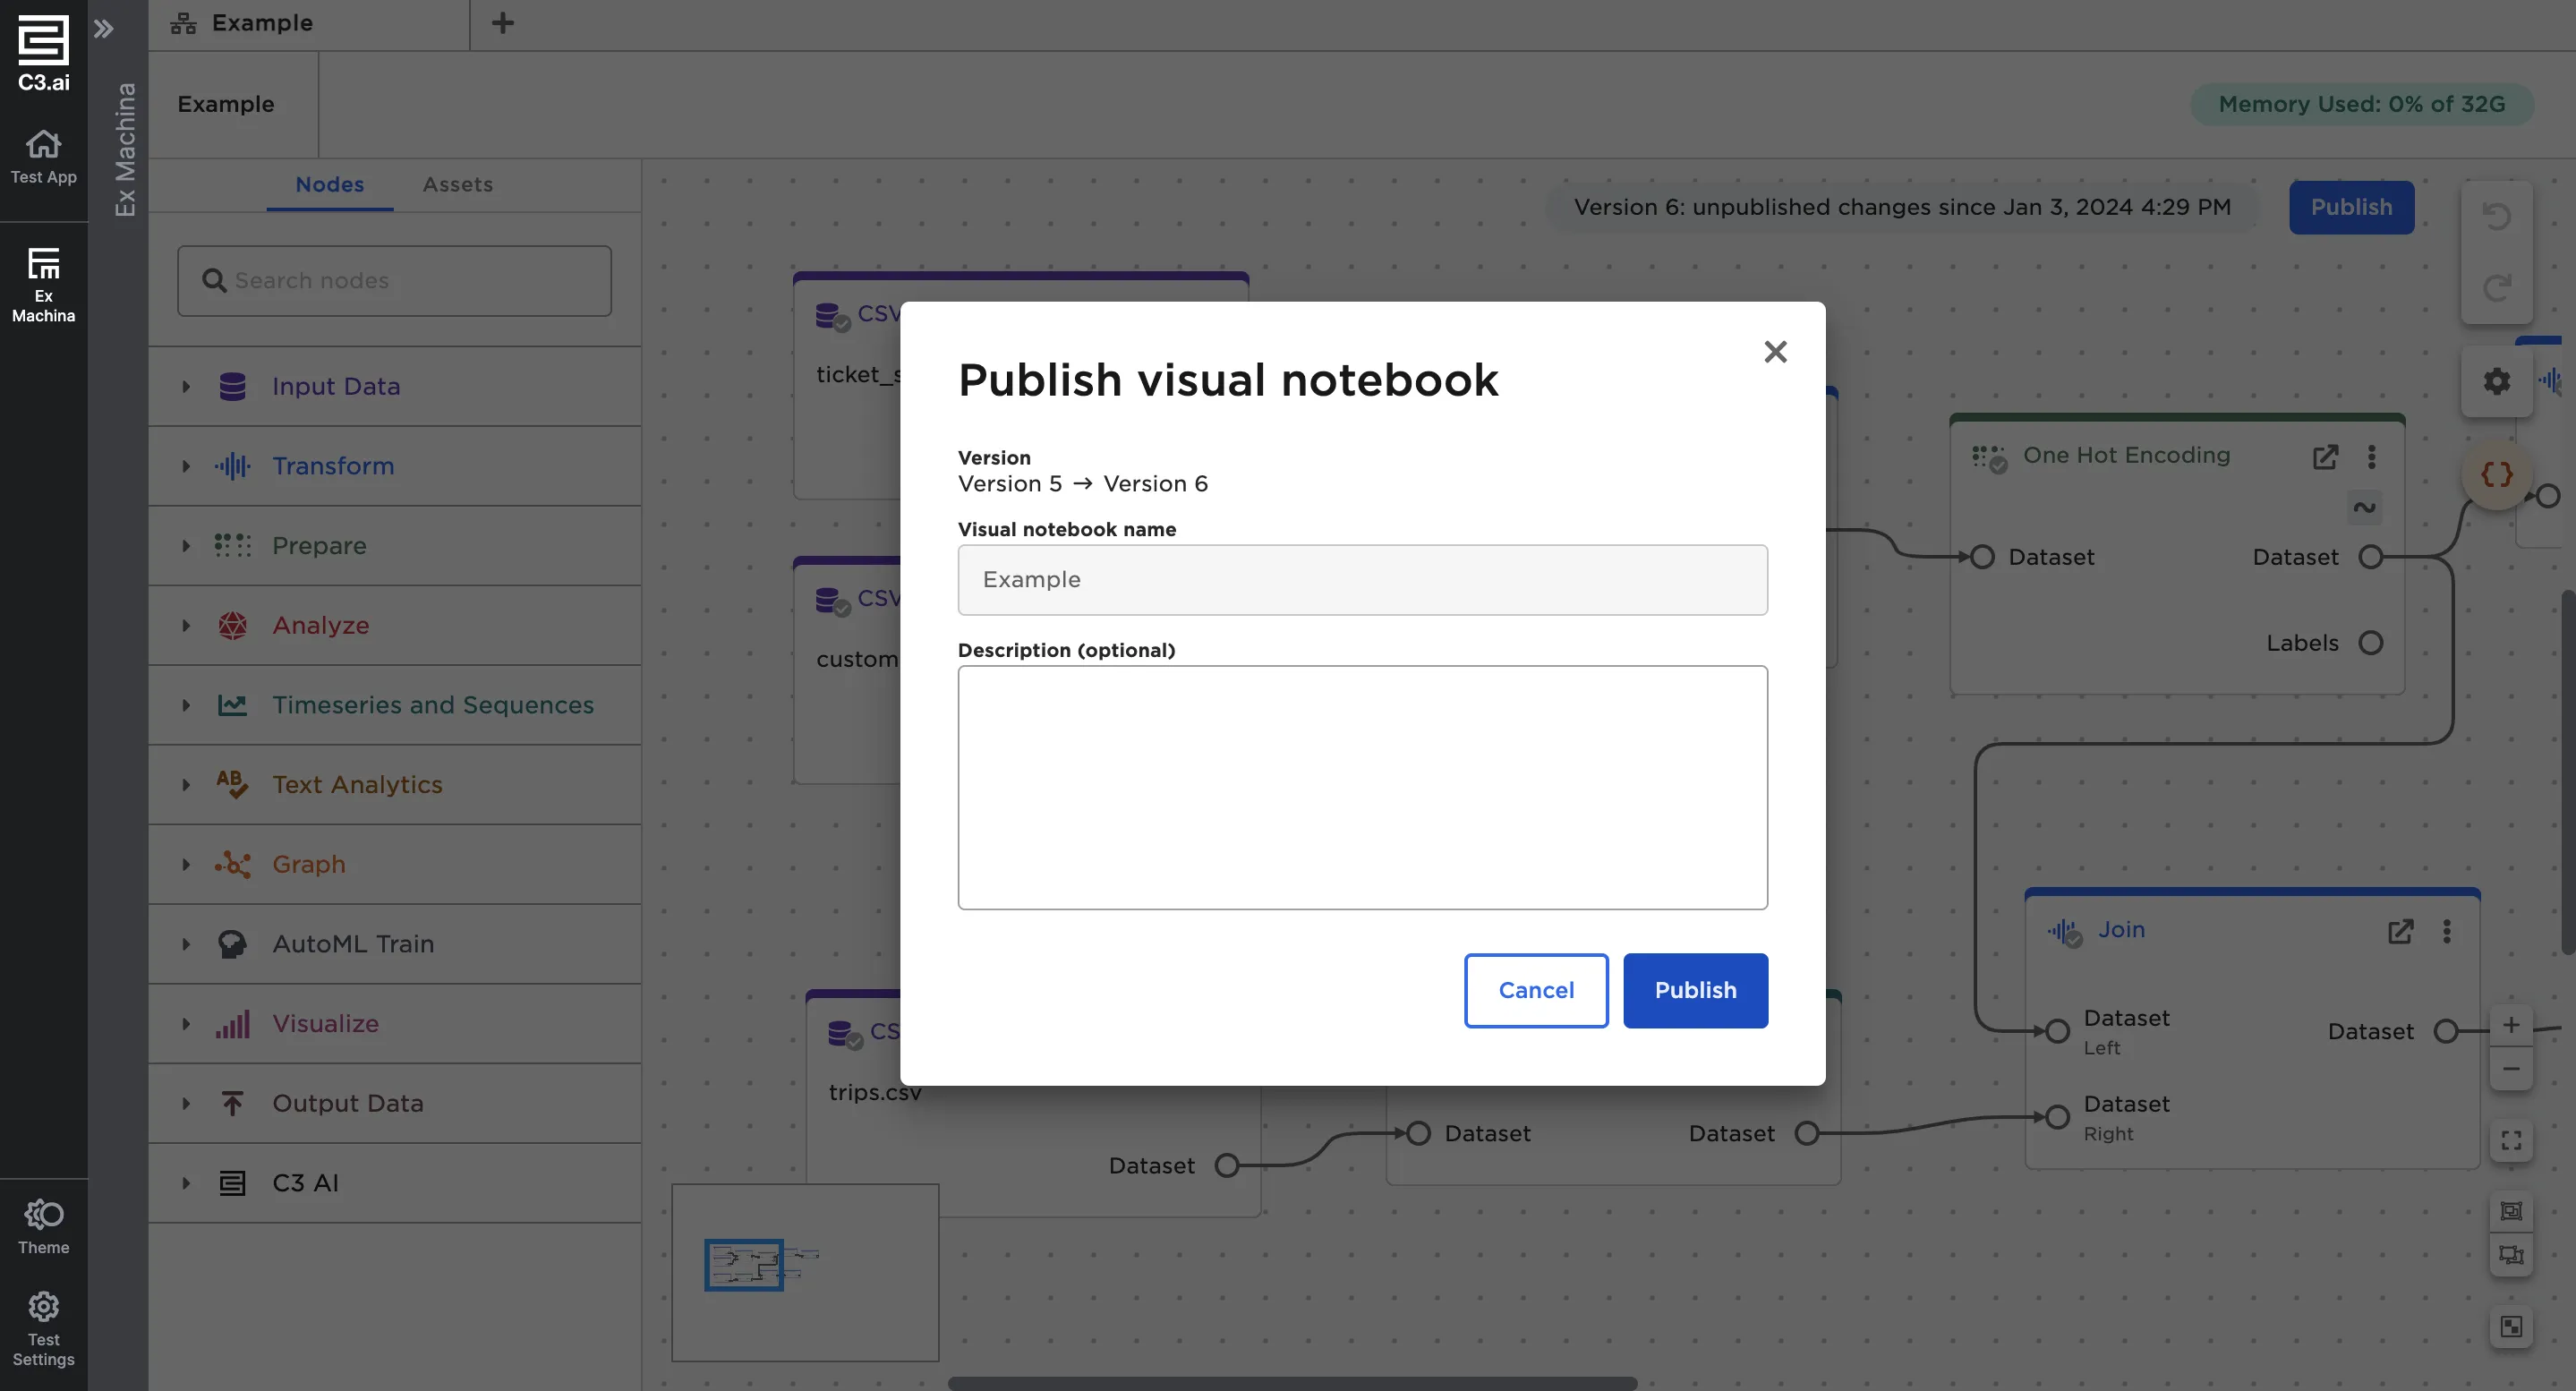
Figure 1: Publish your visual notebook
Once published, you can select the version number beside the Publish button to view the notebook lineage.

Figure 2: View the visual notebook's lineage
Create a schedule
Navigate to the Schedules page using the left sidebar. Select + Create new to create a new schedule.
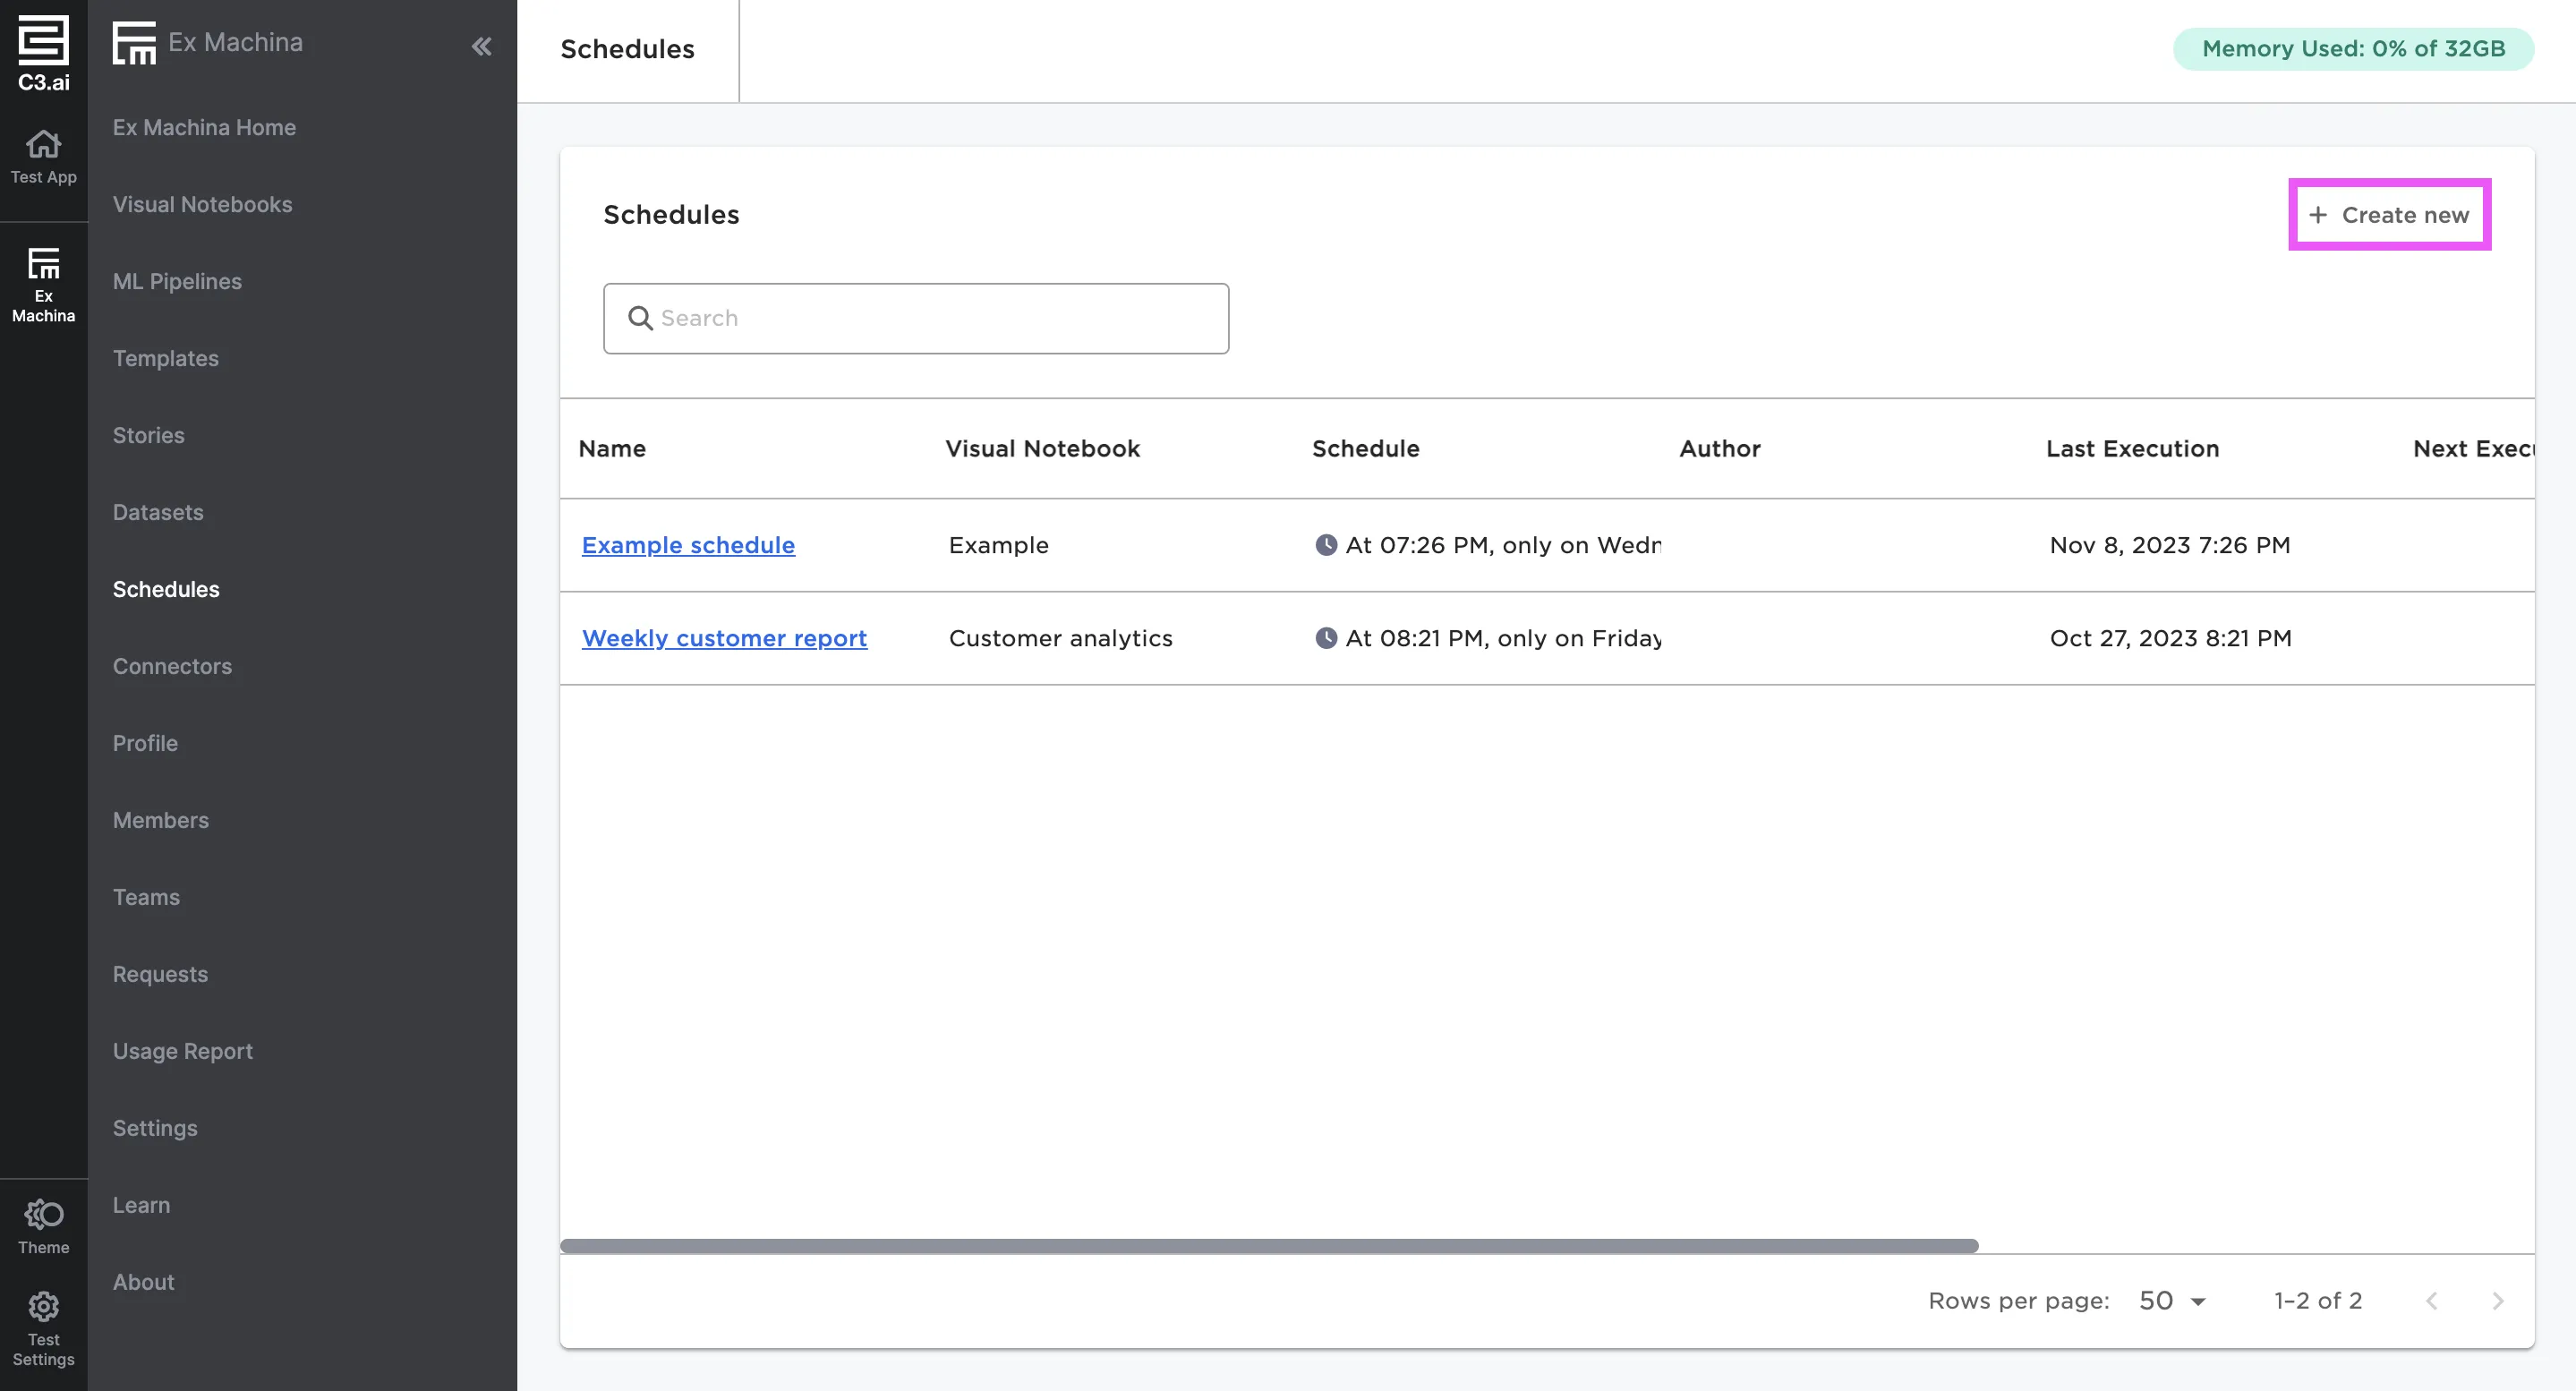
Figure 3: Create a new schedule
This opens a modal with fields to create a schedule. Schedules can be run once or repeat hourly, daily, weekly, or monthly. If configured to run repeatedly, you can define an end date if desired. Once the desired frequency is specified, select a version of a published visual notebook to run using the schedule.
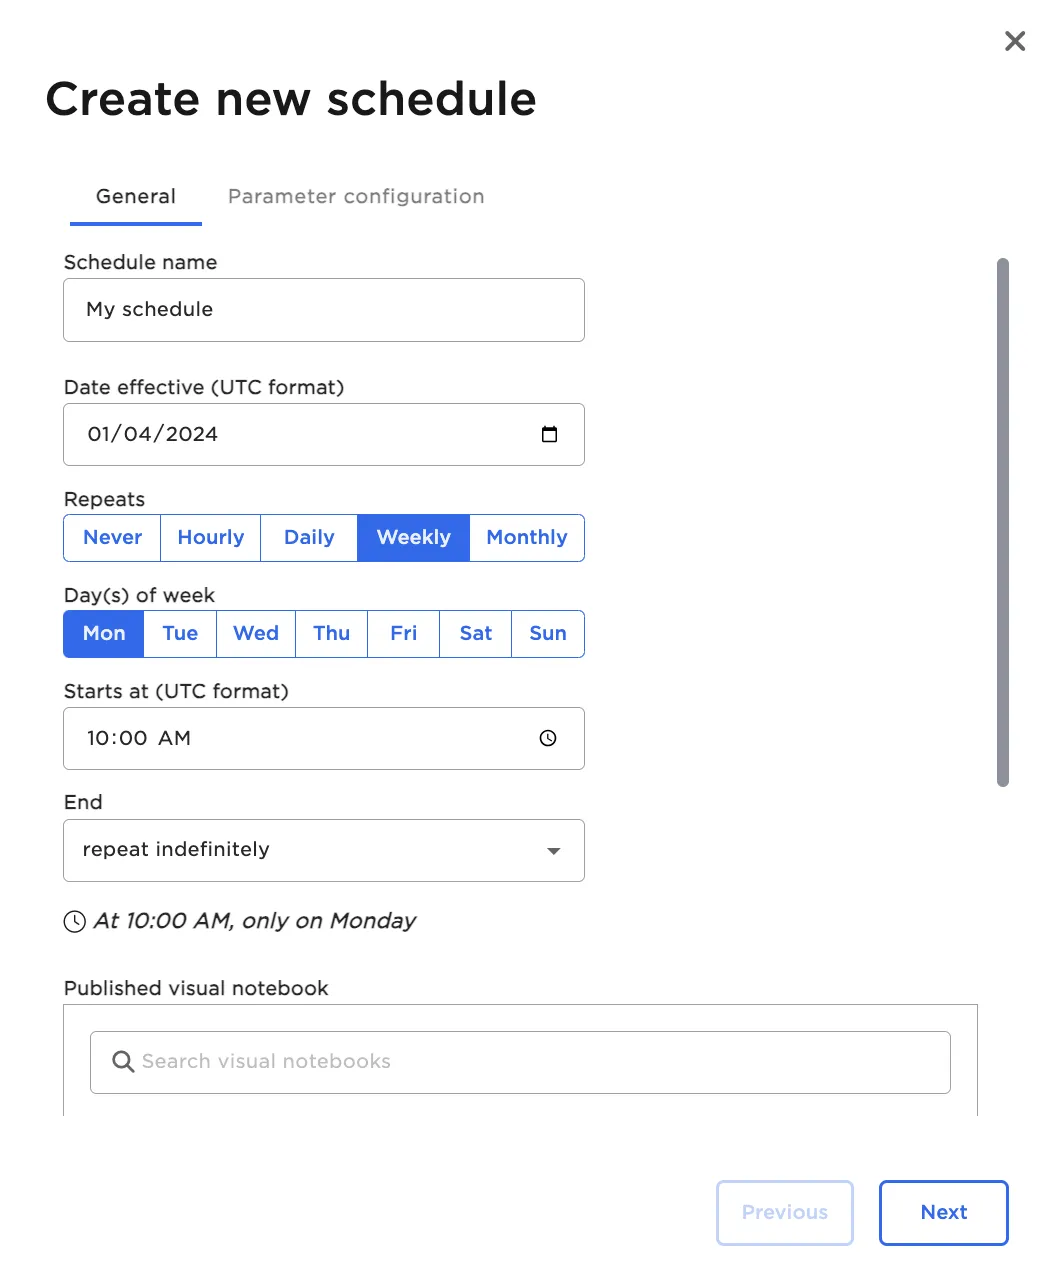
Figure 4: Configure schedules to run at a desired frequency
Select Next to view the parameters associated with the selected project.
If you want to override a parameter when running the schedule, select Custom and select the Parameter formula field for the specific parameter to change. Modify the formula as desired, then select Save.
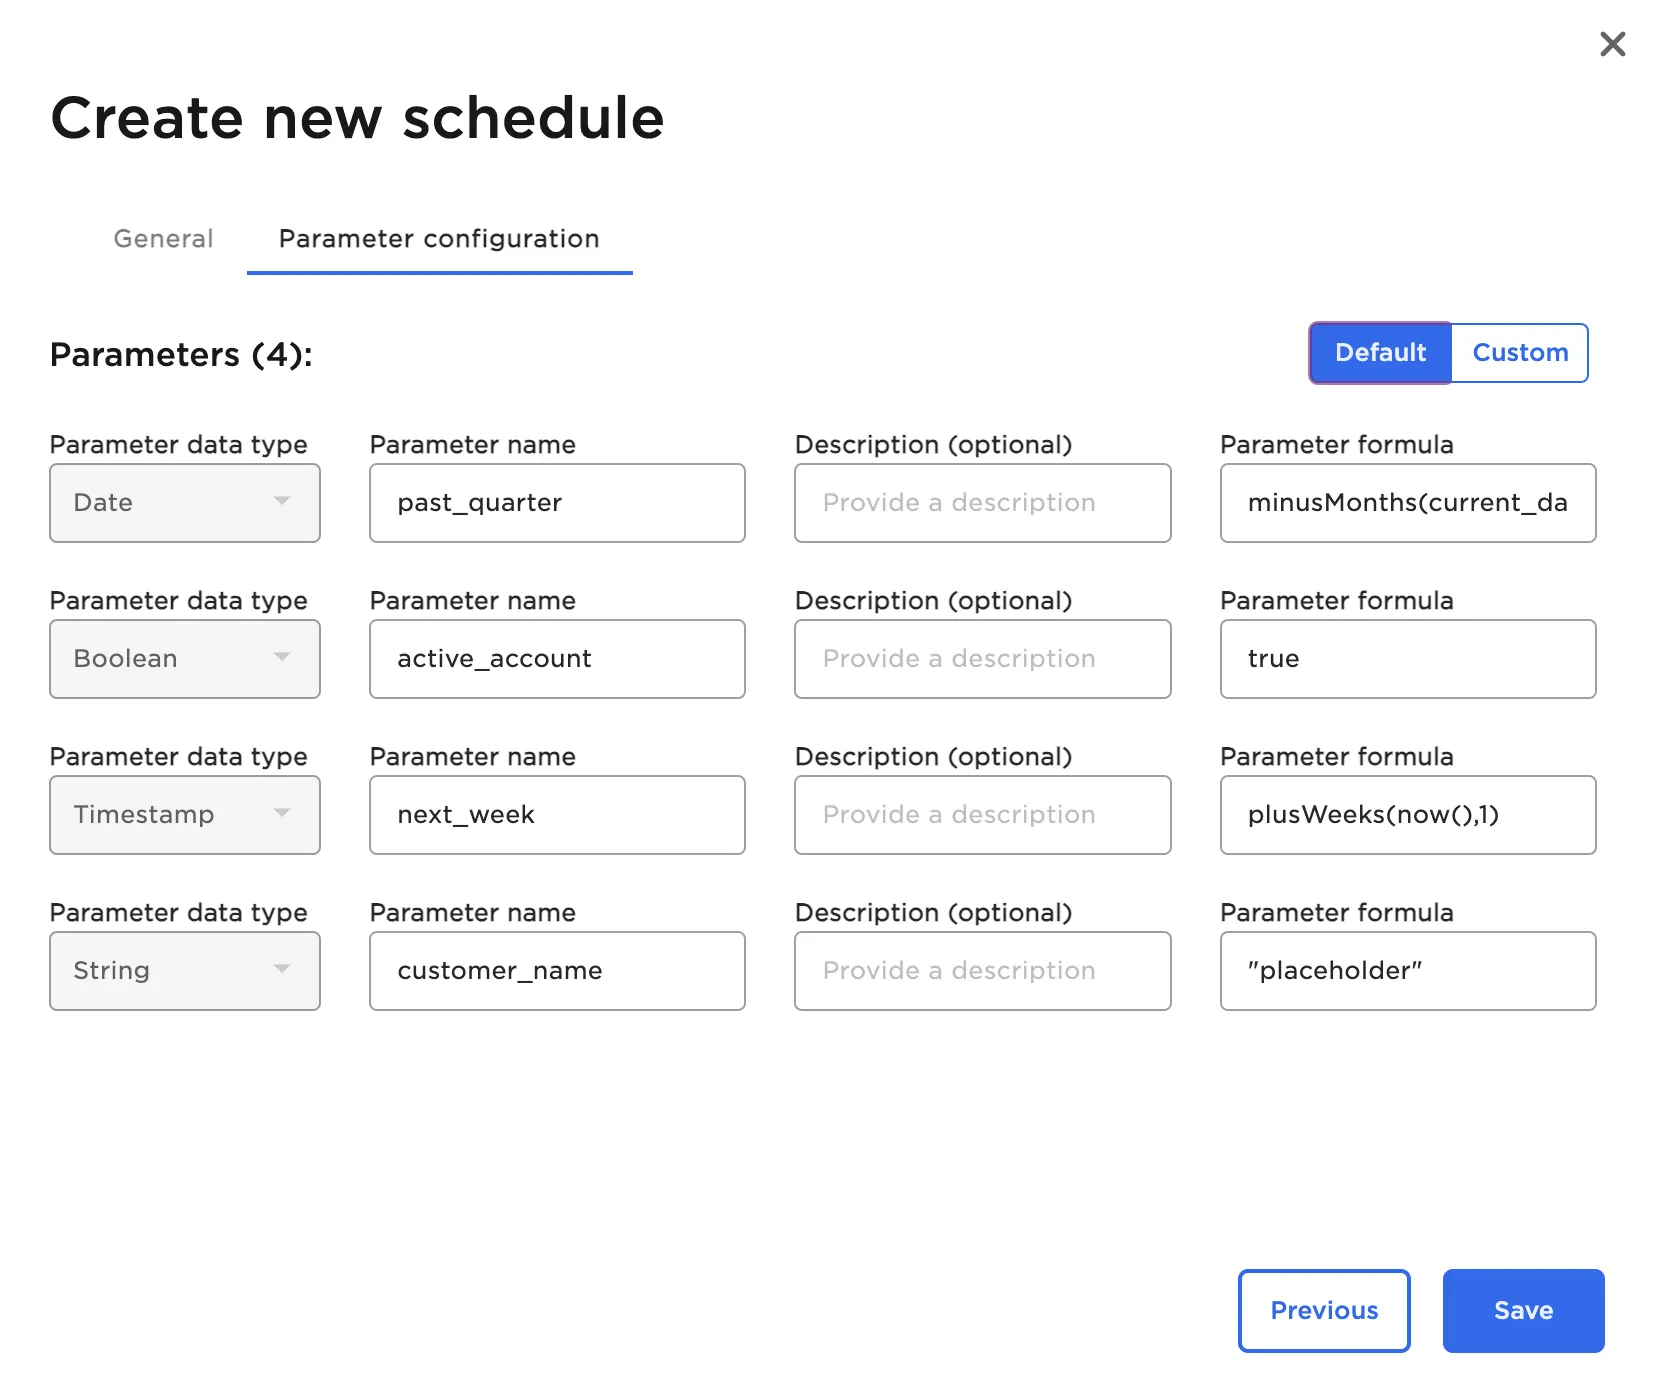
Figure 5: Modify parameters within schedules
View previous schedule executions
Configured schedules appear in the Schedules page. Select a schedule to view information about historical schedule executions.
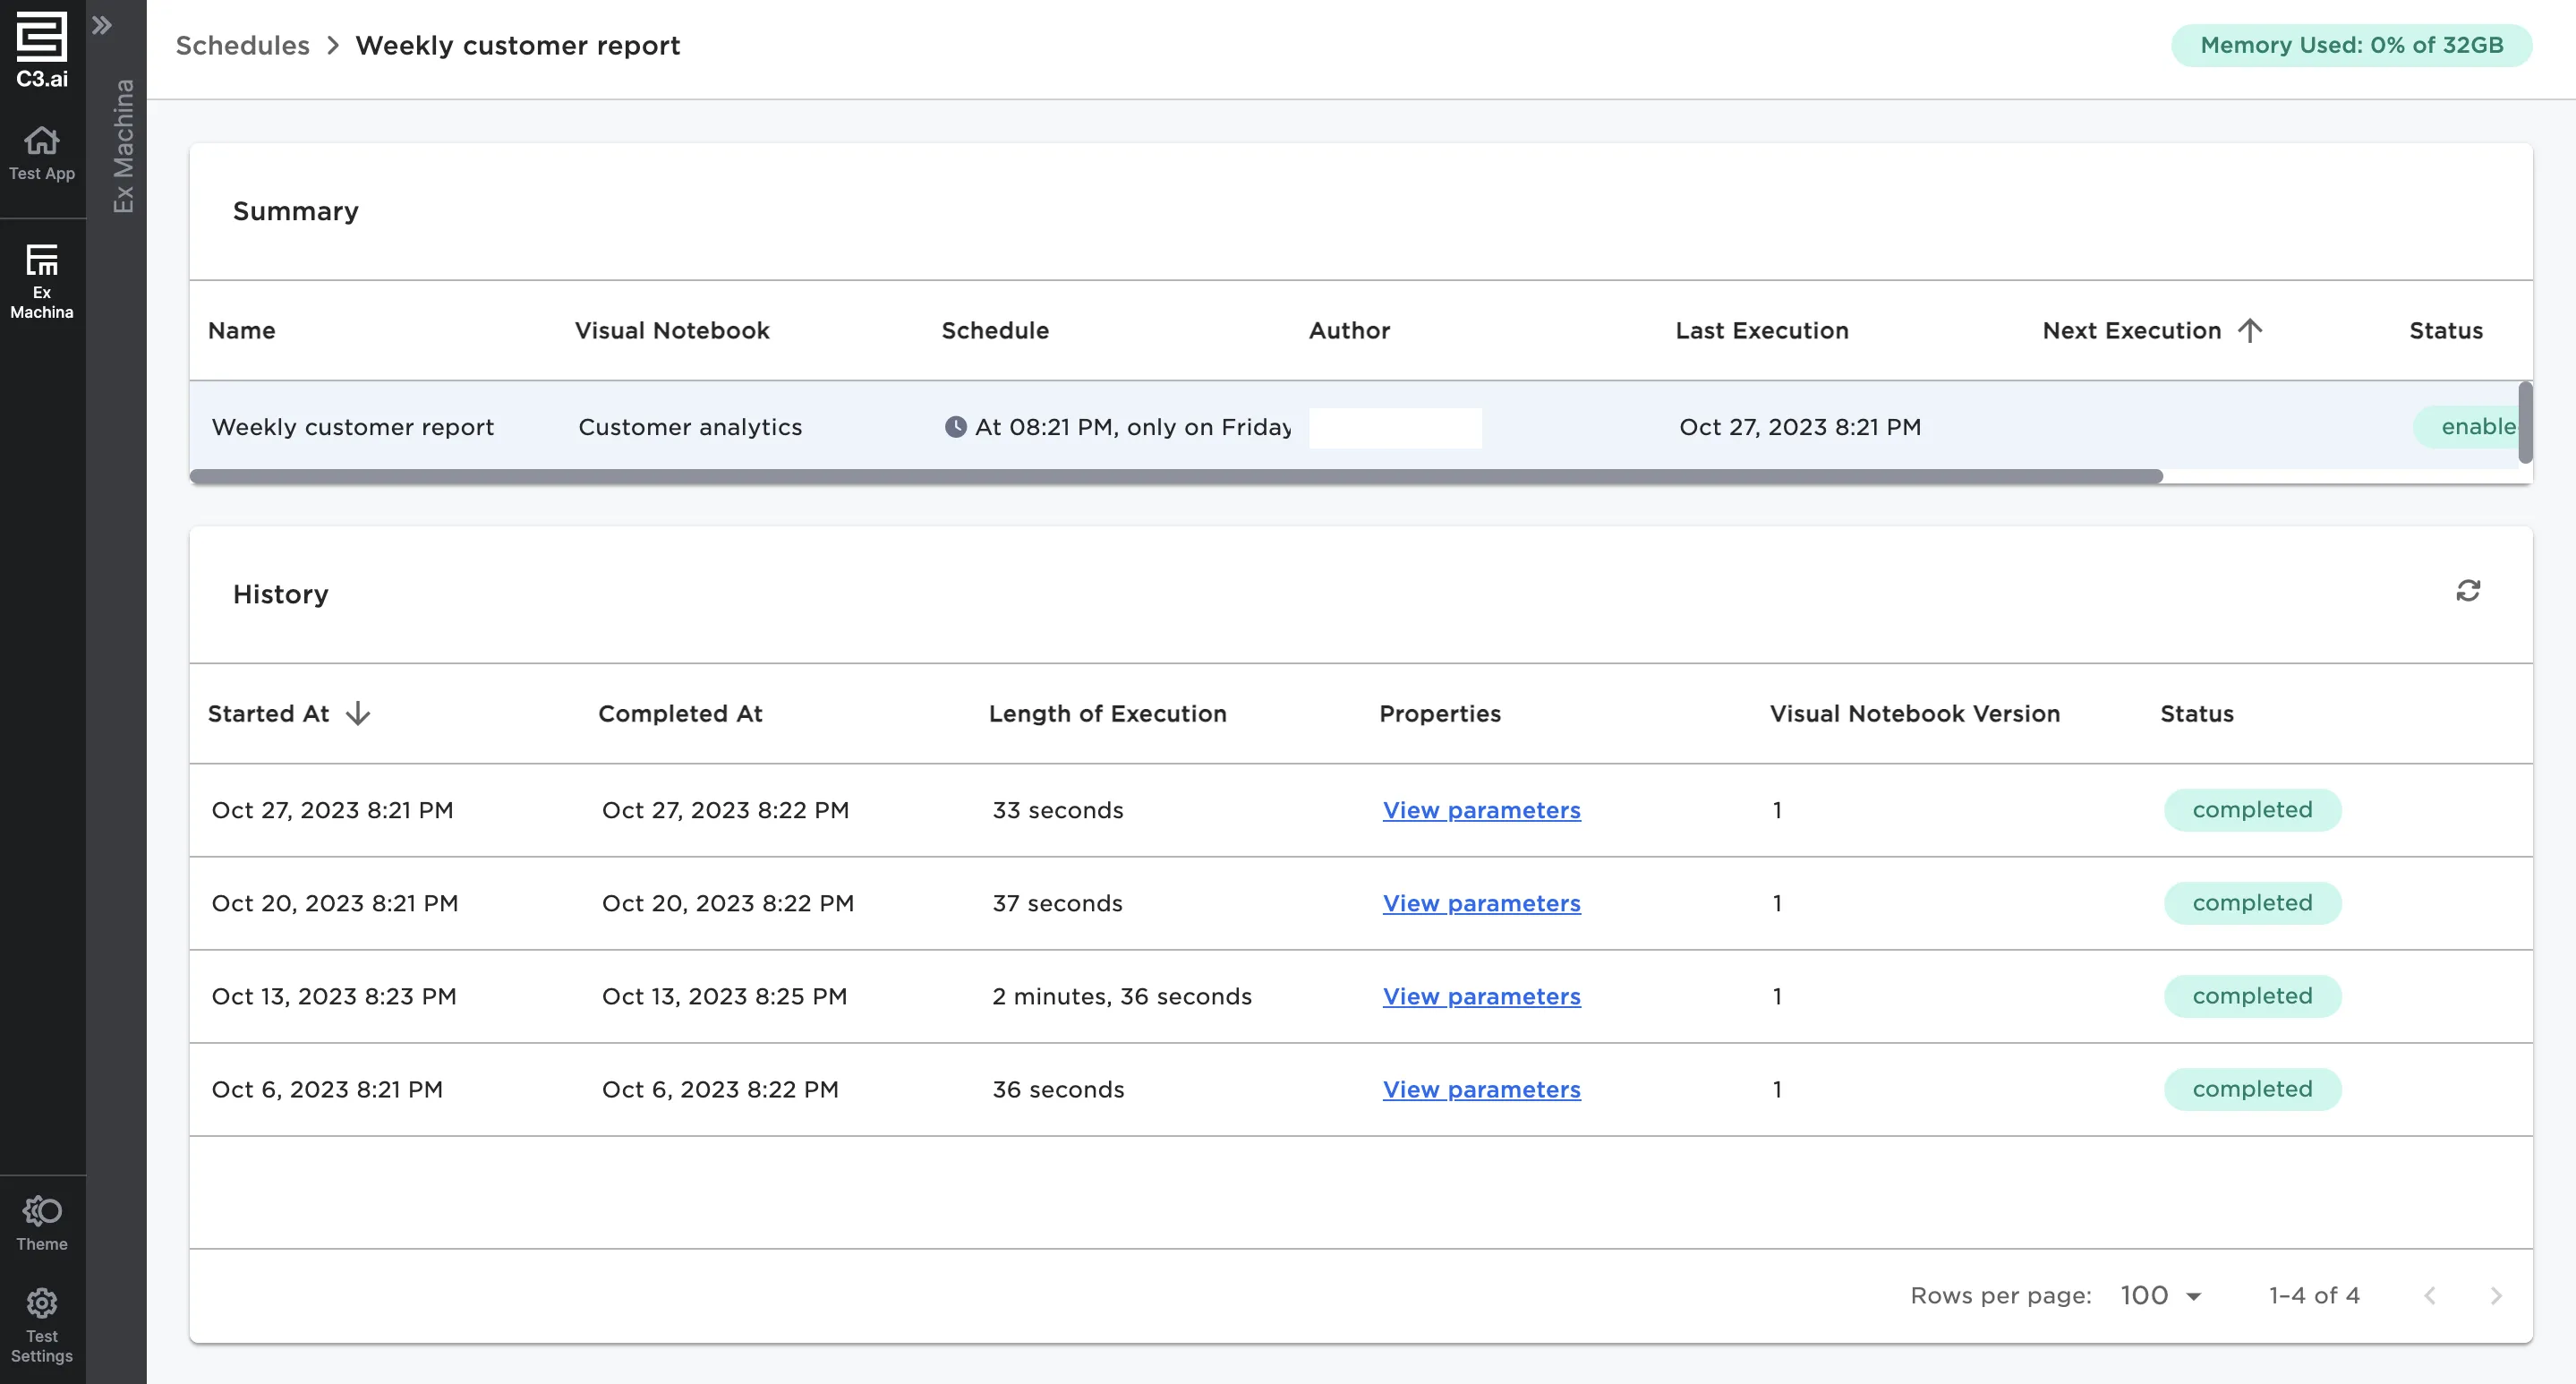
Figure 6: List of historical executions of a selected schedule
Select the three dot menu under Actions to pause, edit, delete, or rename a schedule.
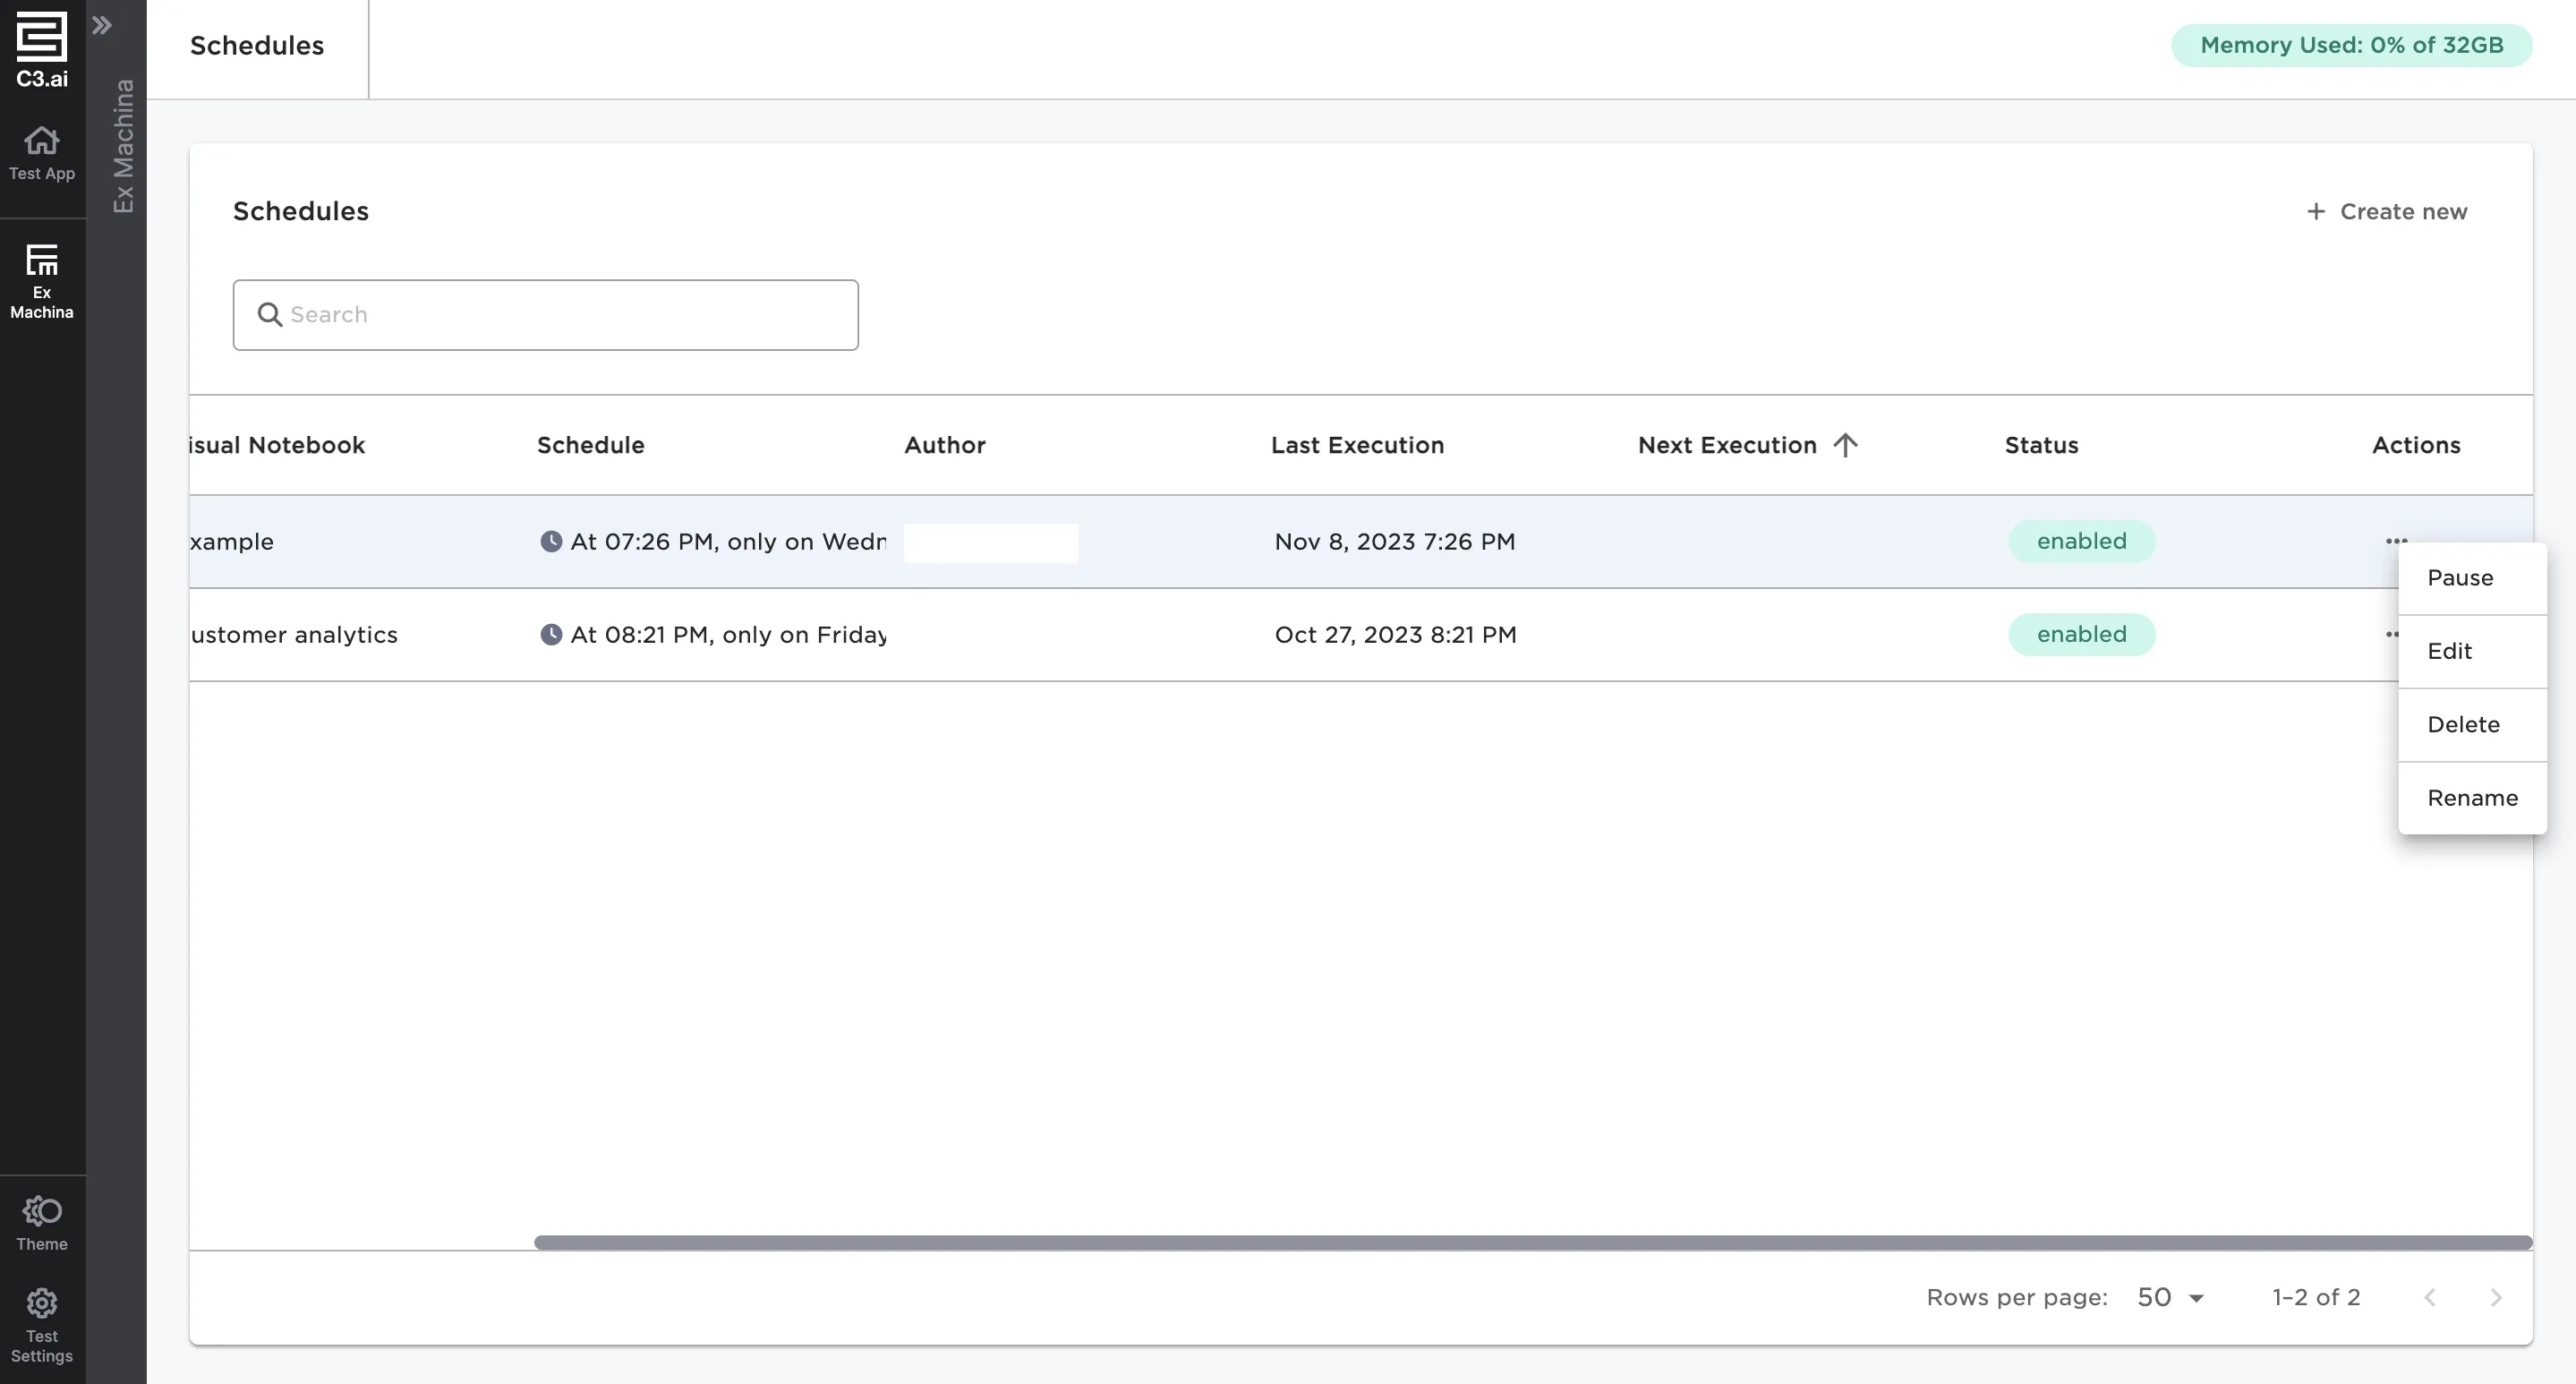
Figure 7: Change an existing schedule