Create Agents and Toolkits
You can manage dynamic agents in the UI from the Agents Gallery page in the C3 AI Studio. This interface allows you to:
- Create, configure, and delete agents.
- Test agent behavior interactively.
When you create an agent, duplicate it from an existing template such as Dynamic Agent, Canvas Agent, or Deep Research Agent.
Pre-requisites
Before managing agents, ensure the following:
- Your user account includes the
C3.AppAdminrole. Learn more about C3 Generative AI roles in Gen AI User Roles and Permissions.
Manage agents for your active project
Go to the Agents page from the navigation menu on the left to access the Agent Gallery in C3 AI Studio.
The gallery displays the dynamic agents associated with your active project.
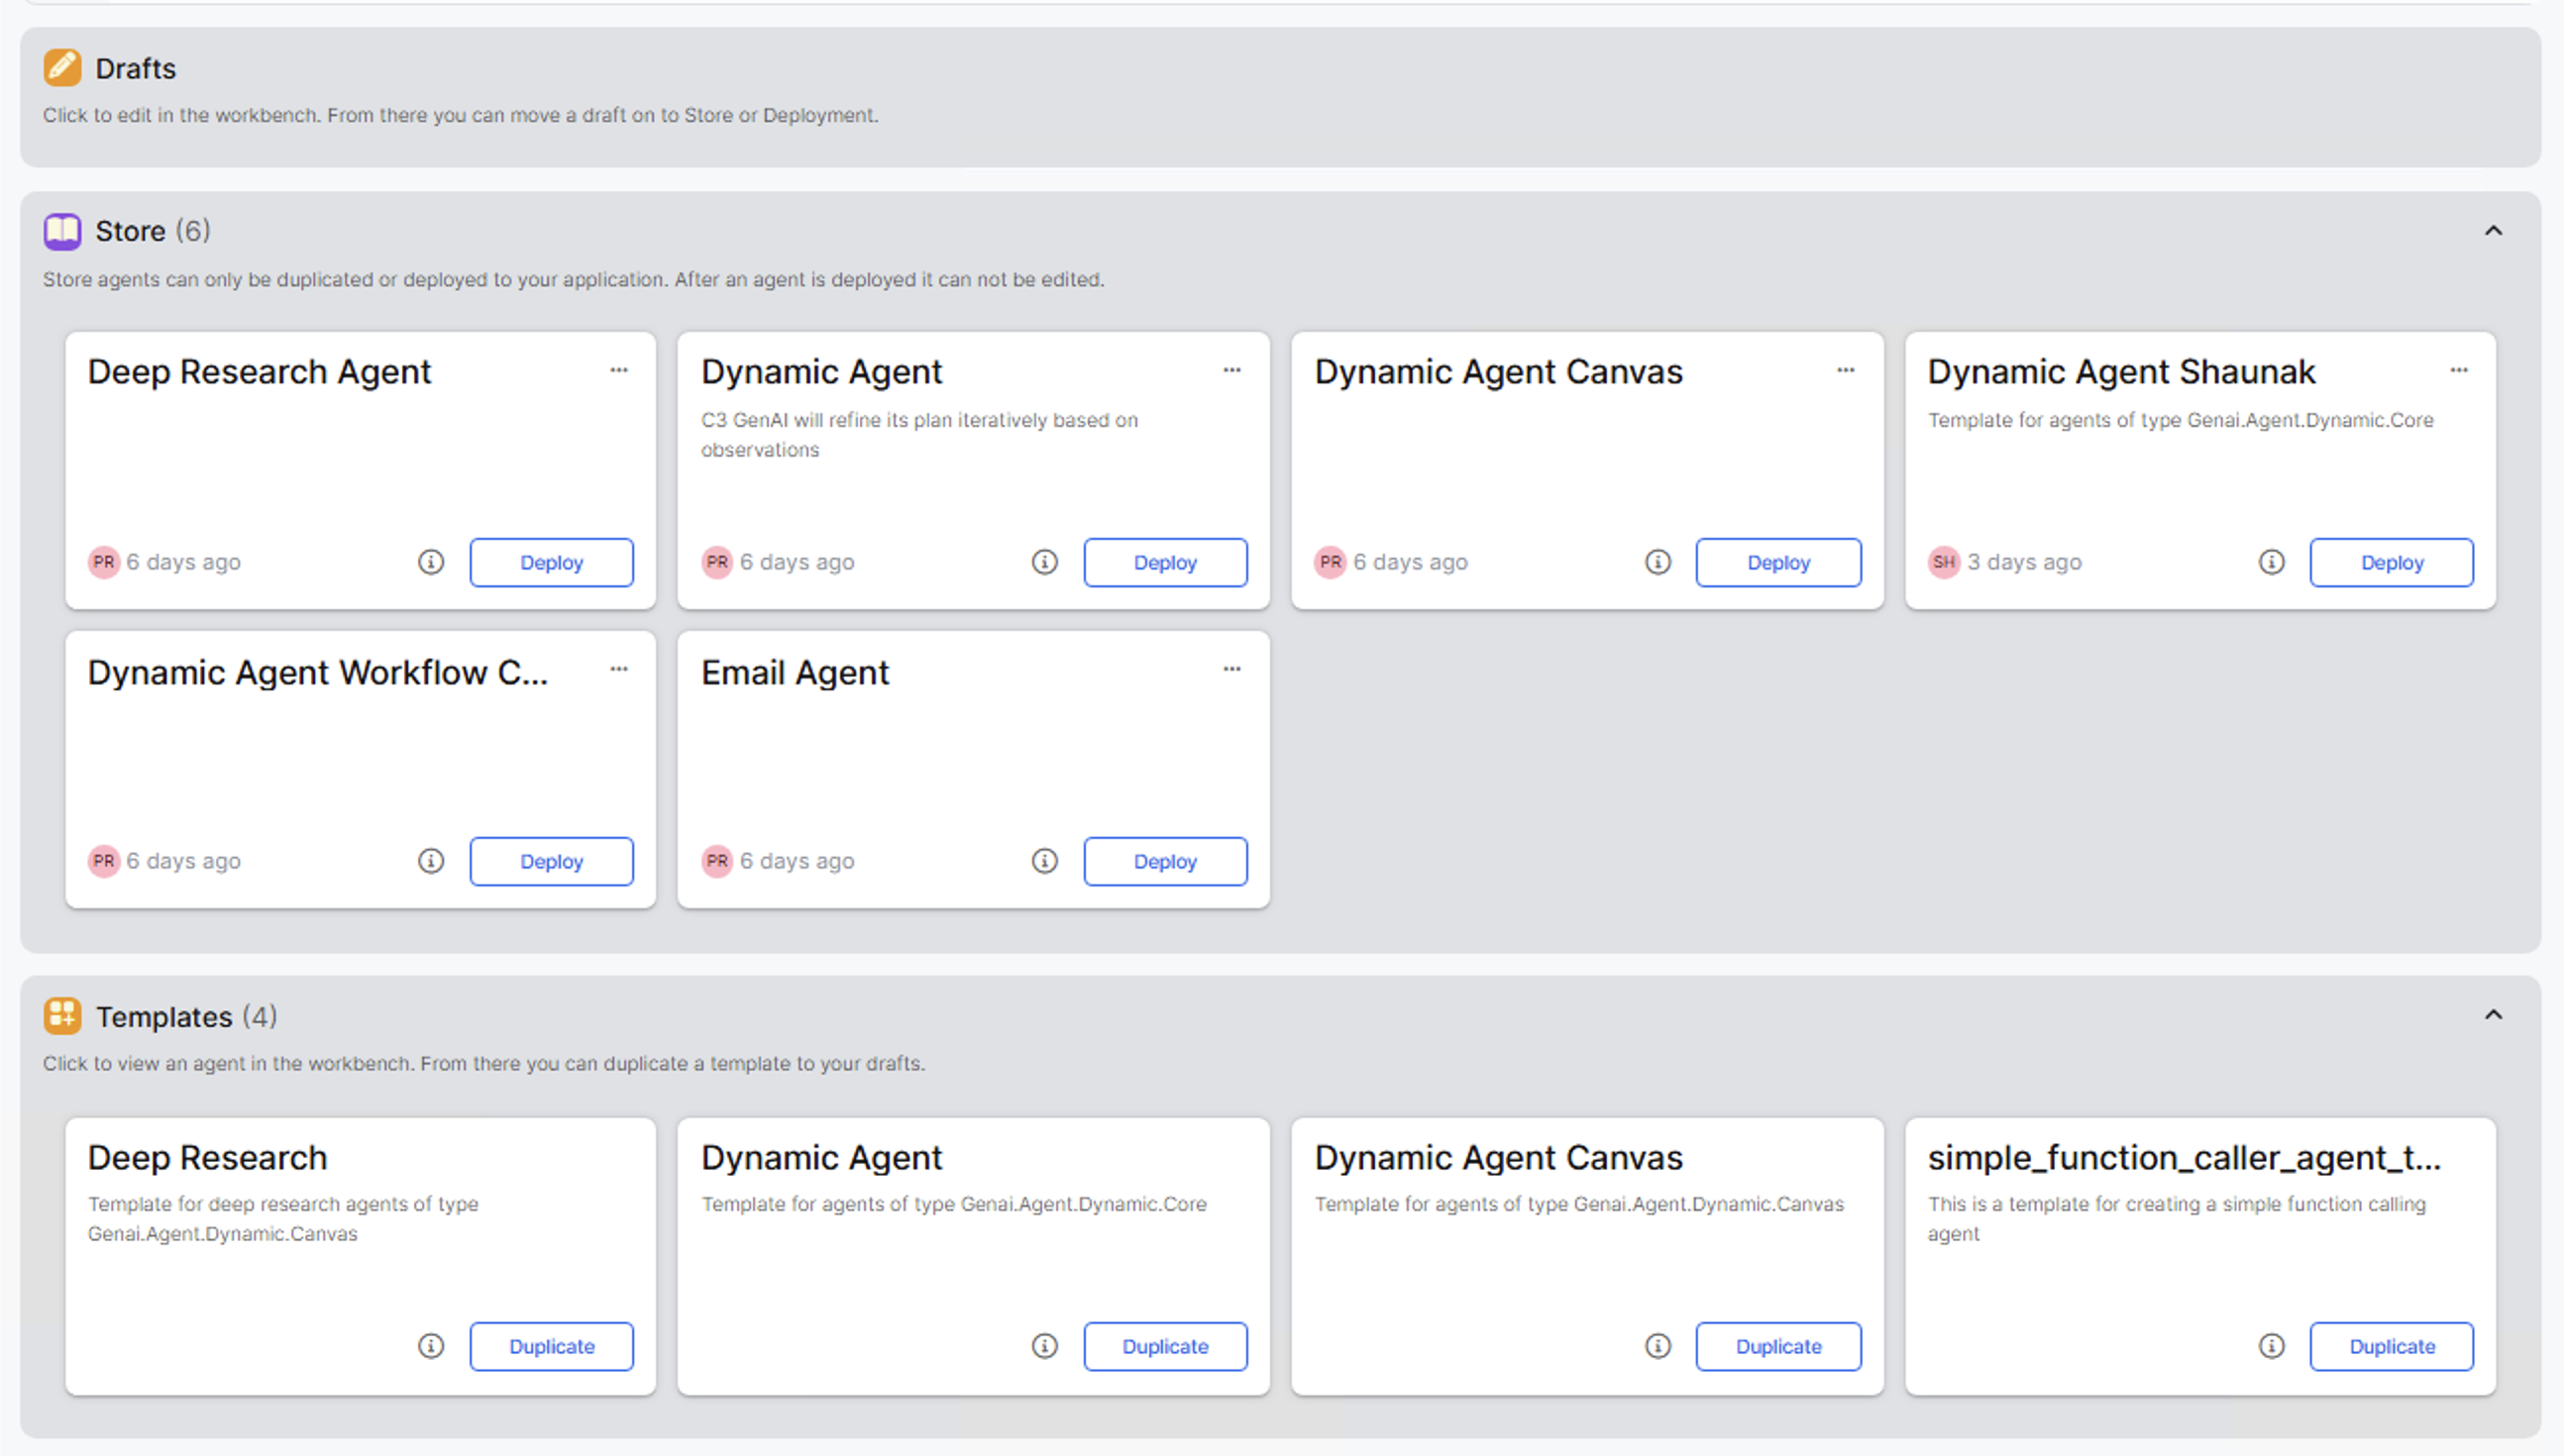
Create a new agent
To create a new agent, go to the Agents page from the navigation menu and locate the agent you want to duplicate in either the Store or Templates section. For agents in the Store, hover over the ellipsis (...) menu and select Duplicate. For agents in Templates, select the Duplicate button.
After duplicating, you are redirected to the Agent Workbench.
Configure your agent
The Agent Workbench displays prefilled configuration from the duplicated agent. Edit the following fields based on your use case:
- Name: Unique identifier for your agent.
- System prompt: Instructions that define agent behavior. To learn more about authoring system prompts for dynamic agent, see Dynamic Agent System Prompts.
- Model — The language model the agent uses. To learn more about setting credentials and LLMs for your agents, see Configure and Use Large Language Models.
- Tools: The tools available to the agent. To learn more about creating custom tools and adding them to a toolkit, see Create Custom Tools.
Learn more about creating agents in Agents from Scratch.
After configuring your agent, select Finish Configuration.
Deploy your agent
After finishing configuration, deploy your agent to make it live in your application.
Select Store and Deploy.
In the deployment configuration:
Deployment type: Select New deployment.
Deployment name: Enter a unique name.
Node pool: Select Lead for coordination or routing tasks. Select Task for parallel or compute-heavy workloads.
Thread pool: Set to a minimum of 2. Increase based on compute requirements.
Tracing: Shows a step-by-step view of how your agent processes a request.
Select Deploy.
After deployment completes, your agent appears on the Deployments page and on the Generative AI Search application home screen.
Delete an agent
To delete an agent from the Store, hover over the three-dot menu next to the agent and select Delete.