Create Agents
Use this guide to create an agent in the C3 Agentic AI Platform. After creation, you can configure the agent and make it available to others by moving it to the Store or deploying it.
Prerequisites
Before creating an agent, ensure the following:
- The application includes the
genaiPlatformdependency package. - You have started an application in C3 AI Studio. The application can run in either a Single Node Environment (SNE) or Shared Environment.
For instructions, see Create an Environment in C3 AI Studio and Create an Application in C3 AI Studio
Access your application
Follow these steps to access your application and navigate to the Agent Gallery.
- Access the application through C3 AI Studio by selecting Apps on the left hand side.
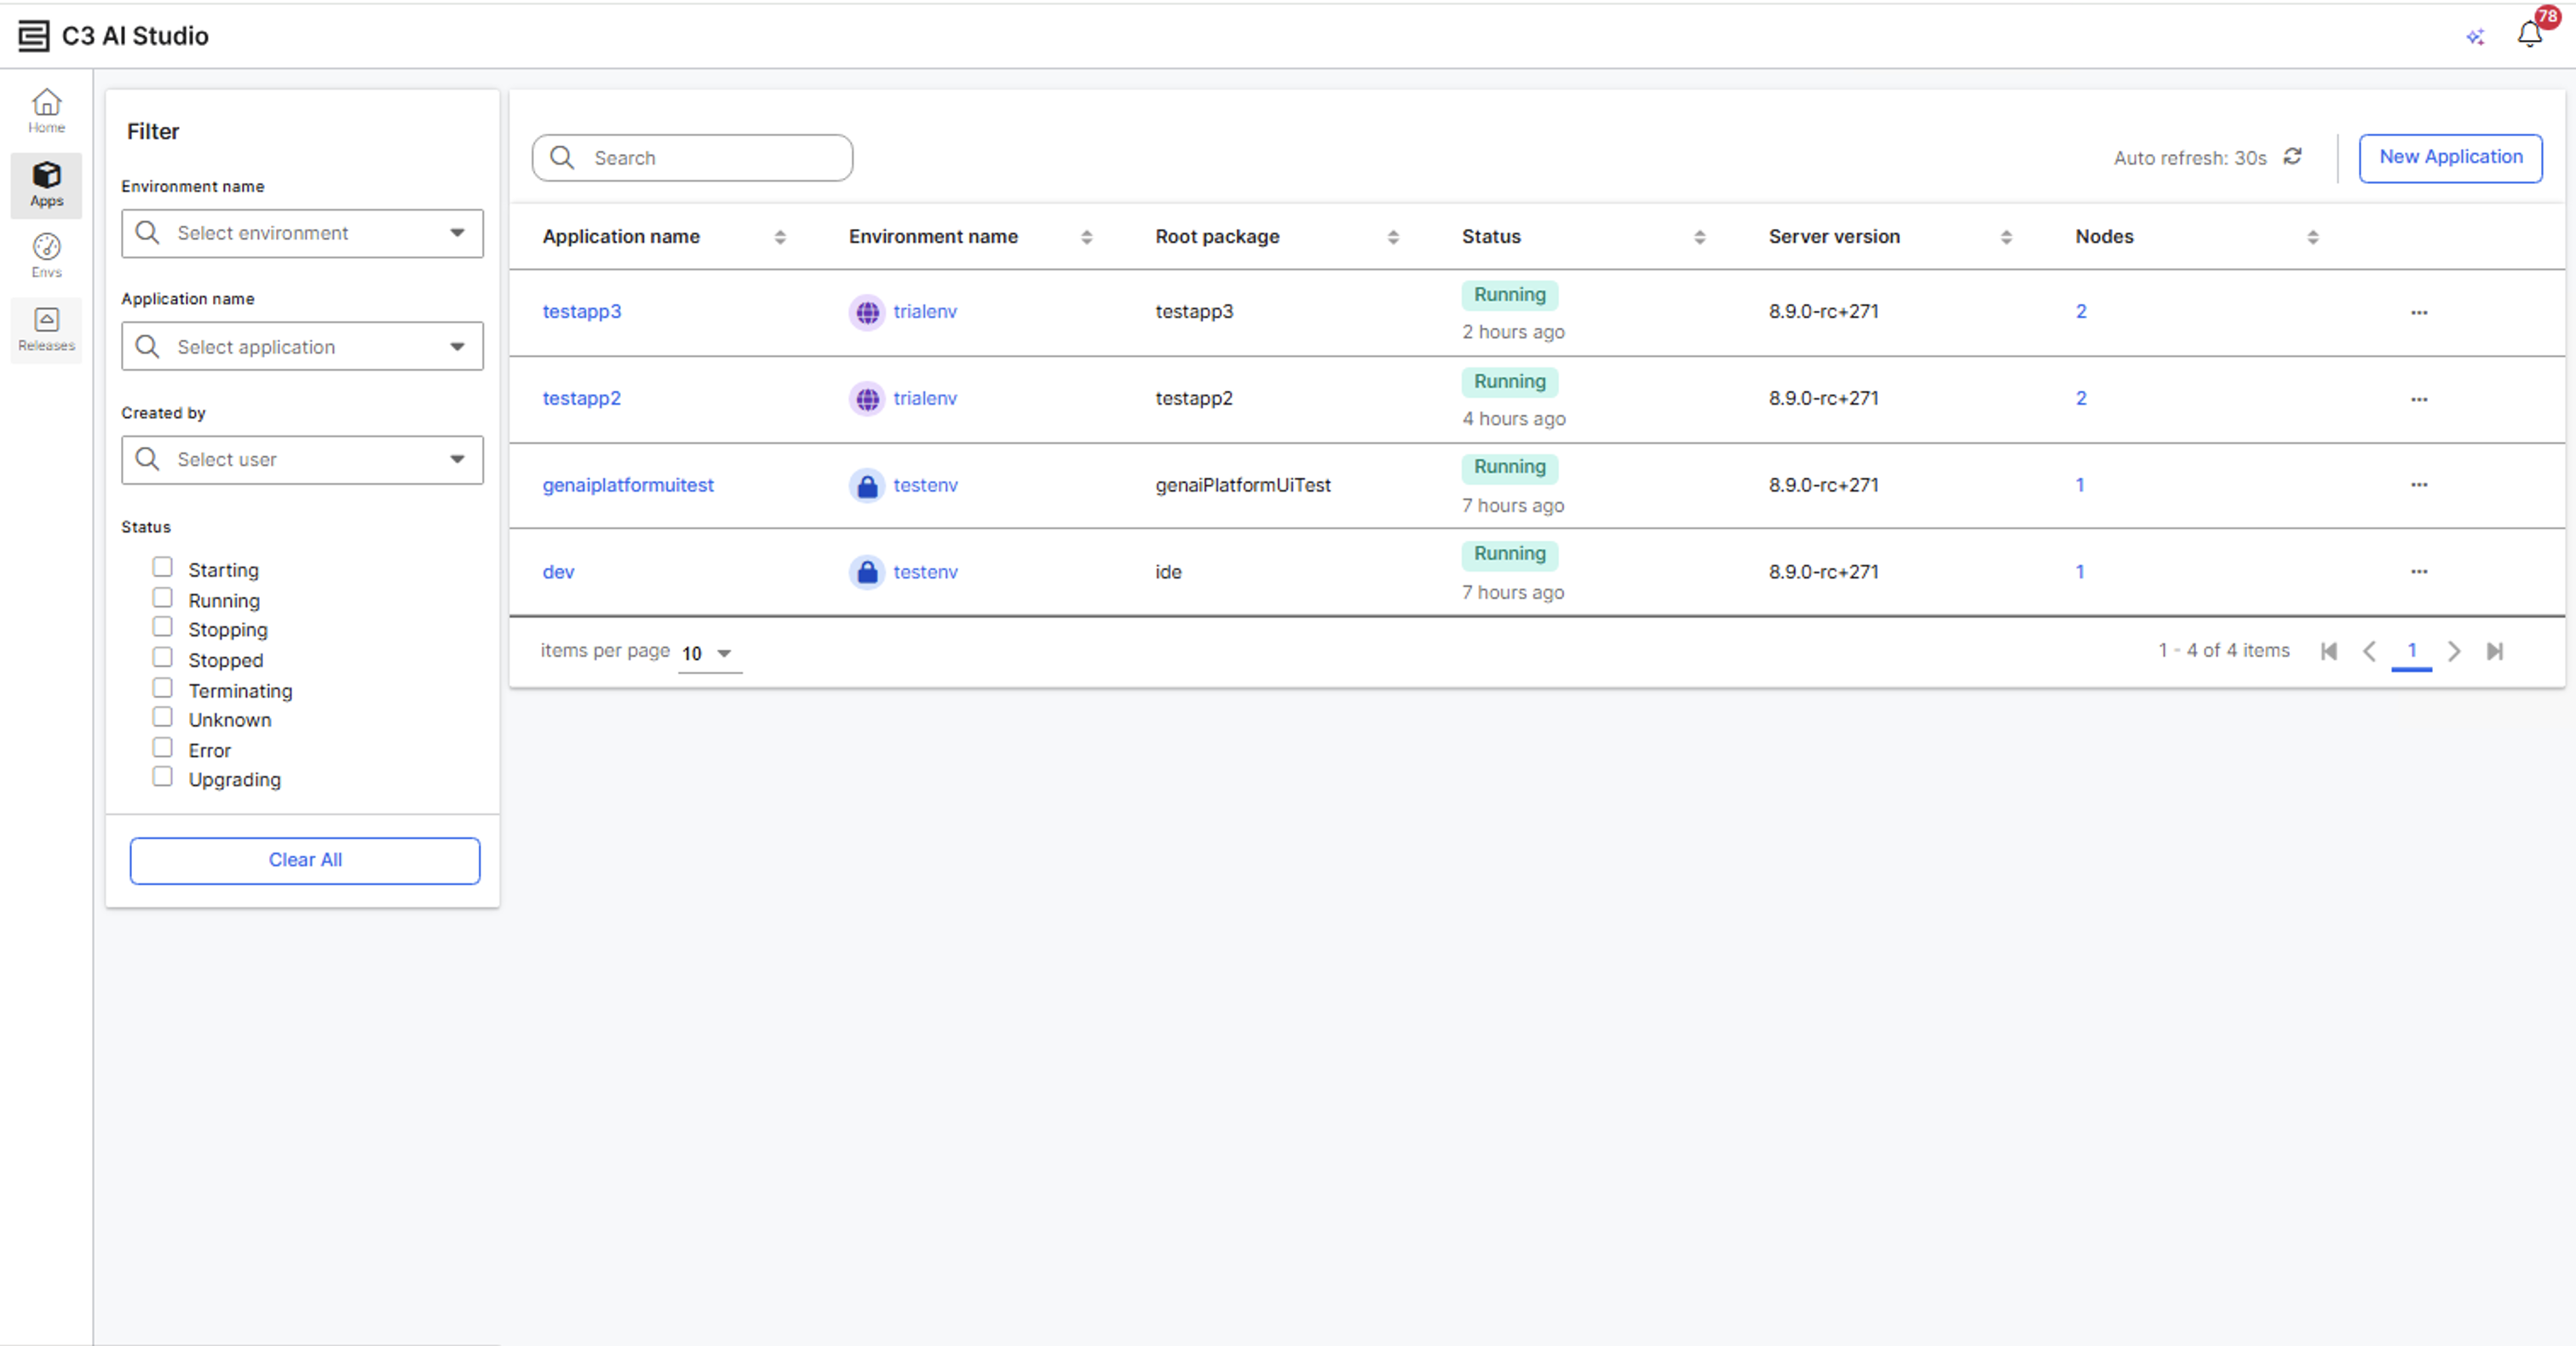
- Select your application.
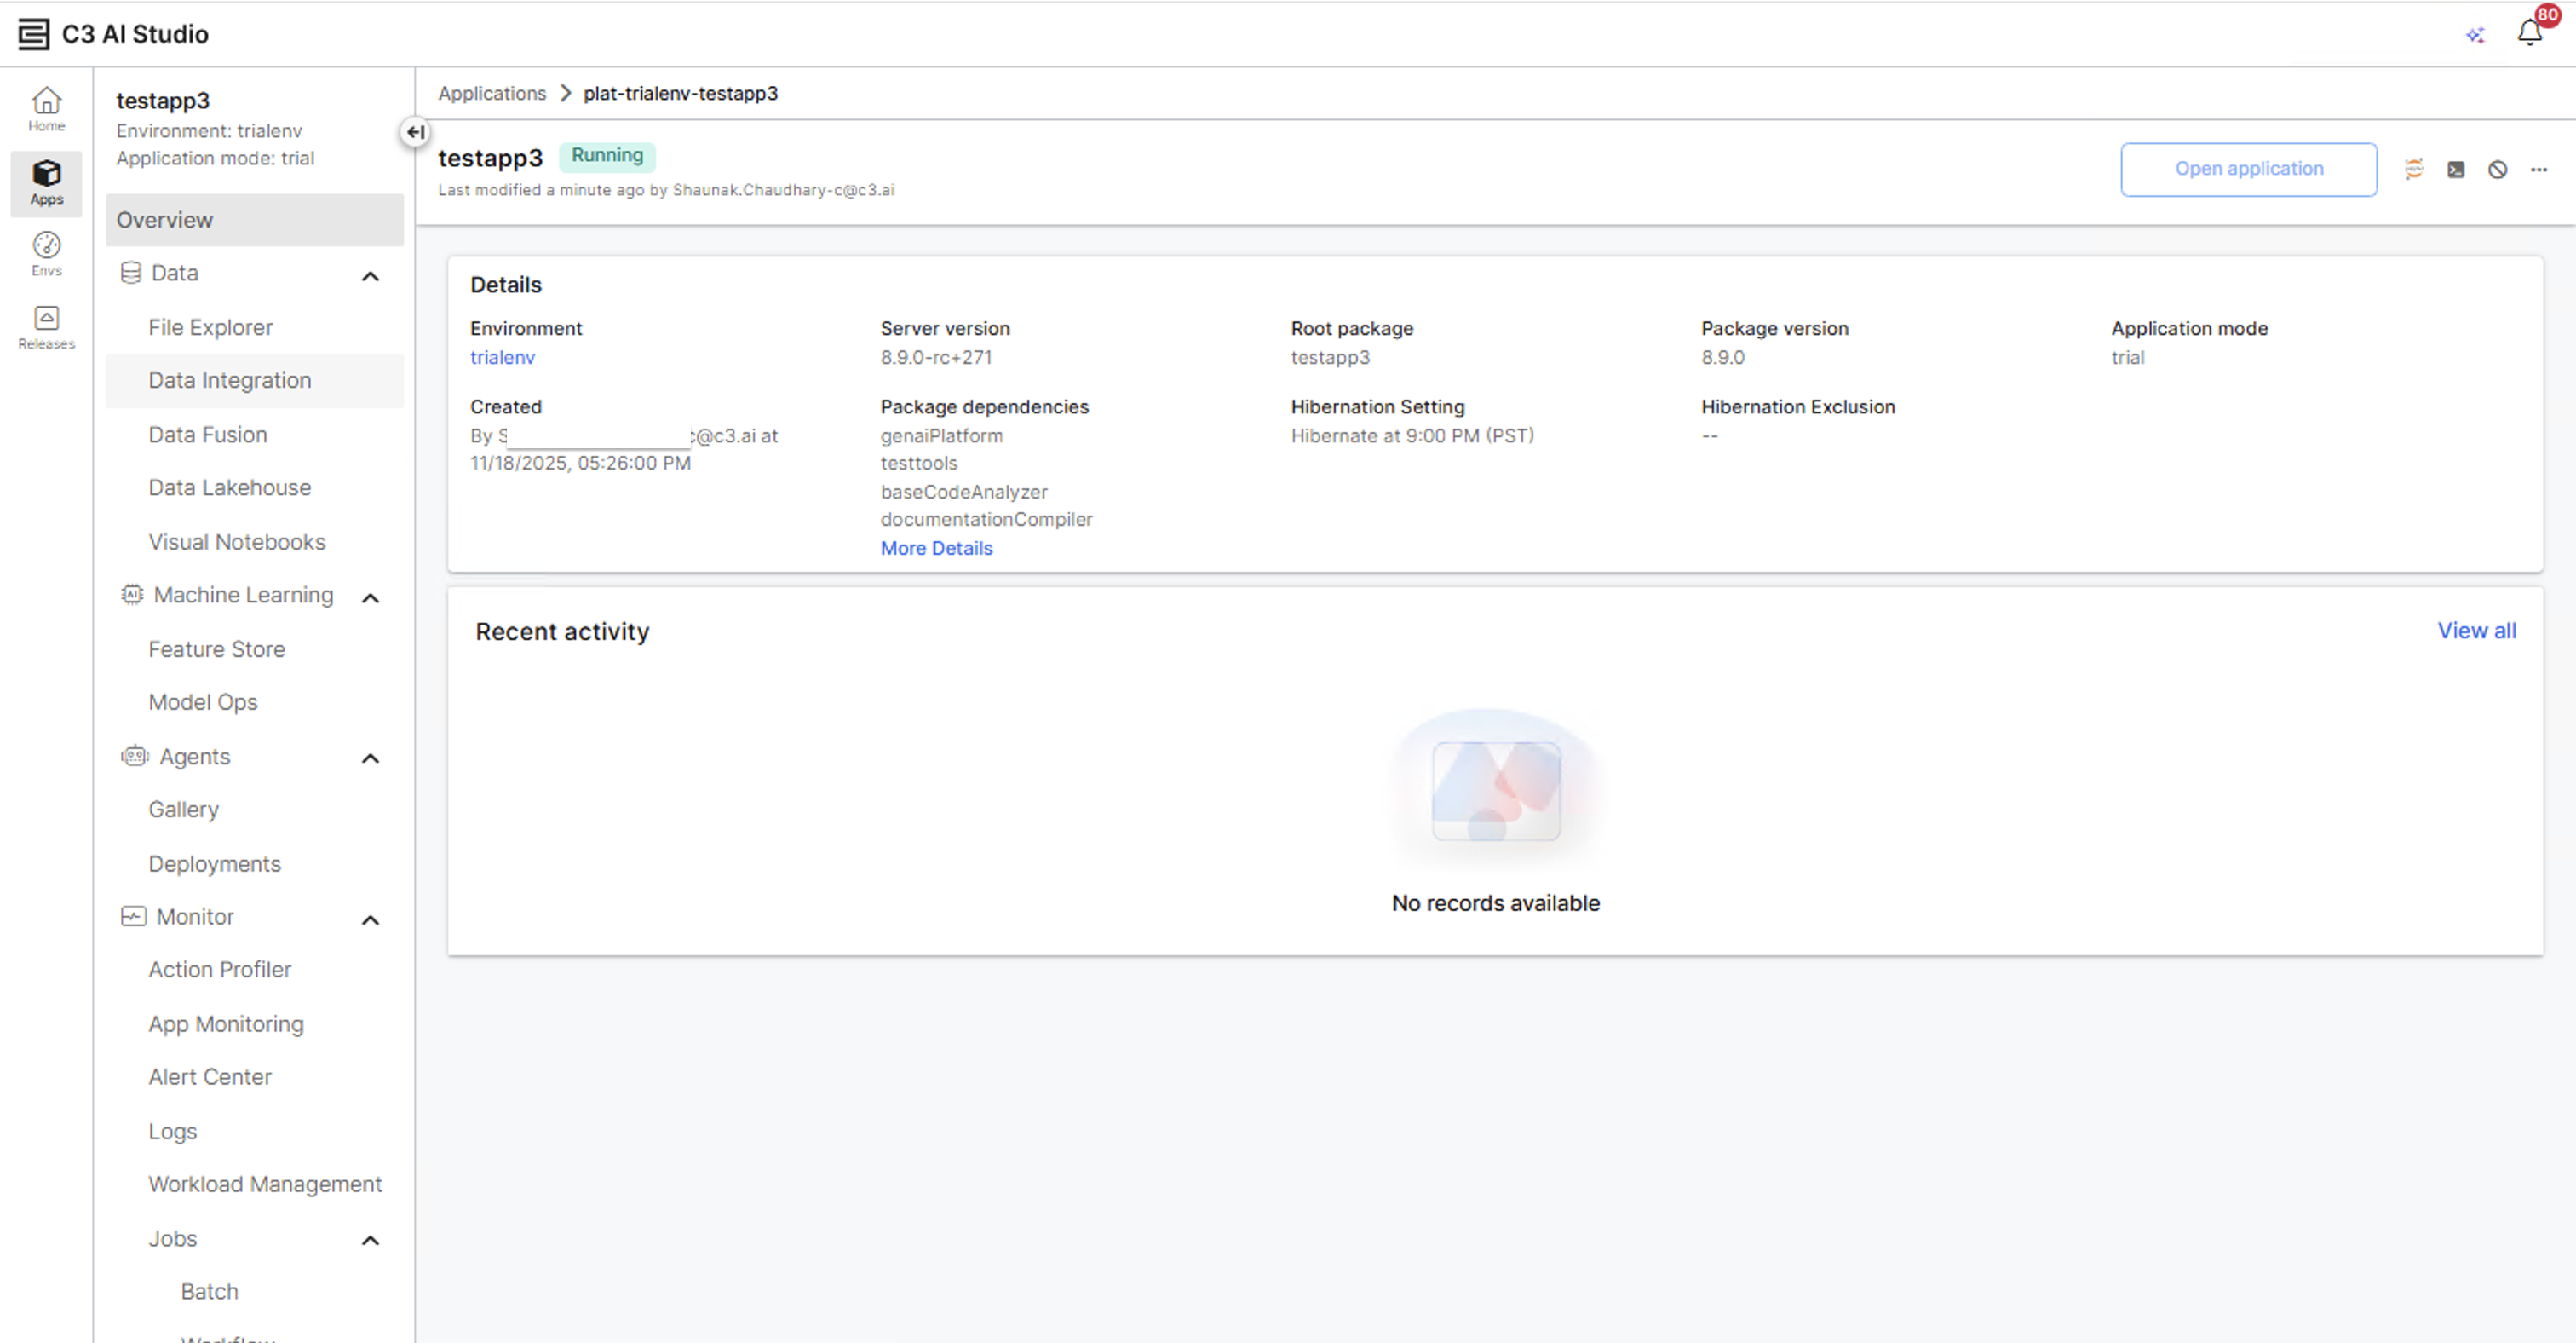
- Select Gallery under Agents in the left-hand sidebar.
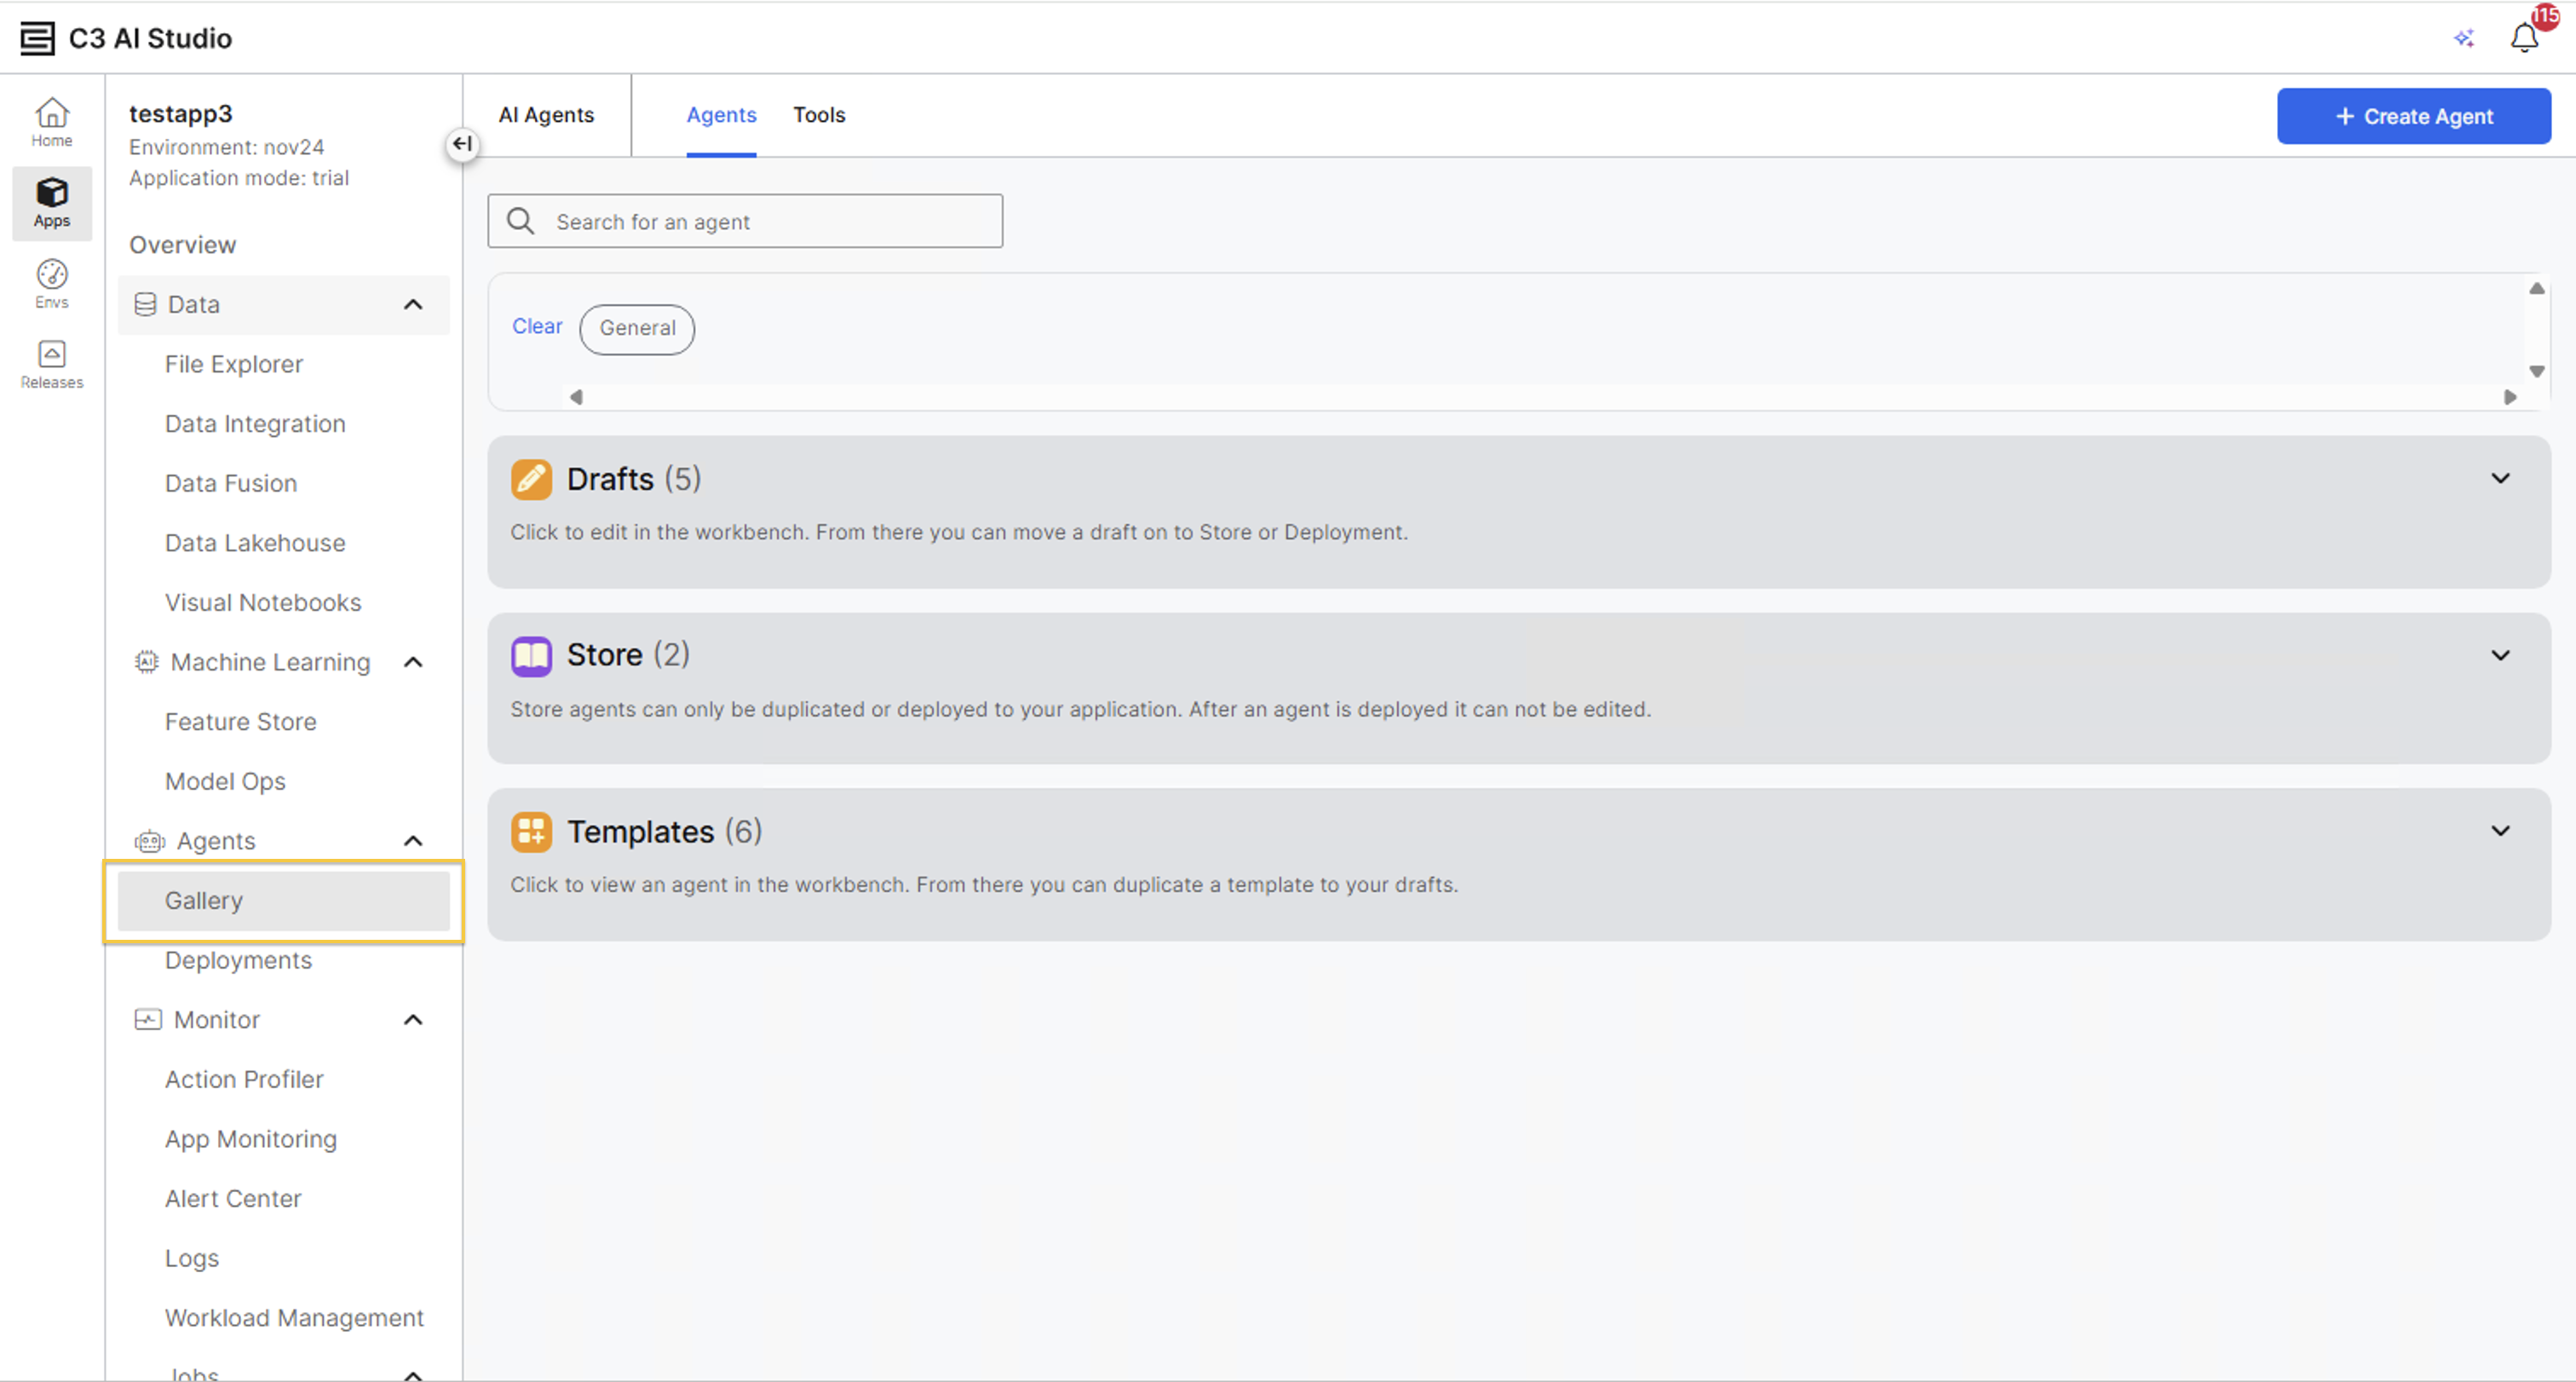
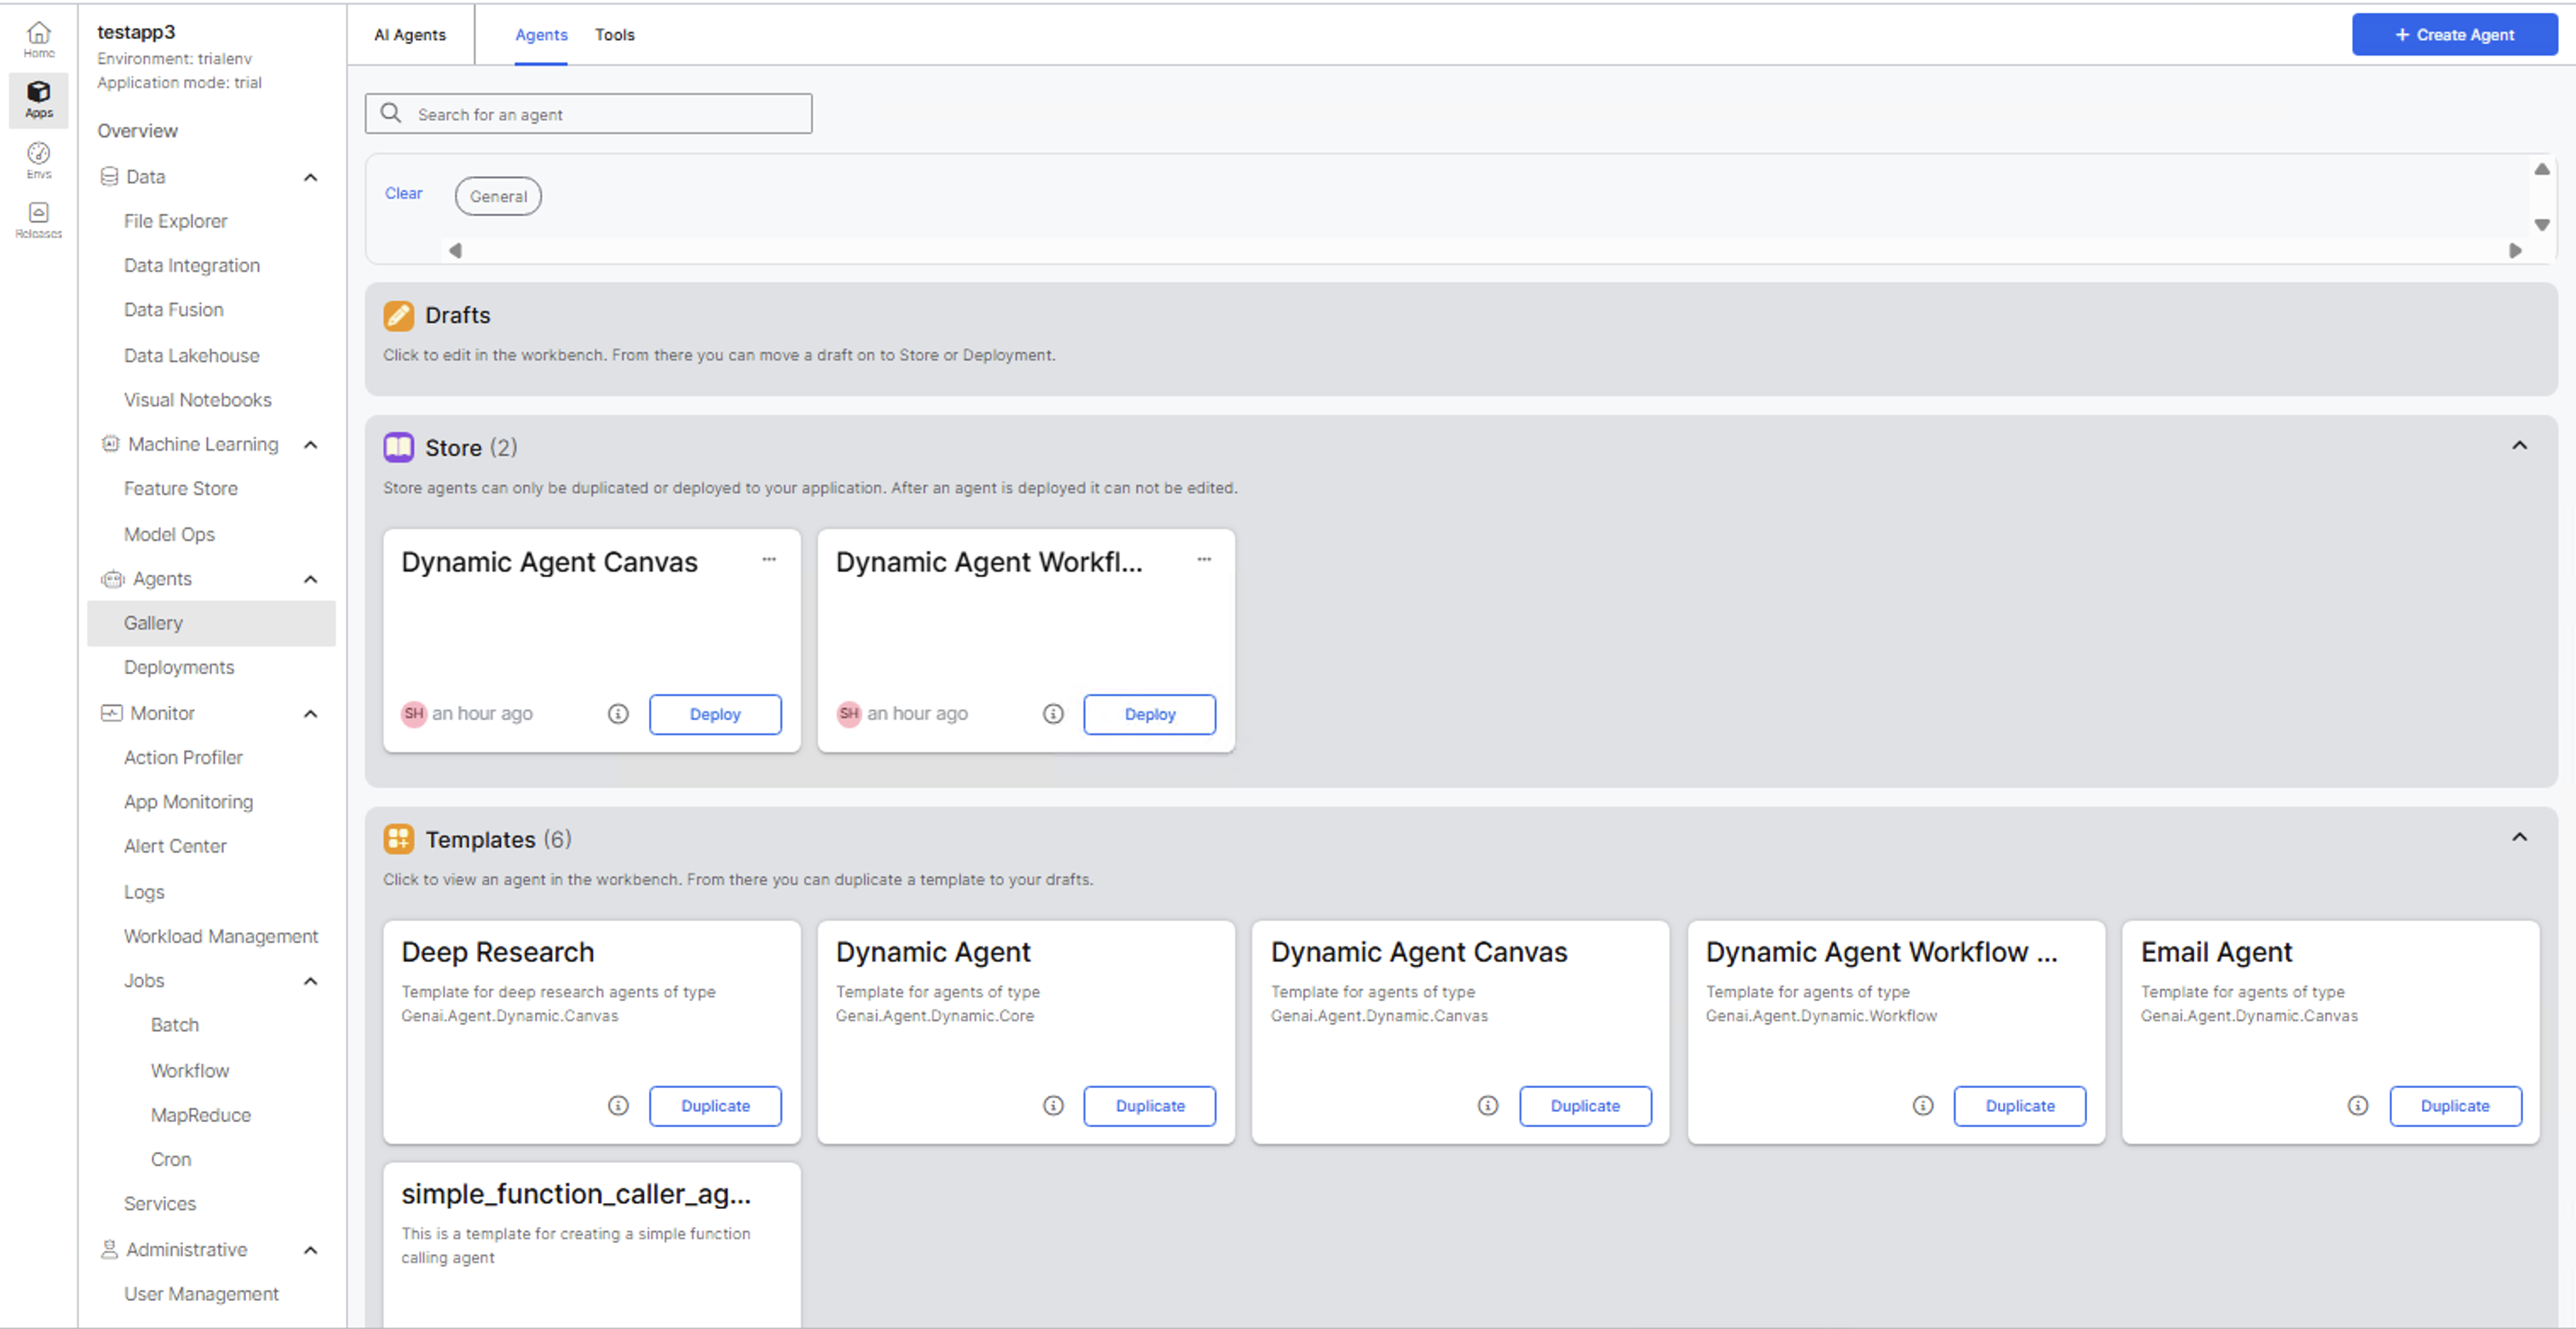
Agent Gallery
The Agent Gallery organizes agents into Drafts, Store, and Templates. For details on Agent Gallery, see Gallery.
Create an agent
Follow these steps to create an agent:
- Select Create Agent.
- Enter a clear, descriptive name for your agent. For example: Customer Support Helper, Data Visualization Assistant, or Code Review Bot.
- Enter a description that explains the agent's purpose.
- Create a new category or select the one that fits your agent's purpose.
- Select Create.
The agent opens in the Agent Workbench. For details, see Agent Workbench.
Continue with Configure Agents.