Agent and Tool Gallery
The Gallery is the main workspace for managing AI agents and tools in your application. Use the Gallery to create new agents, view configured agents, deploy agents to production, and manage tools that extend agent capabilities.
Access the Gallery
Navigate to your application and select Agents > Gallery in the left sidebar.
The Gallery displays two tabs: Agents and Tools.
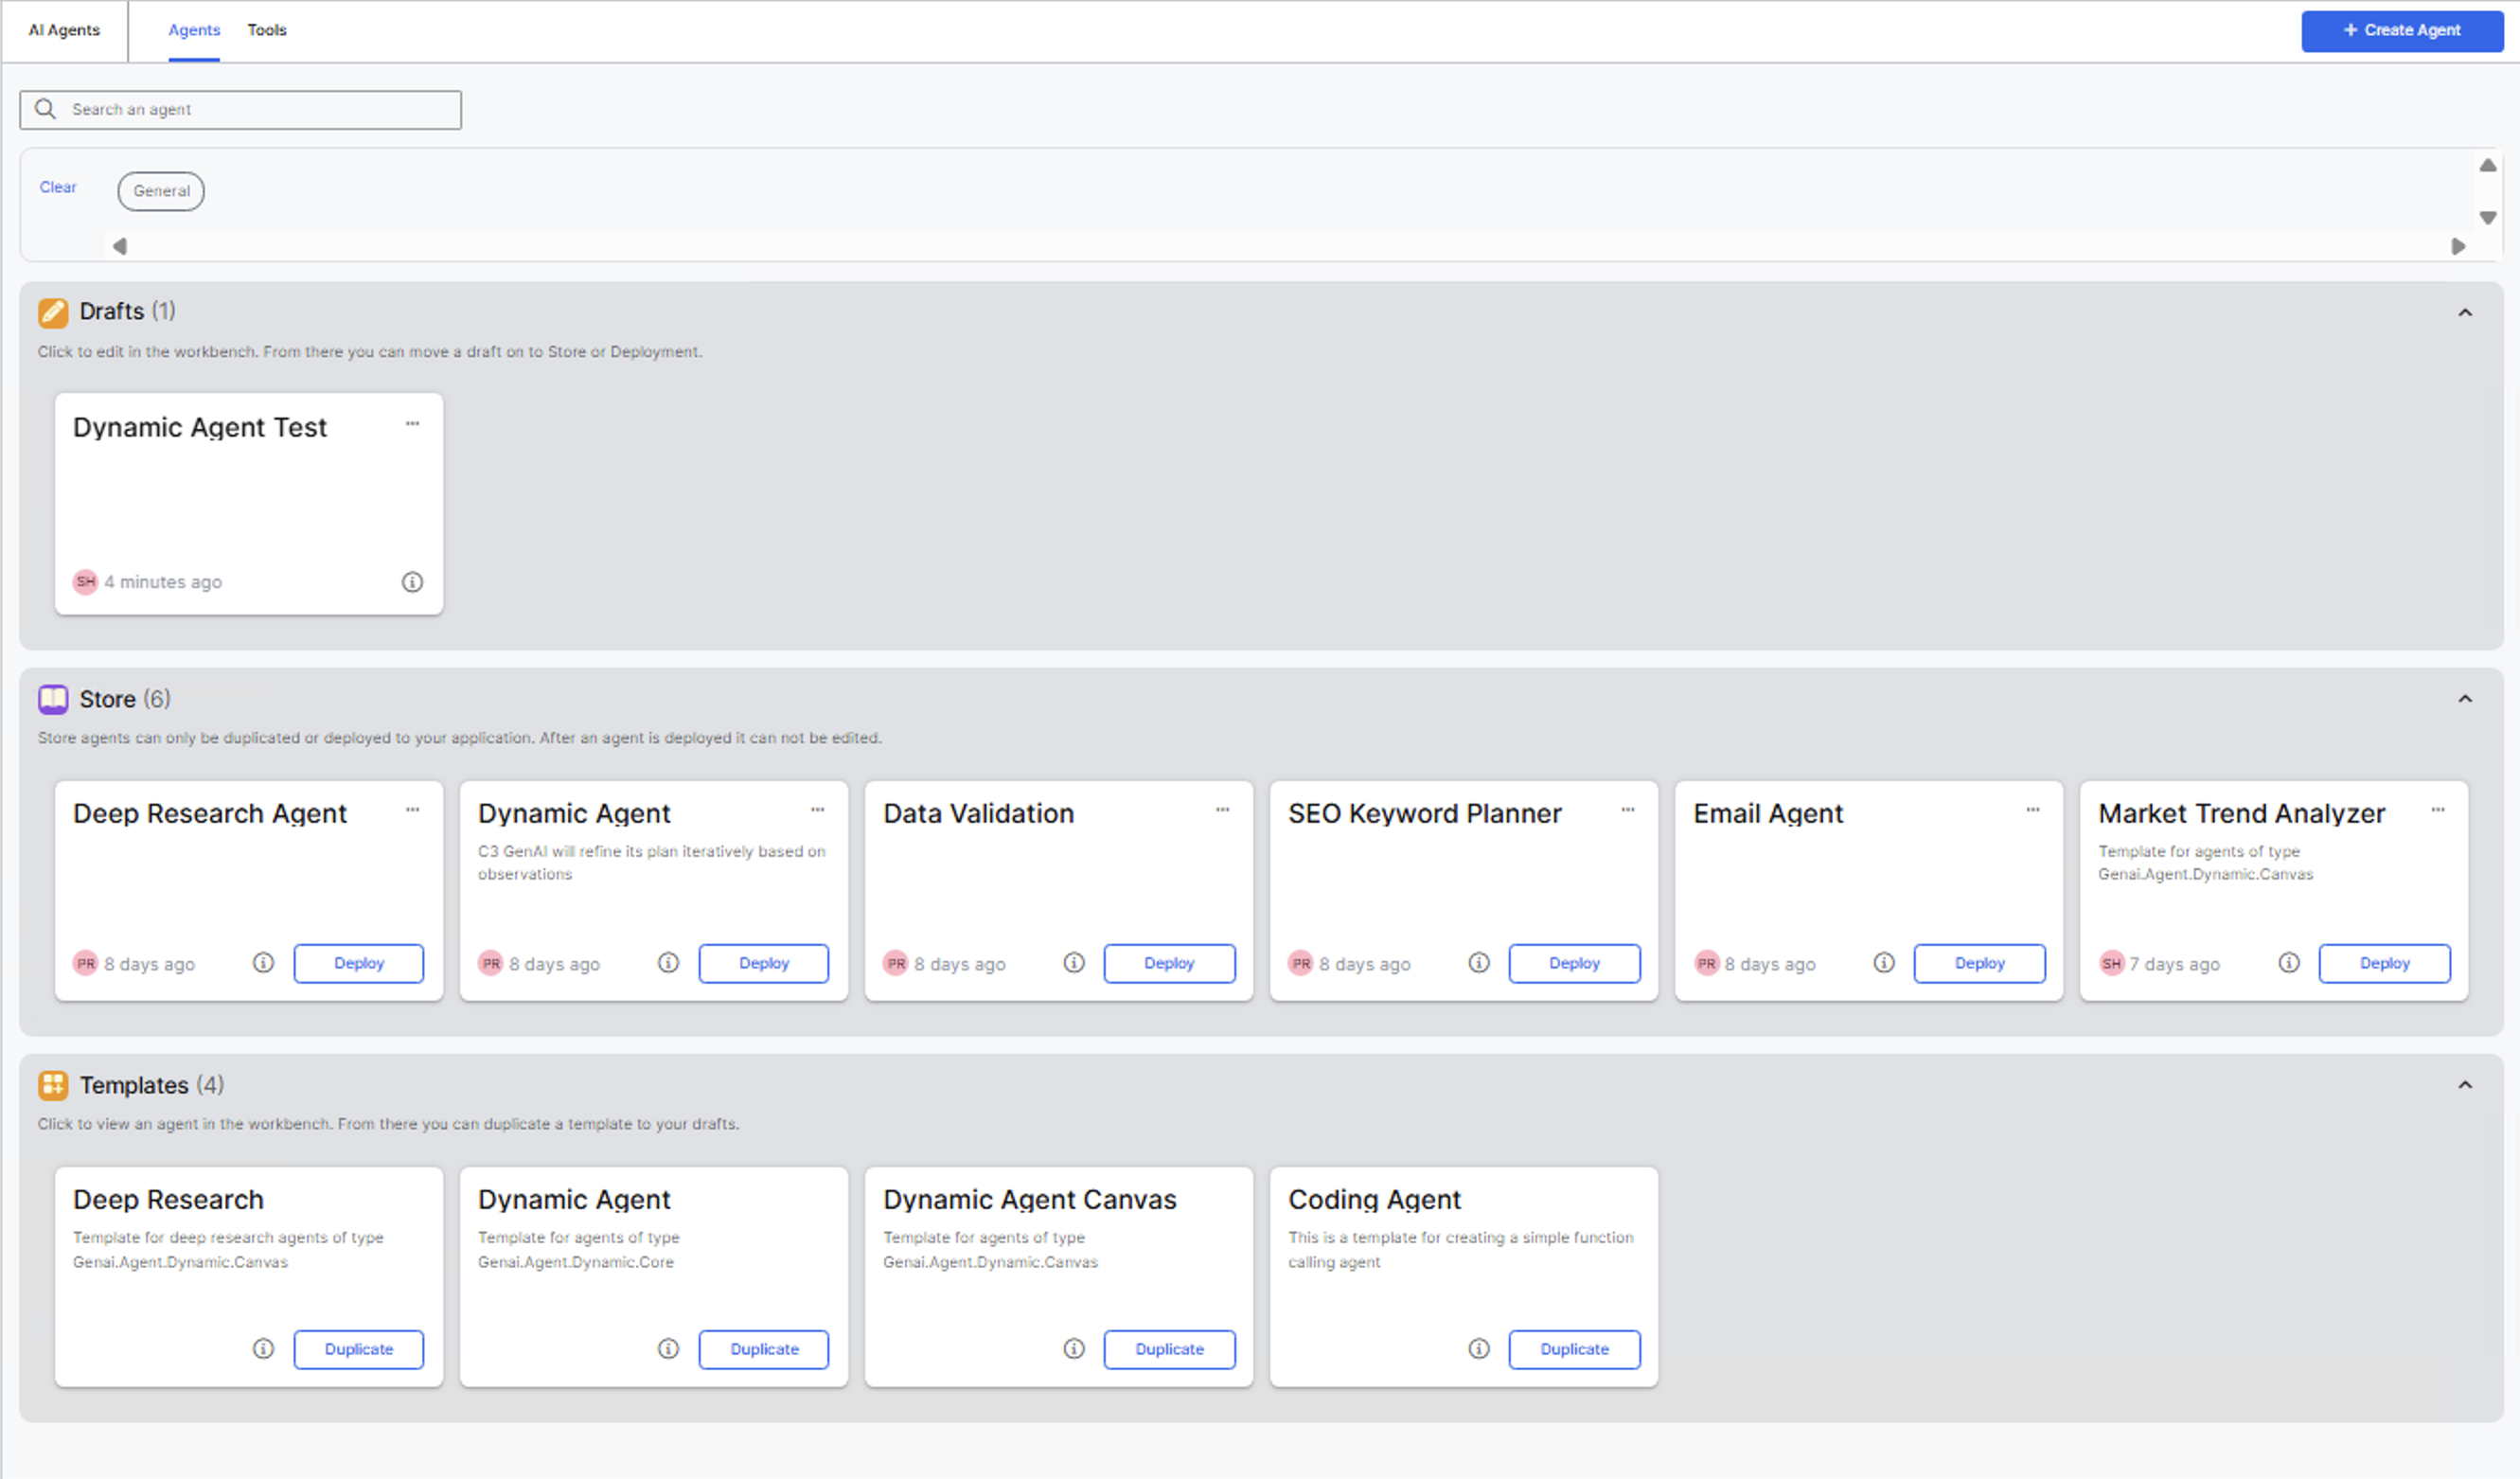
Agents tab
The Agents tab organizes agents into three sections.
Drafts
The Drafts section contains agents under development. Draft agents remain editable in the Agent Workbench until you move them to Store or deploy them.
Each draft card displays:
- Agent name and description.
- Creator initials.
- Time since last modification.
- Information icon to view agent Documentation.
- Menu button (three dots) with options to duplicate or delete the agent.
Click a draft card to edit the agent in the Agent Workbench. From there you can move a draft to Store or move to Store and deploy. See the Agent Workbench for further guidance.
You can modify, chat with, or delete only the draft agents you created. Users with GenaiCore.AgentAdmin or C3.AppAdmin roles can modify any draft agent.
Store
The Store section contains completed agents ready for use across your application. Store agents cannot be edited directly. To modify a Store agent, duplicate it to create a new draft.
Each Store card displays:
- Agent name and description.
- Creator initials.
- Time since last modification.
- Information icon to view agent Documentation.
- Menu button (three dots) with options to duplicate or delete the agent.
You can modify, chat with, or delete only the agents you created.
Templates
Templates section provides pre-configured starting points. Duplicate templates to create customized agents for specific use cases.
Each template card shows:
- Template name and description.
- Information icon to view template Documentation.
- Duplicate button to create a new agent from the template.
Click to view an agent in the Agent Workbench. From there you can duplicate a template to your drafts.
Tools tab
The Tools tab displays all available tools that extend agent capabilities.
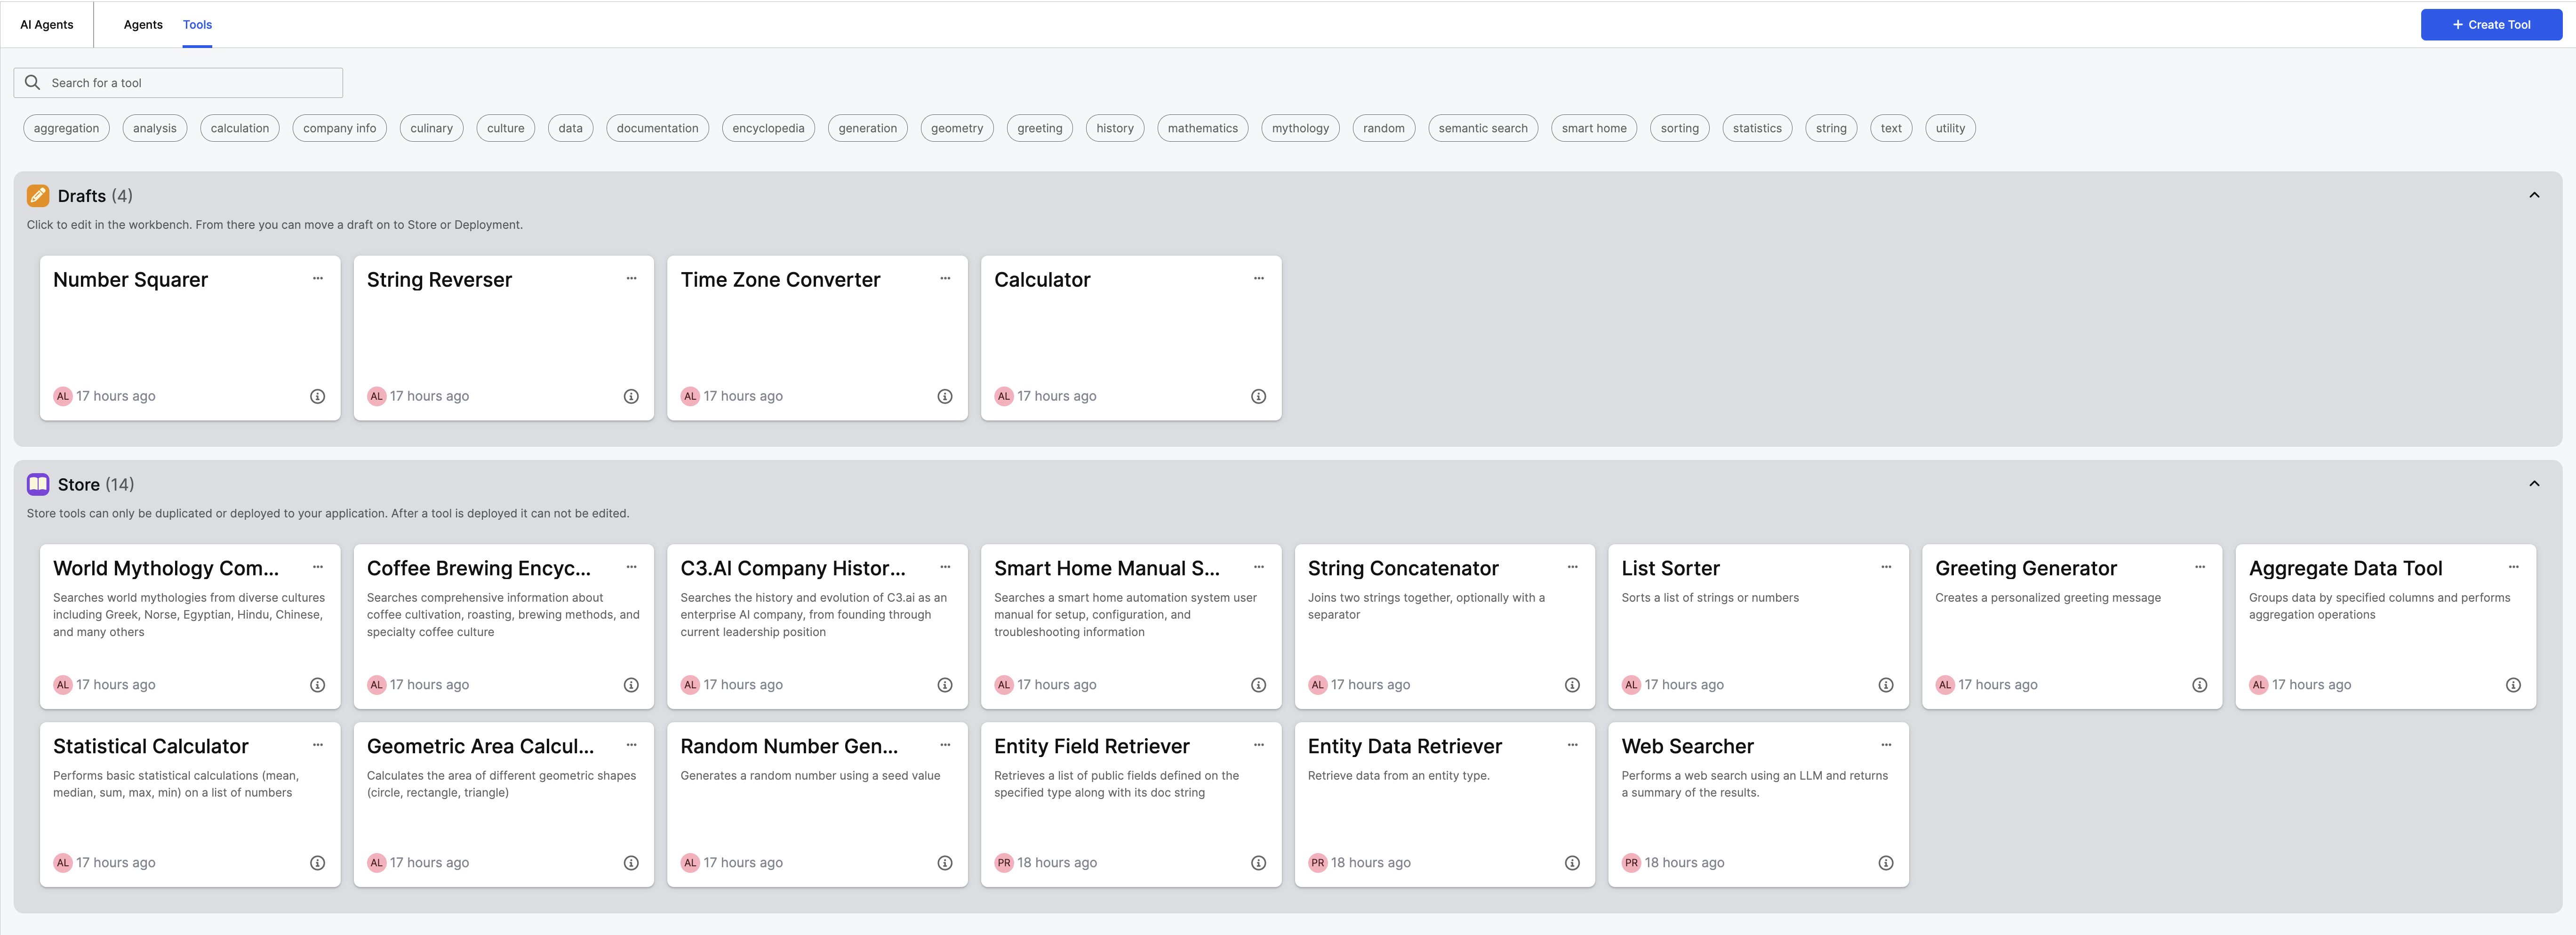
Drafts
Draft tools remain under development. You can edit or test only draft tools you created. Users with GenaiCore.AgentAdmin or C3.AppAdmin roles can edit or test any draft tool.
Each draft tool card displays:
- Tool name and description.
- Creator initials.
- Time since last modification.
- Information icon to view tool documentation.
- Menu button (three dots) with options to duplicate or delete the tool.
Click a draft tool card to edit the tool in the Tool Workbench. From there you can configure, test, and move the tool to Store. Learn more about Tool Workbench in Tool Workbench.
Store
Store tools are finalized and available to add to any agent in your application.
Each Store tool card shows:
- Tool name and description
- Creator initials
- Time since updated
- Information icon to view tool documentation
- Menu button (three dots) with options to duplicate or delete the tool (requires appropriate permissions)
You can only duplicate C3 Action and Python tools. Other tool types cannot be duplicated.
For detailed instructions on creating and configuring tools, see Create Python Tools from the UI and Create C3 Action Tools from UI
Search agents and tools
Use the search bar at the top of the gallery to find specific agents or tools:
- Select the search field.
- Enter name and description.
- Results update automatically across all sections.
Select Clear to reset search filters and display all agents or tools.
Filter agents and tools
Use filters below the search bar to narrow results:
- Agent categories: Single-select filter. Users create categories when building agents.
- Tool tags: Multi-select filter. Users add tags when creating tools.
Select Clear to reset filters.
Create a new agent
Start agent creation from the gallery:
- Select Create Agent in the top-right corner.
- Enter the agent name and description.
- Select a category or create a new one.
- Select Create to open the agent workbench.
For detailed configuration steps, see Configure Agents.