Connect MCPs
Your workspace does not contain everything the agent might need. An MCP server provides the rest, connecting the agent to an outside system through Model Context Protocol (MCP). The agent can then pull live records from a tool your team runs, look up current information online, or send a result into another tool, all as it builds.
You add an MCP server one time, in your settings, and the agent can use it in all your workspaces. Use the MCP menu in a workspace's chat to turn off a server for that workspace. The menu also shows which servers have an error or need you to sign in again.
Add an MCP server
Ask whoever runs the server, such as your IT team or the vendor, for its web address and how you sign in to it. You sign in in one of two ways:
- With your account: you sign in to the service behind the server, such as GitHub or Atlassian, and approve access for C3 Code. This method is called OAuth, and you handle no token.
- With a token: the owner of the server issues you a token, which is a password for programs. API tokens and personal access tokens are both tokens.
C3 Code connects to any MCP server that runs on the web and has an address of its own. A server that runs only on your own computer falls outside the Add MCP Server form.
The Authorization field on the form sets how C3 Code signs in. Pick the option that matches what you were given:
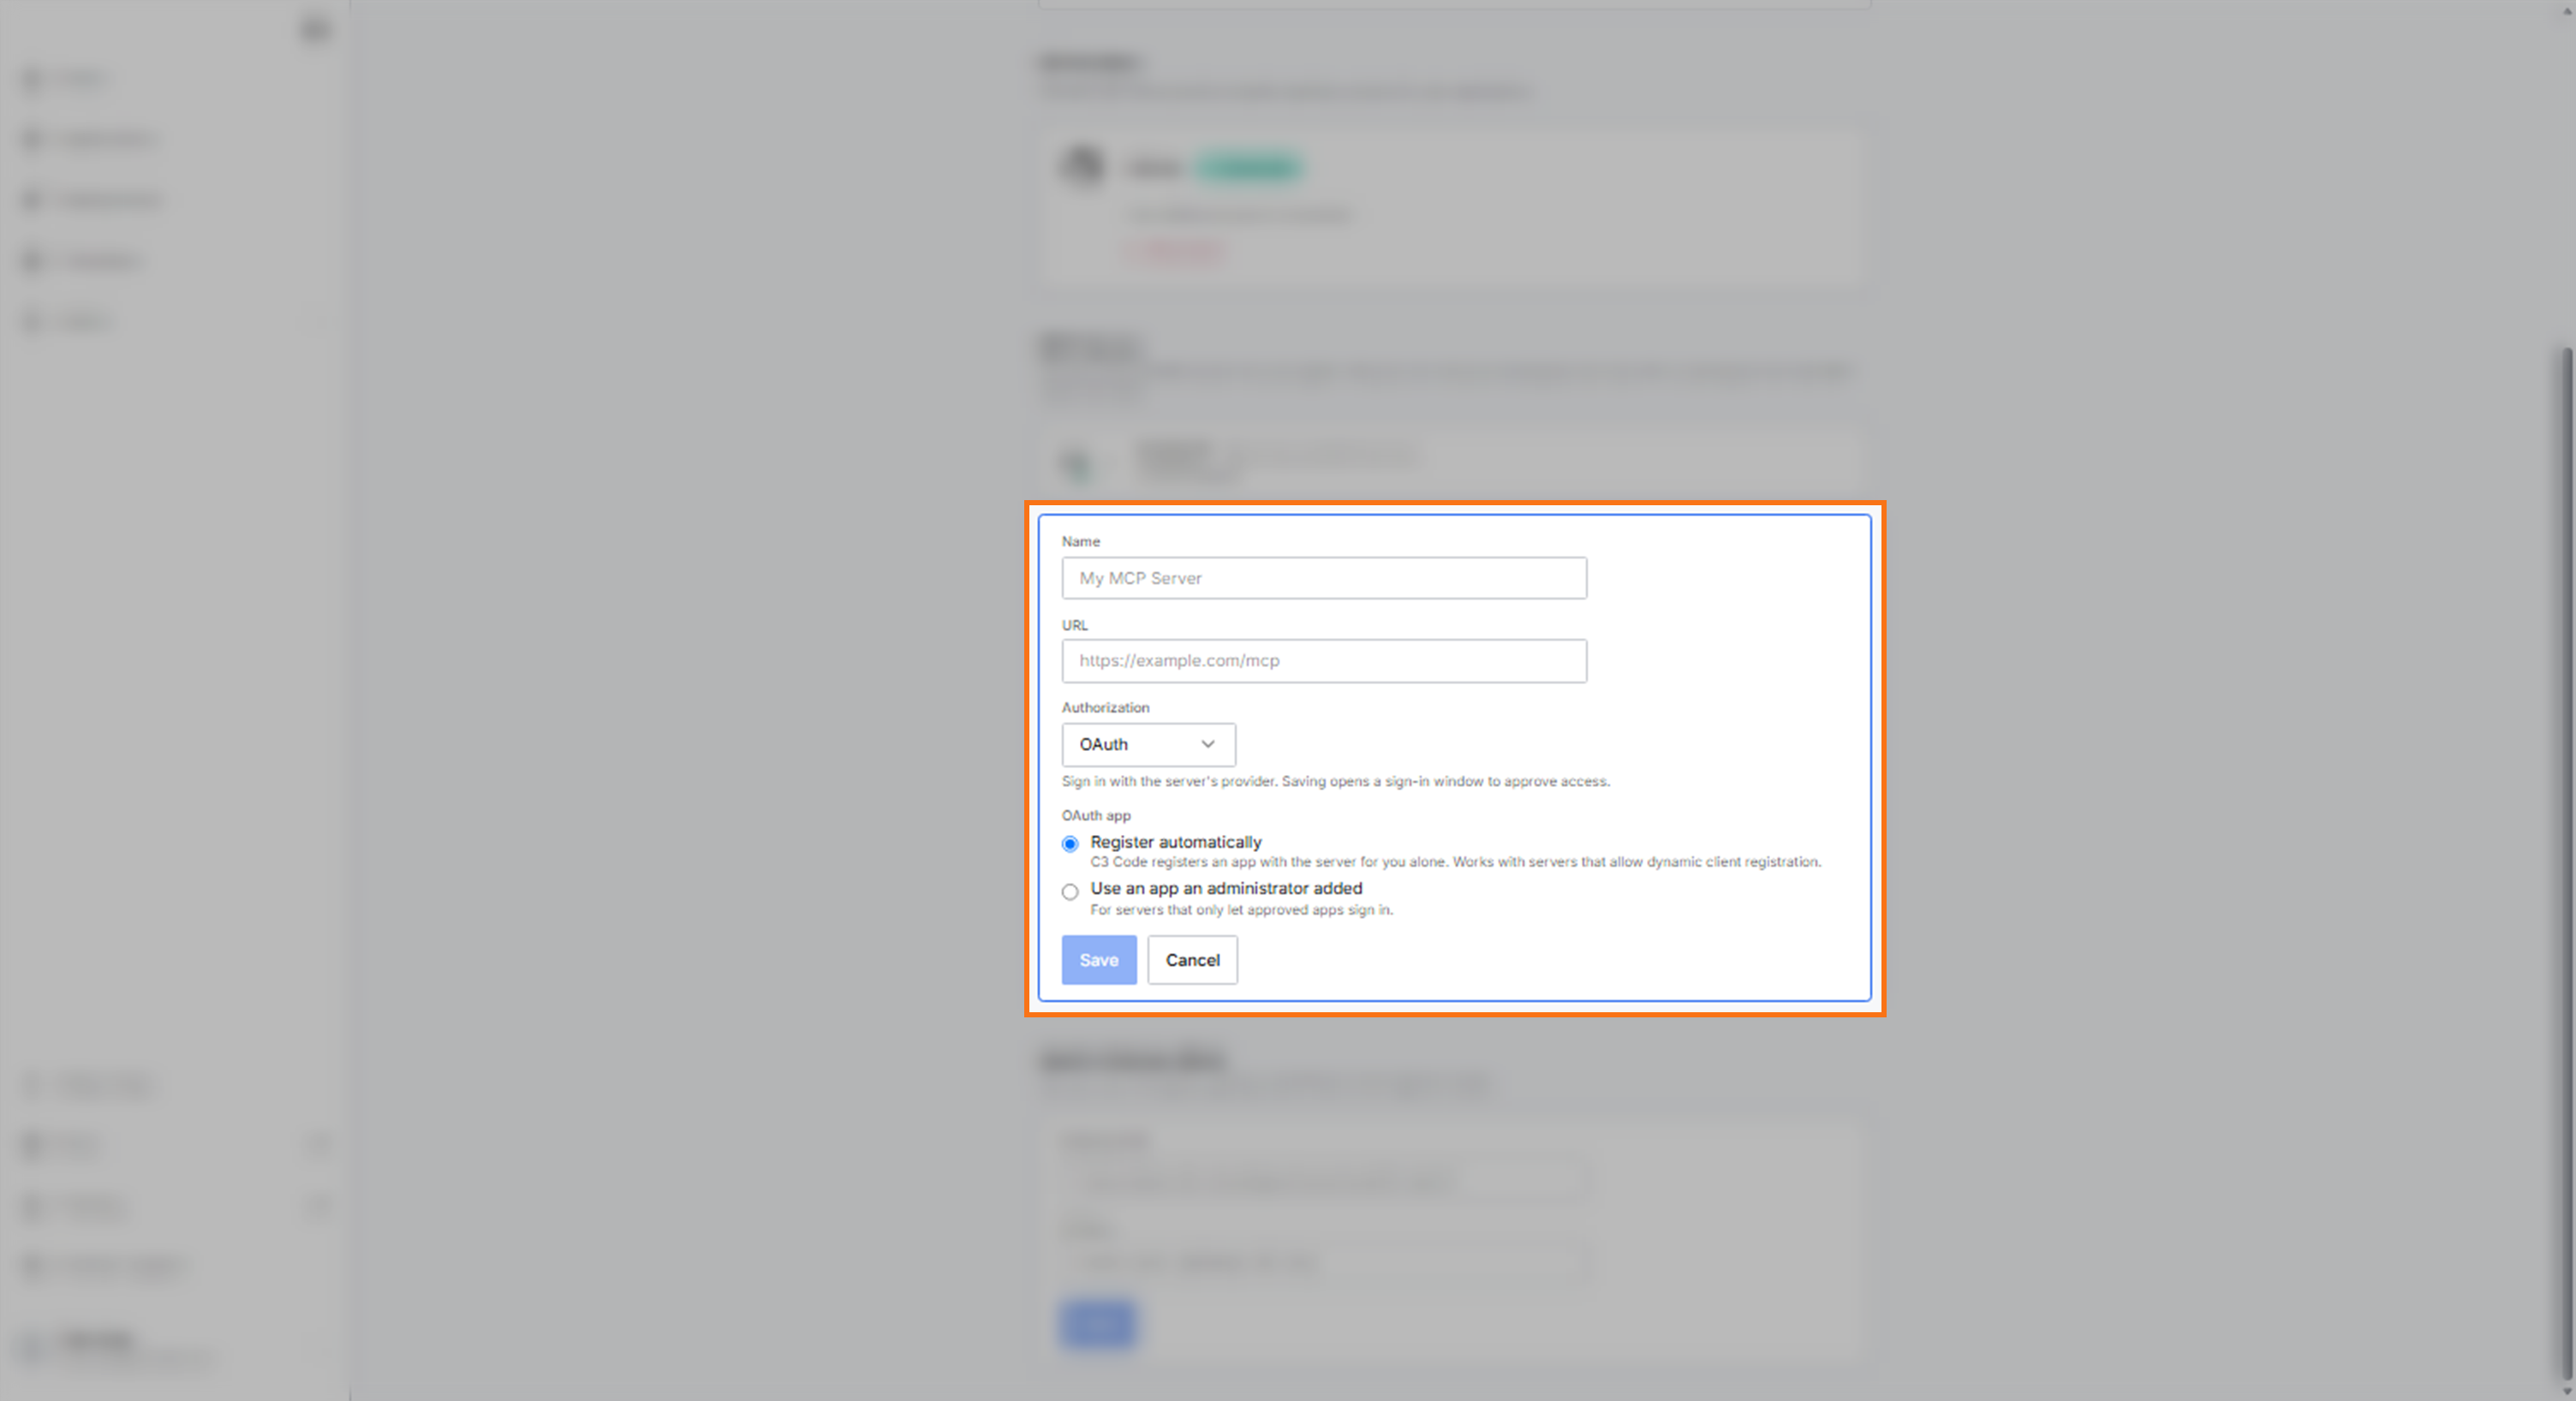
- OAuth: the default, for signing in with your account. Under OAuth app, keep Register automatically, and C3 Code registers itself with the server for you alone. Some services accept sign-ins only from apps their owner approved in advance, and C3 Code then reports that the server only lets approved apps sign in. For those, select Use an app an administrator added and pick the app under Added OAuth app. If the list is empty, ask your C3 Code administrator to add one for that service.
- Bearer: for most tokens. Paste the token, and C3 Code adds the
Bearerprefix for you. - None: for a server that needs no sign-in.
- Custom: for a token the owner says to send in a different format. Enter the complete value the owner gave you, including any prefix.
To add the server:
- Open Settings from your profile menu.
- Under MCP Servers, select Add MCP Server.
- Enter a Name. You use this name when you write a prompt, so keep it short and give each server a name of its own.
- Enter the URL you were given.
- Under Authorization, select the option that matches how you sign in, and paste the token if you have one.
- Select Save. For an OAuth server, a sign-in window opens on the service's page. Sign in and approve access. The window shows Connected and closes by itself, and the server appears in the list.
If you close the sign-in window before you approve, the form stays open and reports that sign-in was cancelled. Select Save to open the window again. When the window shows Sign-in failed, the service did not complete the sign-in, and Access was denied means the service refused access. Close the window and select Save again.
C3 Code checks the connection as soon as you save. Your running workspaces pick up the new server without a restart, and the agent can use it from your next message. If C3 Code cannot update an agent that is already running, it says so, and that agent picks up the server when it next starts.
Administrators add the apps listed under Added OAuth app, as described in Add OAuth Apps.
Check that the MCP server works
Each MCP server you add shows a status and a summary of what the server offers, such as 2 tools enabled. Select a row to see the full list of tools, prompts, and resources.
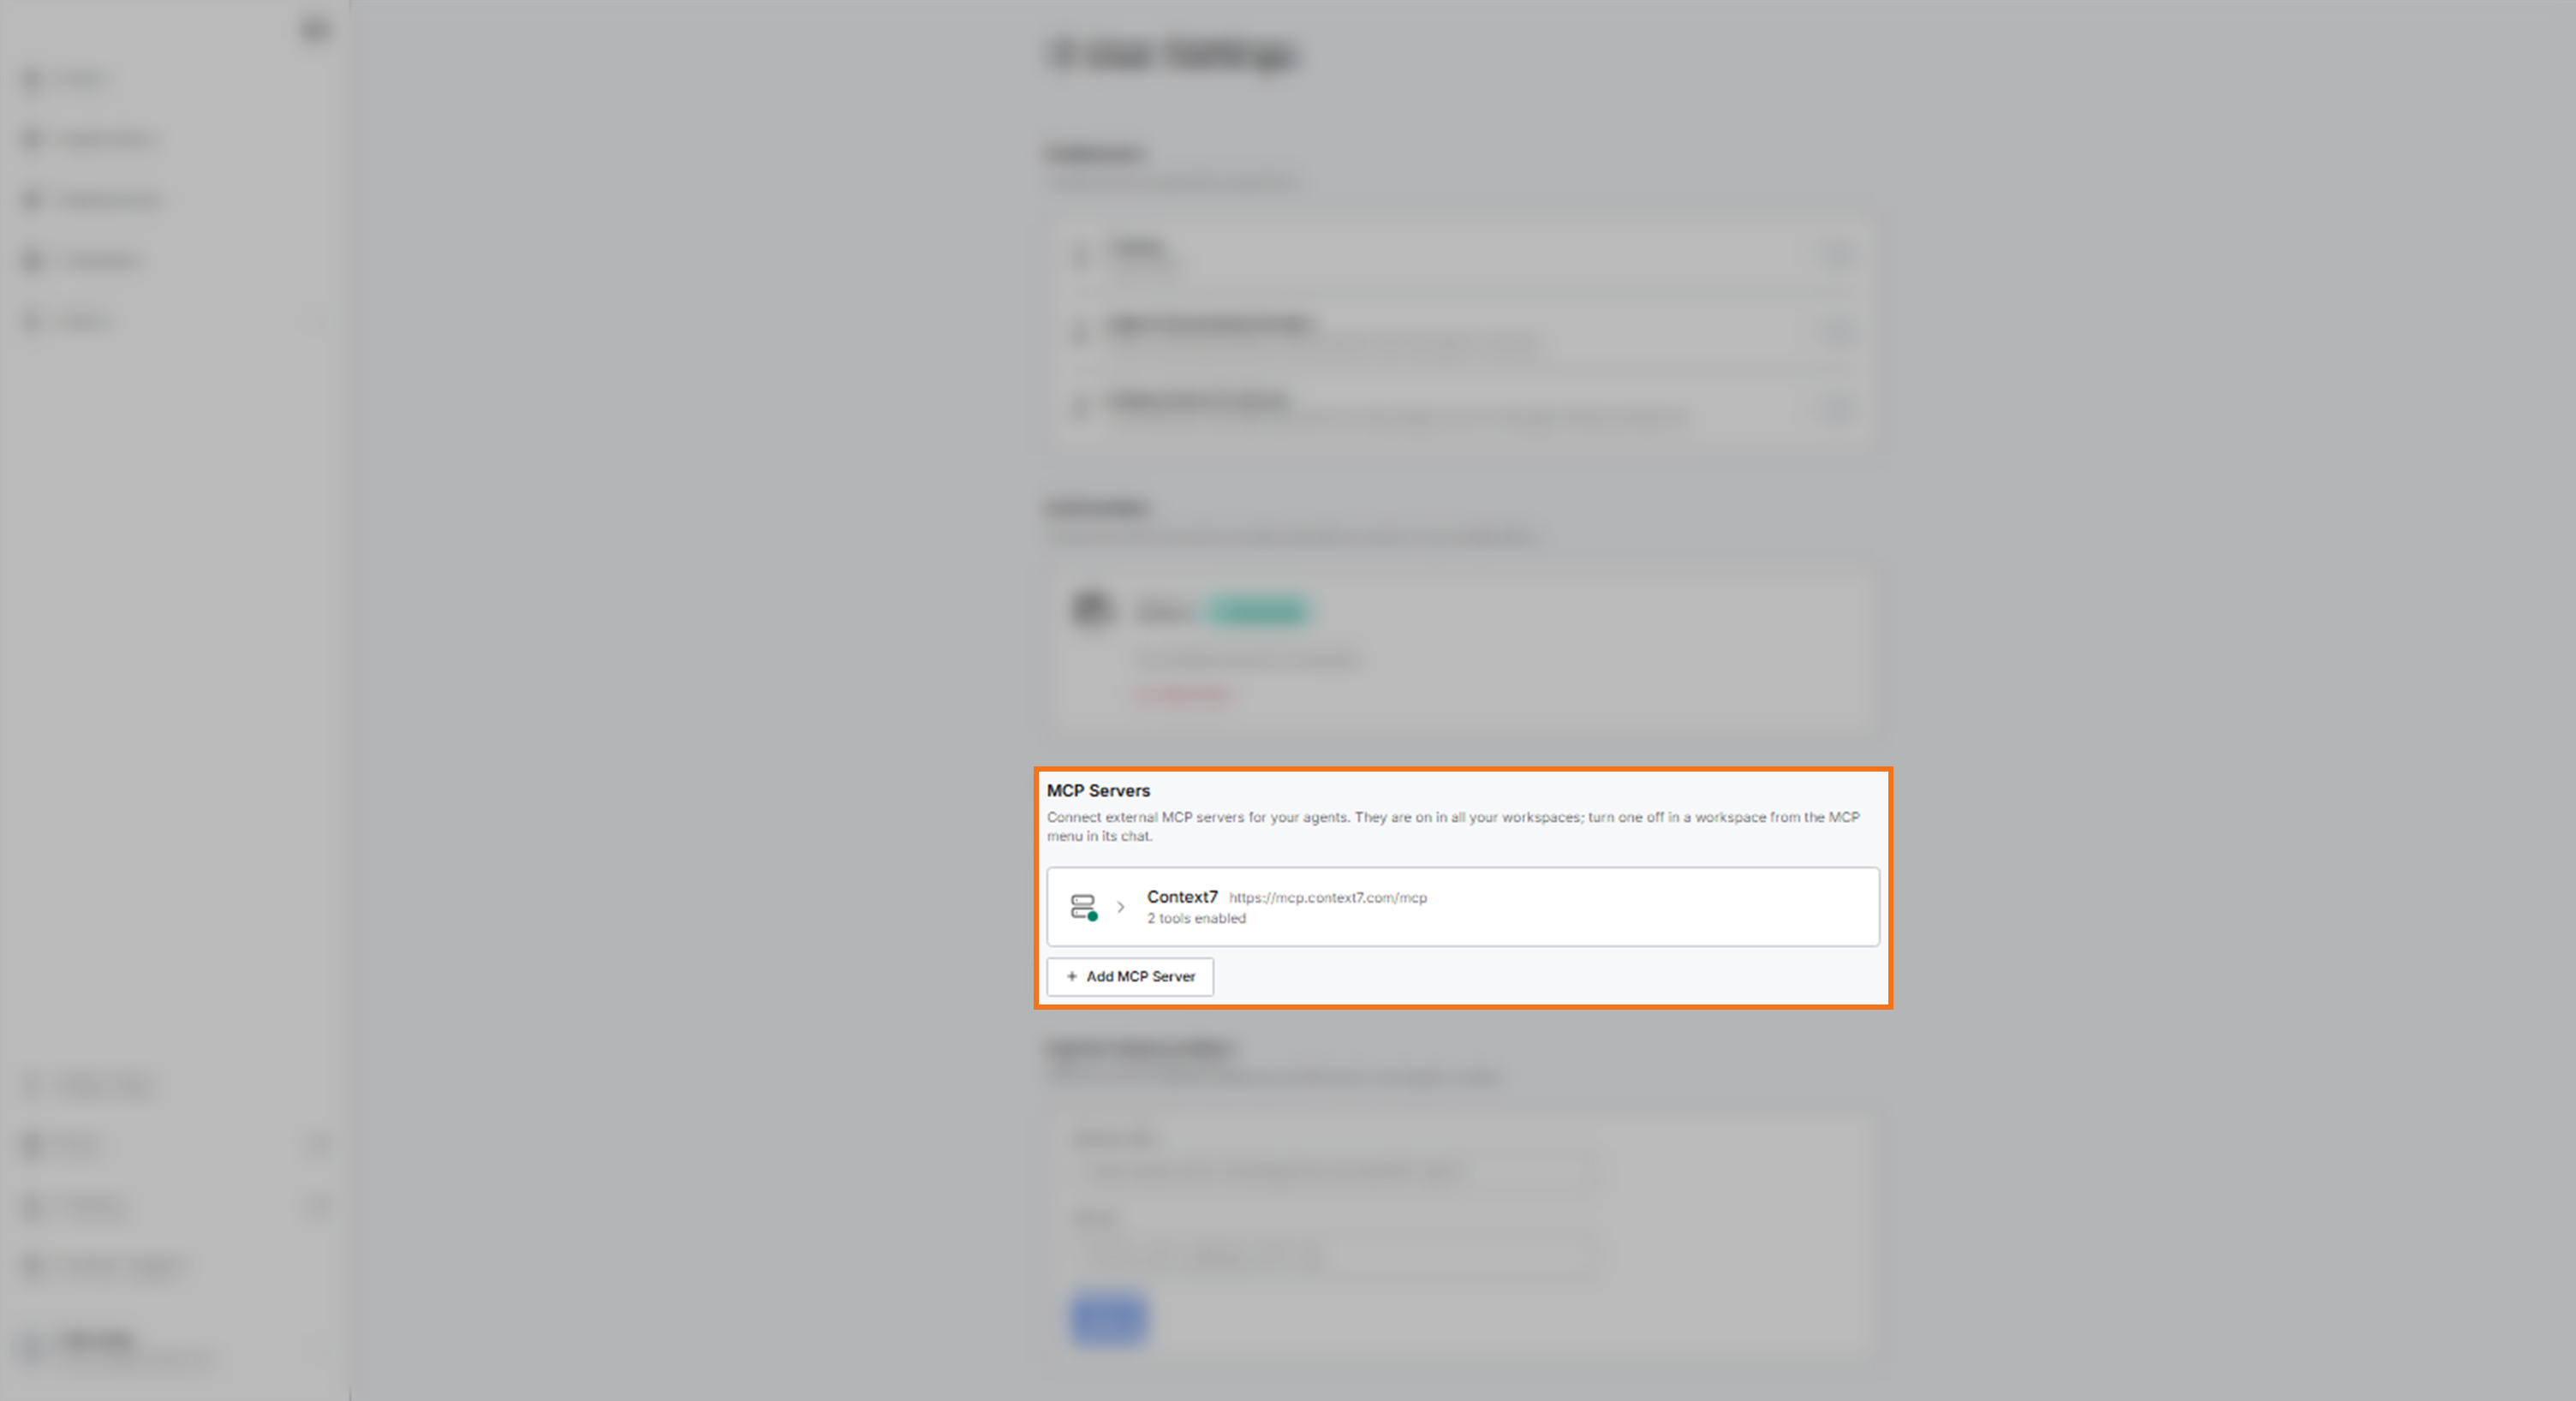
The tool list tells you what the agent gained. A Connected status means the server answered, and nothing more. A server that accepts a weak token, or no token at all, also answers, and offers fewer tools in return.
Hover the status icon to read the status. Error comes with the message the server returned, which tells you what to check:
401 Unauthorizedor a similar refusal: the server answered and rejected your sign-in. Check the token and the Authorization option, or reconnect an OAuth server.- Connection timed out: nothing answered at that address. Check the address for a typo, then confirm the server is running and reachable on the web.
- An unexpected response: something answered, but not the server. The address usually points at a web page about the server instead of at the server itself.
Turn an MCP server on or off in a workspace
Every server you add starts out on in all your workspaces. Turn off a server in a workspace when its tools do not apply to that application. The agent there then works only with the servers that fit the job.
To turn off a server for one workspace, or turn it back on:
- In the workspace's chat, select MCP, next to the model selector under the box where you type a message. When the chat panel is narrow, the button shows only its icon, named MCP servers.
- Select the switch next to the server.
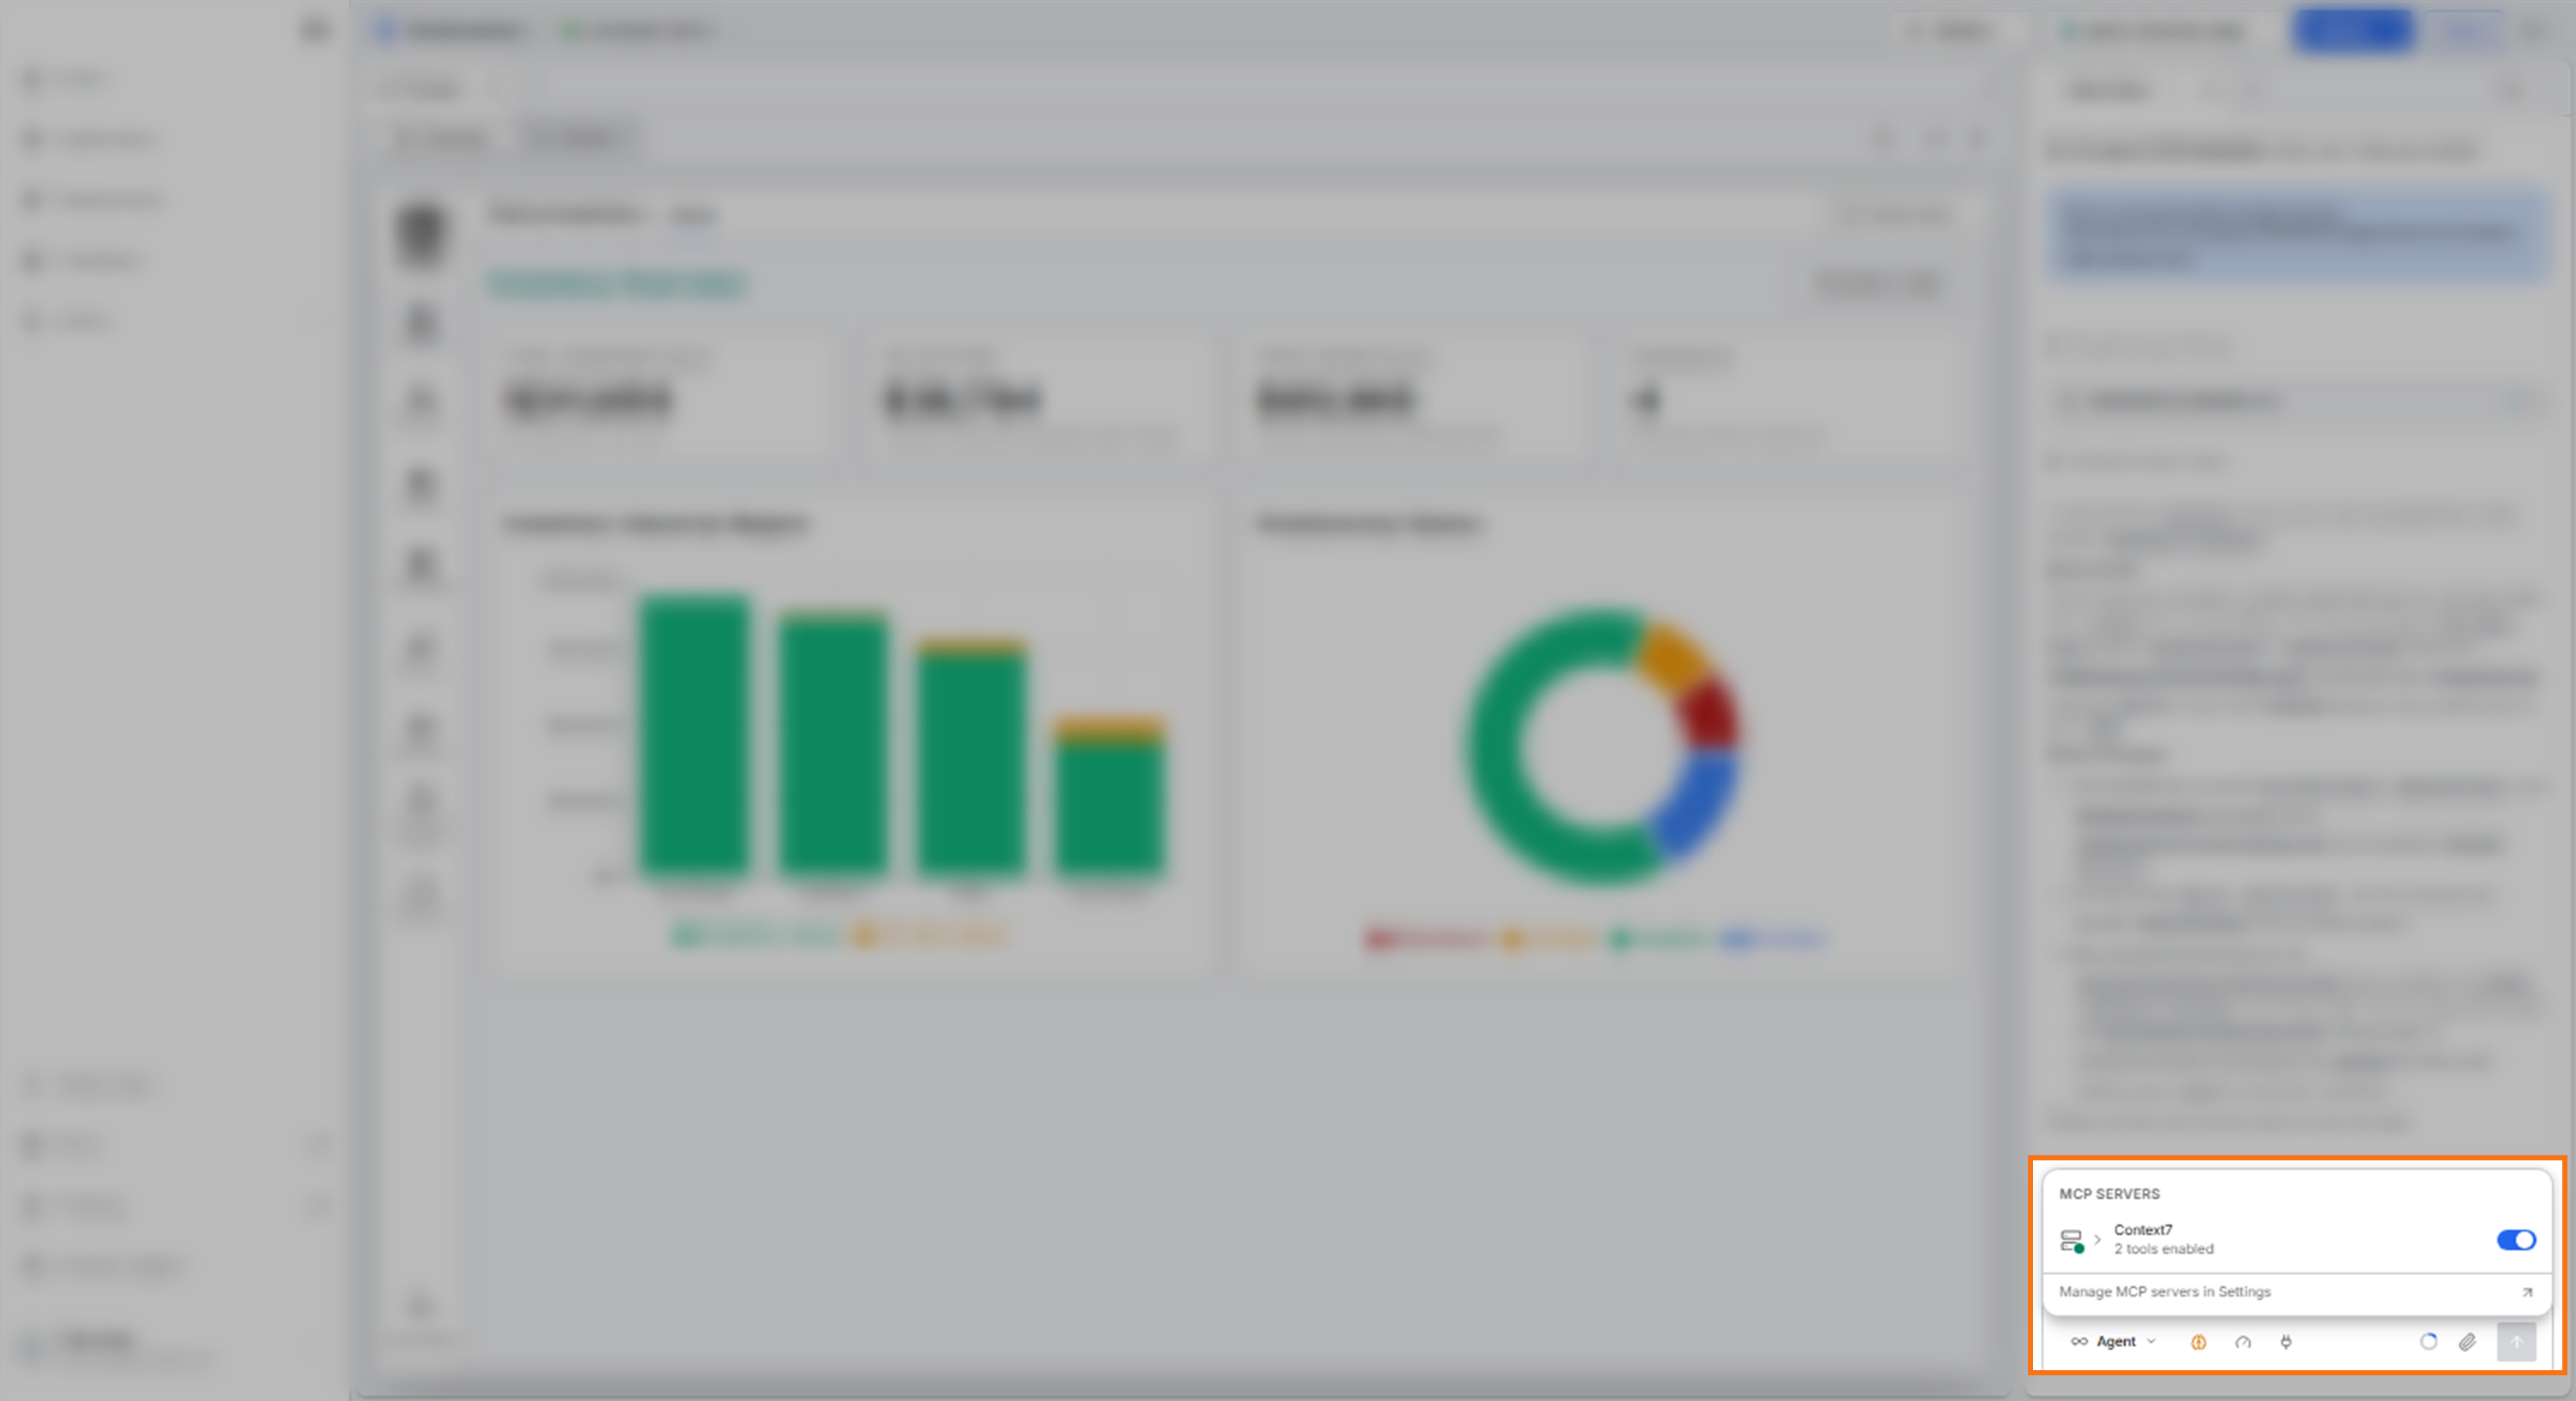
The change applies from your next message in any chat in that workspace, without a restart. A server you turn off shows Disconnected in that workspace and stays on in your other workspaces. The setting is yours alone: other people who work in the same workspace keep their own servers and switches.
The menu shows what each server offers and how it is doing:
- Status: hover the icon in front of a server to read Connected, Connecting…, Disconnecting…, Disconnected, Error, or Expires soon.
- Tools: select a server's name to list its tools, prompts, and resources.
- Settings: select Manage MCP servers in Settings to add, change, or remove a server.
Before you add a server, the menu reads "You have no MCP servers yet." and offers Add MCP servers in Settings.
A warning icon on the MCP button means a server needs attention. The icon is red when a server shows Error, and yellow when a sign-in only expires soon. The menu reports how many servers need attention. Open the menu to see which server it is, then follow Check that the MCP server works or Reconnect an MCP server after its sign-in expires.
Reconnect an MCP server after its sign-in expires
When you sign in with your account, the service gives C3 Code a token on your behalf. That token lasts a limited time, which the service sets. C3 Code renews it for you when the agent uses the server in the last 30 minutes before it ends.
If C3 Code cannot renew it, the server shows Expires soon, and the chat's MCP menu shows Token expires at with the time it ends. After that time, the server shows Error and Token expired. In either case, select Reconnect, in the chat's MCP menu or next to the server in Settings, and sign in again. C3 Code then reloads the server in your running workspaces.
A server that uses a token you entered shows no end time. When that token stops working, the server shows Error. Select Edit on the server and enter a new token.
Ask the agent to use the MCP server
Name the server in your prompt. The agent reports each call, so you can see which tool the agent used.
Your prompt takes the same form for every server. Name the server, then state what you want.
Use Context7 to check the current TanStack Table documentation, then add column sorting
and a per-column filter row to the shared DataTable component, and enable both on the
Reorder table.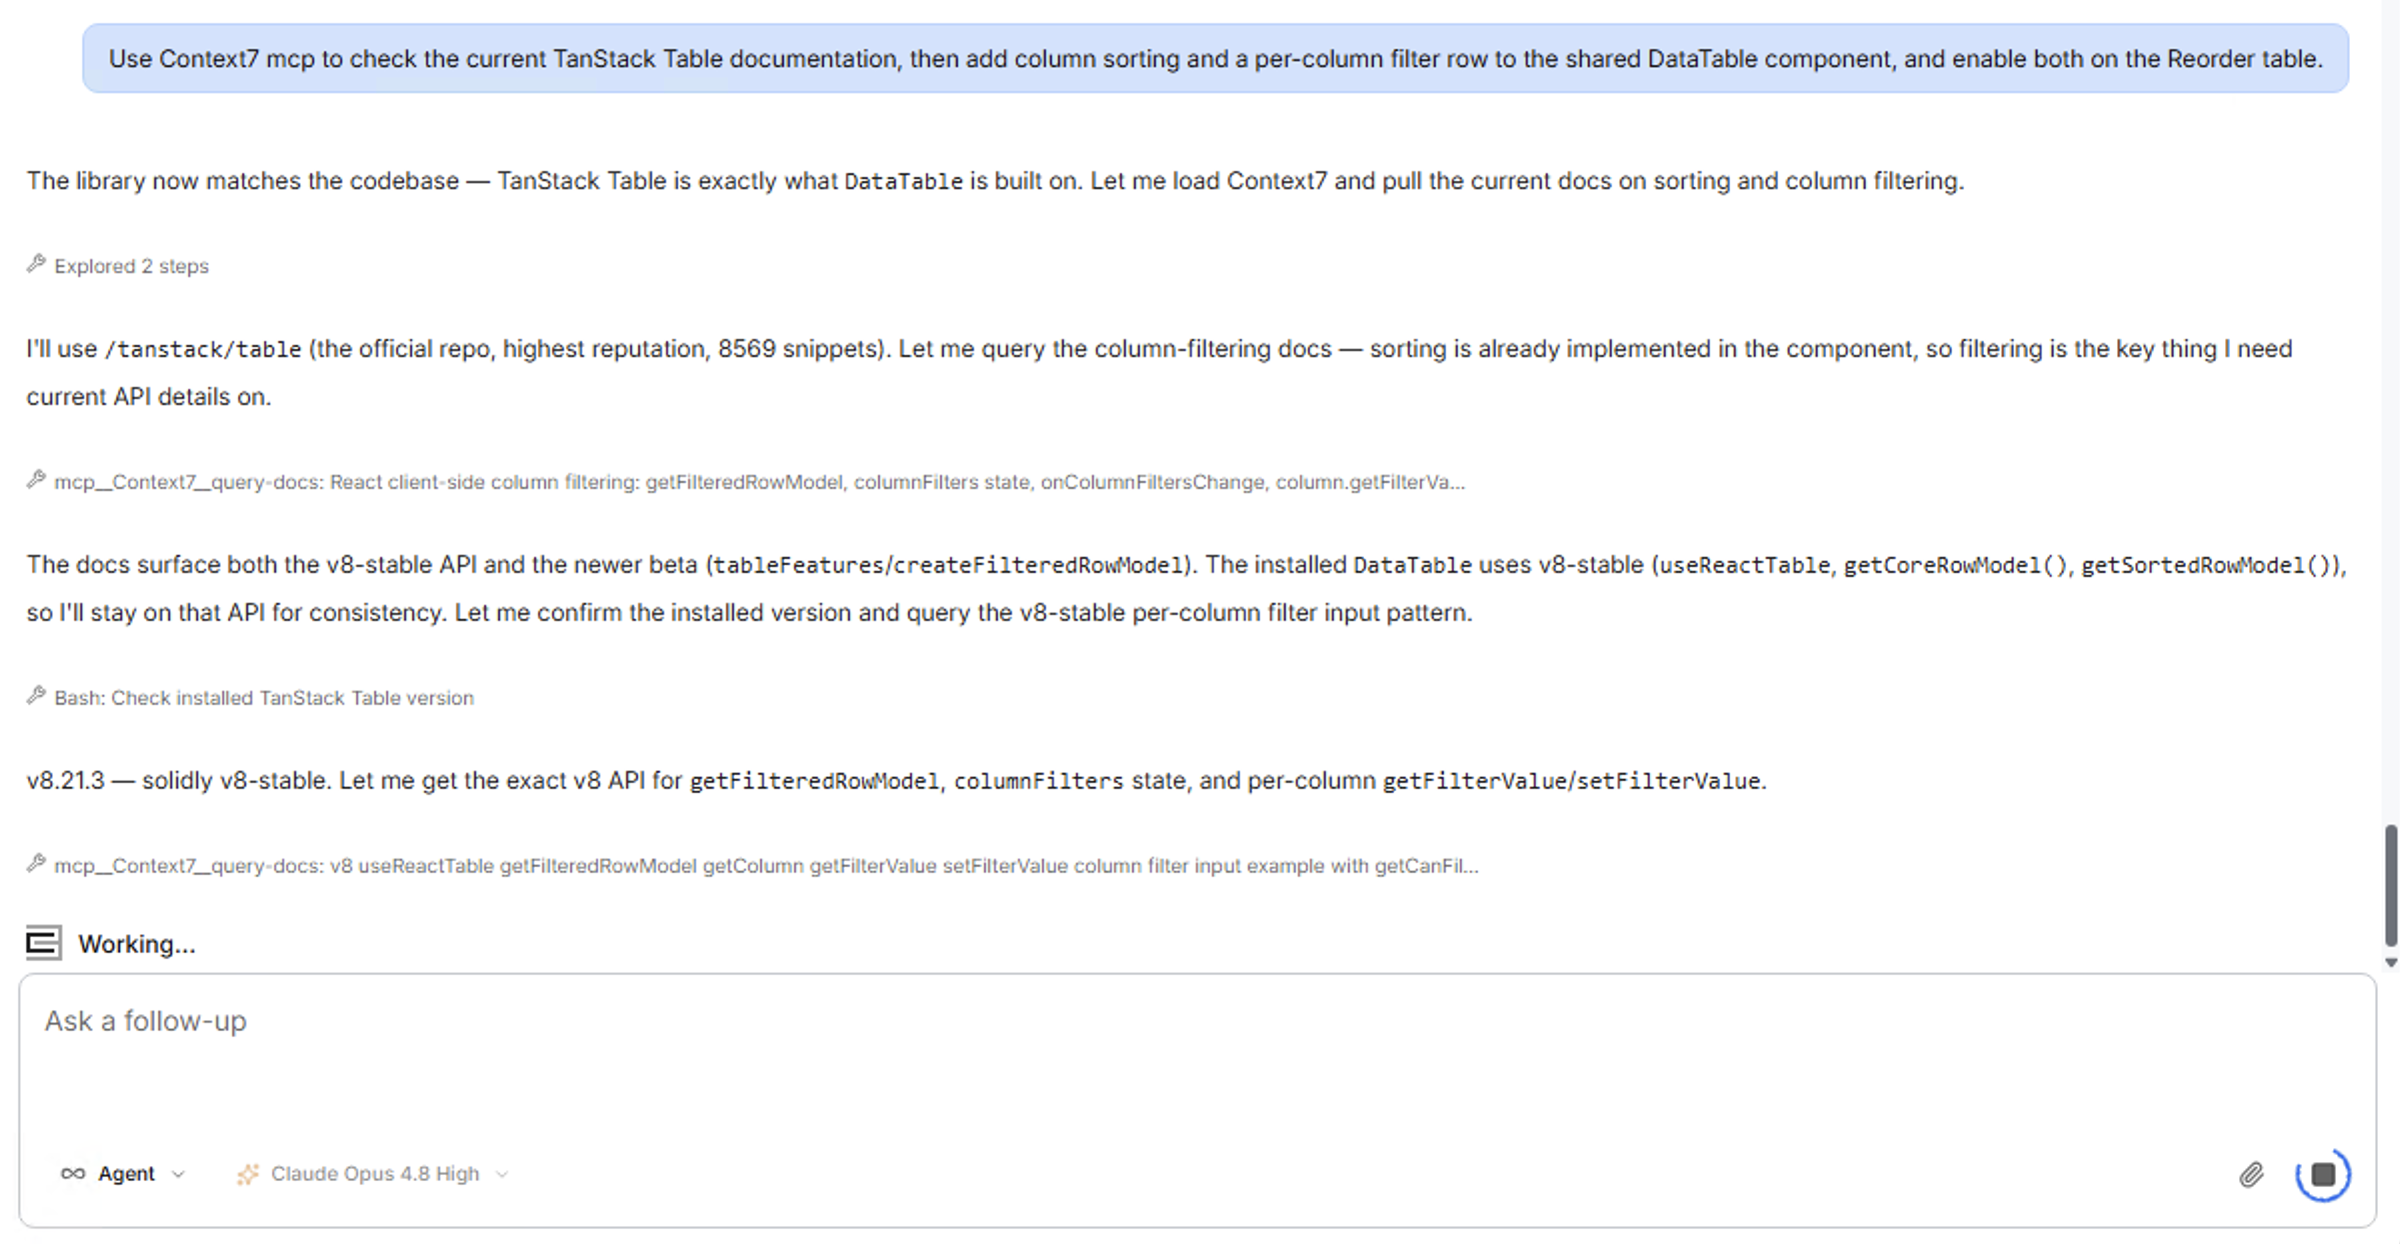
That prompt sent the agent to an MCP server holding library documentation. The agent found two versions of the same feature, checked which version the workspace had installed, and built against that version. The server settled the choice.
Change or remove an MCP server
Hover a server row in Settings to show two controls:
- Edit: opens the form, so you can change the name, the address, or the Authorization option. For a server that uses a token, the form opens on Keep current, which keeps the saved token until you choose another option.
- Remove: deletes the server right away, with no confirmation. All your workspaces lose that server's tools. Servers that other people added are not affected.
Give a server a name already in use, and C3 Code reports that a server with that name already exists.
Let other assistants use your application
The connection works in the other direction too. C3 Code can publish your own application as an MCP server, so assistants outside C3 Code can use what you built as a tool.
Five tabs in Configure cover that setup:
- MCP Tools: publishes the tools other assistants can call.
- MCP Prompts: builds a library of prompts to accompany those tools.
- MCP Monitor: shows the calls arriving from outside.
- MCP Servers: runs more than one named server from the same application.
- MCP Access: grants access to assistants such as GitHub Copilot and Cursor.
Use these tabs when another team, or another assistant, must work with your application.
For what each tool in Configure does, see Use Configuration Tools.
Where to go next
These pages cover building with the tools your MCP server added: