Choose How to Start Your Application
C3 Code provides three ways to start, and the right choice depends on what you already have. You can start from an idea, from an application C3 AI has already built, or from code your team wrote earlier.
Whichever way you start, you name the application and C3 Code opens a workspace with the agent ready. A workspace is a private copy of the application for you to work in.
Your starting point decides how much already exists when the workspace opens. Every application then gets the same workspace, the same agent, and the same way to connect the systems that hold your data. Creating an application uses one application and one workspace from your quota, so check both before you start.
Pick your starting point
Choose according to what you already have:
- An idea, optionally with a spreadsheet: start from a description. The agent builds every part, from the kinds of record your application stores to the pages people open. See Start from Scratch.
- An application C3 AI has already built for work like yours: start from an application module. An application module is enterprise software C3 AI has already built for a kind of work. You start from that complete application, and the agent changes it to fit your business. In C3 Code, application modules appear in the Templates gallery. Open the gallery to see which modules your environment offers. See Start from an Application Module.
- A C3 AI application your team already wrote: start from your repository. C3 Code copies the application into a workspace. It works on your application's source code, not the built artifact that runs on a cluster. If all you have is the artifact, get your application's source code into a Git repository. Connect your GitHub account first, because C3 Code reads your repository list from that account. See Start from a Git Repository and Connect GitHub.
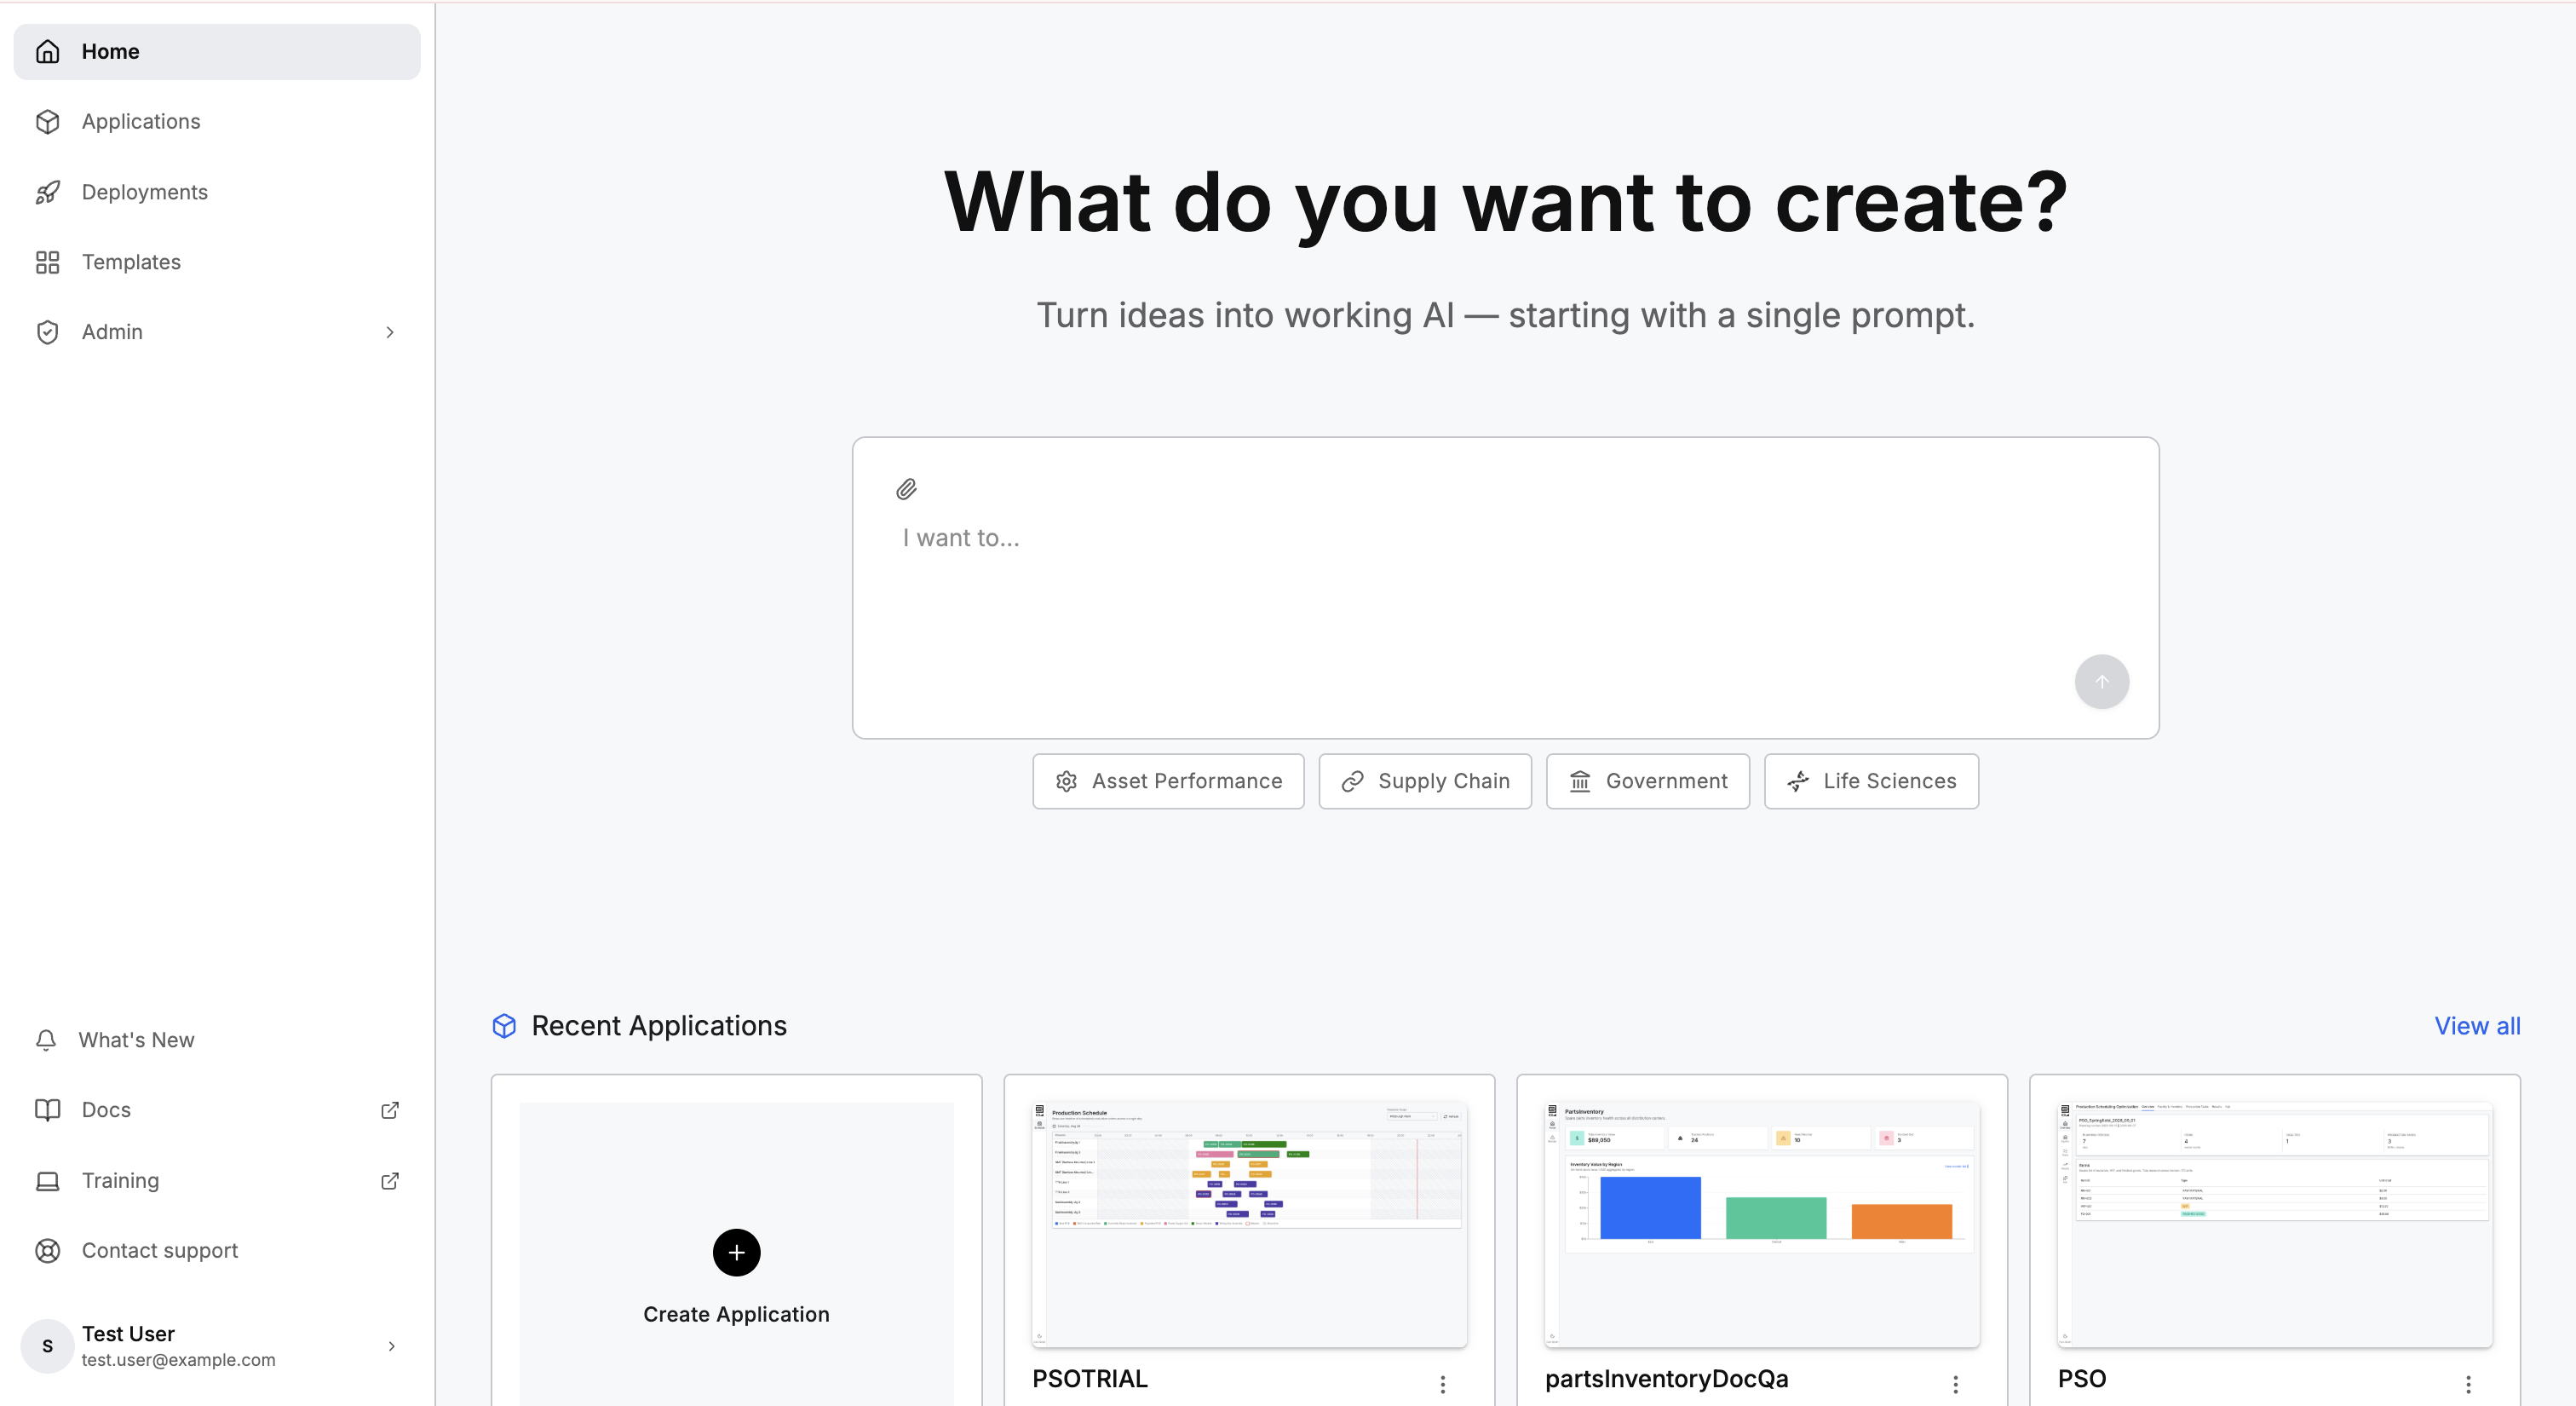
Starting from a description provides the same foundations as starting from a module. You begin with an empty application rather than a populated one.
What every application gets
Whichever way you started, every application includes:
- One application, with you as the administrator of that application.
- One workspace, with a database of its own, services of its own, and a unique address.
- The same agent, the same Preview, Configure, and Code modes, and the same route to a deployment.
You can add more workspaces from your quota, invite collaborators, and connect a GitHub repository at any point afterward.
Every application also gets a data model. C3 AI calls each kind of record a Type: an order, a shipment, and a supplier are three Types. A Type describes what one record holds and how that record connects to others.
For the Type System itself, see C3 AI Type System and Understanding and Using the C3 AI Type System.
Connect the systems that hold your data
All three starting points work from a description, a file, or code you already have. Attaching a spreadsheet gives your application the data that spreadsheet held on the day you attached it.
To bring in data from a system your company already runs, such as Snowflake, SAP, Salesforce, or a database of your own, describe that system to C3 Code. C3 Code builds the connection, and the pipeline pulls new data as that system changes. You can also open Data Fusion in Configure and set up the connection yourself. Setting up a connection to a live system usually involves a developer, because the connection needs sign-in details from the team that runs that system.
Evolve Your Application covers the steps that take an application from your own files to live data, and Use Configuration Tools covers Data Fusion and the other tools involved.
Check your quota before you start
Creating an application uses one application and one workspace from your quota. The My Usage and Cost page shows both counts against your limits.
Creation succeeds while both counts remain under your limits, so request more before you start if either count is already full. See Request Access and Resources.
Name your application
The name you enter becomes the name of the application. A package name is generated for the application as well, and that package name appears in file paths inside the workspace. Use letters and numbers, and keep the name short.
The package name appears on the application Settings tab. Renaming the application later leaves the package name as it was.
Where to go next
These pages cover each starting point in detail: