Local Files
You can upload data you have in local files to Visual Notebooks. Visual Notebooks supports the following local file formats:
- CSV
- JSON
- XML
- Parquet
- TXT
- DATA
Upload a file
Files can only be uploaded inside a visual notebook. To upload a local file, first create a new visual notebook or open an existing one. Once inside the visual notebook canvas, find the node that corresponds to the file format you want to upload. Relevant nodes are in the Input Data section, then the File Upload subsection.
Use the CSV node for .csv, .txt, and .data files, the JSON node for .json files, the XML node for .xml files, the Parquet node for .parquet files, and the Text Corpus node for directories of .txt or .data files.
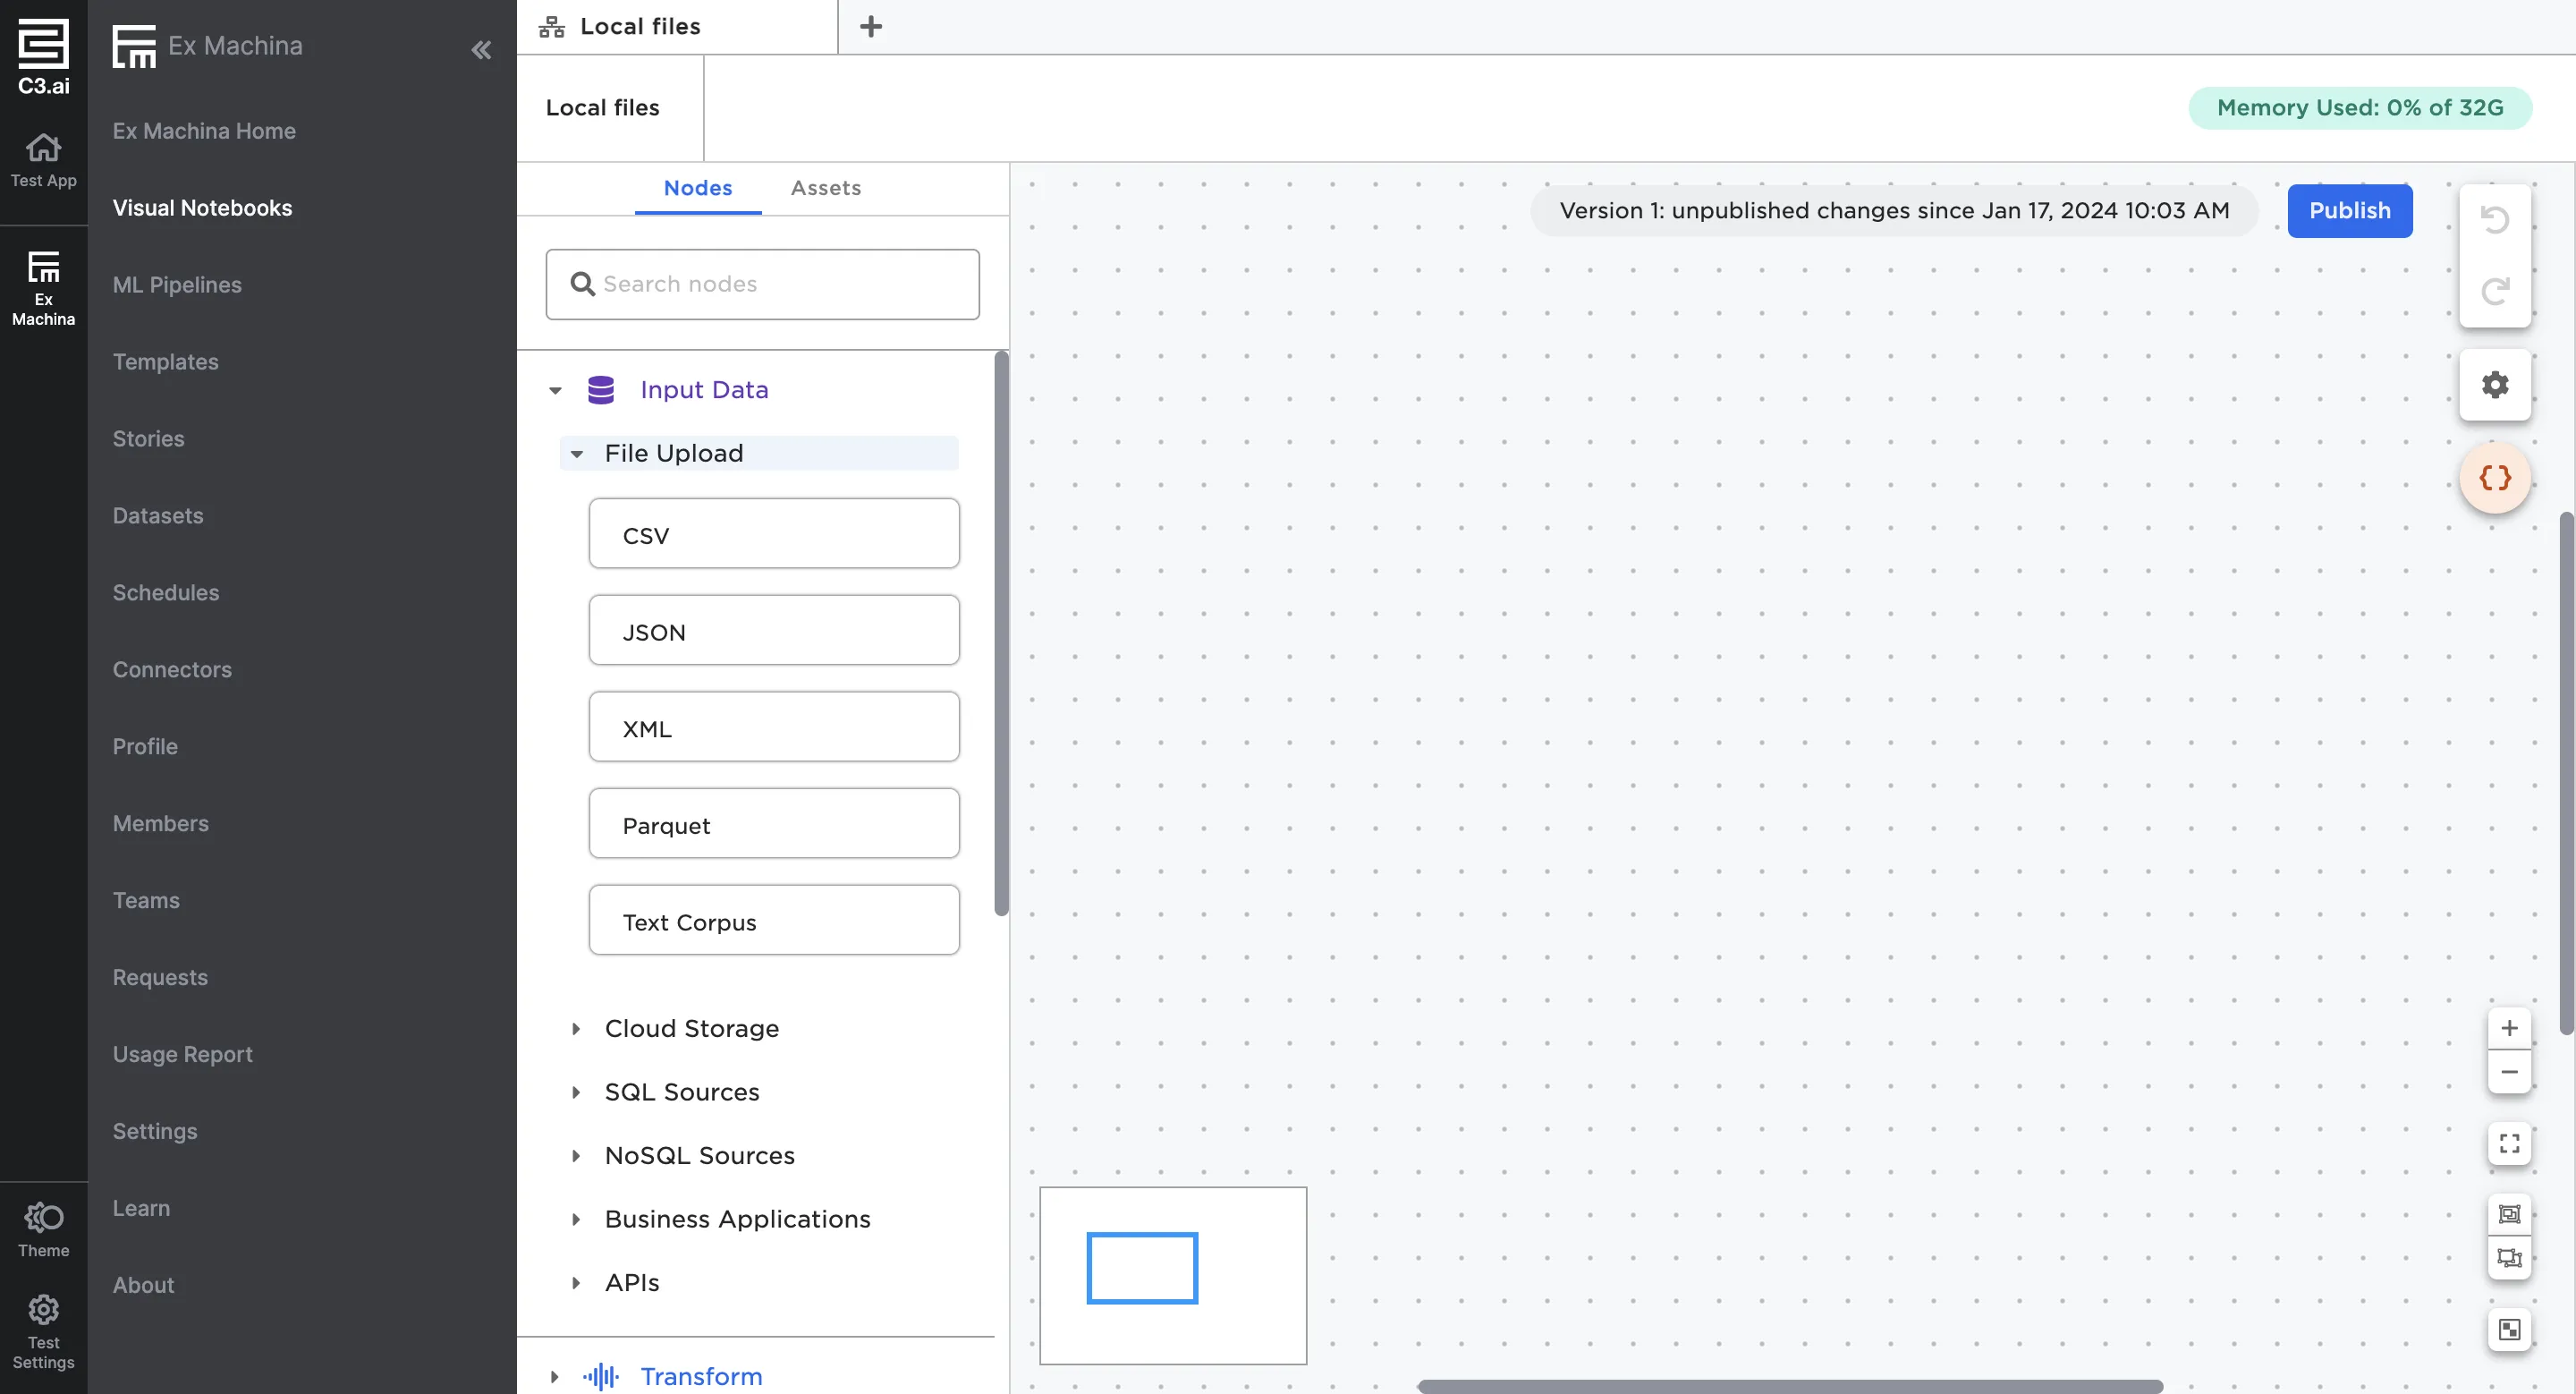
Figure 1: Nodes to upload a local file
Once you've identified the node that corresponds to the file type you'd like to upload, drag it onto the canvas. For example, if you wanted to upload a CSV file, drag a CSV node onto the canvas. From there, you can either configure the node using the sidebar or double click on the node to open it in a full-screen view.
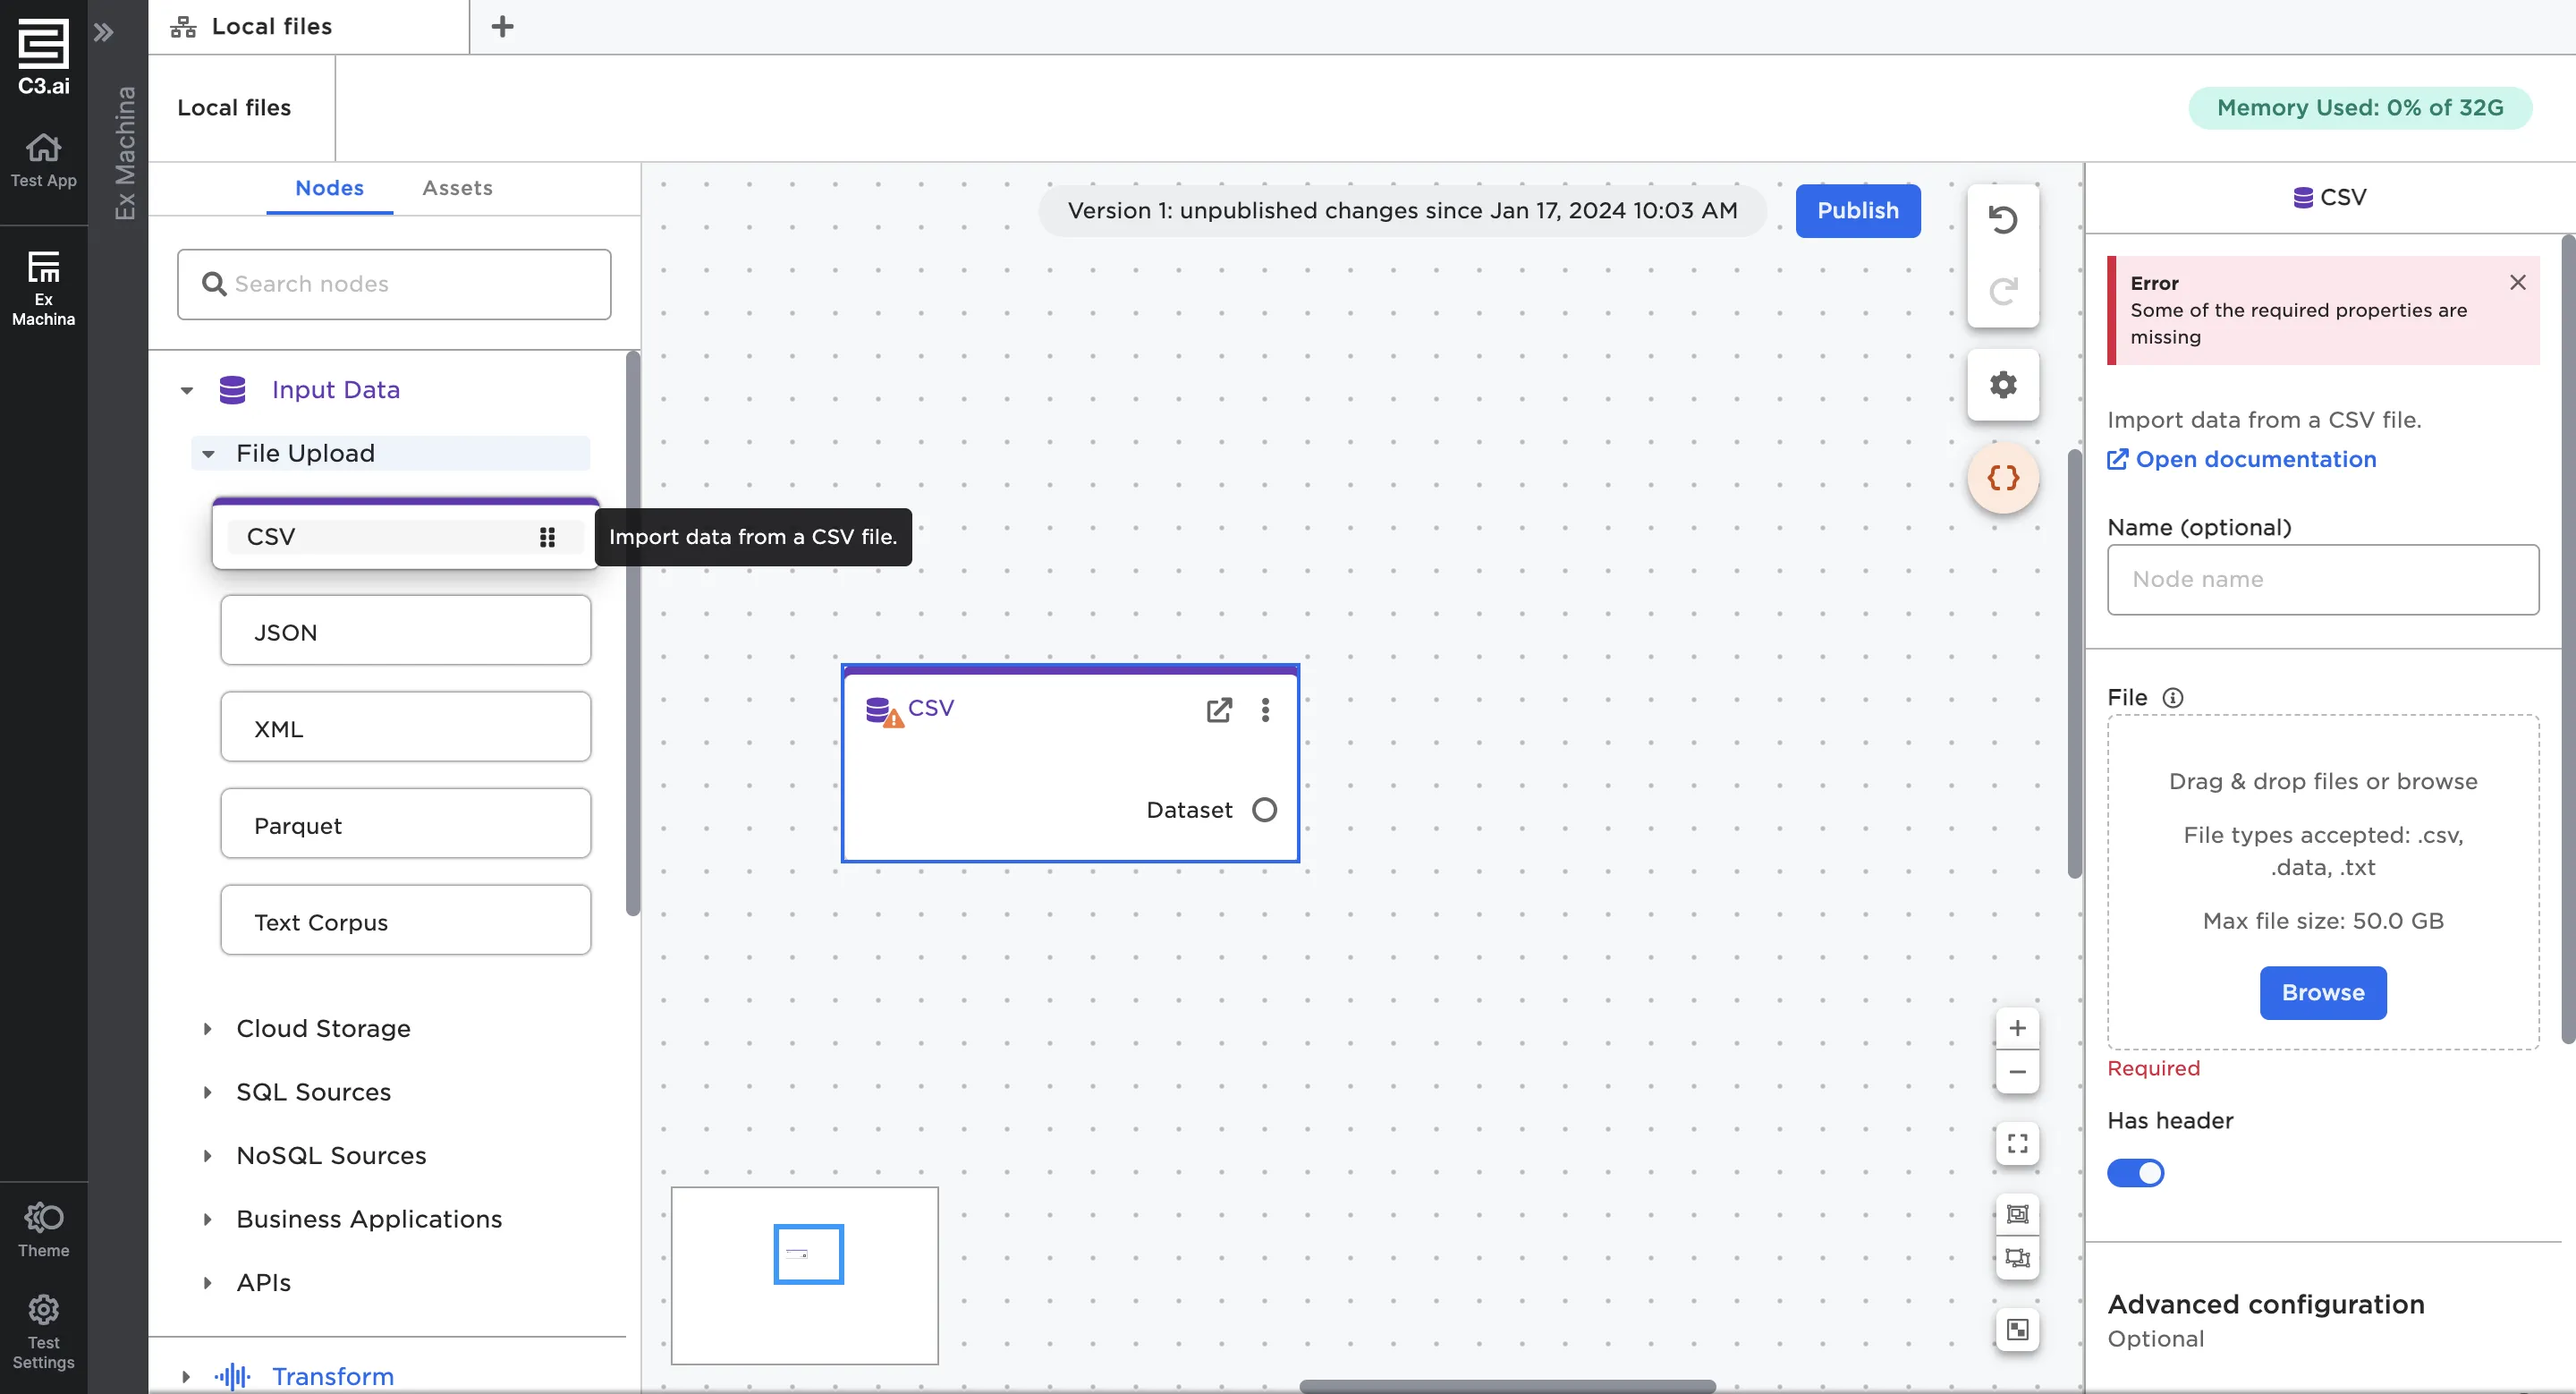
Figure 2: A CSV node on the canvas
All of the file upload nodes have similar functionality. You can either drag the file you'd like to upload into the dotted box, or select Browse to access your local file system. You can select multiple files to upload if all selected files share the same schema.
The Text Corpus node is the exception. The Text Corpus node only lets you upload multiple .txt files inside a directory or nested directory. You cannot upload single files using the Text Corpus node.

Figure 3: Selecting a file to upload
Once you've selected a file, you should see a status bar as Visual Notebooks uploads the file. When the upload process is finished, you'll see 1 file uploaded successfully in green beneath the file name.
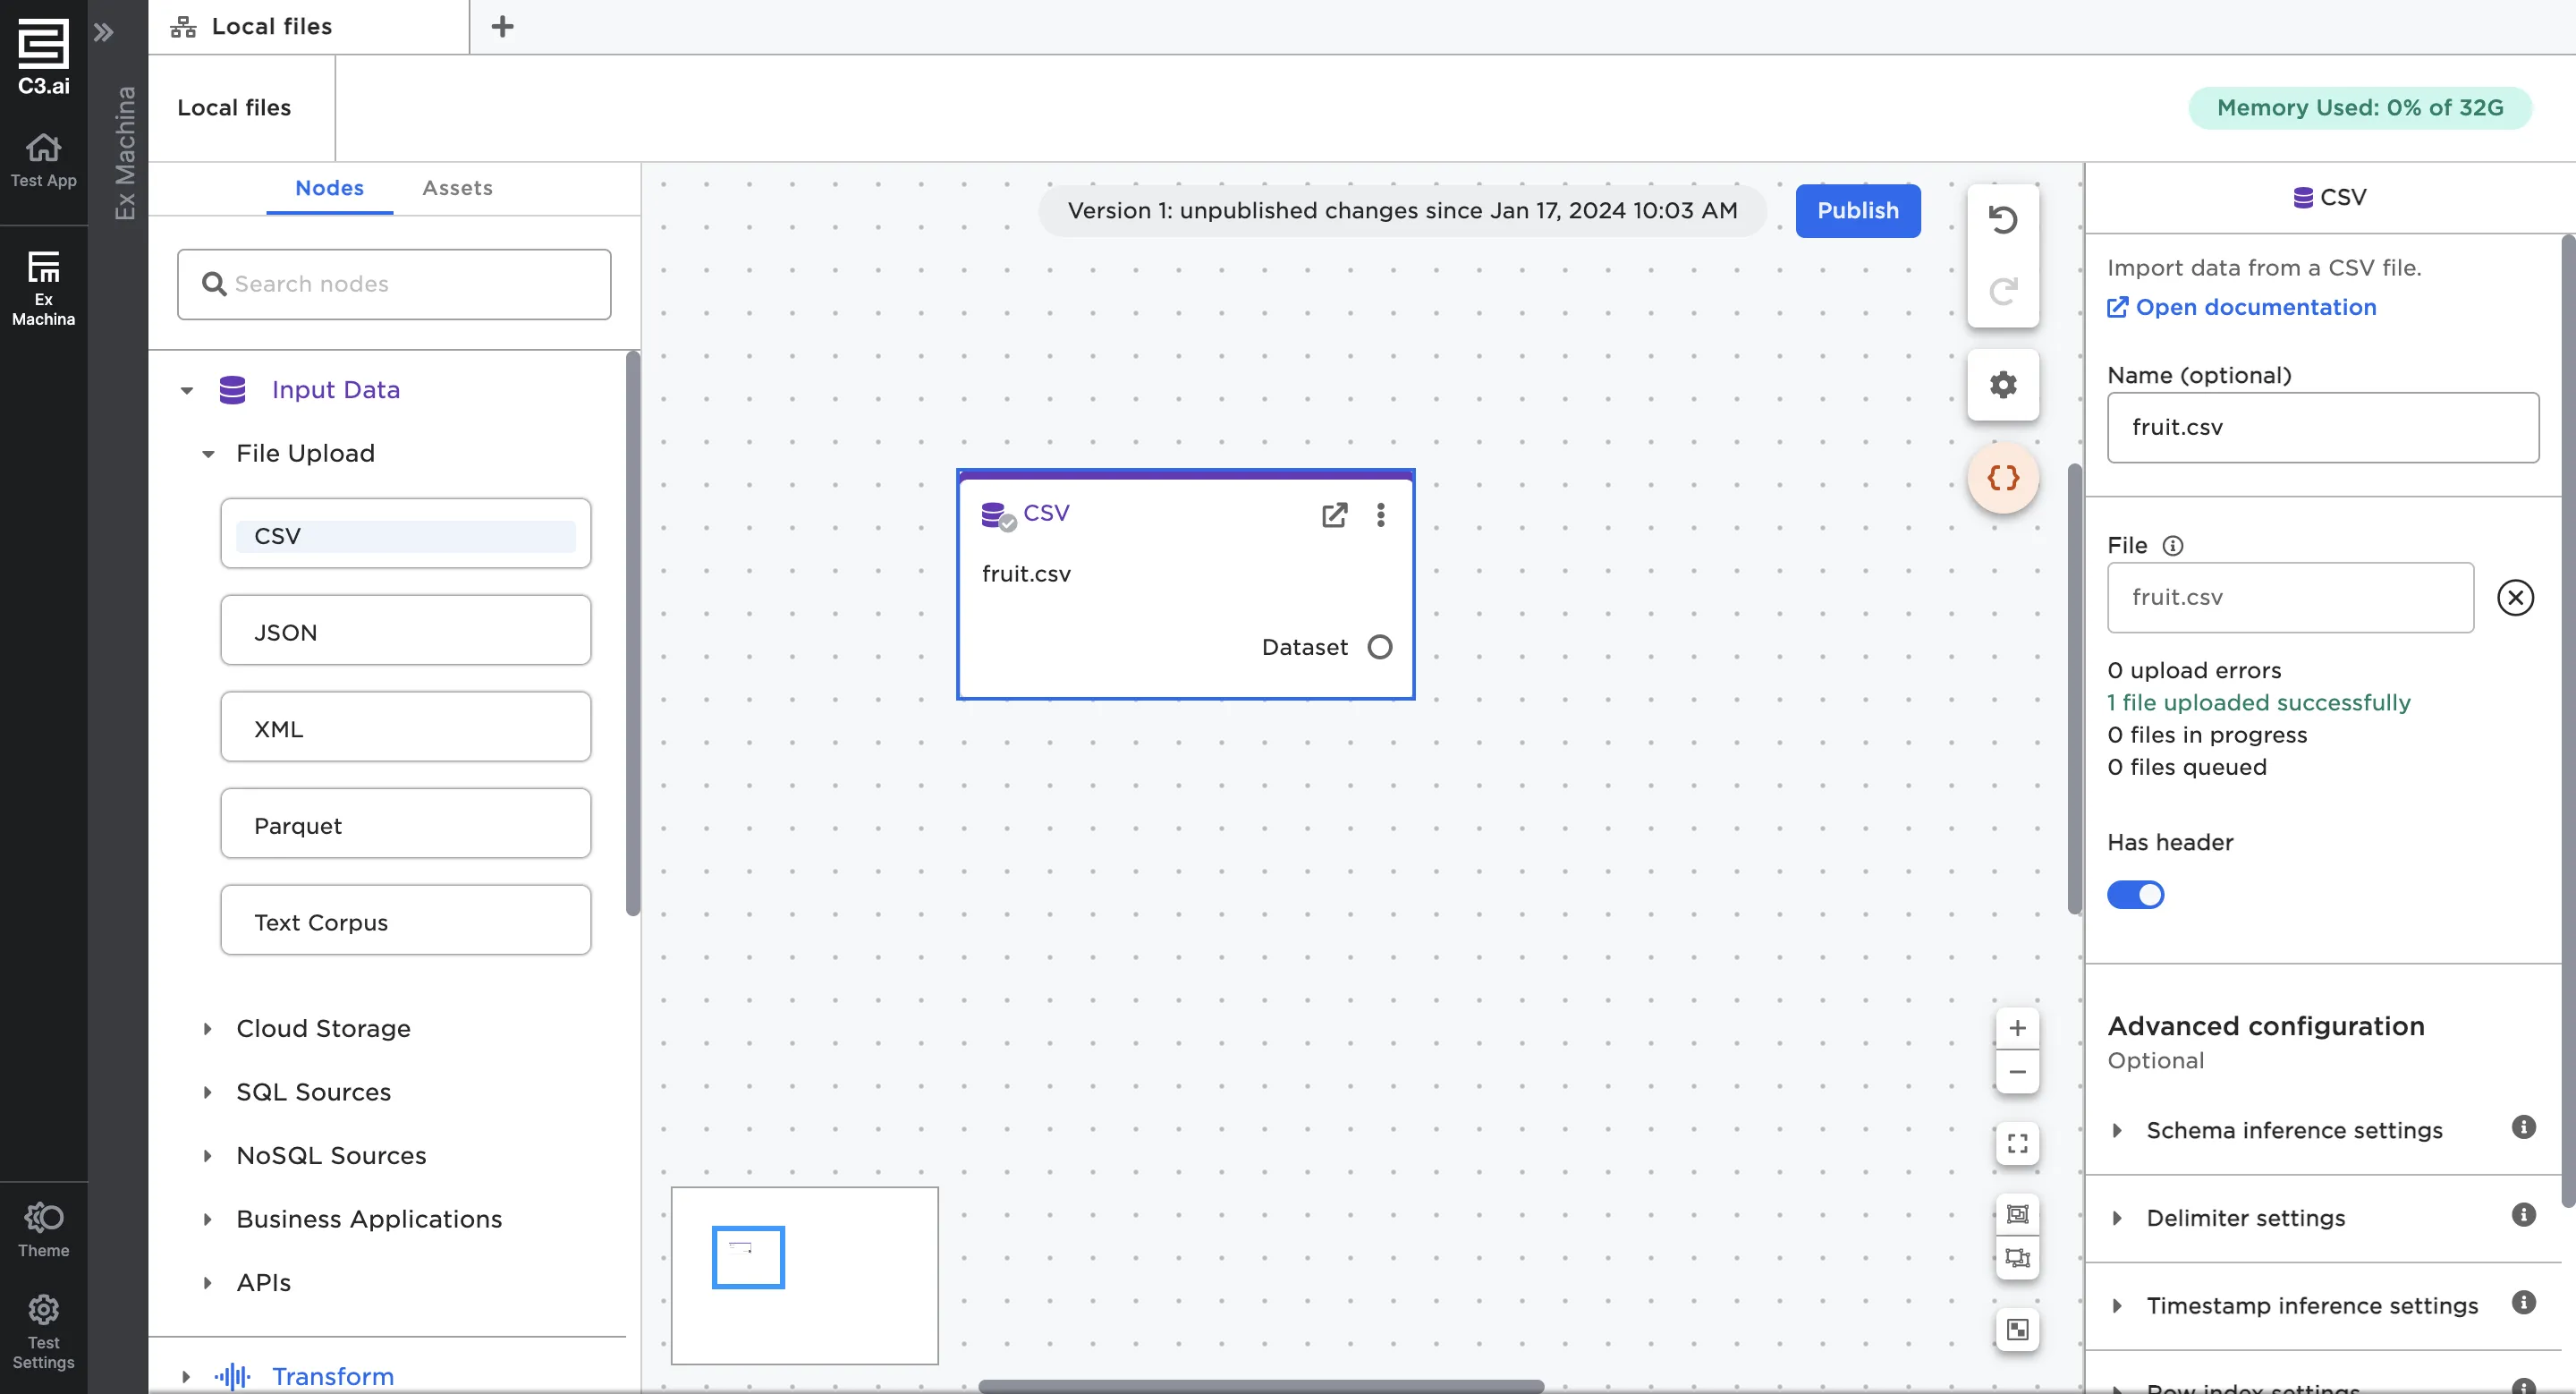
Figure 4: File uploaded successfully
If you want to upload multiple files in a single node, all files must have the same schema. Files uploaded in a single node will be appended together to form one dataframe.
If you have files with different schemas, or prefer for each file to be its own dataframe, you must use multiple nodes.
Again, the Text Corpus node is different than the other file upload nodes. For more information about how the Text Corpus node uploads multiple files, see that node's documentation.
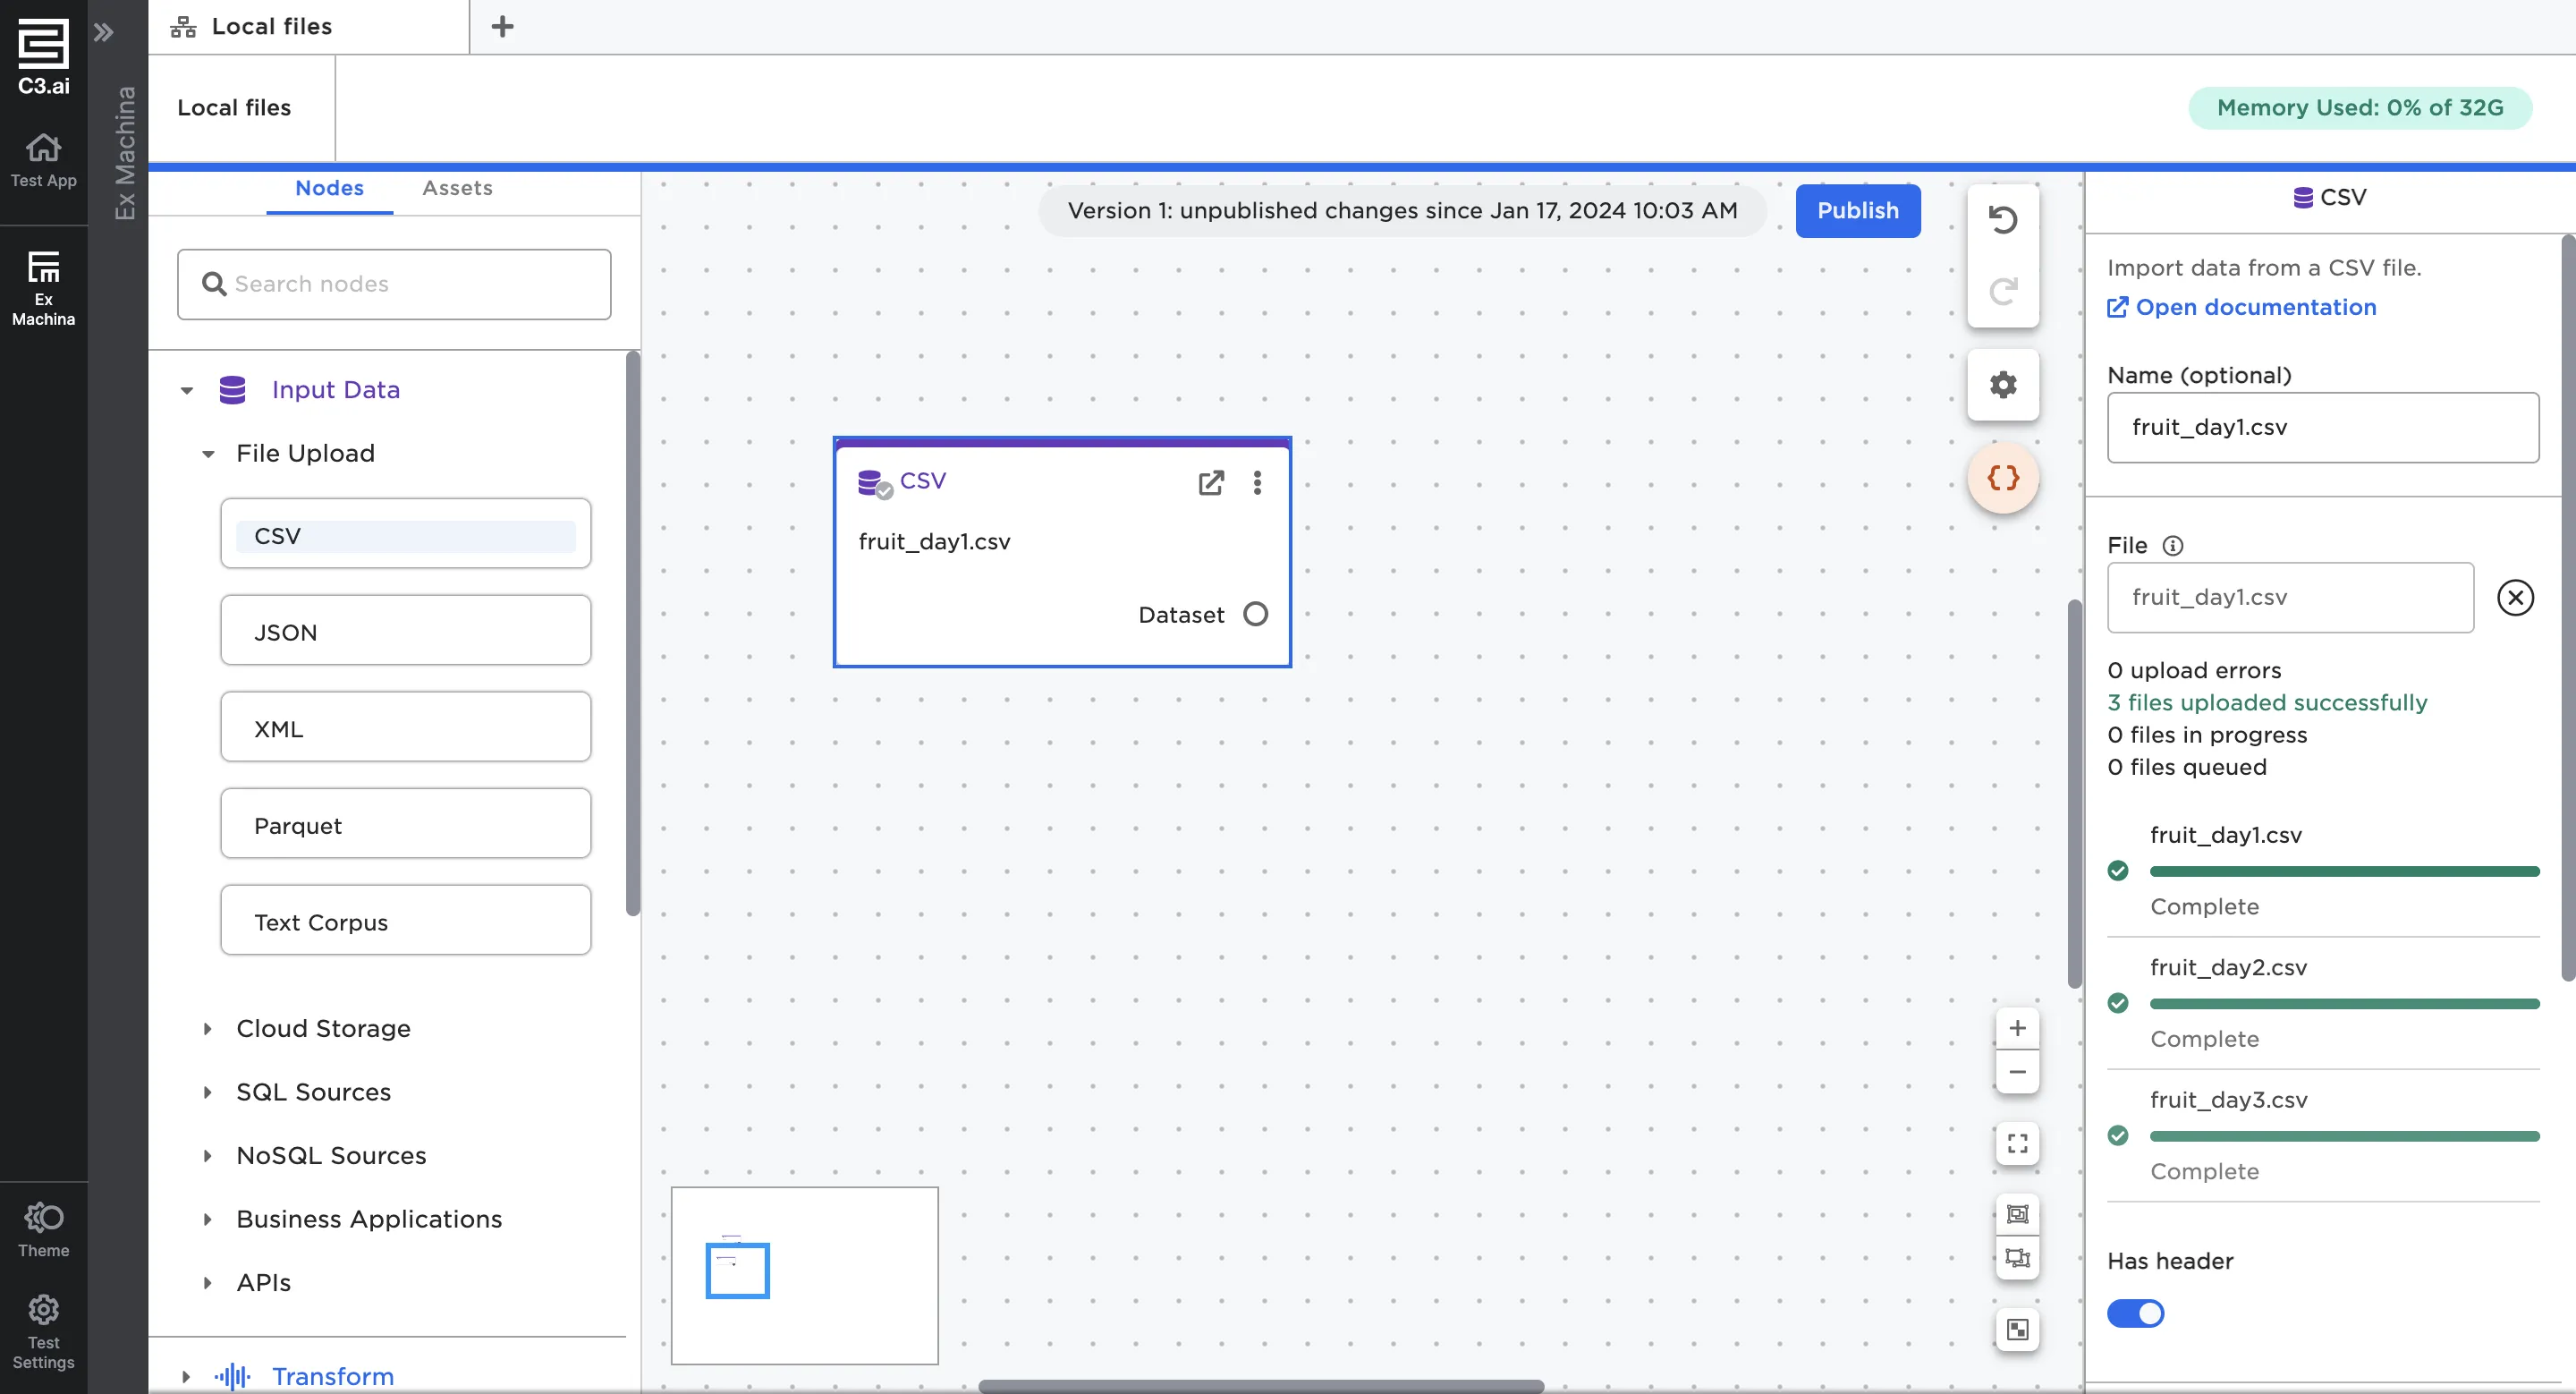
Figure 5: Uploading multiple files in one node
If you upload multiple files in one node, the name of the node defaults to the first uploaded file.
Configure the dataframe
Visual Notebooks automatically creates a dataframe for your files based on the file structure. If your file has a non-standard structure, you may need to use advanced configuration options to ensure that the resulting dataframe matches your data.
For example, CSV files typically use commas as delimiters. If your file uses a different character as a delimiter, you should specify the custom delimiter so Visual Notebooks interprets the data correctly.
The CSV, JSON, and XML nodes have configuration fields. For information about how to use each field, see the documentation for the node you're using.
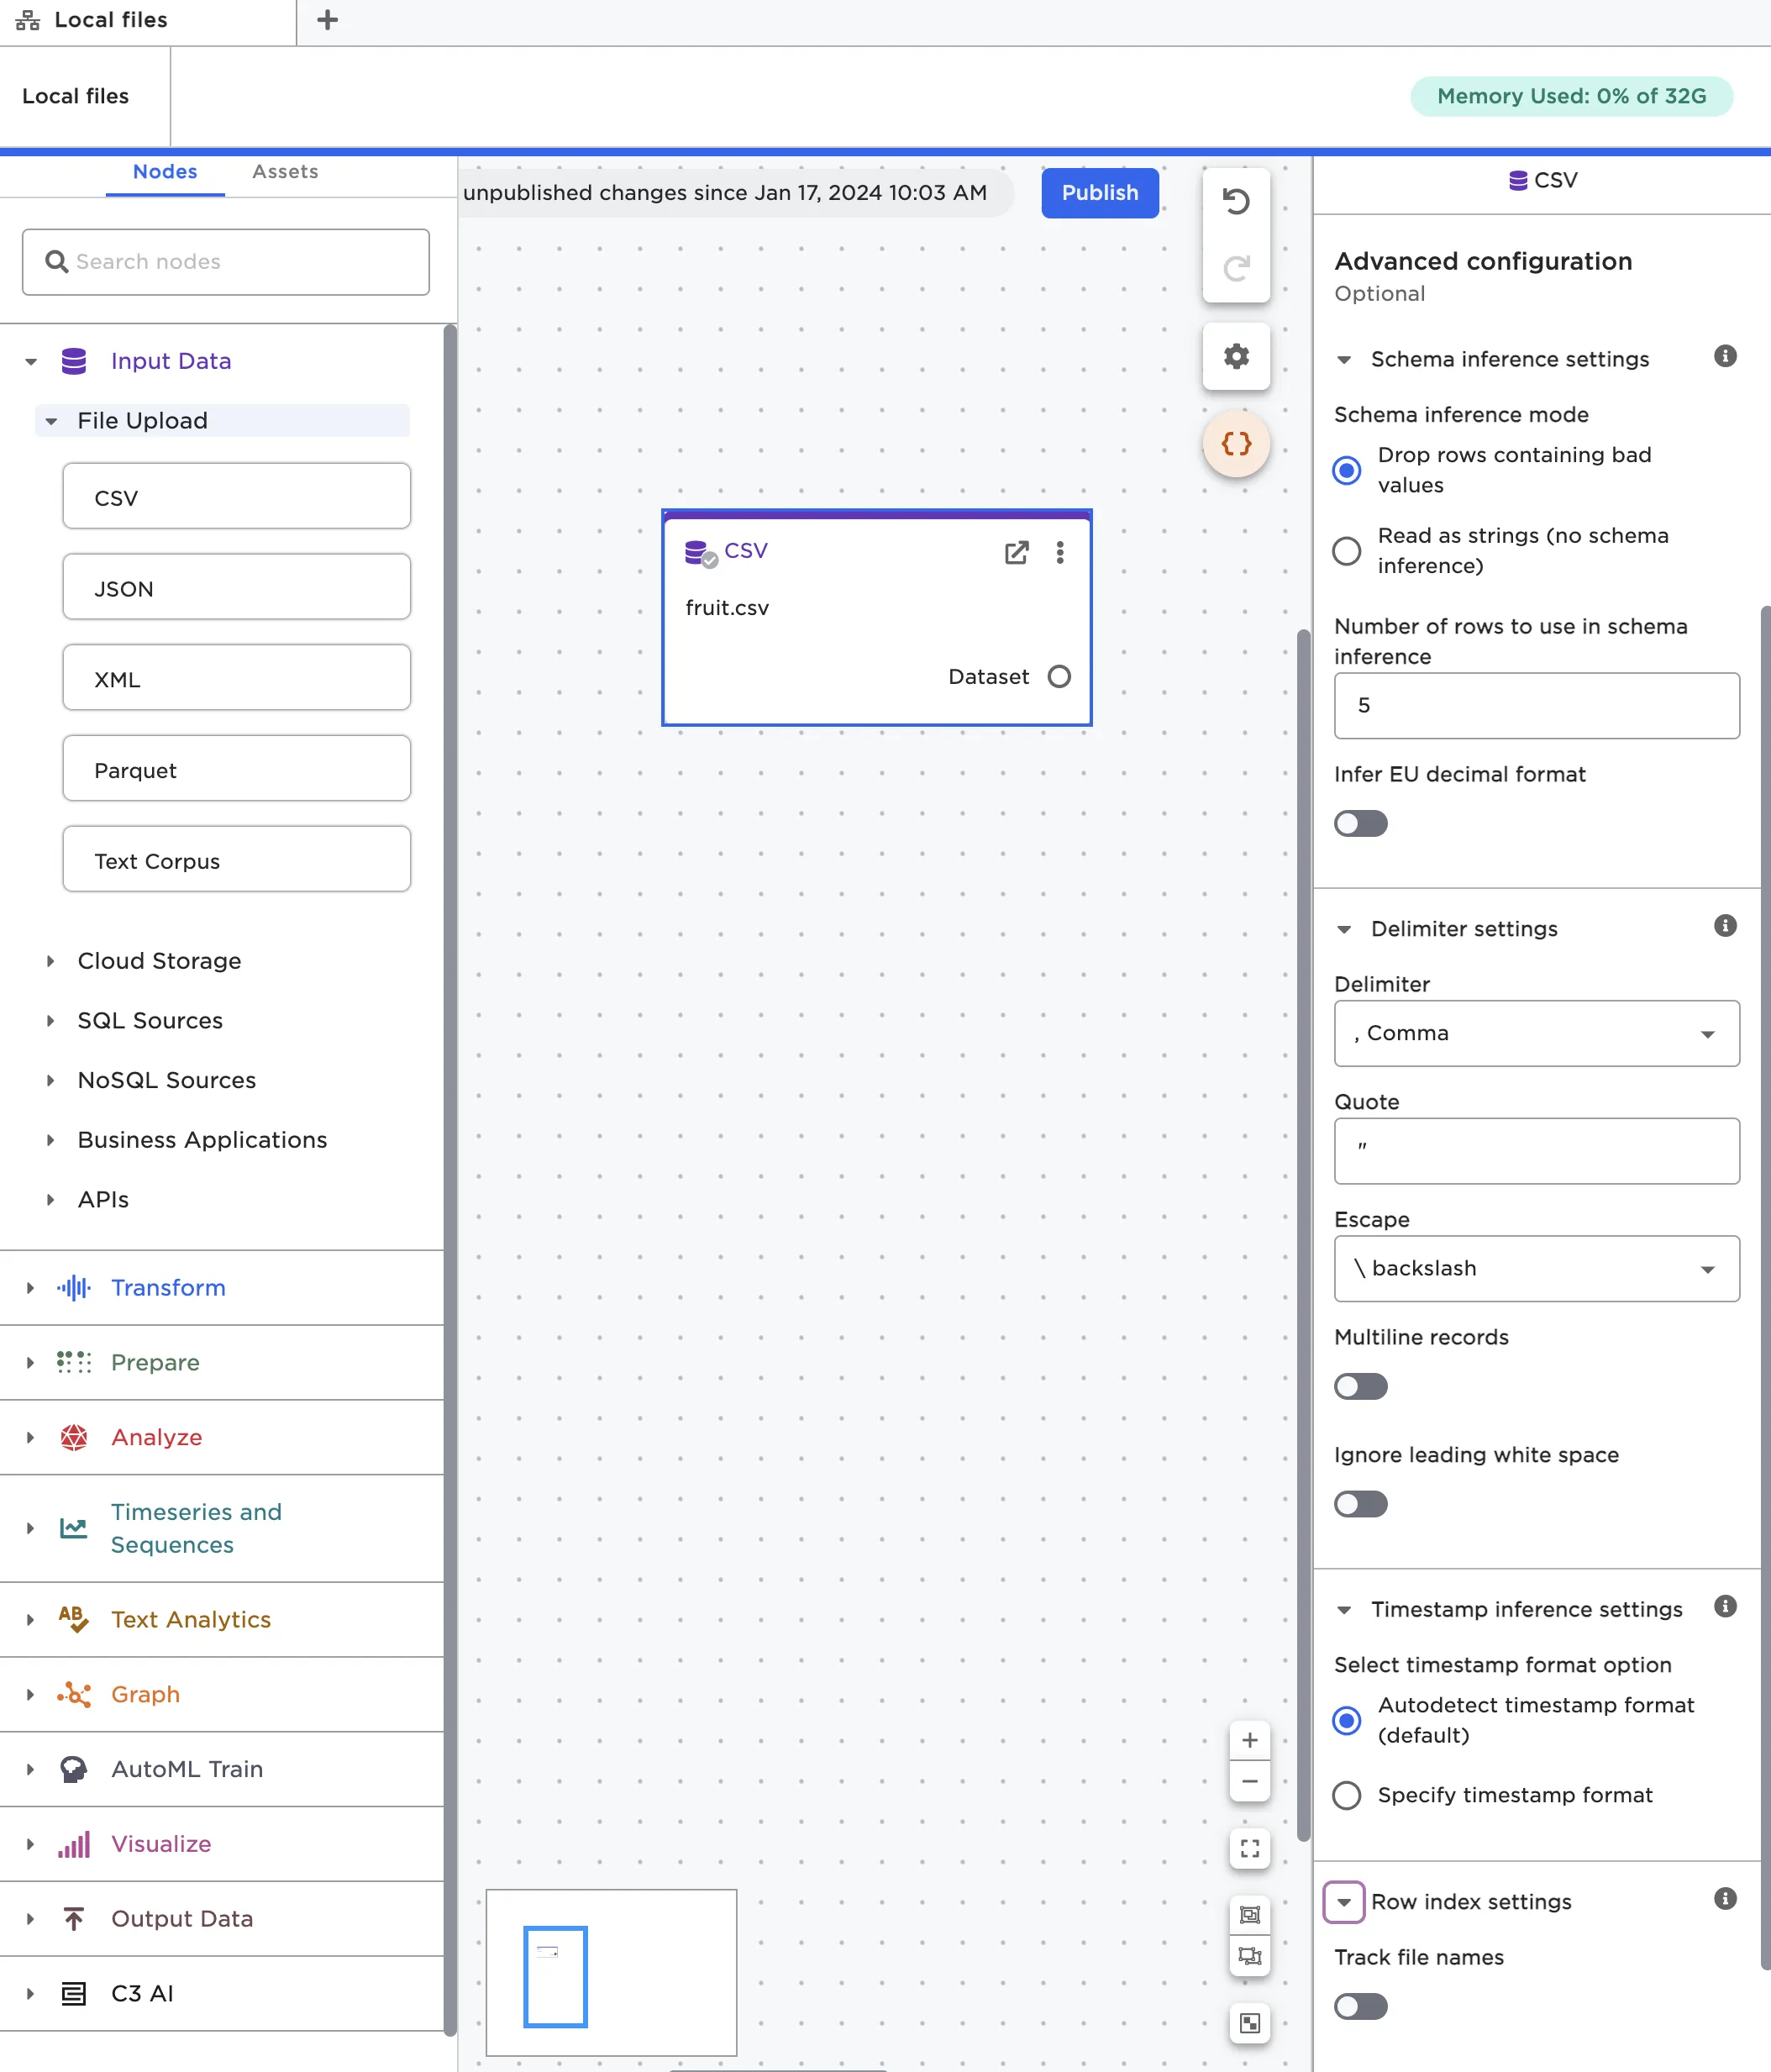
Figure 6: Dataframe configuration options in the CSV node
View the dataframe
After you've uploaded files, you can view and interact with the resulting dataframe. To see the dataframe, you must open the node in the full-screen view. You can double click on the node, or select the arrow icon in the right corner of the node.
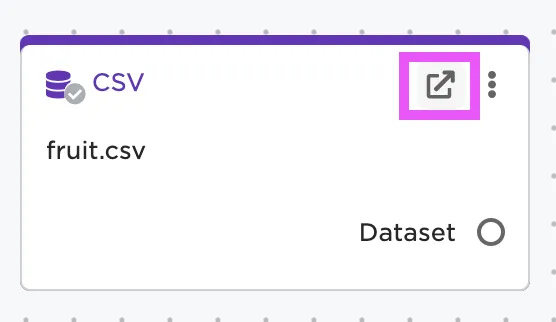
Figure 7: Open the full-screen view of a node
If the files uploaded successfully and the node is correctly configured, you should be able to select the blue Run button at the bottom of the configuration panel. After you select Run, the dataframe appears to the right.
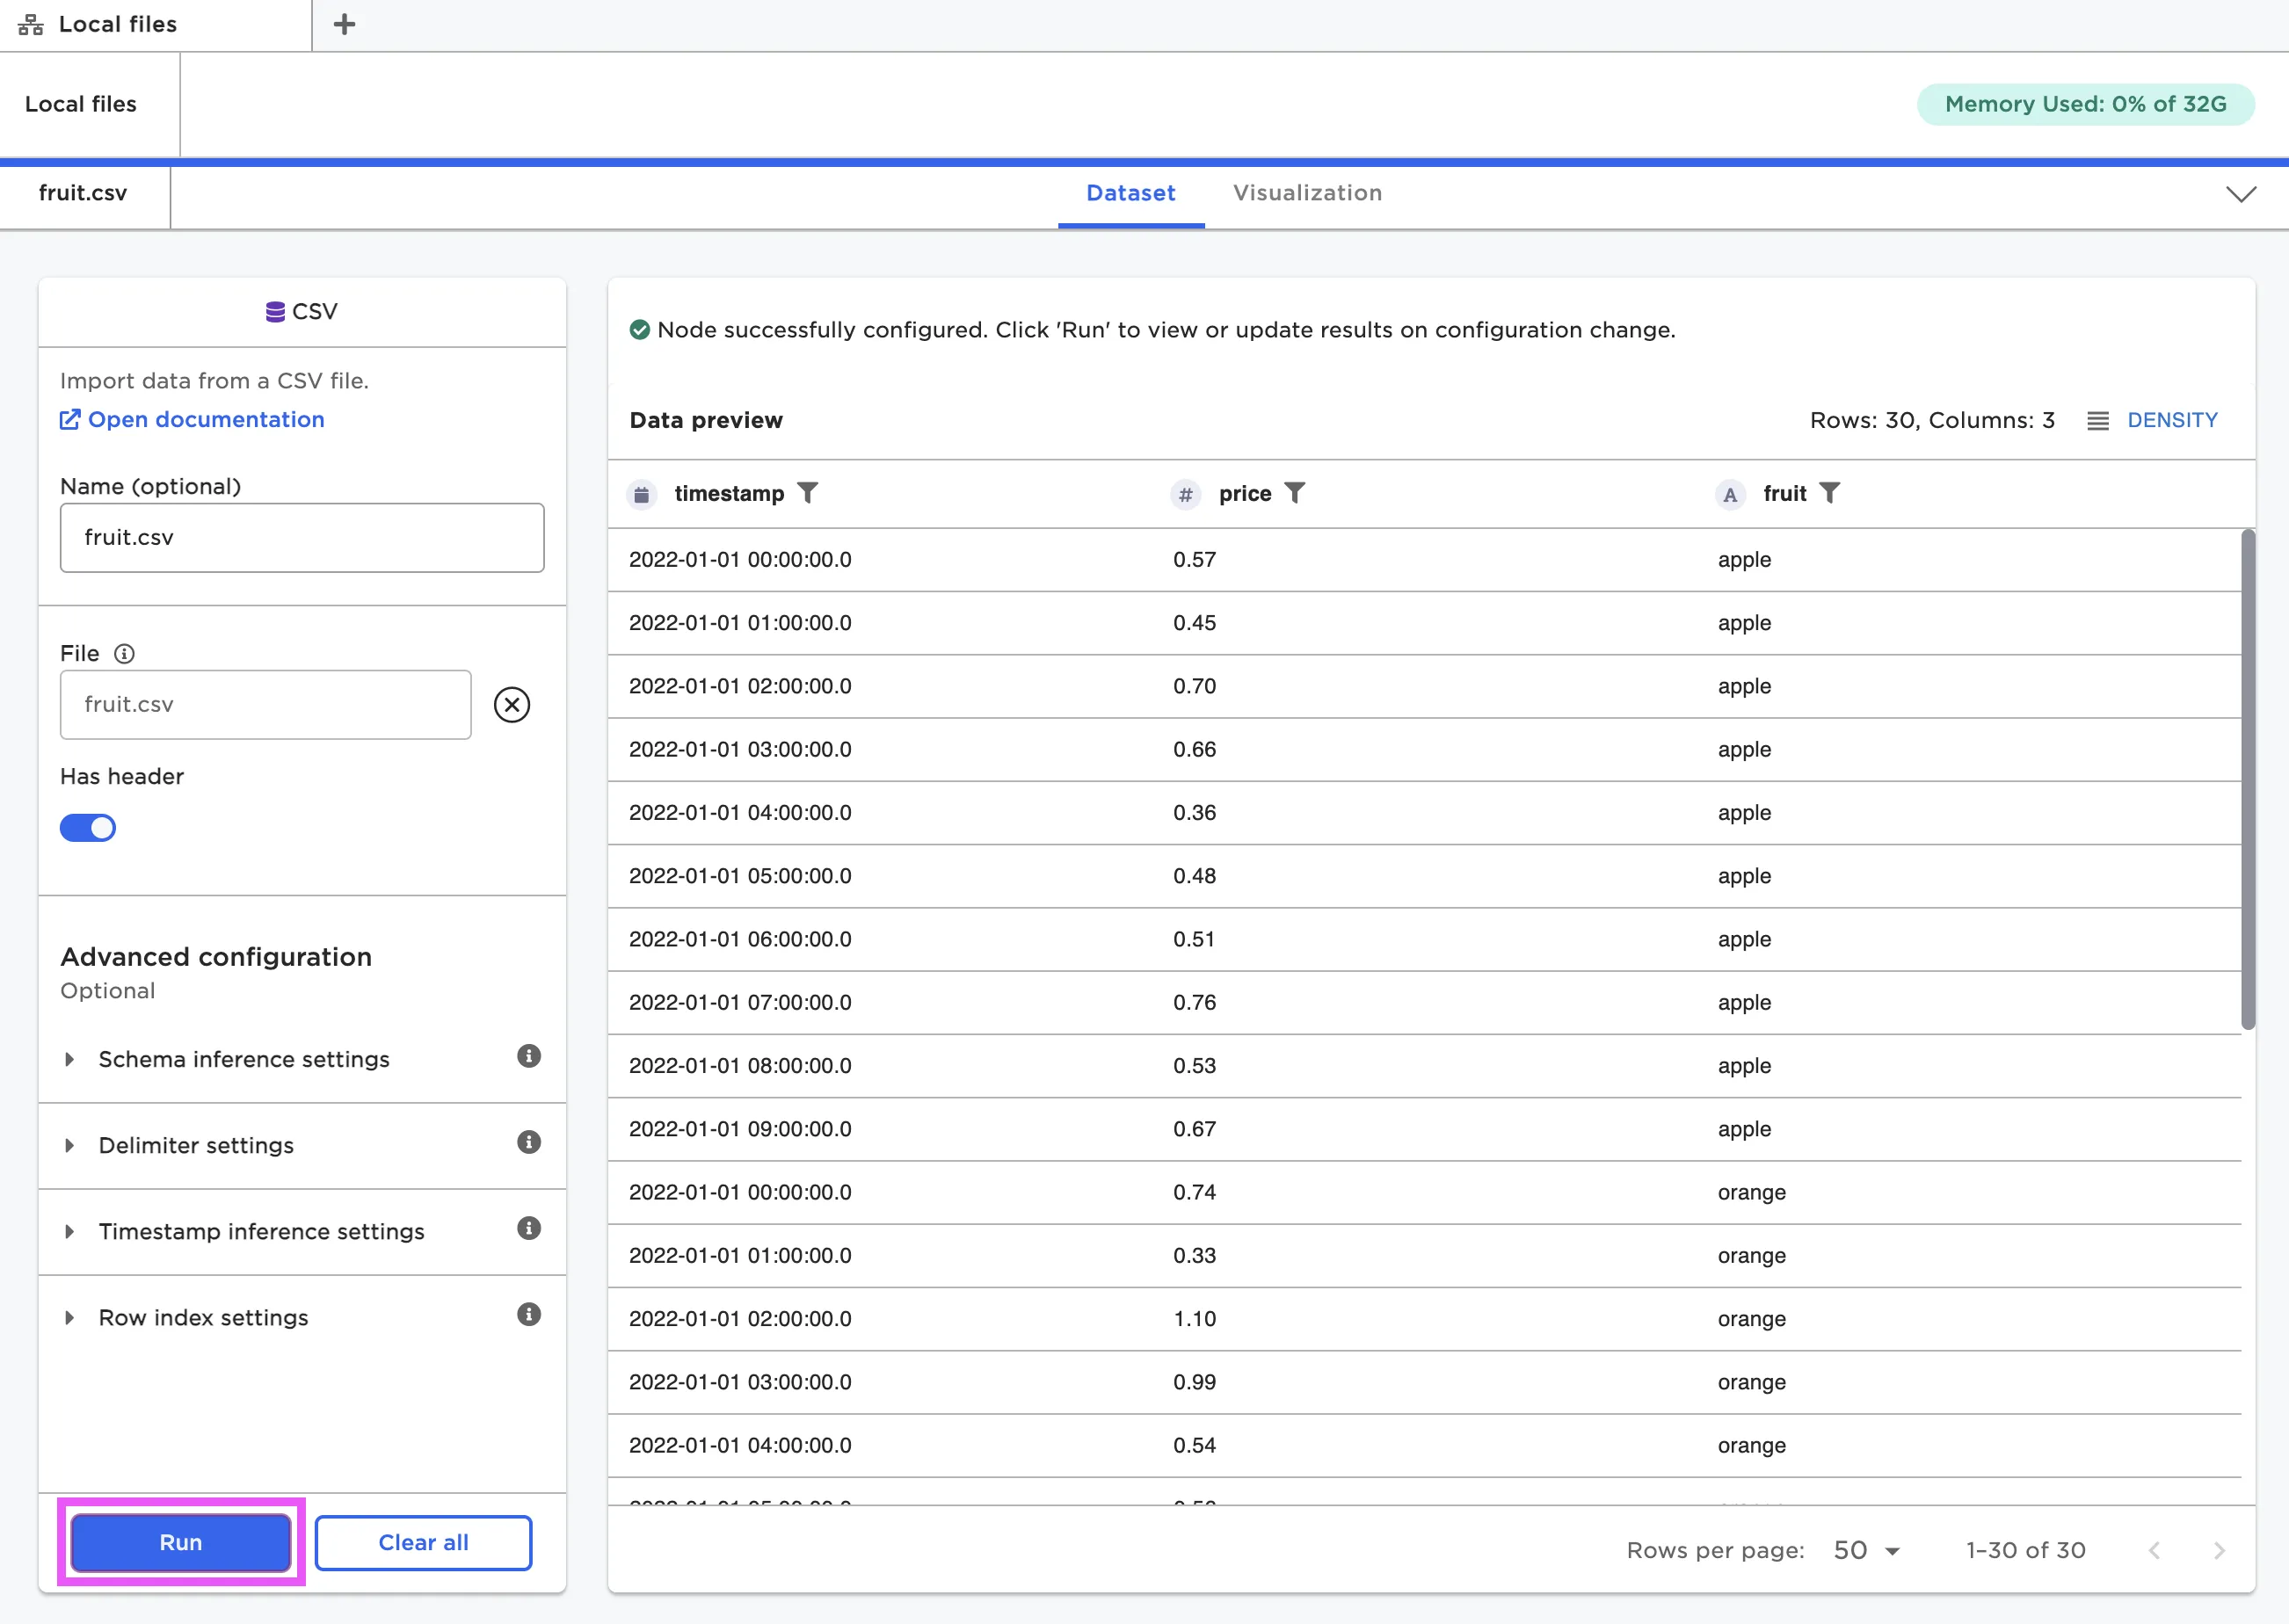
Figure 8: View the dataframe within a node
For more information about interacting with dataframes, see Working with Nodes