Teach Your Agent
Teach Your Agent builds an intelligent workflow, as Mine Workflow does: a saved, step-by-step procedure that agents rerun on new data. Instead of starting from a finished conversation, you start from scratch and describe the procedure to the Workflow Builder, the agent that writes the workflow. You supply the knowledge the workflow needs, and the builder turns any gap into a placeholder for you to fill later.
The example teaches a workflow that lists the Smart Factory machines with the most breakdowns. You complete five steps:
- Open the Workflow Builder.
- Describe the workflow.
- Answer the builder's questions.
- Review the summary and save the workflow.
- Find the saved workflow.
Testing, deploying, and the workflow tabs work the same way for every workflow. To learn about them, see Run and Mine a Workflow.
Before you start
The builder needs a description of the procedure and the knowledge behind it, such as which records count as a breakdown. Start in either of two ways:
- With the Smart Factory example: keep fault_events.csv at hand to attach during the session. It holds the past breakdowns with the machine, fault type, and severity of each. The builder reads the file to check its steps. To create it, see Generate the Sample Data.
- With your own process: know what a run takes in, what it produces, which rules it must respect, and what is out of scope. Use the prompt on this page as a pattern.
Open the Workflow Builder
The builder works in its own workspace, which starts when you open it. To open the builder:
- Select Teach Your Agent in the header of a conversation or of the Intelligent Workflows page.
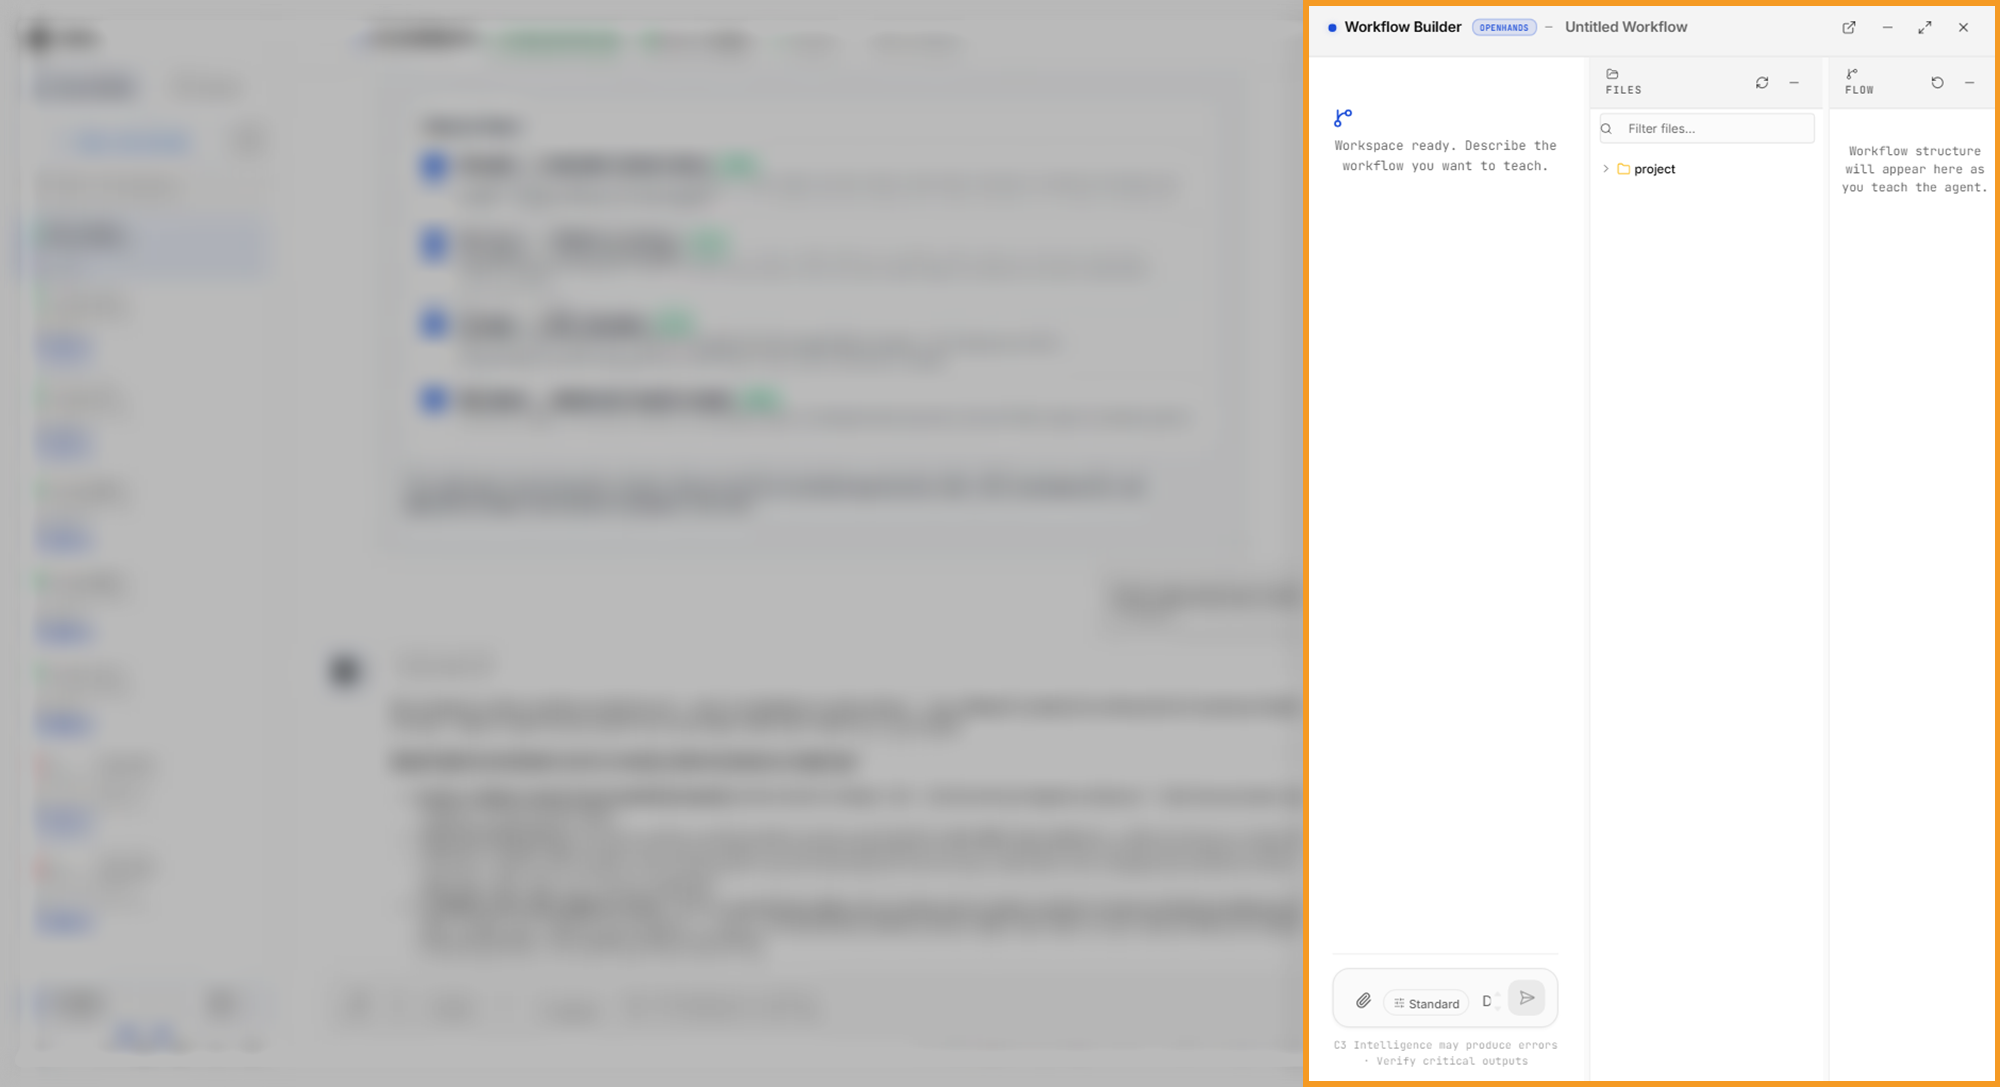
- Wait for "Workspace ready. Describe the workflow you want to teach." When the panel reads Setup failed — close and try again, close the panel and select Teach Your Agent again. If setup fails again, reload the page and sign in.
- Select Untitled Workflow in the panel header and type a name for the workflow.
Next to the chat, FILES lists the files in the builder's workspace, and FLOW draws the steps as the builder defines them:
Describe the workflow
Name the input, the output, and what each result must include. Send this message in the builder's message box:
I want a simple workflow that takes our machine fault records and lists the three machines with the most breakdowns, with a one-line reason for each.The message names no method, so the builder proposes the steps and you check them. You can change the request at any point in the session. The example began with a weekly risk ranking that also used sensor readings and narrowed it to this request, so the screenshots show the narrower request.
Answer the builder's questions
Answer the builder's questions one at a time. Take its suggestion unless it fixes a file name, a date, or a result, so the workflow keeps working on new data. When no suggestion fits, choose the option that ends in an ellipsis, such as Something else..., and finish the answer in the message box.
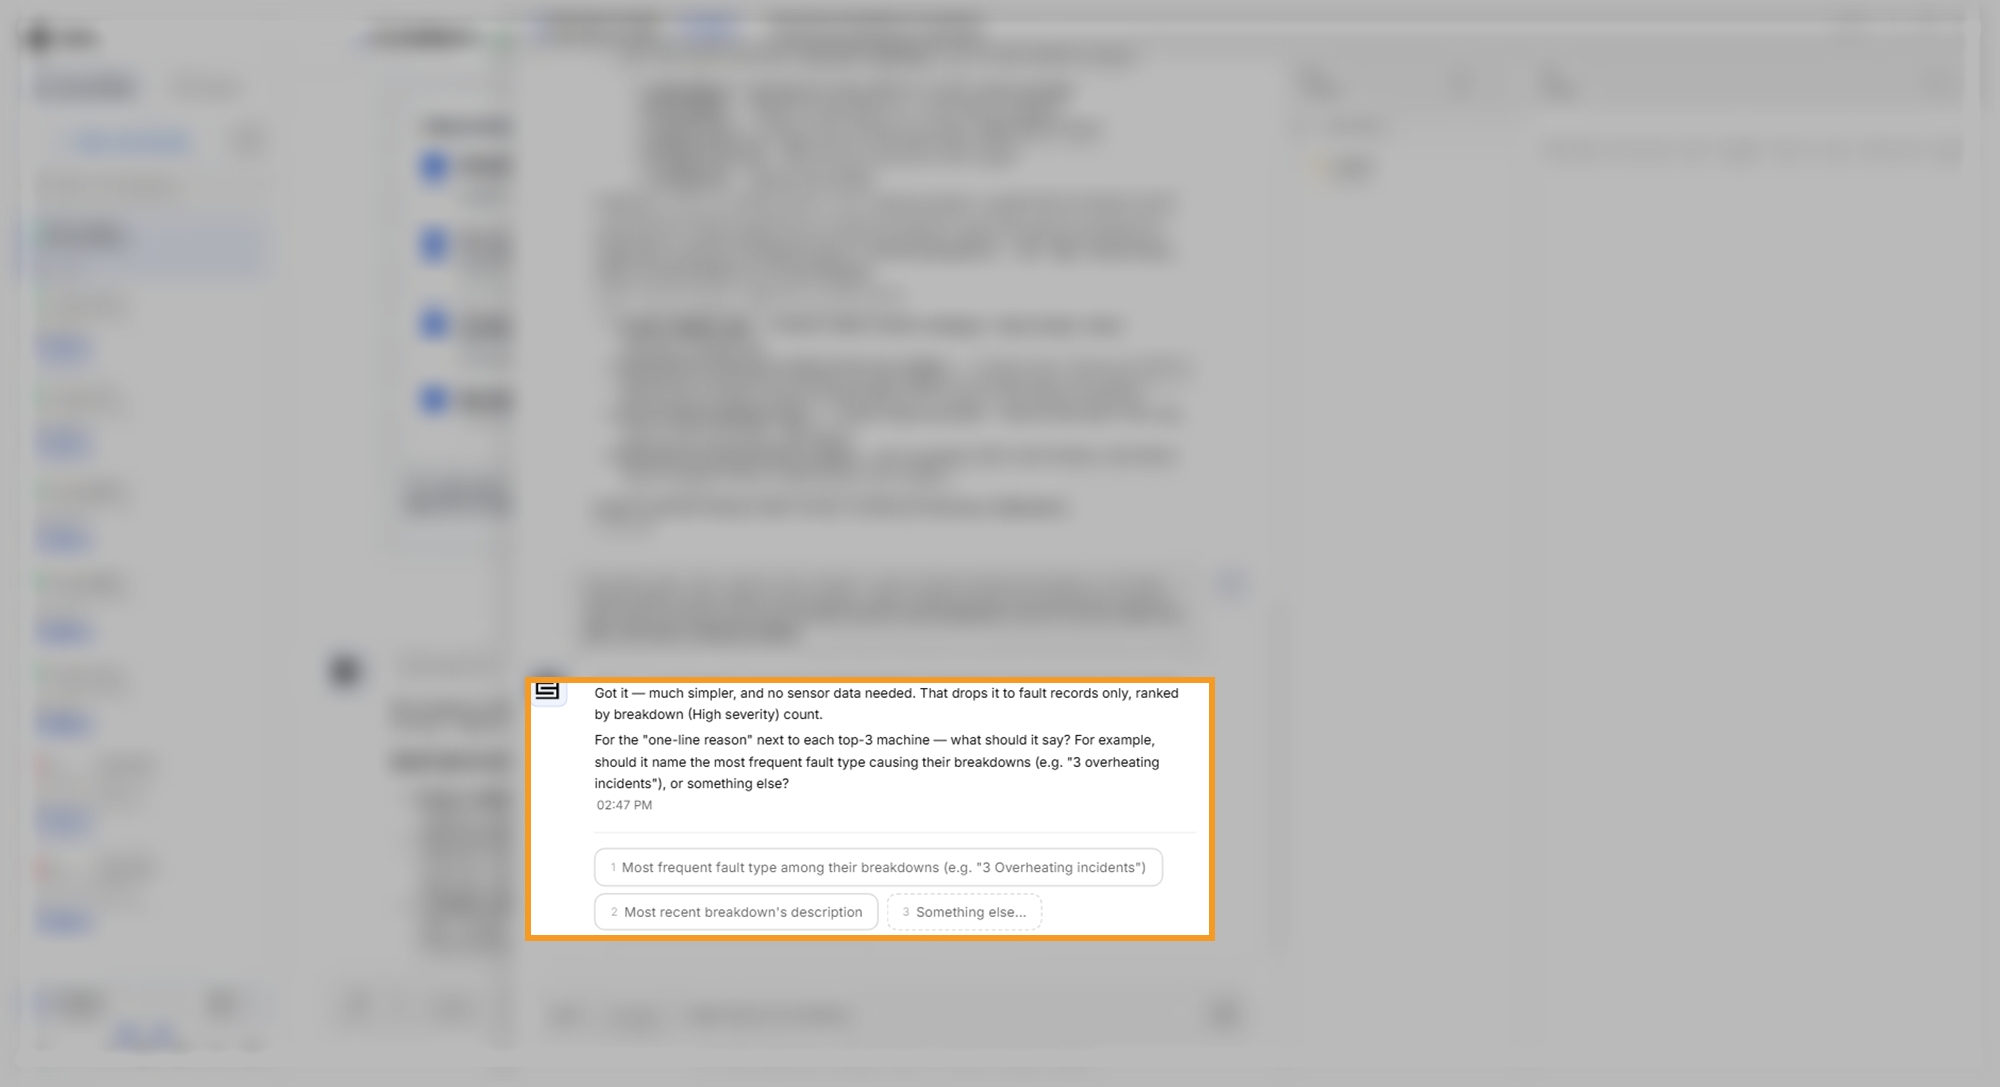
The builder reads any file you attach with Attach files, the paperclip in the message box, at any point in the session. In the example, attaching fault_events.csv let the builder check the columns before it sketched the steps. It asked which severity counts as a breakdown and what the one-line reason should say. It then sketched three steps for you to confirm.
Before it writes the steps, the builder asks about constraints: files that must never change, business rules, and work that is out of scope. Answer fully, because every run checks its results against these rules. The example said never to change the input files, to rank only the machines in the data, and that scheduling the maintenance is out of scope.
The builder writes only the knowledge you give it, such as which severity counts as a breakdown. When you leave a question open, the builder writes a placeholder and lists it as a gap in the summary.
Review the summary and save the workflow
The summary lists each step with the tool that runs it, the rules the builder captured, the knowledge files it wrote, and any gaps. Read the gaps first, because only you can fill them. The example summary lists three steps and no gaps:
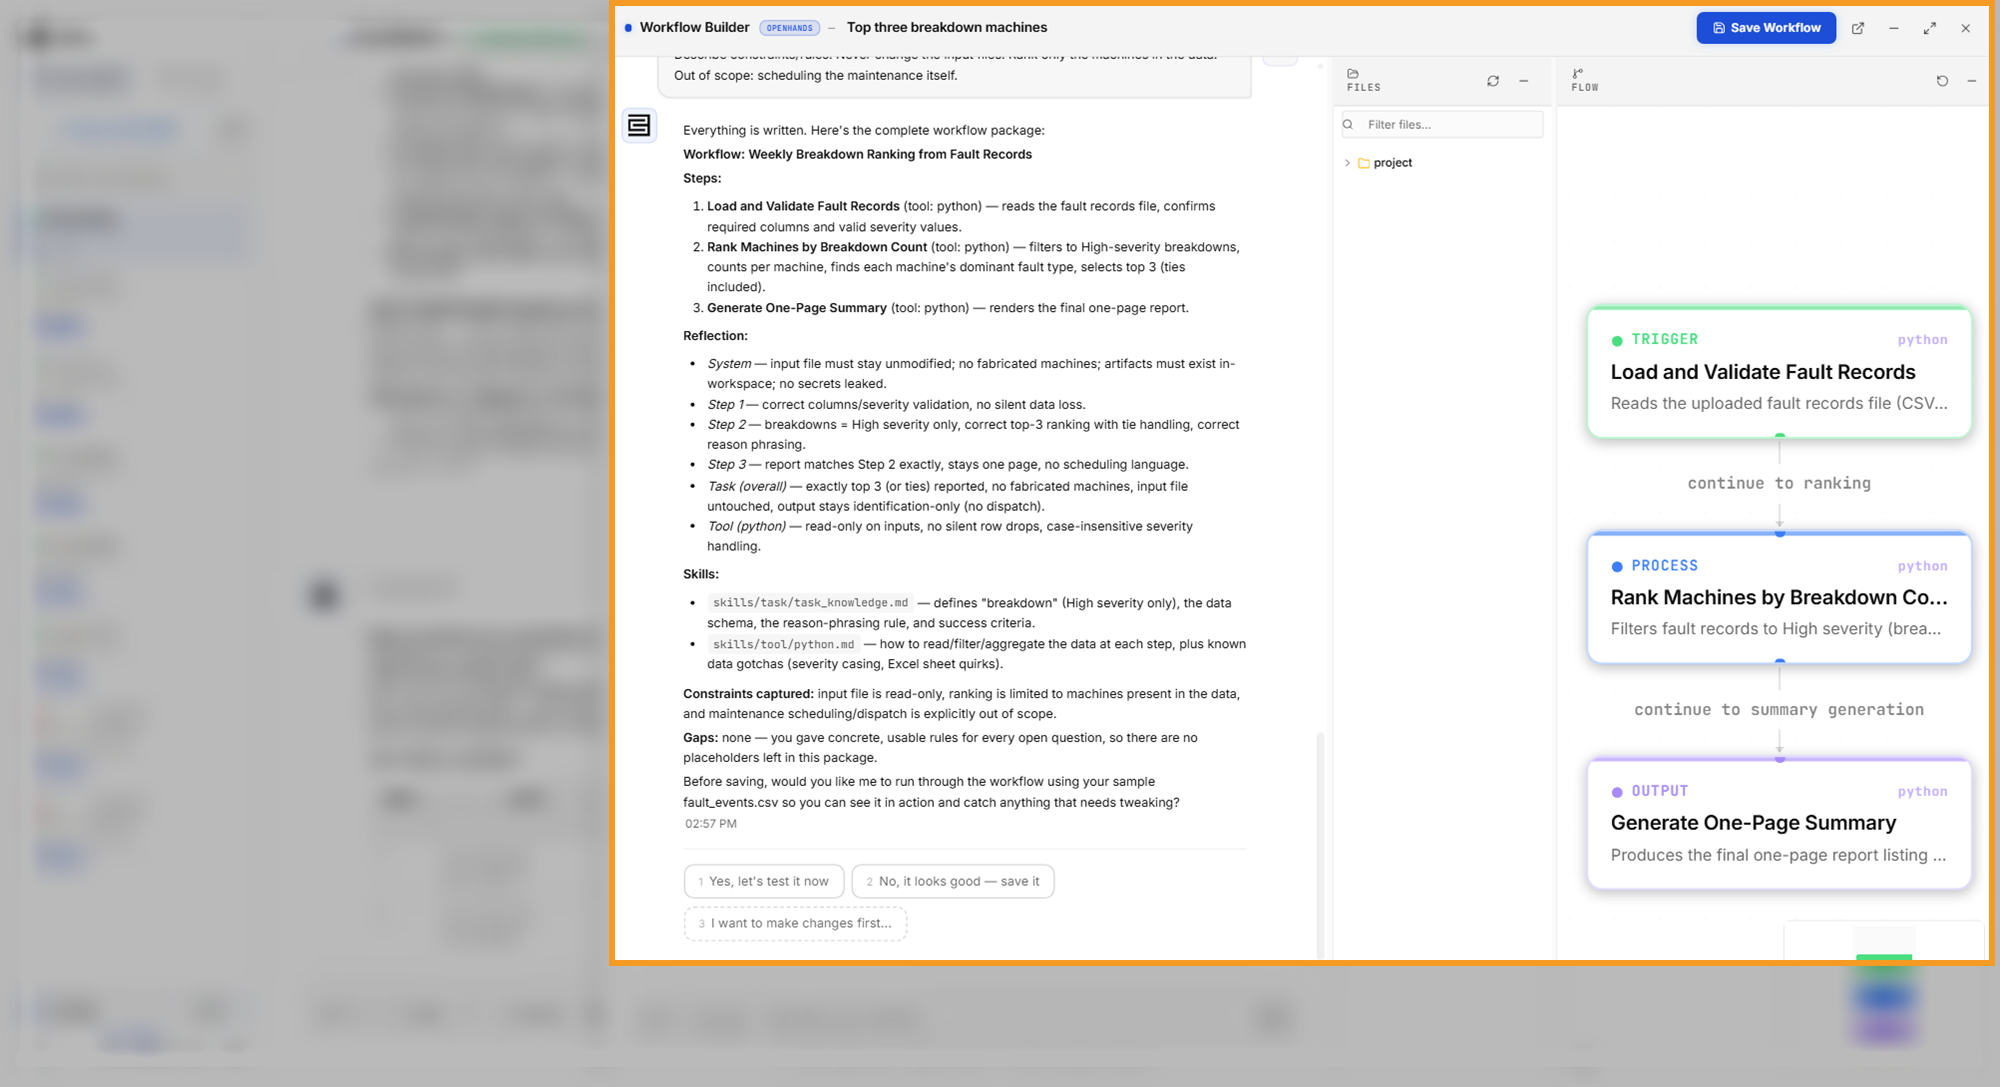
The builder then offers Yes, let's test it now, No, it looks good — save it, and I want to make changes first.... Select Yes, let's test it now to run the workflow on your sample data before you save it. The example saved without a test.
Save Workflow appears in the panel header with the summary. To save the workflow, select it. The panel closes, and the workflow appears on the Intelligent Workflows page. Save before you select End workflow session, because ending the session shuts down the builder's workspace.
Find the workflow
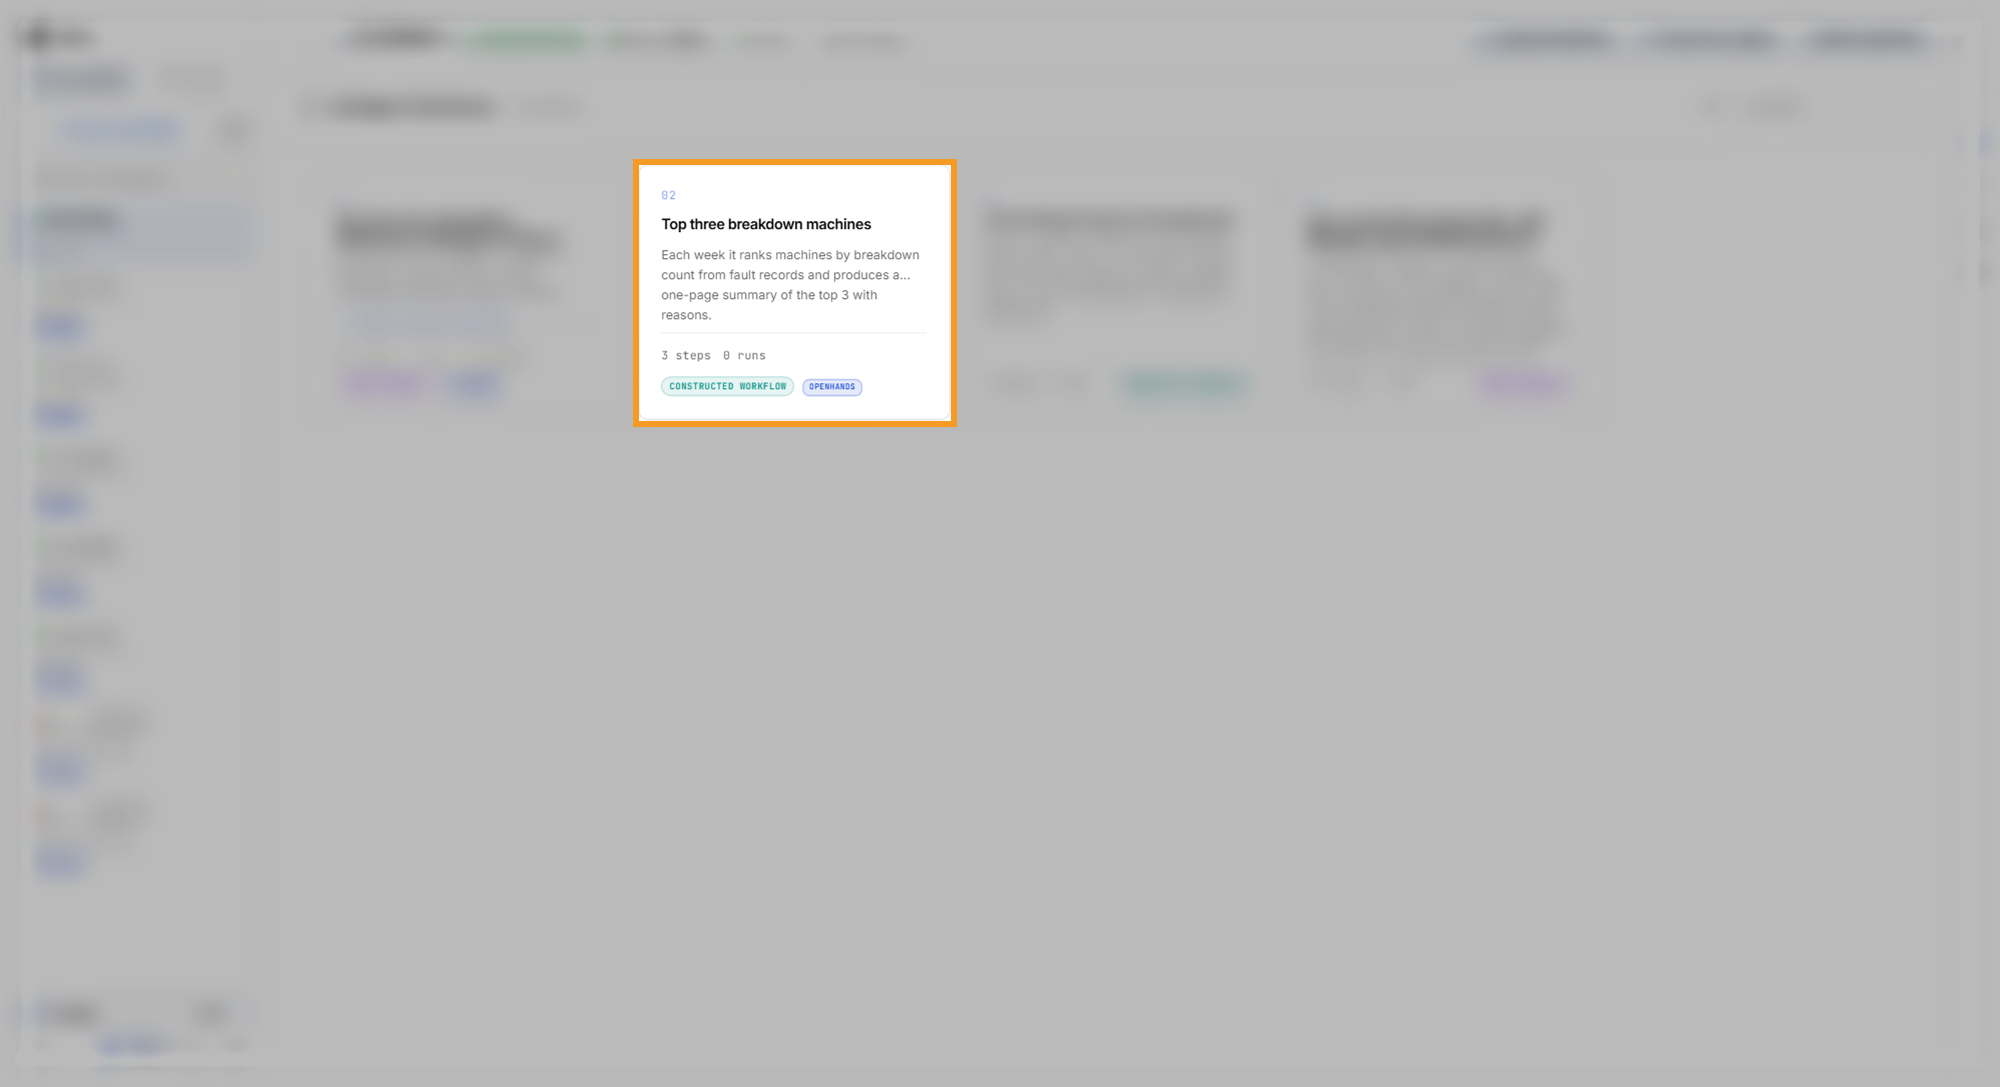
Open Intelligent Workflows with the lightning icon in the sidebar footer. Your workflow appears as a card marked CONSTRUCTED WORKFLOW:
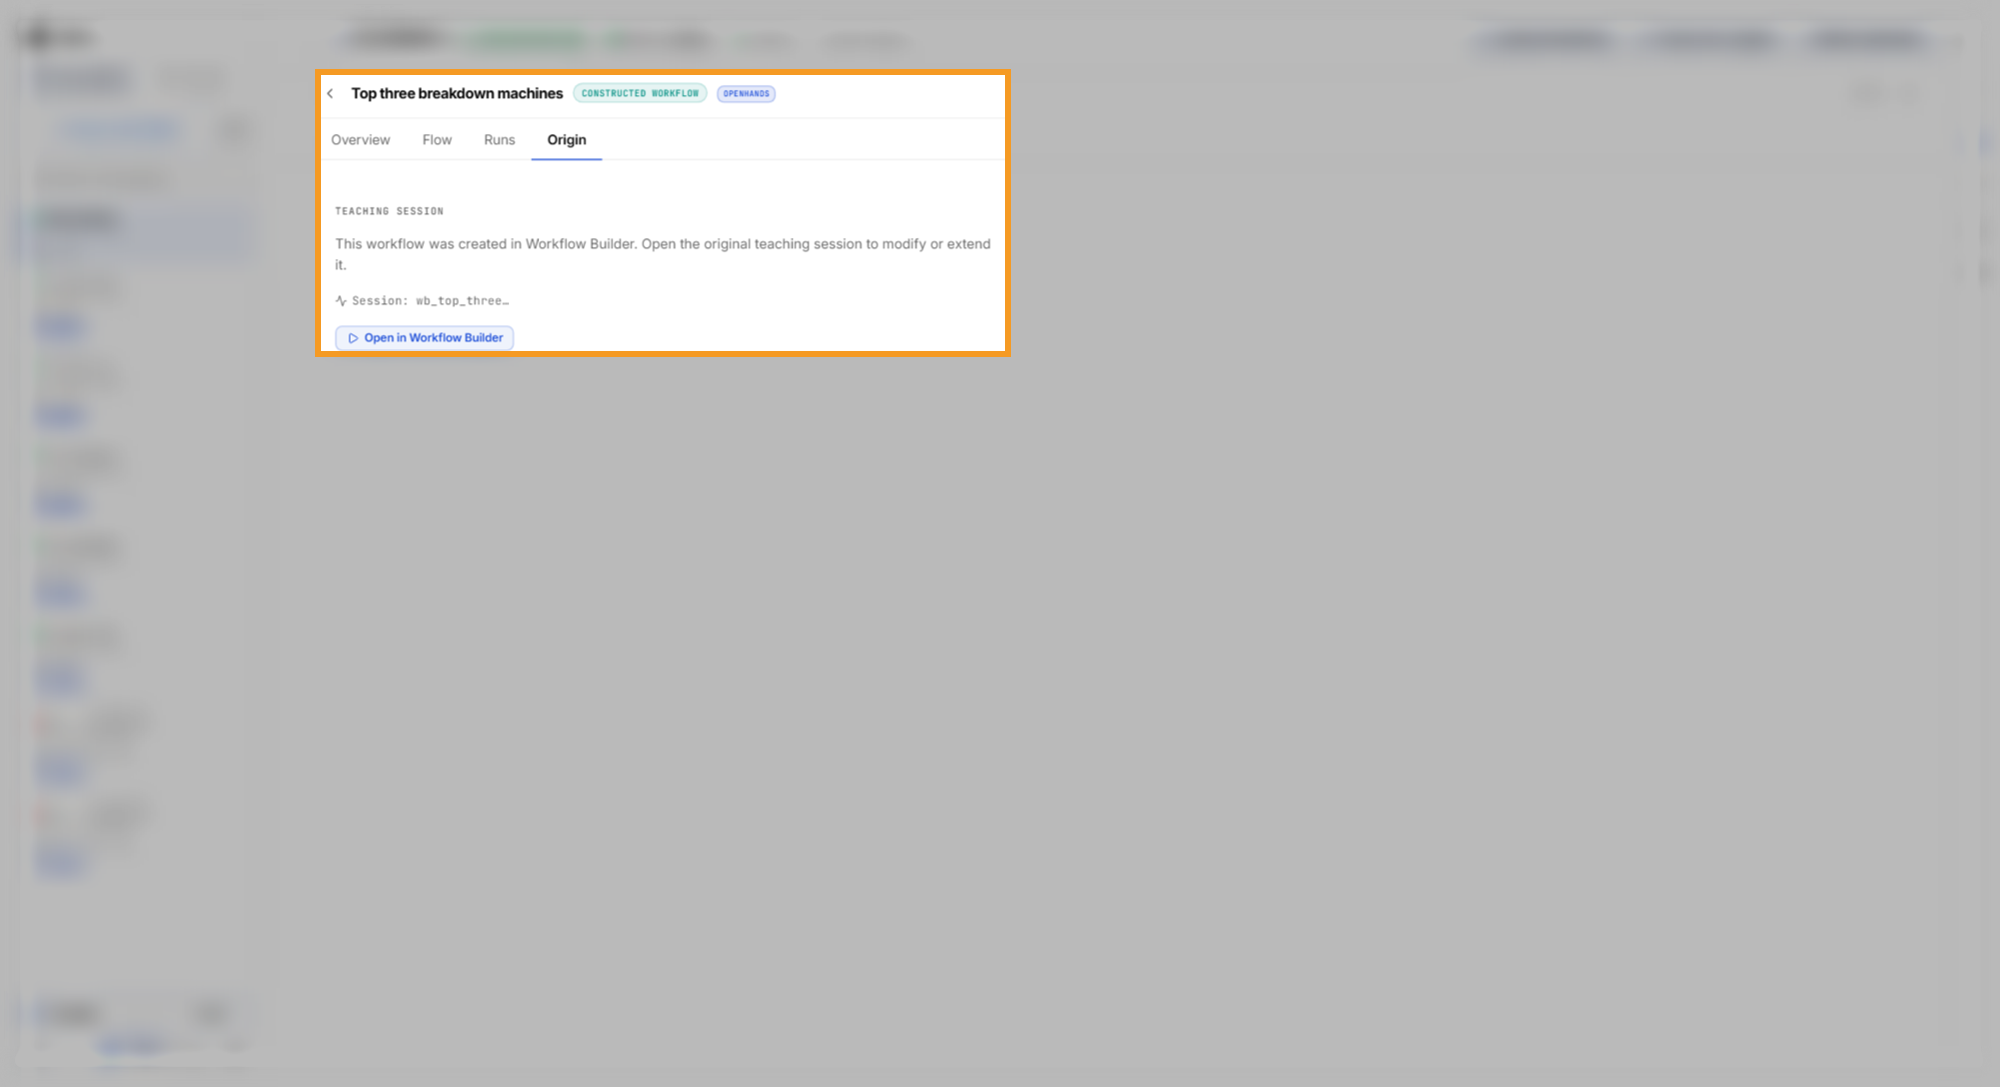
Its page has the Overview, Flow, and Runs tabs that every workflow has, plus an Origin tab. Select Open in Workflow Builder on the Origin tab to reopen the teaching session and change or extend the workflow:
To deploy the workflow and run it on new data, see Run and Mine a Workflow.