Add an Agentix Agent to Your Application
C3 AI Agentix is the agentic service of the C3 Agentic AI Platform. Its agents answer questions about the live data of your C3 applications and carry out tasks for your users, such as an analysis or a dashboard.
Adding an Agentix agent to your C3 Code application brings that chat into the application, on a page named Assistant. After your Agentix administrator confirms the setup, you install the agent with one prompt to the C3 Code agent in your workspace. Then you try the page in Preview, connect the chat to the application whose data it should read, and ask it questions.
What C3 AI Agentix brings to your application
With an Agentix agent on the Assistant page, your users get:
- Answers grounded in live data: every answer draws on the connected application's records at the moment of asking.
- Work, not only answers: the agent queries records, runs analysis, and builds tables, charts, and dashboards in the chat. Files it creates go to the chat's Workspace panel, which is separate from your C3 Code workspace.
- Approval before any change: the agent reads data on its own. Any action that would change a record waits until the user approves it in the chat.
- Conversations to come back to: earlier chats stay listed under Chats. They belong to the user, so the same chats also appear in C3 AI Agentix itself.
Behind the chat, a few building blocks decide what the agent can do:
- Agents: an agent is a version of the assistant set up once with its own instructions, skills, and model. Everyone who chats with it gets the same behavior. The Assistant page uses the C3 Agent, the general-purpose agent that comes with C3 AI Agentix.
- Skills: a skill is a set of instructions the agent reads when a task matches, such as building a visualization or searching documents. Skills come with C3 AI Agentix, and your team can write more.
- Automations: an automation runs an agent on a task with no one present, such as a morning check of an application for unresolved alerts.
- Governance: roles decide who can chat with agents and who can manage them. Administrators see usage, spend, and performance by agent, application, and user.
For the full picture of C3 AI Agentix, see the Agentix Overview. For writing skills and running automations, see Create and Attach a Skill and the automations Overview.
Before you start
C3 AI Agentix runs as its own application on your cluster, the C3 Agentic AI Platform deployment that also runs C3 Code. An Agentix administrator sets it up one time for every application on the cluster, and that setup makes sure that:
- Applications on the cluster can find Agentix, so the chat on your Assistant page connects to it.
- Your users hold the
Agentix.Userrole, the role that lets a person chat with Agentix agents. You need it too, to try the page in Preview. A role in your own application does not grant it.
Your application must run on the same cluster as Agentix. The chat uses the sign-in your users already have for your application, so nobody signs in a second time.
If the Assistant page reads Agentix is unavailable. after you install it, ask your Agentix administrator to confirm both points above. For the administrator's side of the setup, see Embed Chat.
Install the agent with a prompt
The C3 Code agent already knows how to install an Agentix agent, so the request fits in one sentence:
Open the workspace for your application. In the chat panel, select Agent mode, so the C3 Code agent can change files.
Enter this prompt:
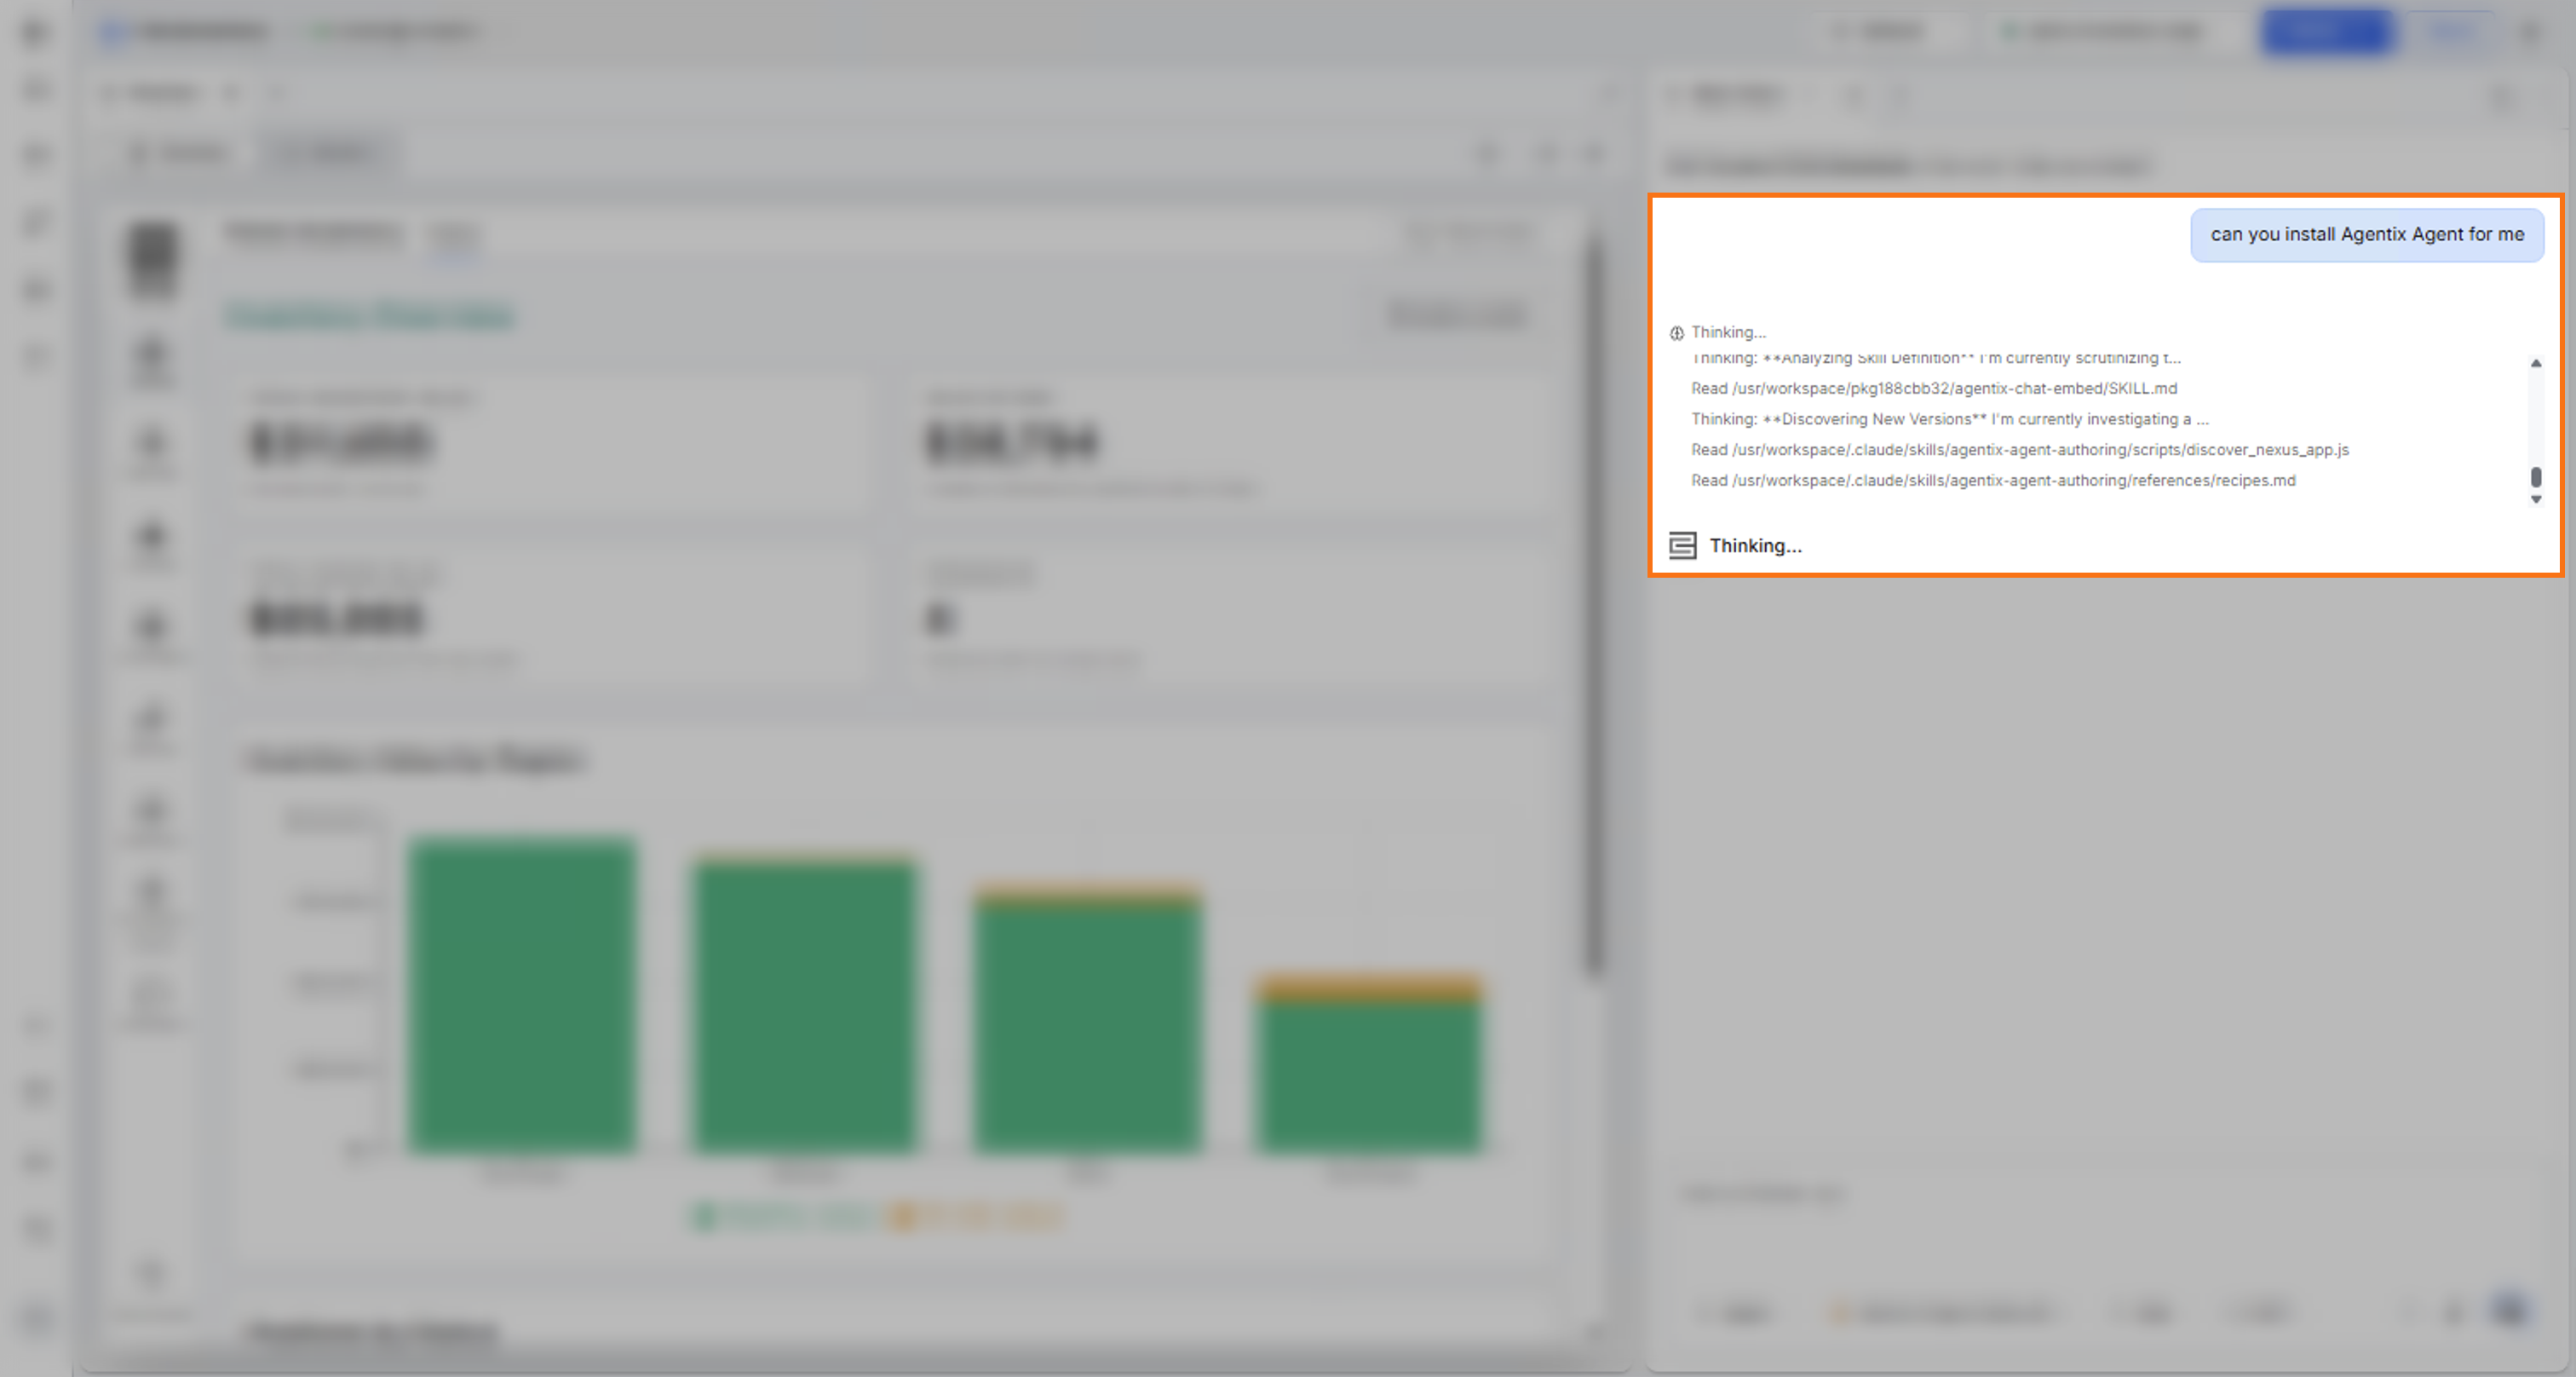
TextCan you install Agentix Agent for meLet the agent work. It adds the chat to your application's code, adds the Assistant page to the navigation, builds the application, and confirms the build passes. The work takes several minutes.
Read the summary the agent writes when it finishes. The summary names the Agentix agent the page uses and the page it added.
Open the Assistant page
Try the page in Preview before your users see it:
- In Preview, select Assistant in your application's left navigation.
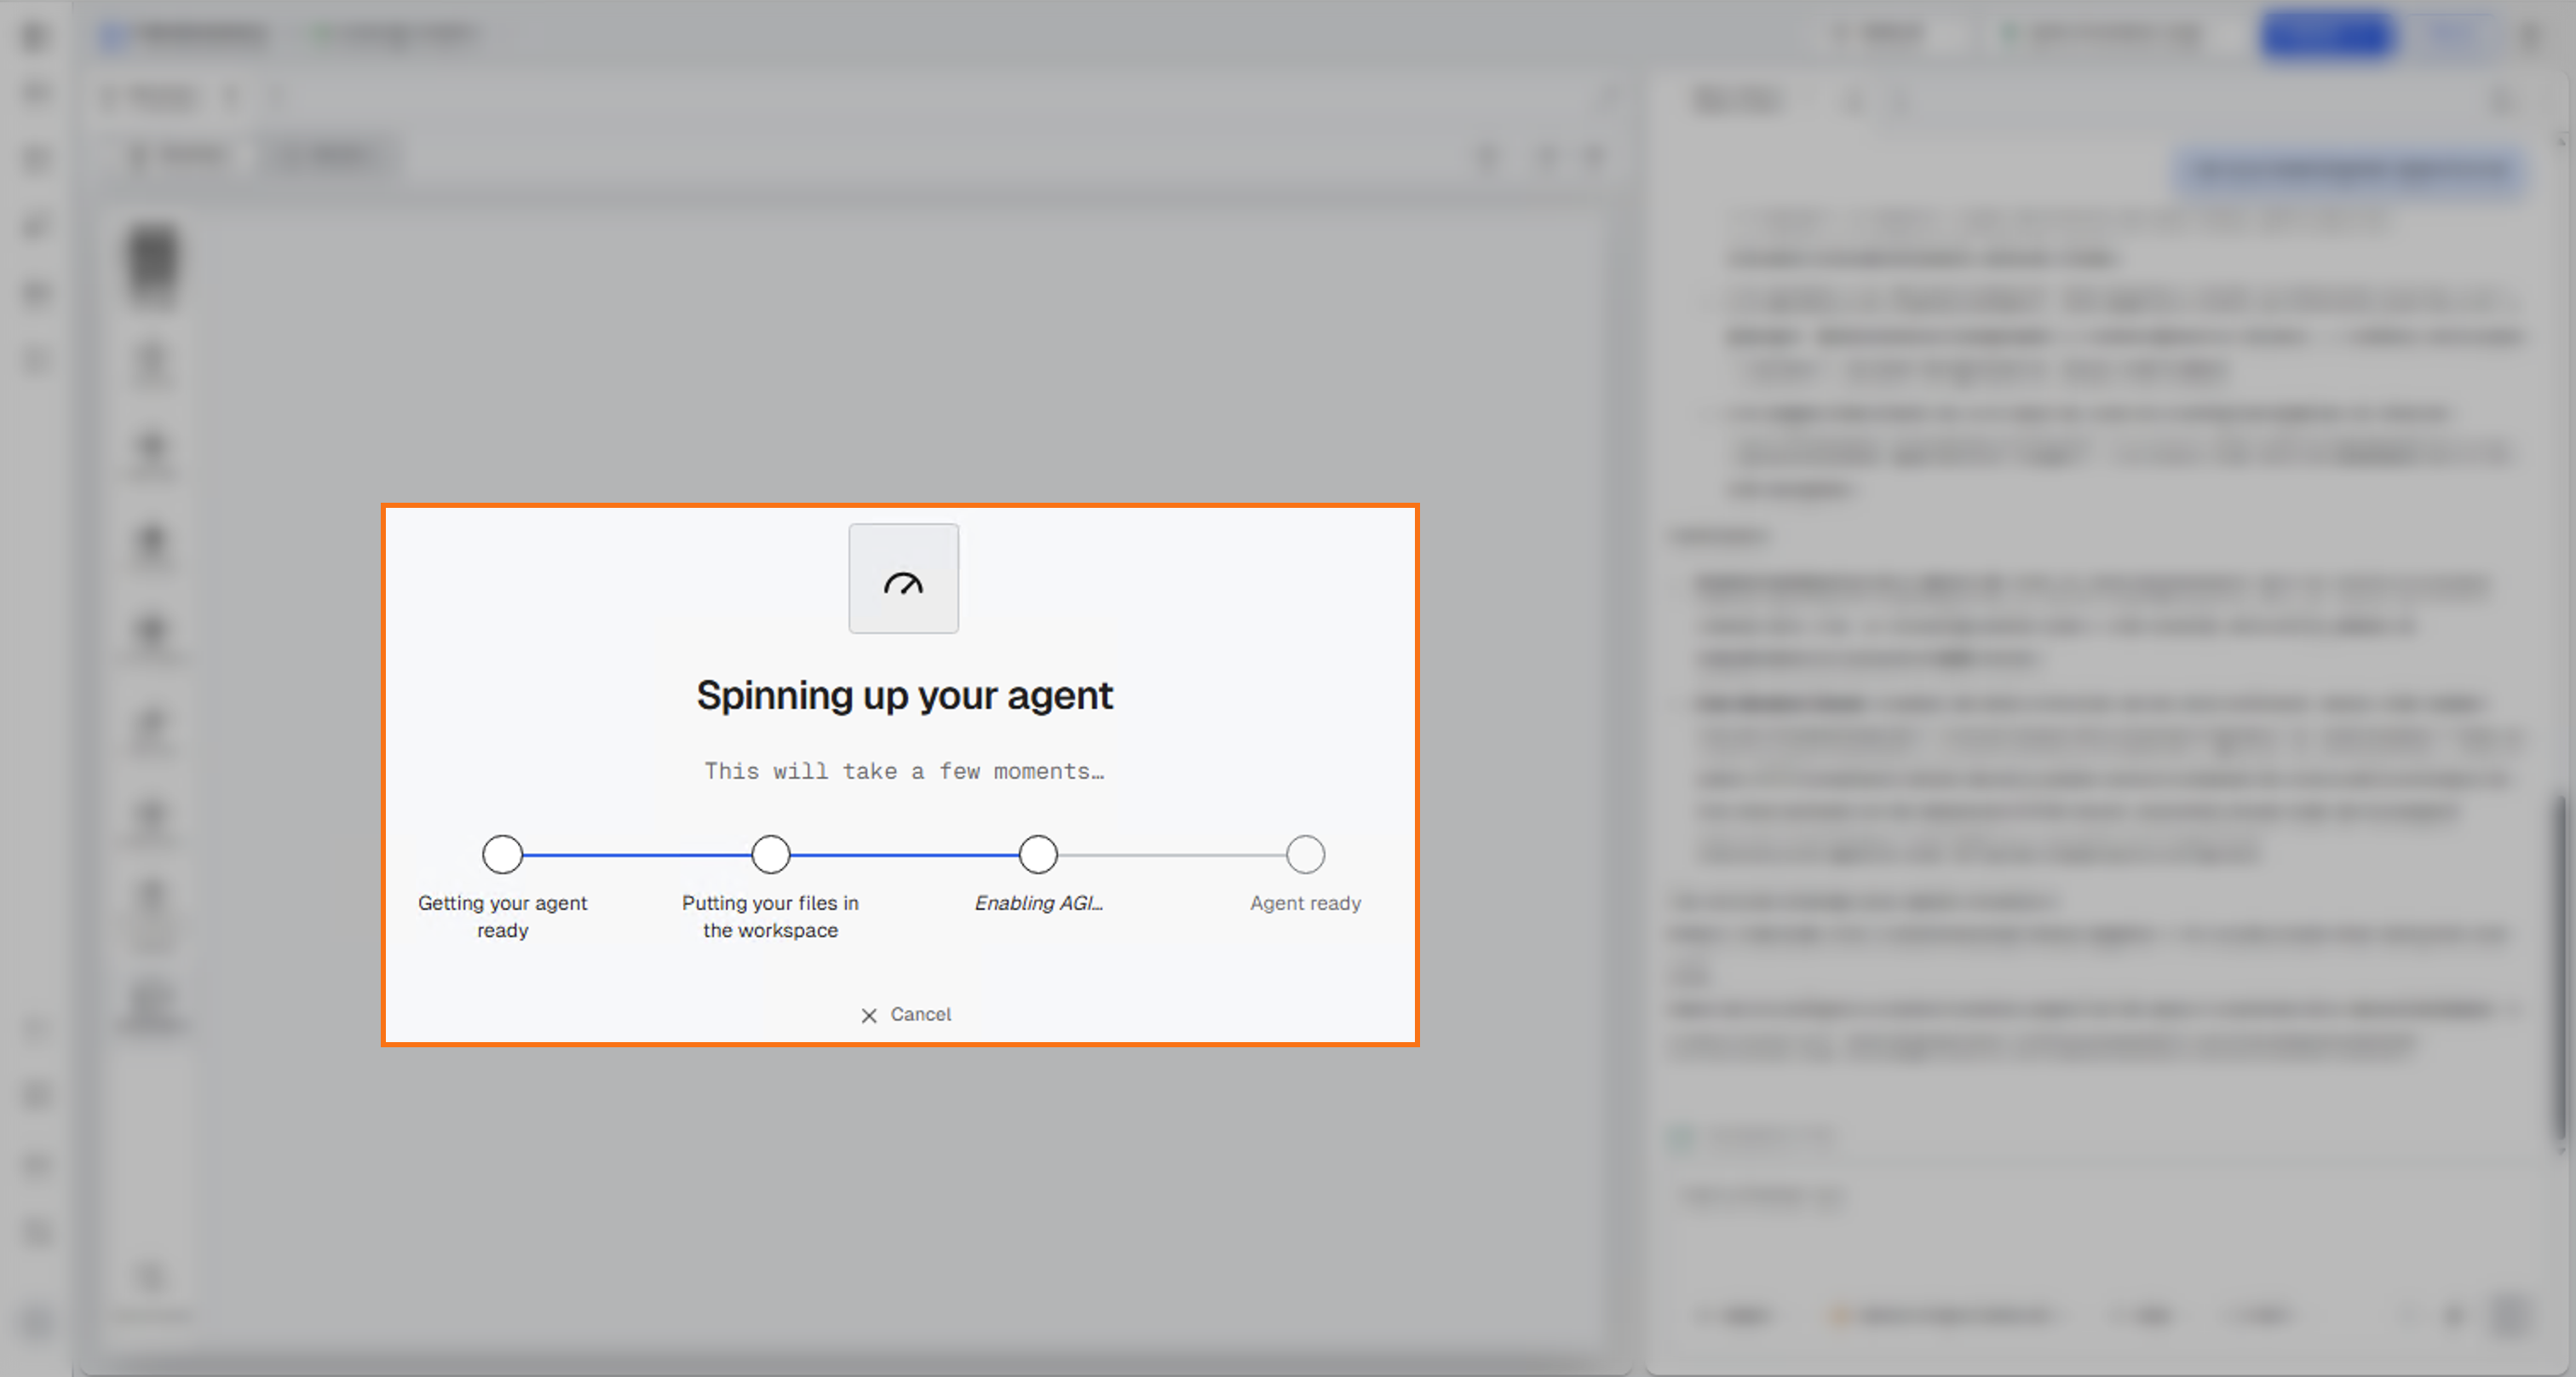
- Wait for the Agentix agent to start. The page reads Spinning up your agent until it reaches Agent ready, which takes a few moments.
Connect the chat to the application whose data it reads
The Agentix agent reads data only from the applications connected to its chat. Adding the Assistant page does not connect one, so a new chat with the C3 Agent starts with none. Ask whether one is connected, then connect the one you want by its address or its ID:
Are you connected to any application?Connect to this app <application URL>An application ID has the form <cluster>-<env>-<app>. The agent confirms the connection, and every answer after that comes from that application.
Pick the application by where its data lives. Each workspace runs its own copy of your application, with its own database and its own ID, and so do your staging and production deployments. If one workspace holds wind turbine records and another does not, only a chat connected to the first one answers about wind turbines.
A chat can hold more than one connection. Connect a second application the same way, and the agent can answer from both.
Your Agentix administrator can also give an agent Default apps, which connect on their own each time a chat with that agent starts. For setting Default apps on an agent, see Create and Configure an Agent.
Ask the agent about your application
Start by asking the C3 Agent what it can do:
How can you help me?The agent lists what it can do, from querying records and searching logs to building dashboards and running Python or JavaScript.
After the chat is connected, ask in everyday language and let each question build on the last answer. These example prompts come from a parts inventory application, so swap in the records your own application holds:
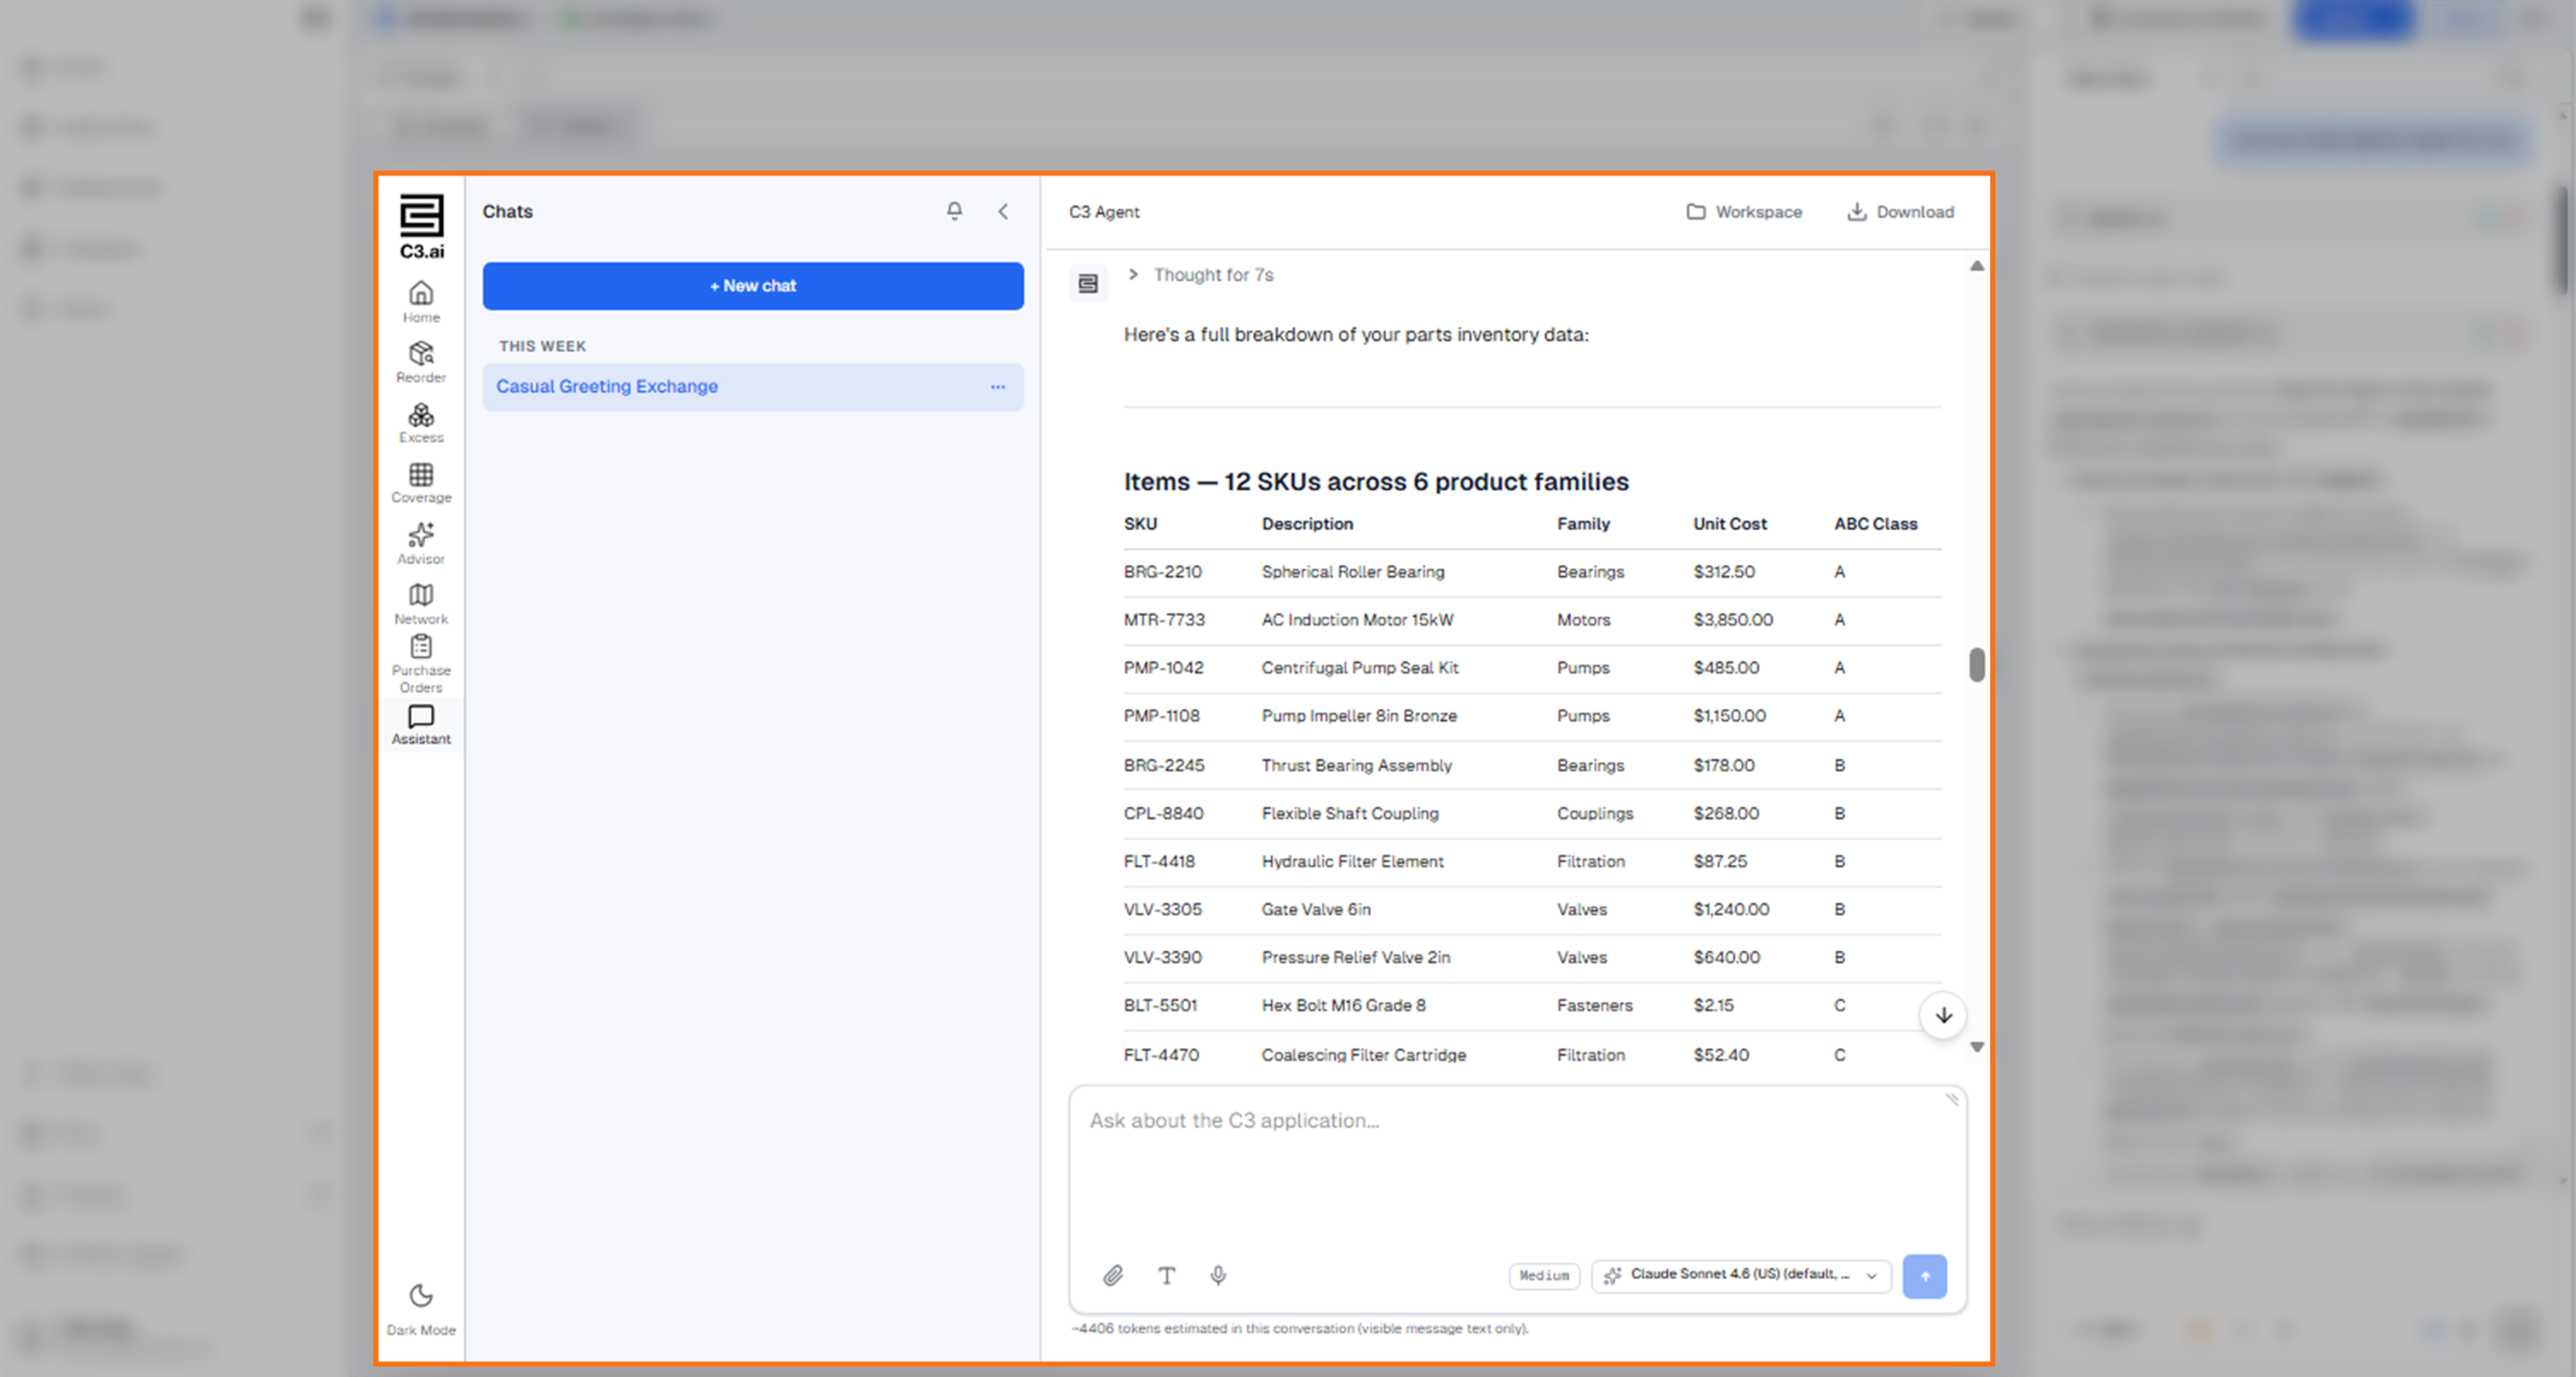
What data does this app have?Give me information on parts inventoryCan you create a dashboard for that data?For the second prompt, the agent listed the application's 12 parts with their product family, unit cost, and class.
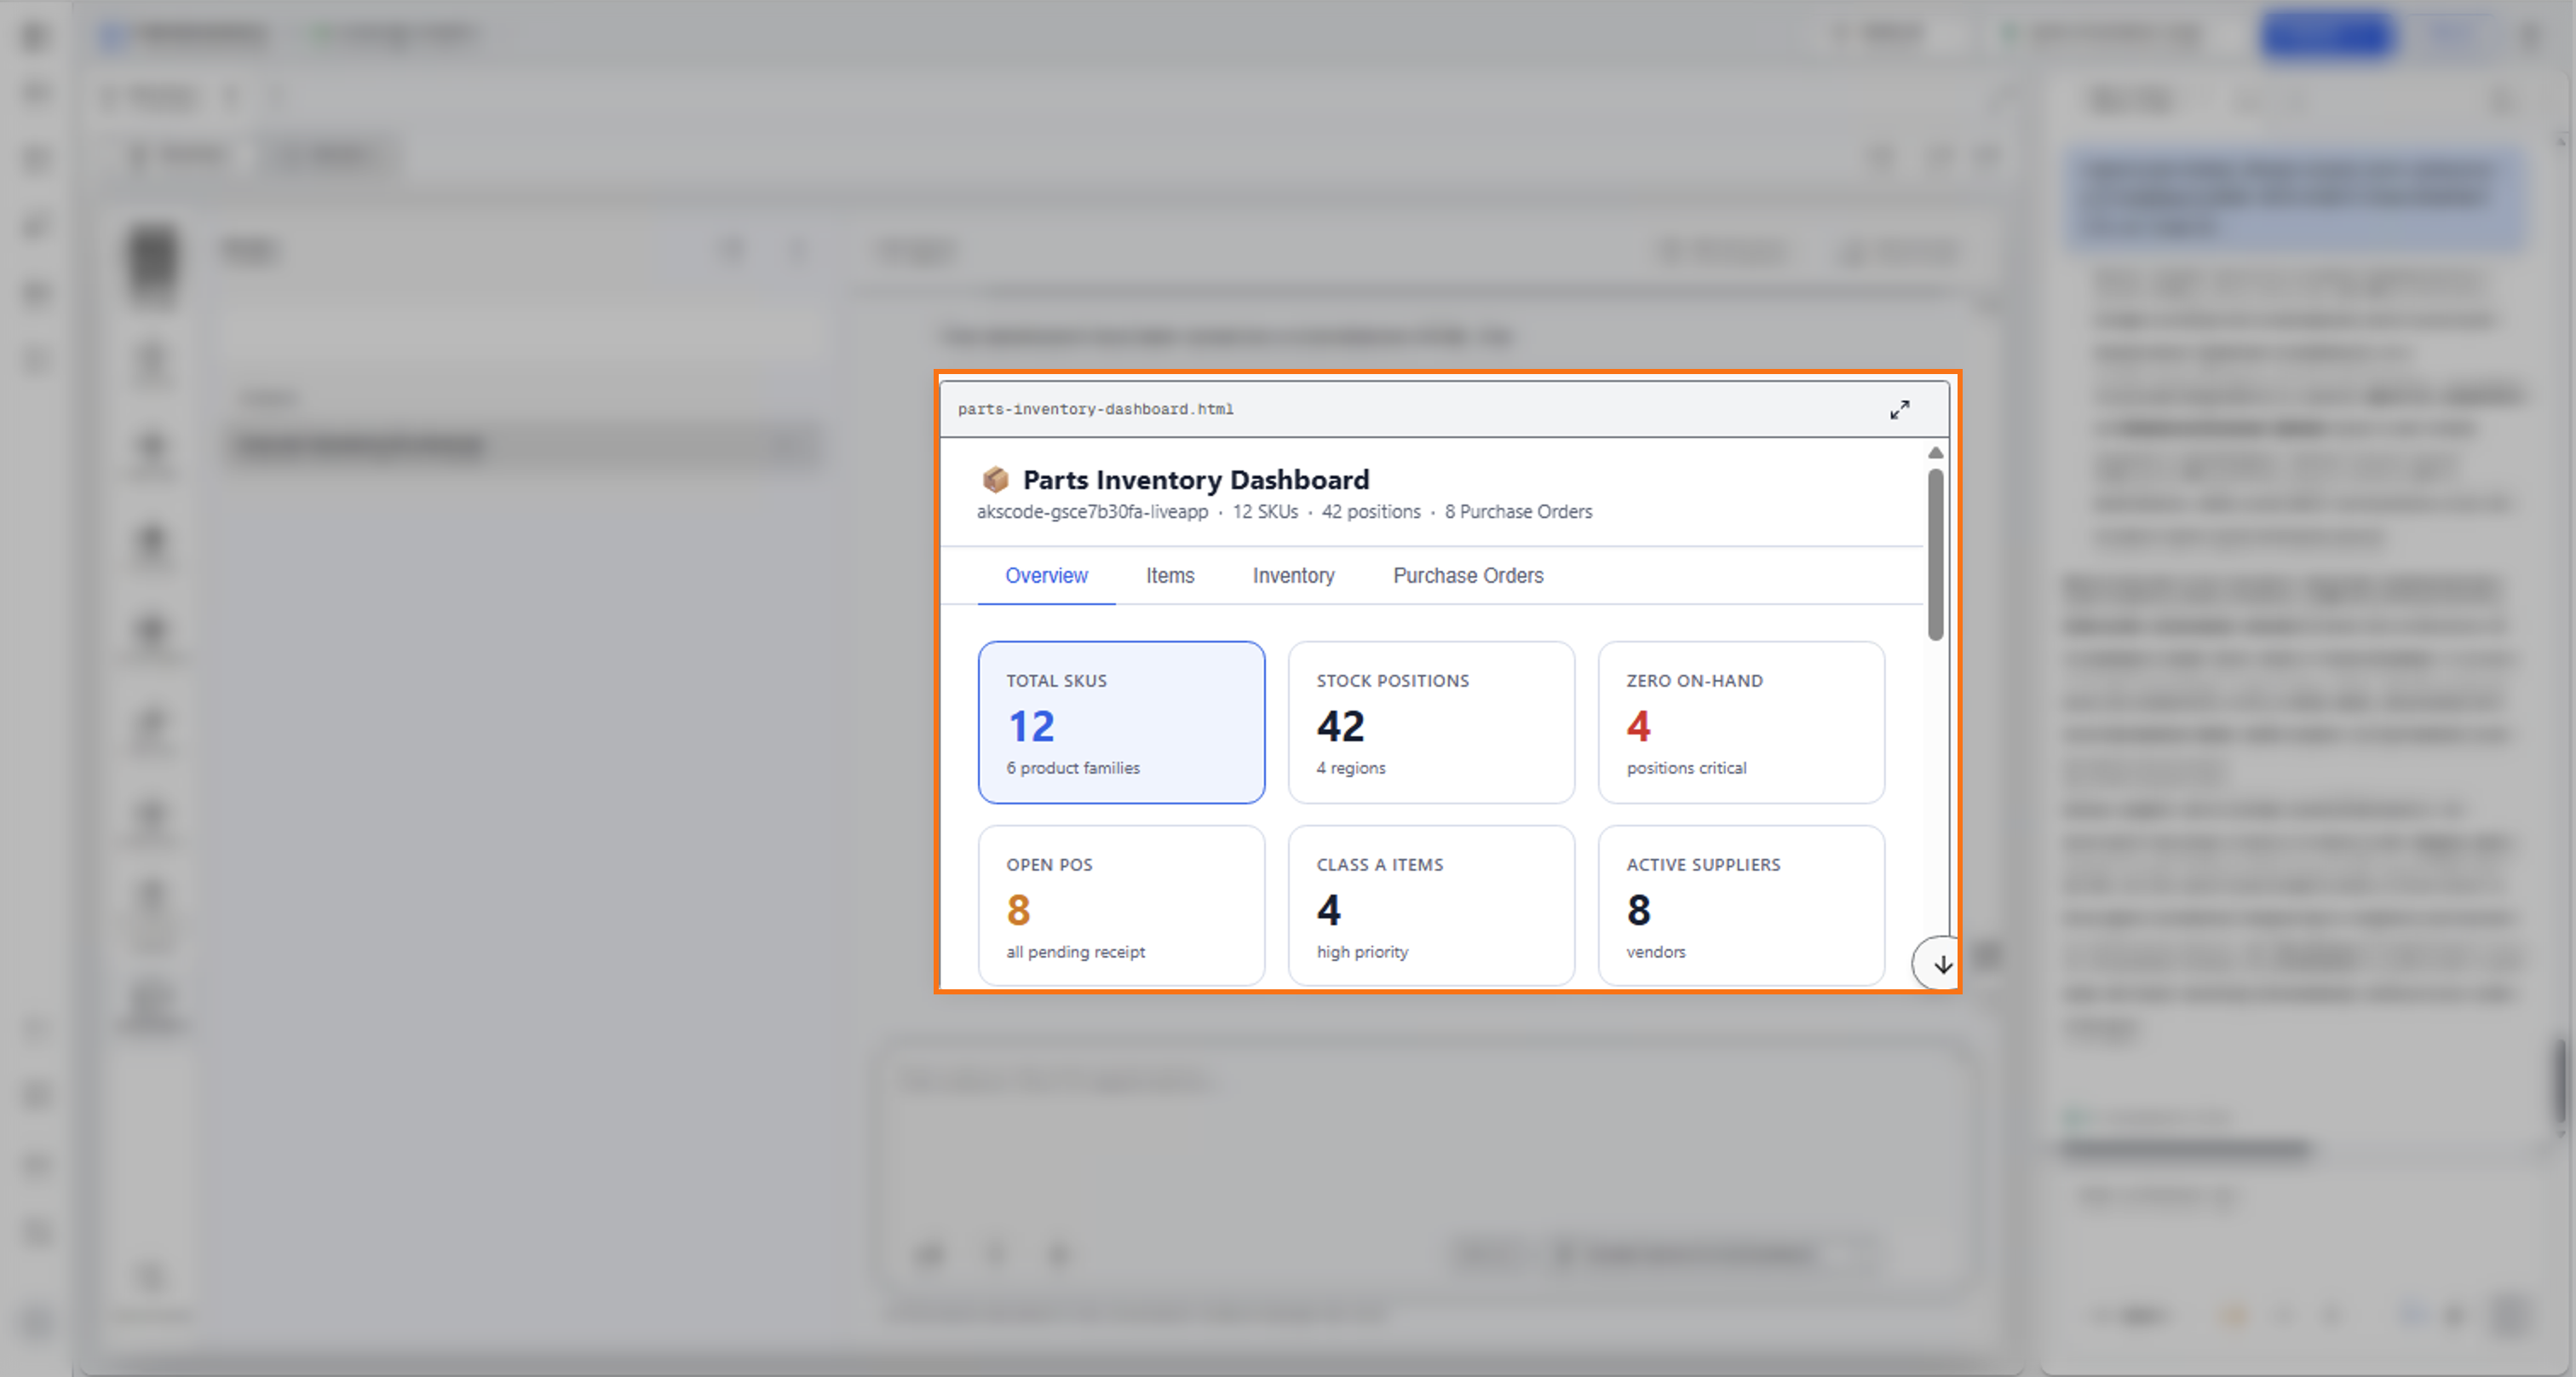
For the third prompt, the agent built a dashboard with Overview, Items, Inventory, and Purchase Orders tabs, and saved it as an HTML file. Open Workspace at the top of the chat to find the file.