Configure Entity Extraction
After you save the Chunker in an Unstructured Data Integration (UDI) pipeline, you can add the optional Entity Extractor. The Entity Extractor uses a large language model (LLM) to pull structured records, such as contracts, people, or products, out of the document chunks. Your application can then query the extracted records. An entity is one kind of record you want, and its schema is the list of fields to extract for it.
Decide whether to add an Entity Extractor
The Entity Extractor sends each chunk to the LLM, so add it when you need records and not only search. Add an Entity Extractor when:
- Your documents repeat structured information that you want to query as records, such as contracts, work orders, addresses, or line items.
- You want to load those records into your application's data model or write them to files for another system.
Leave the Entity Extractor out when search over the document text is enough. Also skip the Entity Extractor when the information already exists as structured data elsewhere, such as in a database or an API.
Before you begin
Make sure you have a UDI pipeline with a saved Chunker. Saving the Chunker adds the Entity Extractor placeholder to the canvas. For the Chunker, see Configure the Chunker.
Open the Entity Extractor
Open the configuration and name the node:
- In C3 AI Studio, select Data > Data Fusion and find your pipeline's source collection on the canvas.
- Select the Entity Extractor placeholder. The Configure Entity Extractor dialog opens with two tabs: Entities and Extraction Settings.
- In Name, keep the default
<collection name> EntityExtractoror enter another name for the node. The canvas node shows this name.
Add an entity
Each entity starts in one of two modes. Choose the mode before you save, because it cannot change afterward:
- Choose Create New Entity Schema when you want a schema for this pipeline only, or when no existing Type matches the record you want. This mode is the default.
- Choose Import from C3 Type when an entity Type in your application already describes the record. A Type is the definition of a kind of record in your application, with its fields. Importing keeps the field names, descriptions, and data types the same as that Type.
To add an entity:
- On the Entities tab, select Add. A new entity named
New.Schemafollowed by a number, such asNew.Schema1, appears in the Entities list with 0 fields, and its details open. - Select Create New Entity Schema or Import from C3 Type.
- For Create New Entity Schema, define the fields as described in Define the entity fields.
- For Import from C3 Type, select the Entity Schema box. In the list that opens, type part of the Type name in the Search... box, and then select the Type. The platform imports its name, description, and fields.
An imported entity's fields are read-only in both the Schema and Code views, and you cannot add or remove its fields. To pick another Type, clear the Type with Remove selected type, and then search again. In import mode, the entity details show the Entity Schema box where you pick the Type:

Define the entity fields
For an entity in Create New Entity Schema mode, describe the record and each field so the LLM knows what to extract:
- In Name, enter the entity name, such as
Contract. This name is separate from the node name. - In Description, describe the record. The LLM uses the description to decide what to extract.
- Select Add Field. A new field row appears at the top of the Fields table.
- In Field Name, enter the name of the field in the extracted record.
- In Data Type, keep string or select double, boolean, or datetime. The platform saves the data type with the schema.
- In Description, tell the LLM what to extract for this field.
- Turn on Required for a field that each record must have.
- Repeat steps 3 to 7 for each field.
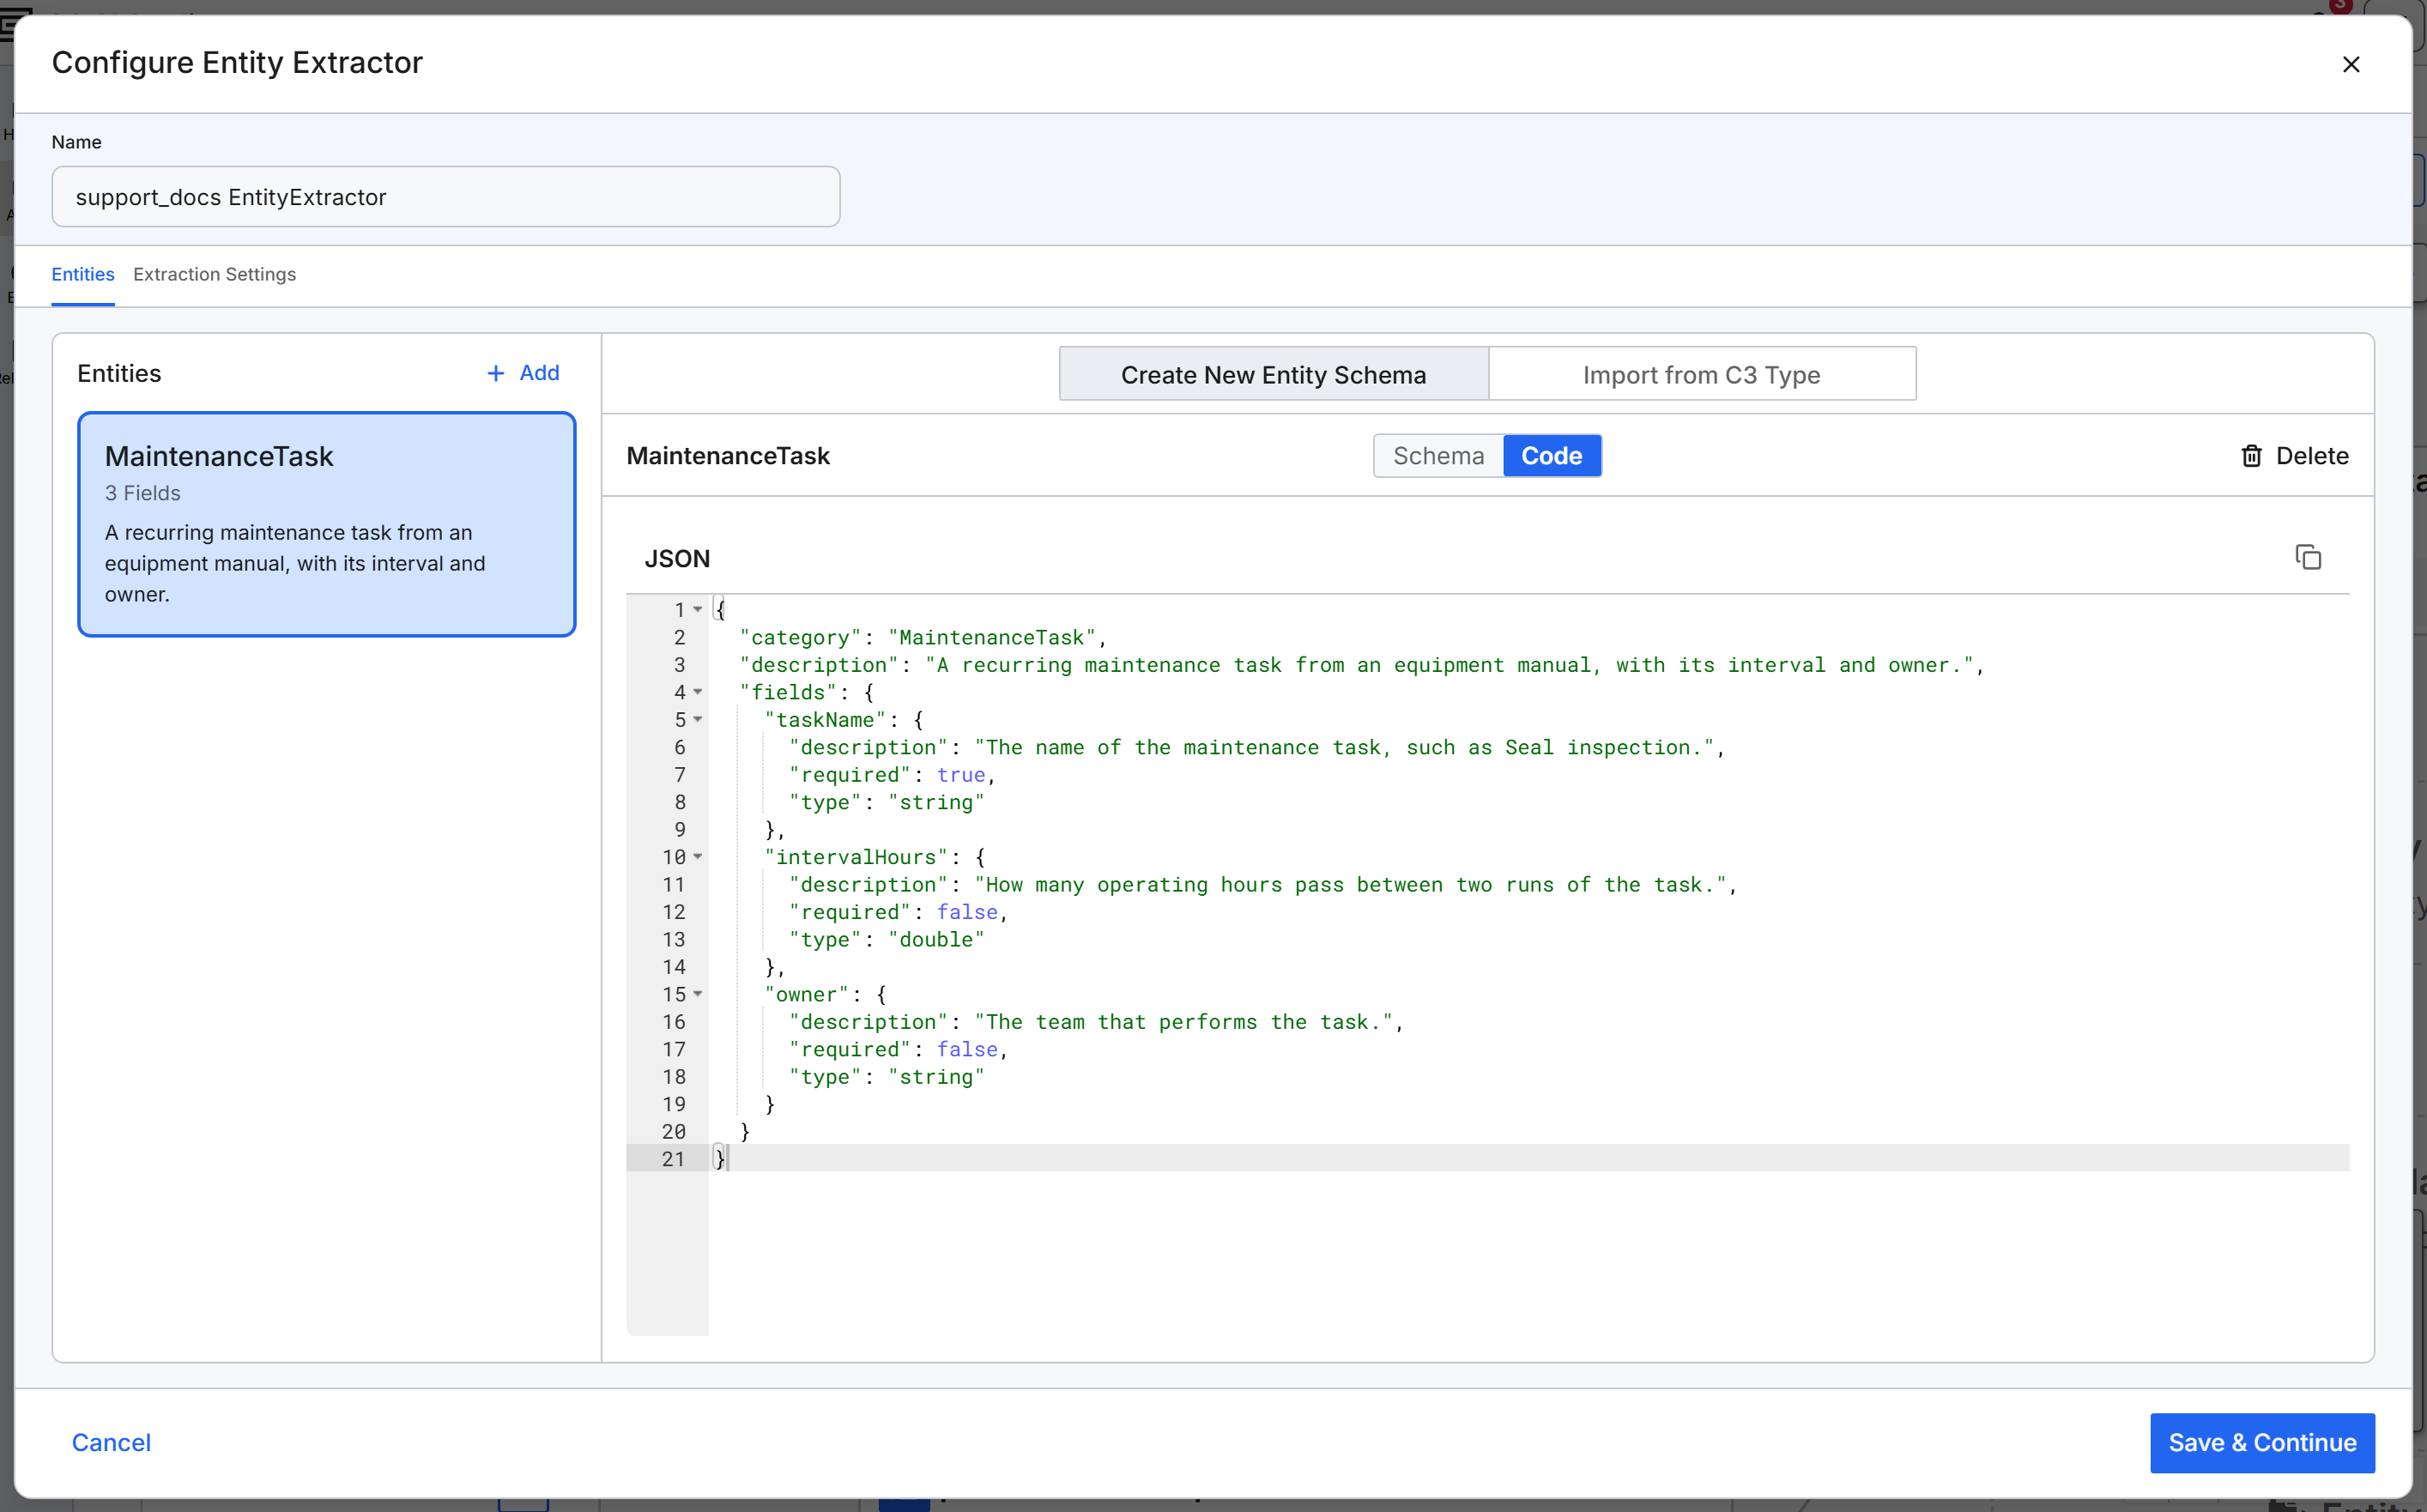
The entity details have two views. Schema is a form with one row per field and is the default. Code shows the same schema as JSON, which helps when you copy a schema between pipelines or edit many fields at once. Edits in one view appear in the other. If the JSON in Code is not valid, the view shows an error and does not apply the edit.
Delete an entity
To delete an entity, select it in the Entities list, then select Delete in the header of its details. The dialog removes the entity at once, with no confirmation. To undo a deletion, select Cancel to close the dialog without saving any changes.
To change an entity's mode after you save, delete the entity and add a new one.
Adjust the extraction prompt
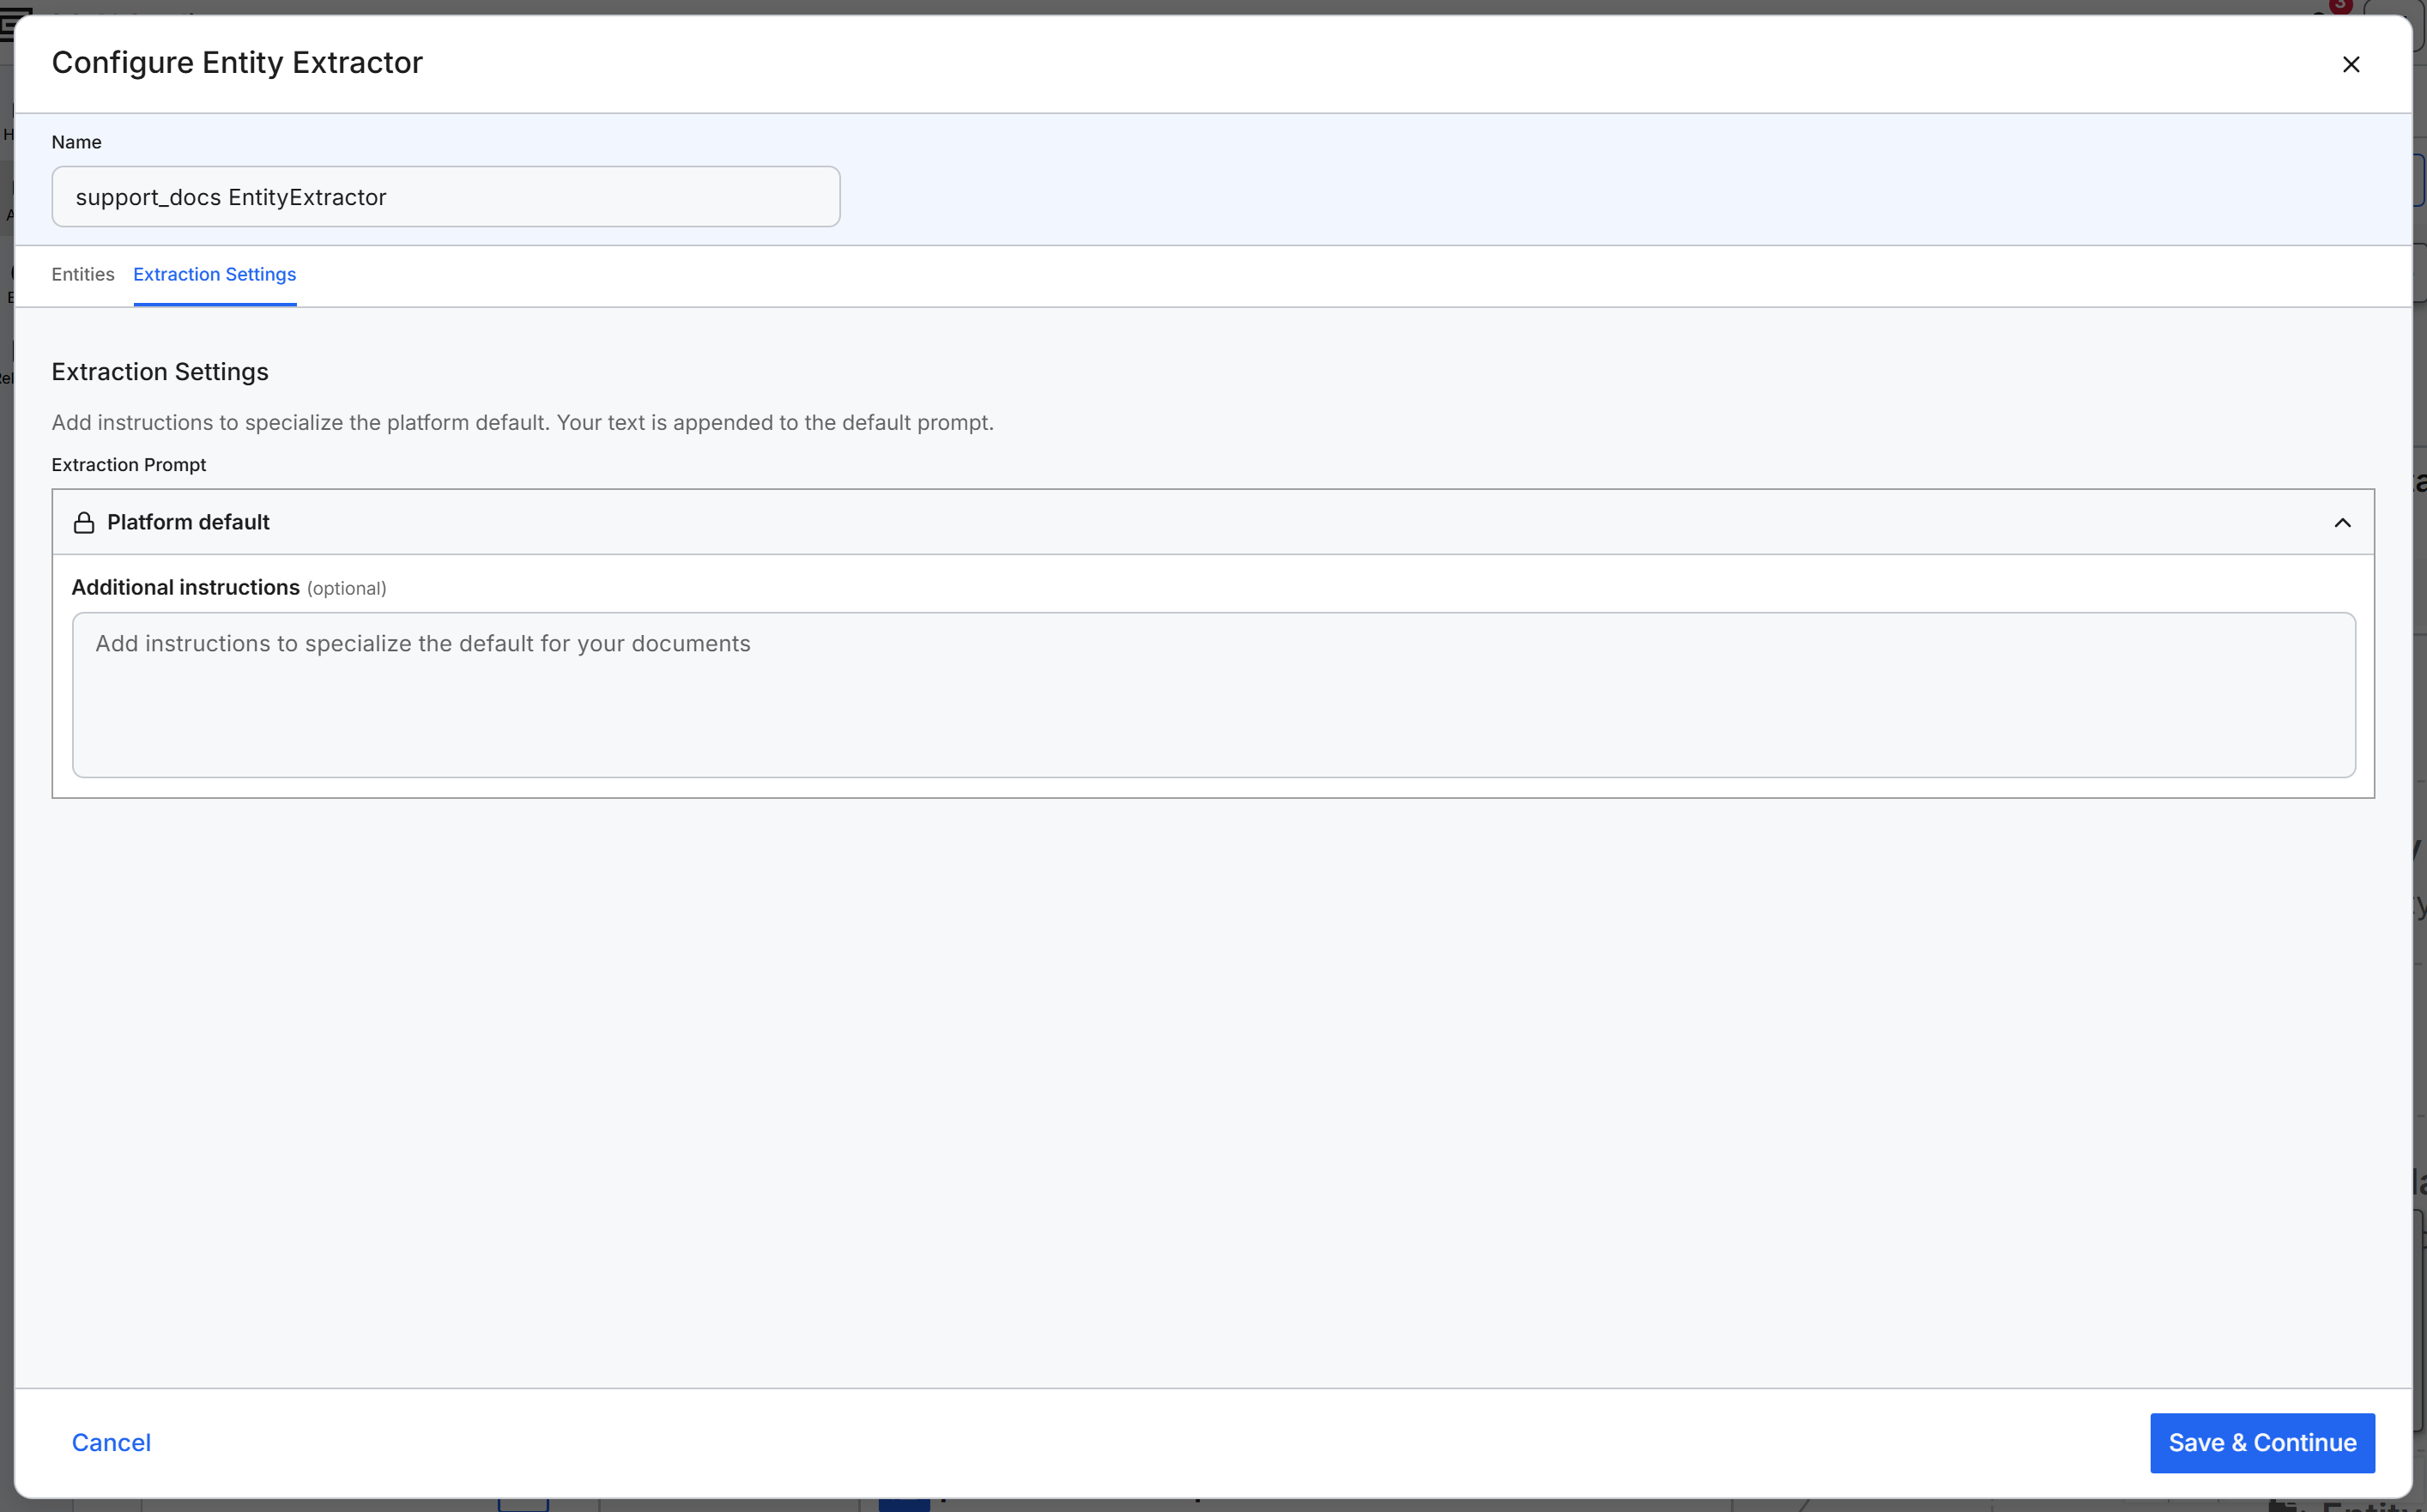
The Extraction Settings tab holds the prompt that tells the LLM how to extract records. The default prompt works without changes. Add instructions when your documents need extra guidance:
- Select the Extraction Settings tab.
- Optional: Expand Platform default to read the default instructions.
- In Additional instructions (optional), add guidance for your documents. When the pipeline runs, the platform adds your text after the default prompt. Useful guidance includes:
- A description of the documents.
- What a good extraction looks like, with examples of expected output.
- How to handle unclear cases.
Save and check the records
Select Save & Continue. Before saving, the dialog checks that:
- Every entity has a valid name: an invalid name shows an error under the name, and the dialog opens that entity on the Entities tab.
- Every imported entity has a Type selected.
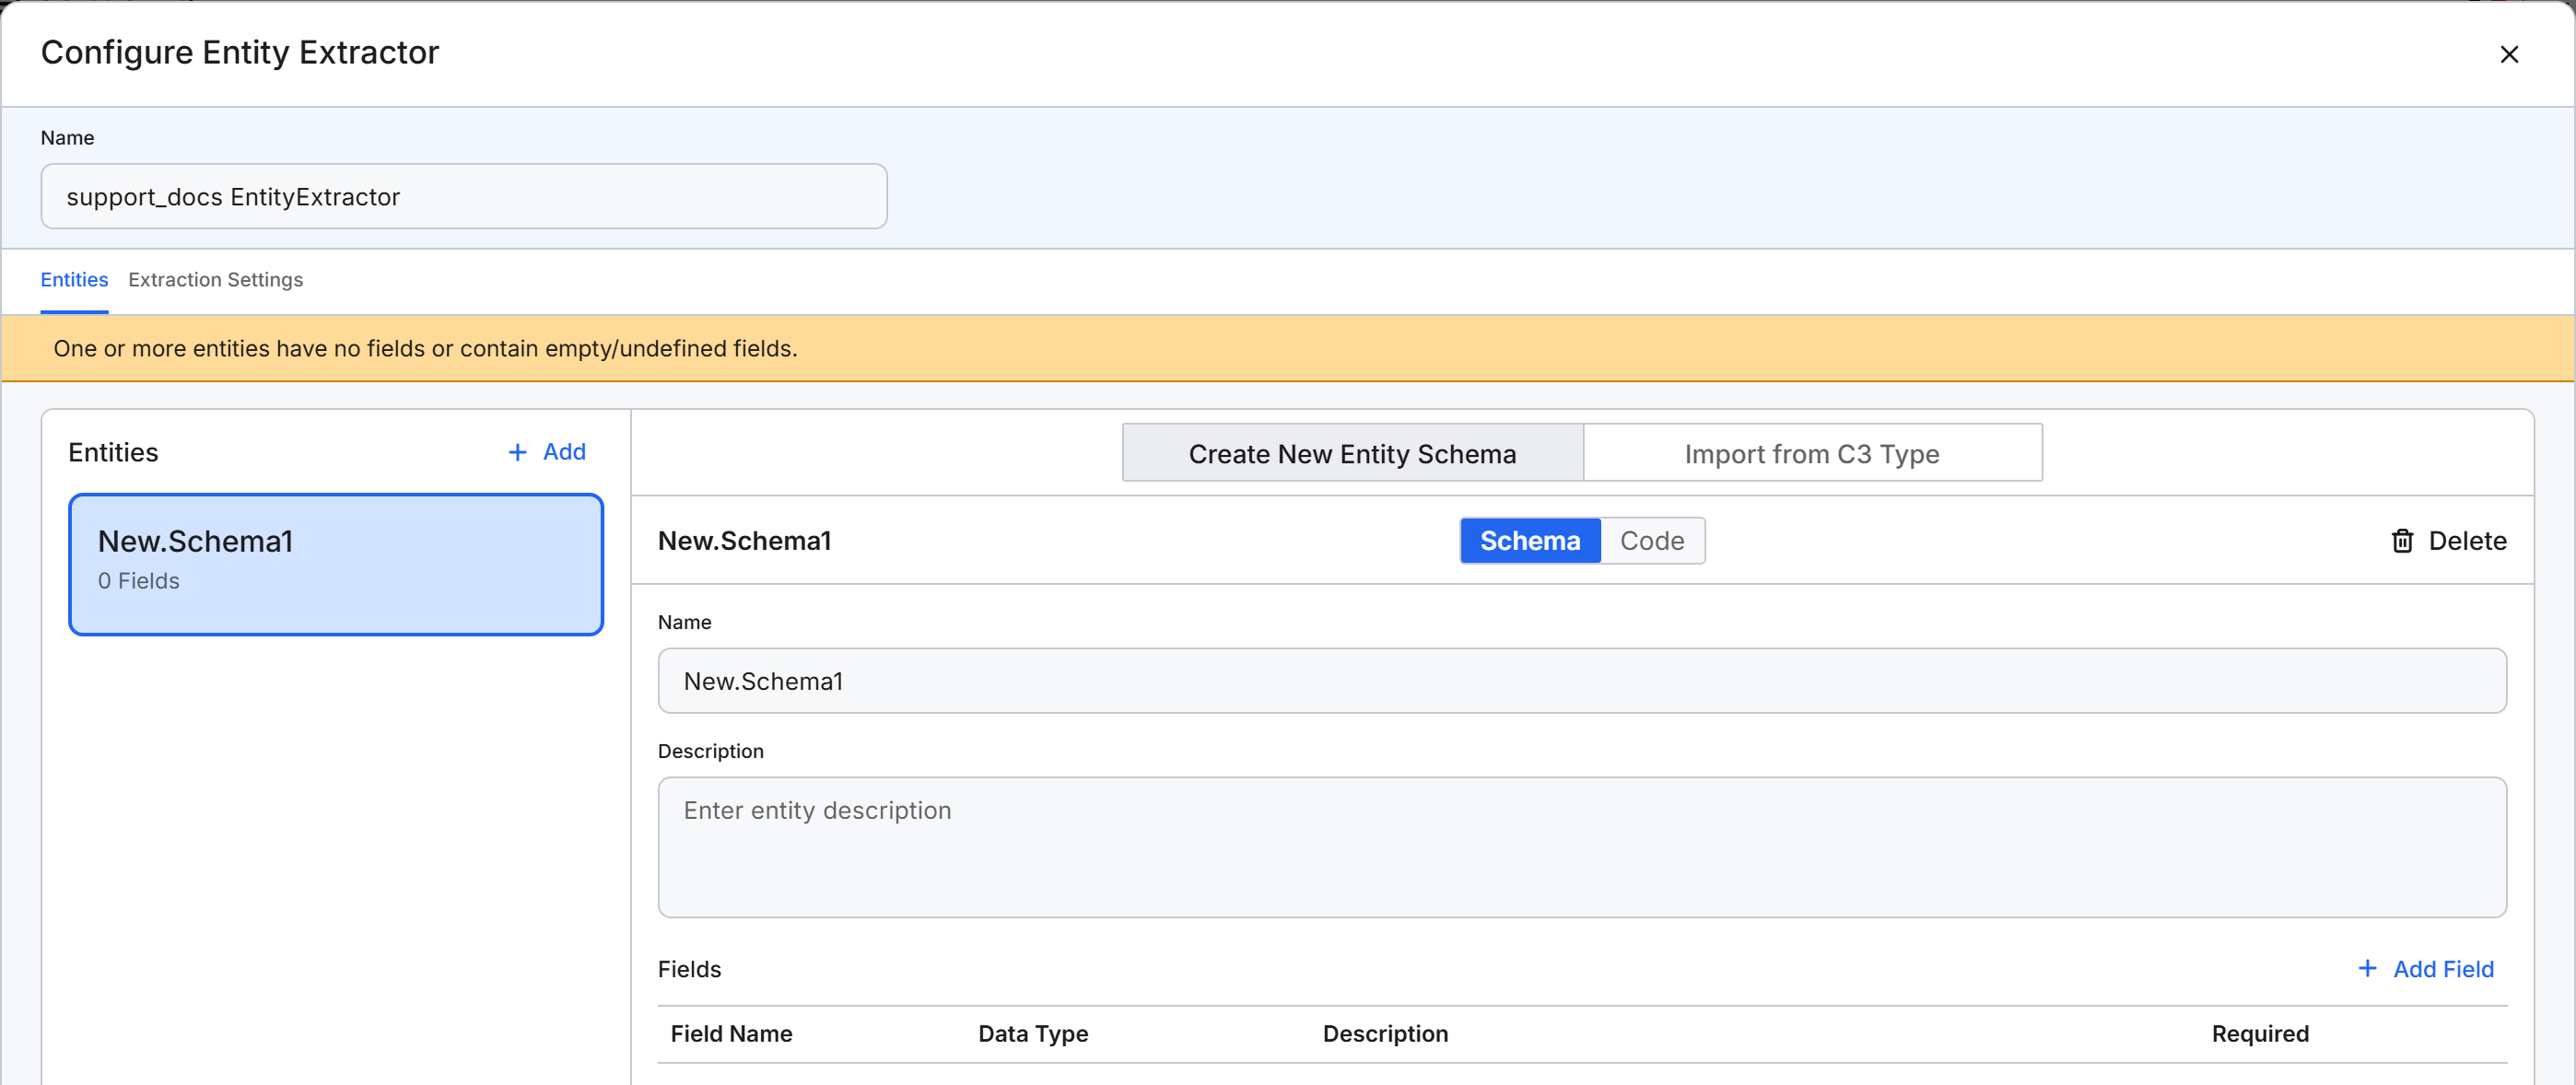
- Every entity has at least one field, and every field has a Field Name and a Data Type. Otherwise, a banner reads "One or more entities have no fields or contain empty/undefined fields." and the dialog opens the first entity to fix.
- Field names are unique within an entity and use only allowed characters.
When every check passes, the platform saves the Entity Extractor and adds a Load node named <collection name> Load, with one entity node for each entity. The Load node starts with Load to External Source. To choose where the records go, see Configure the Load Destination.
The LLM extracts records on the next pipeline run. To check the records after a run, open the menu (the three-dot button) of an entity node attached to the Load node:
- With the default Load to External Source, select Browse Files to open the entity's folder of CSV files.
- With Load to Application Data Model, select View Data to see the loaded records.